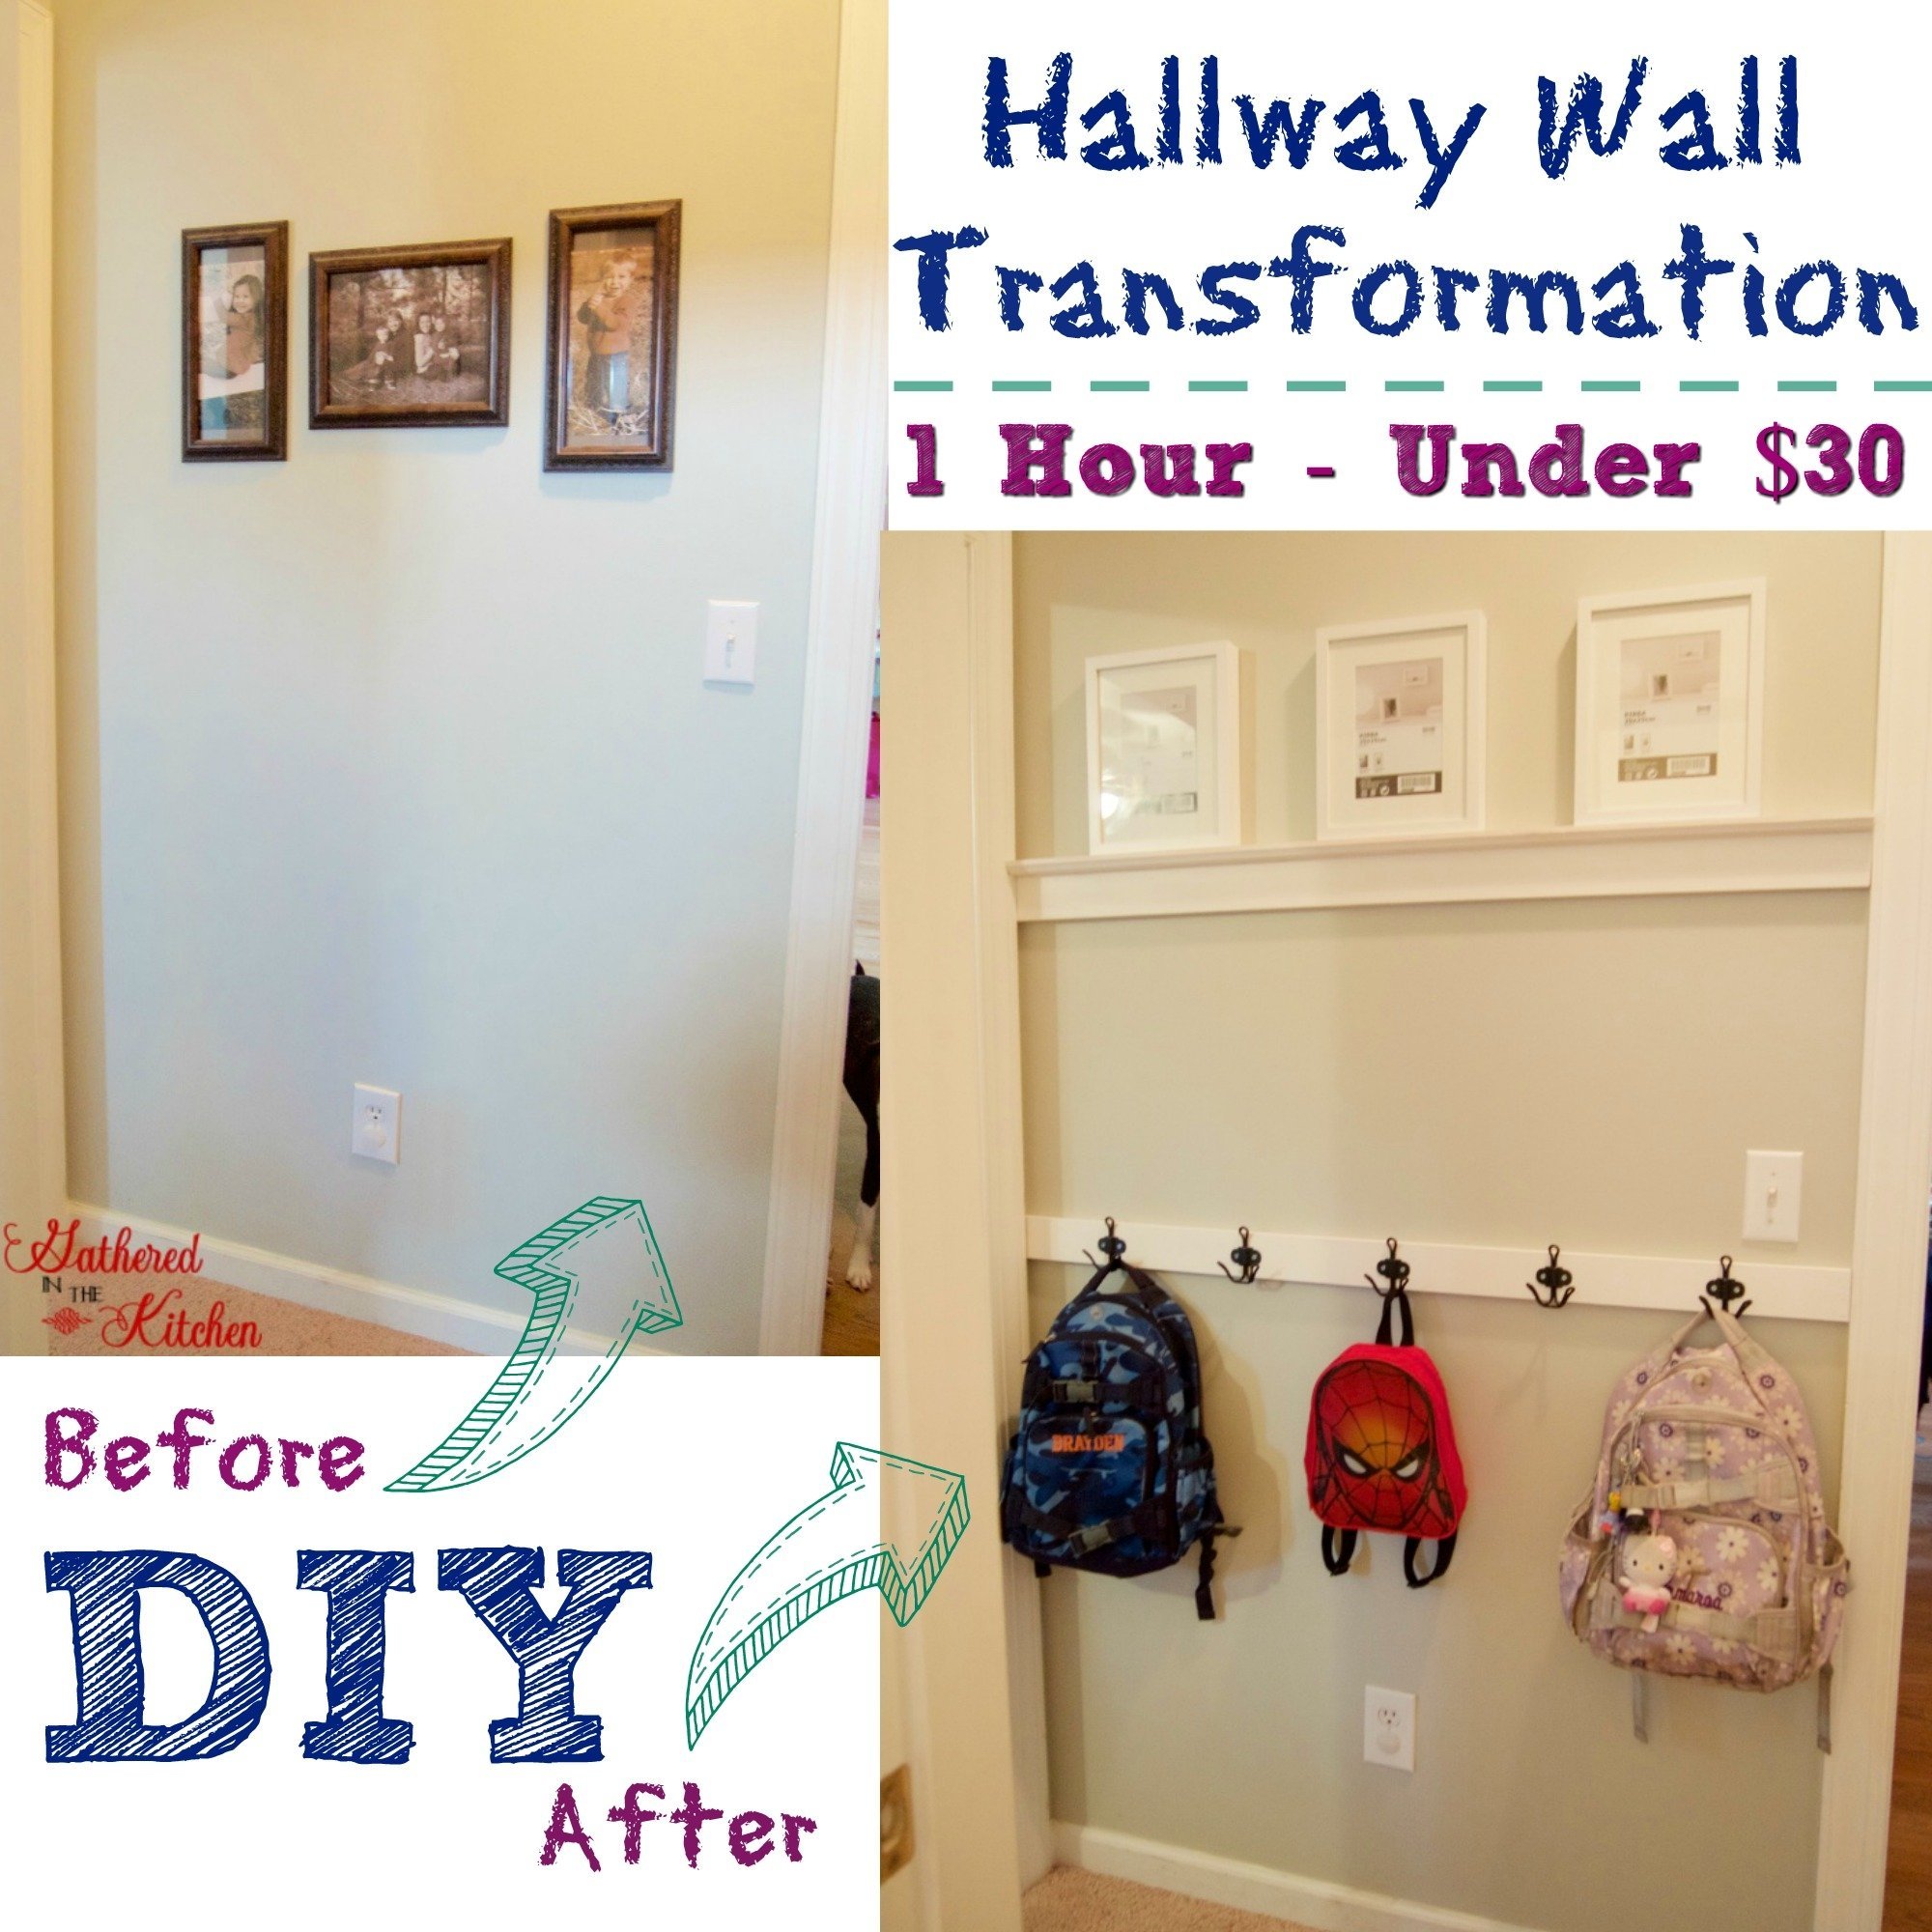
DIY Hallway Wall Transformation
I don’t know about you, but I have an obsession with adding function to every.single.inch.of.our.home!! I hate wasted space and I hate stuff not having a home. So, I got to thinking about how I could fix both of those problems on the cheap and easy and came up with a super stylish and functional solution!
Check out my 14 Beginner Building Projects

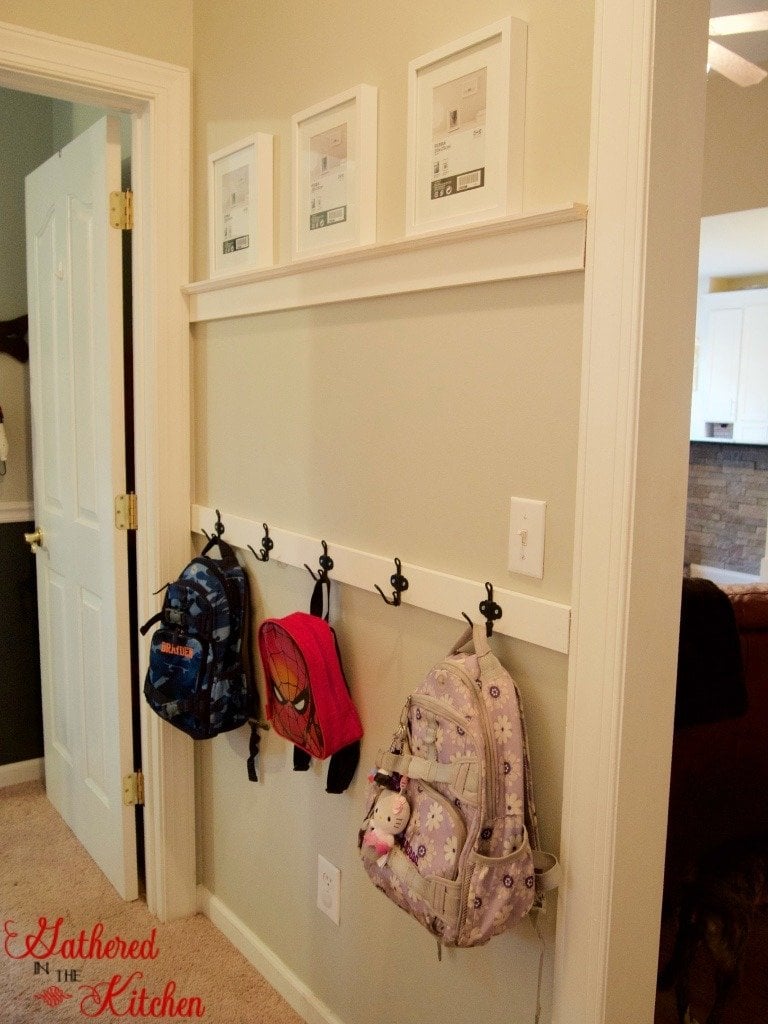
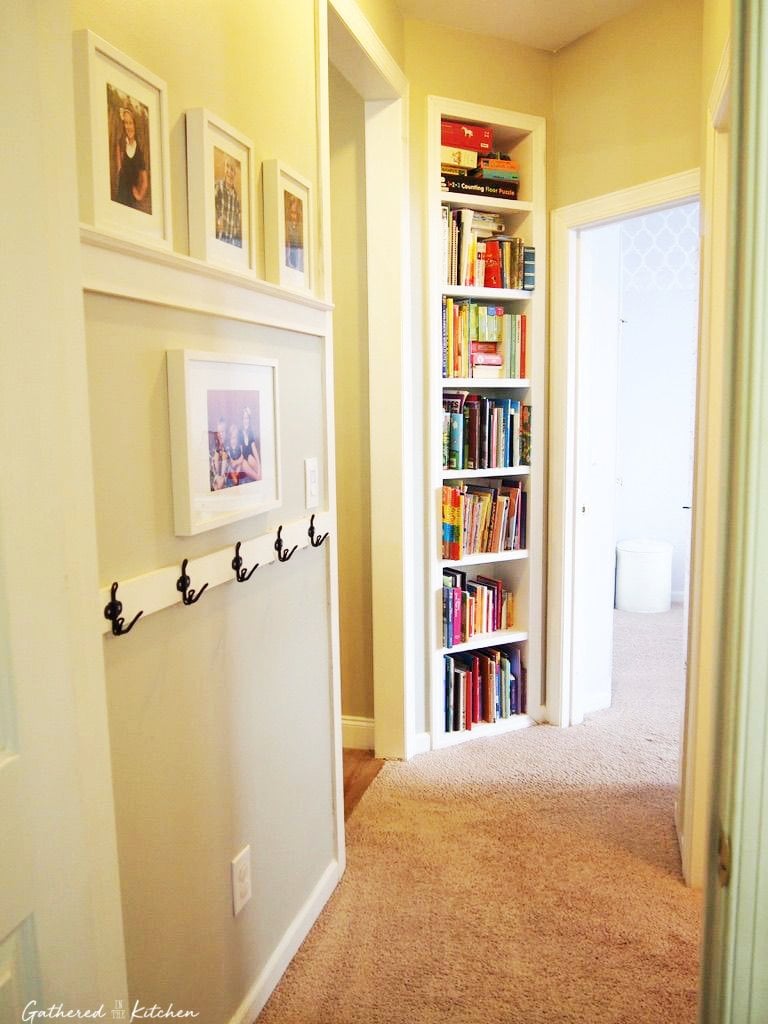
The hallway in between our kids rooms was sooo boring and blah. Four years ago when we moved in I hung some photos from our old house but never really liked them here. The style was just off. I planned on adding some storage and function to the hallway in an effort to keep my kids items (book bags, sweaters, clothes for the next day of school, etc) up off of the floor. I also wanted to add a top board with shelf so that I could decorate it with pictures of my cute kiddos! 🙂 I’m so happy with the end result! It was so easy and ANYONE can replicate this with zero skills or power tools necessary!
This post may contain affiliate links, which means I’ll receive a commission if you purchase through my link, at no extra cost to you. Please read full disclosure here.
I went shopping in our scrap wood pile and was able to find enough wood for my entire project! (hope my hubby didn’t need any of this! lol!)
You can watch my YouTube video here to hear all about the process or see the step-by-step pictures/instructions below!

This post contains affiliate links. See my disclosure here.
Supplies Needed
1 x 3 pre-primed wood – cut to your custom dimensions (alternative: purchase a baseboard trim piece and use that!)
1×2 pre-primed wood – for top shelf
Air Nail Gun with 2″ brad nails (alternative: 2″ trim nails and hammer)
Drill (to attach hooks)
Step-By-Step

- Start by picking your wall and measuring how long you will need your boards and how many hooks you will need
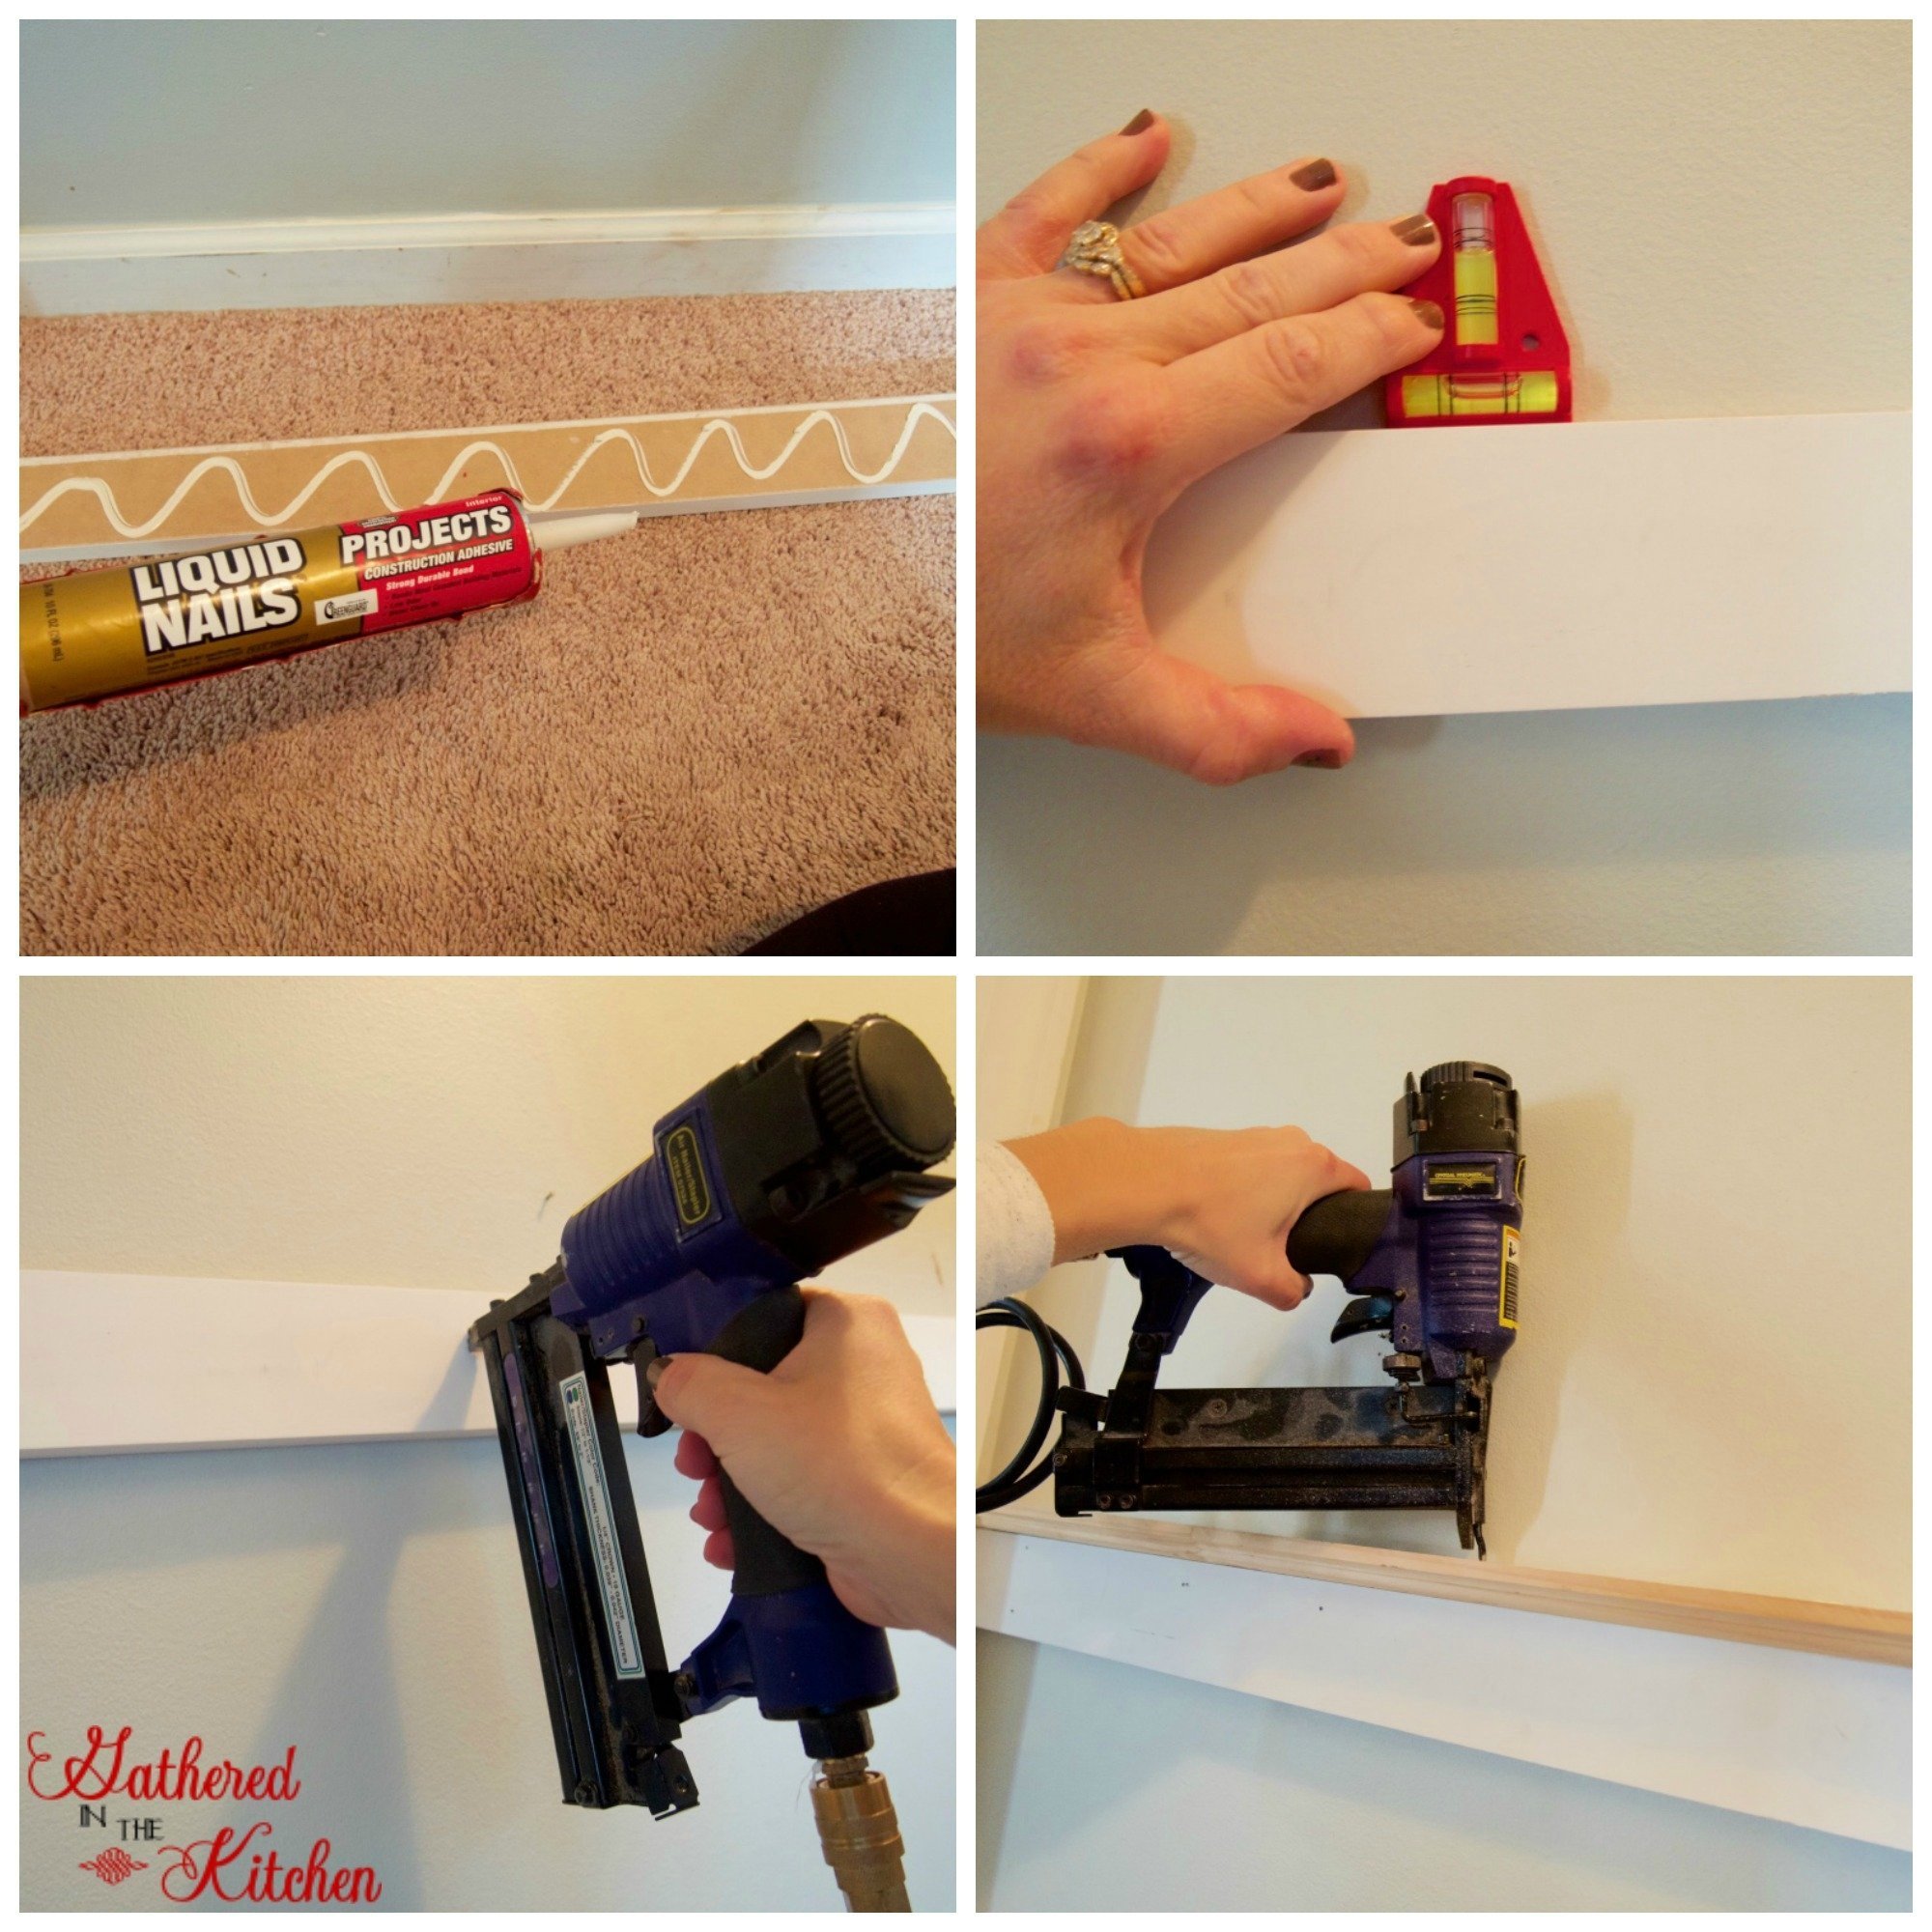
2) Cut wood according to your measurements
3) Apply Liquid Nails to the back of your wood and adhere to the wall
4) Make sure your board is straight and even by using a level
5) Use an air nailer (or trim nails and a hammer) to secure the board to the wall (this step is not necessary but definitely recommended especially if you will be hanging heavy items on it)
6) Apply trim pieces for the shelf (optional)
7) Paint
8) Add hooks
9) Decorate!!!

I painted the walls my neutral farmhouse paint colors. I was so happy to complete this project and add functional space! … especially because we were in the process of fully gutting the kitchen and rebuilding everything for under $7,000!
Other Videos!
Getting Started:
Half Way Through:
All Done!! The Big Reveal!
You May Also Like These Easy DIY Projects:


Stephanie—home cook, DIY addict, seasonal decor fanatic, and proud chicken wrangler living in a Victorian house that’s always a project. Whether I’m cooking with garden-fresh ingredients, herding mischievous chickens, or tackling another DIY, I’m here to share the fun (and chaos).


I love this! Your intro sounds just like me. We’ve done so much to our little house to add not only function but to utilize otherwise wasted space and we have soooo much more we could do. This is a great idea and even if I can’t do this exact thing, it’ll definitely have me looking at things a little differently. Thanks!
I love it!! I can’t wait to check out your blog and see your projects!!