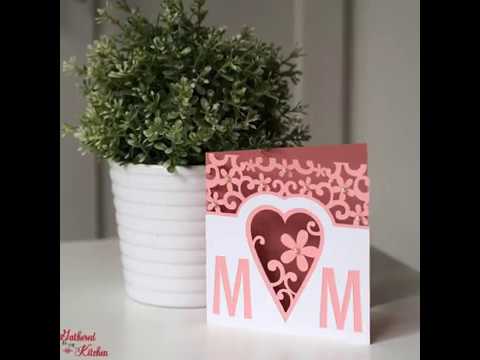
How To Make A Card Using A Silhouette Cameo
Making handmade, personalized cards is easy to do using a Silhouette Cameo. Learn the simple process with this step-by-step tutorial.
To me, the best kind of card is a handmade card. I would choose a card made by my kids (or hubby, because he makes them too!) any day of the year. I love seeing their creative works and how they’ve changed from year to year. I have special keepsake boxes solely for cards that I’ve kept since my hubby and I were dating (back from when I was 16 years old!!) to every card our kids have ever made. I love looking at them occasionally and remembering all of the special moments.
PIN this tutorial now to save for later!

This post may contain affiliate links, which means I’ll receive a commission if you purchase through my link, at no extra cost to you. Please read full disclosure here.
With that said, I always seem to have a hard time finding a card and gift that is just right for my mom for Mother’s Day. The cards at the store never say exactly what I would like them to say – they are either too sentimental, too generic, or too funny and not enough sentiment —> such a predicament, huh? So, I usually opt for a sarcastic one about me being the best daughter and write something nice inside …but knowing my mom, this most likely isn’t the preferred way to be celebrated. I’m sure she would like a more sentimental one, you know, the kind that makes you tear up and feel appreciated for all of the hard work and sacrifice it takes to be a rockstar mom. But I’m mean, and that’s just not my style. However, this year I decided to make my own card for her and I plan on writing all the lovey-dovey heartfelt stuff inside myself!
So if you’re in a similar situation as myself, let me show you how I made mine, so you can too!
This post contains affiliate links. See my disclosure here.
What You Need:
Click on the links to see examples of the item or to purchase the items
–Cutting mat (this comes with your machine, however, they get pretty yucky and you may need a replacement)
Lets Make It Together!
How To Make A Card
Turn on your Silhouette Cameo (note: I have the original version 1, my hubby and father-in-law surprised me with this as a birthday present a loooong time ago, when it was first released! They had to pre-order it. So my machine will look a bit different from the newest versions now. Mine has buttons rather than a touchscreen – just like the old cell phones back in the day! Mine also requires a USB cable and is not bluetooth like the new ones. But…they all do the same thing, so I’m cool with my old lady machine 🙂

Next, you need a computer and the Silhouette software program called Silhouette Studio. There is a free version that you download from Silhouette’s website, which you can then upgrade for a fee if so desired to have more design capabilities.

In the software, you will design your cut. I actually purchased this cut from the Silhouette Store which is linked inside of the software program.
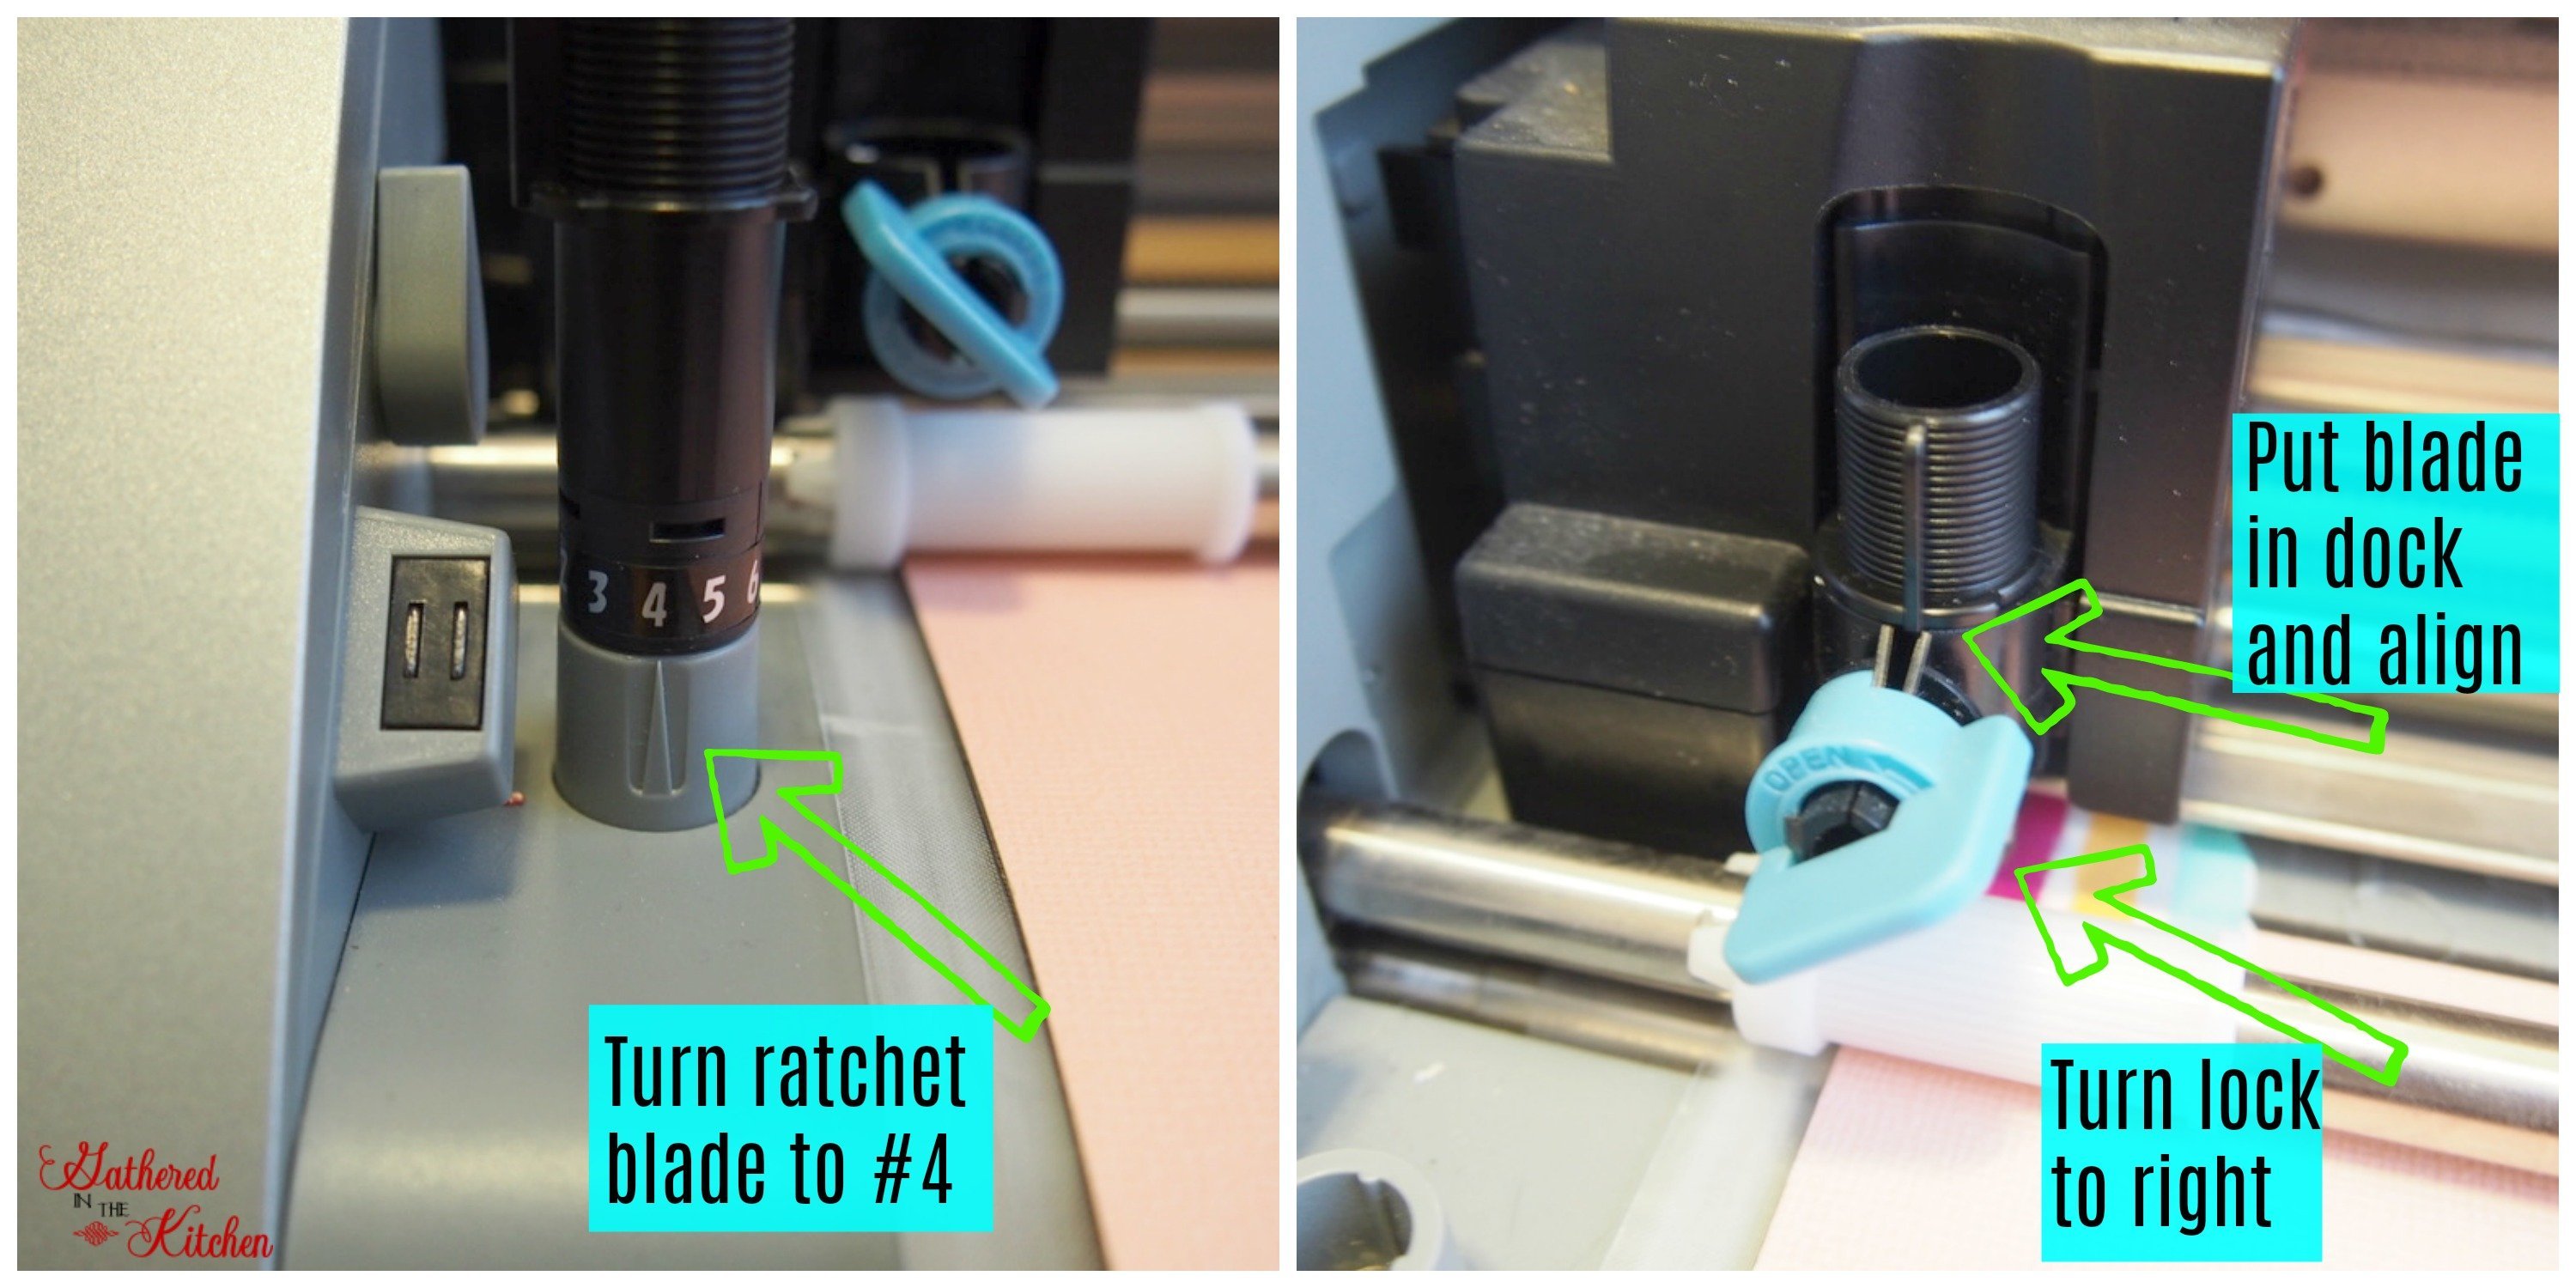
Next, you need to set your blade to the correct setting to cut cardstock paper.

Once you’ve completed the design and are ready to cut, load your cutting mat with your cardstock paper and load it into the Silhouette Cameo.
Tip: the cutting mat gets yucky/gunky/un-sticky fast. But because I’m cheap, I still use my original mats with a few tricks. I use 3M scrapbooking/washi tape to hold my paper (or whatever medium I’m using) to my mat. You need your paper, etc to stay completely in place, otherwise, if it moves, your design will be screwed up. You can also VERY lightly spray your entire mat with the spray adhesive glue before adding your medium. I do this every couple of months (I don’t use it all that often).

When it is done cutting, unload your mat and carefully lift off your cardstock.

If you are making a multi-color card, repeat the same steps for cutting each color.

My card is two colors, so I had to cut each color separate. You need to separate your design in the software program, otherwise, if you cut it all on one paper, it would not be correct.

Next, you need to layer your paper. I always always always do this with a permanent spray adhesive glue for several reasons:
- It is permanent, so your design won’t come apart in a couple of days
- It is soooo much faster to apply than say a glue stick
- If you use a glue stick, your paper will curl and it won’t look as nice or crisp
- Spray adhesive glue is so light (unless you spray absolutely way too much) so you do not get curling of the paper or bleedthrough/wet marks from the glue
- It dries super fast
Tips: lay your paper wrong side up on newspaper with preferably a white piece of paper directly under the cardstock (when newspaper gets wet it bleeds and can put ink marks on your cardstock).
-Spray a light spray of glue (a little goes a long way) – think of coating a pan with cooking spray when frying an egg.
-Before spraying, shake your can and then ALWAYS spray a little squirt on the newspaper (not your cardstock) to make sure no air bubbles or big drops of glue come out soaking your cardstock – think of NON-aerosol hairspray. You know when you haven’t used it in a bit? and you spray it for the first time? Big drops of hairspray shoot out or often times it leaks out leaving big wet spots in your hair.

This next step is optional. I wanted to fancy my card up so I embellished it with little pearls. My go-to glue for this step is E6000. It’s a thicker, non-runny, permanent glue that easily washes off of your fingers (unlike super glue).

And that is it! Let everything dry before you write on the inside.

I’ve made a step-by-step tutorial video for easy sharing!
Are you inspired to make your own card for Mother’s Day now? Show me pictures of what you create over on my Facebook page!
Plus be sure to PIN and share this tutorial!


Stephanie—home cook, DIY addict, seasonal decor fanatic, and proud chicken wrangler living in a Victorian house that’s always a project. Whether I’m cooking with garden-fresh ingredients, herding mischievous chickens, or tackling another DIY, I’m here to share the fun (and chaos).


How cute is this card! I too enjoy making greeting cards using my CAMEO, even though I have a huge assortment of dies and stamps to play with. thanks for sharing your process!
How do you keep your scrapbook cardstock paper from sticking to the mat? I always have an issue with this when cutting paper and it’s a pain trying to remove the tiny pieces or where it’s torn the paper when trying to remove.
hi Meg, try using an older mat that isn’t so sticky. I like to lightly spray my old, non-sticky mats with a little 3M spray glue and then also use washi or painters tape to hold the paper (or vinyl, etc) on to the mat while cutting. Hope this helps!
So cute! Thank you for sharing!
You’re so welcome!! Thanks for stopping by!
What a beautiful card! Thank you for your tutorial! I have tried searching for this in the design store but cannot find it…do you have the designers name or any idea how I can find this design? thank you so much!
ah, I found it! thank you! I am going to make it now even though I ought to be making Christmas cards! lol
yay! glad you found it!
Hello, what a lovely card! I tried to search in the design store to find the exact card but had no luck 🙁 Could you please post the design number or the actual title of the card so that we may find it? Thank you.