How To Make A Wood Sign – Farmhouse Style| From Start to Finish
How to make a painted customized wood sign with wood frame.
In this tutorial I will show you the step by step process of creating a design, cutting the design using a Silhouette Cameo, transferring the design to the wooden sign and how to build the frame.
Supplies Needed
- Silhouette Cameo
- Cutting Mat
- AutoBlade
- Weeding Tools
- 651 Oracle Vinyl
- Transfer Tape
- 3/4″ thick plywood
- 1×2 Furring Strips
- Miter Saw
- Air Nailer <— this one is super awesome because it’s battery operated, my hubby loves it. However, I like to use a smaller one that is corded and hooks up to an air compressor.
- 1/2″ Brad Nails
- Minwax Early American stain
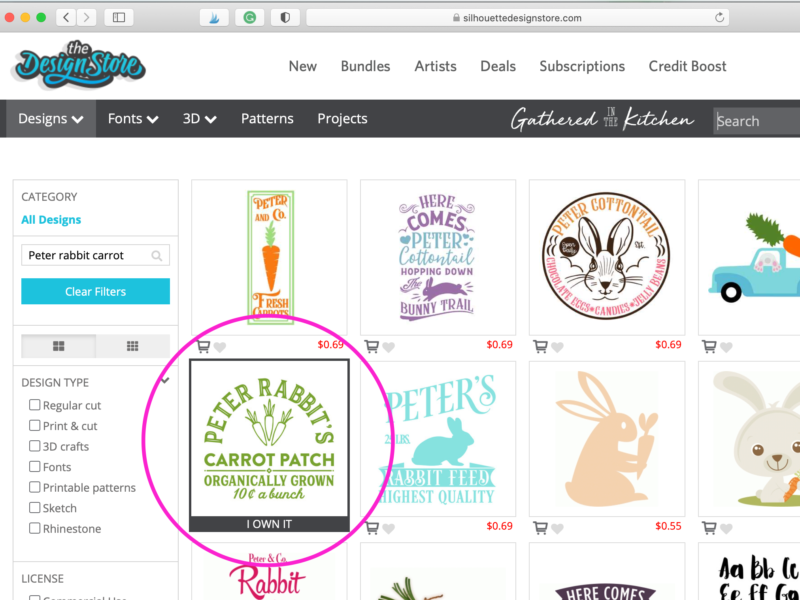
Step 1: Purchase Design at Silhouette Store
Open Silhouette’s Design Store and search for “Peter Rabbit Carrot Patch” – purchase the design and download the file.
Step 2: Design Image on Computer
Import it to Silhouette Studio. Adjust the size to fit your wooden back
This post may contain affiliate links, which means I’ll receive a commission if you purchase through my link, at no extra cost to you. Please read full disclosure here.

Step 3: Cut Settings
- click SEND
- select CUT with the circle and square
- chooseVINYL, GLOSSY (or whatever type of vinyl you are using) in the drop down material menu
- click BLADE type (I am using AutoBlade)
- all settings are highlighted towards the top right corner
- click SEND at the bottom of the screen

Step 4: Send Cut File To Silhouette Cameo
(excuse the photos from a different project. I forgot to take them as I was making this sign)

Step 5: Weed Design
You can use the Silhouette tools. I prefer to use a sewing seam ripper as I always have one on hand and it’s very sharp! *Note* if you are going to paint your image on, reverse weed the image = remove the letters, etc as that will become your stencil

Step 6: Apply Transfer Tape
It’s recommended to use transfer tape. I always use clear sticky shelf liner because it’s so economical and I can purchase it at my local grocery store. Apply the sticky side of the transfer tape to the top of the vinyl image. Use a credit card to carefully smooth the transfer tape to the vinyl design.
Carefully lift the transfer tape up, ensuring the vinyl has stuck to the transfer tape. Go slow, and re-smooth with the credit card if needed.

Step 7: Transfer Vinyl Design to Solid Surface of Choice
Line up the design on your solid surface and lay transfer tape with vinyl down. Press firmly with your hand to begin the “sticking” process. Use a credit card to smooth out the design.
Step 8: Remove Transfer Tape
Carefully remove the transfer tape from the vinyl (the vinyl will stick to the solid surface.

*Note* If you are painting your sign, now is the to paint!
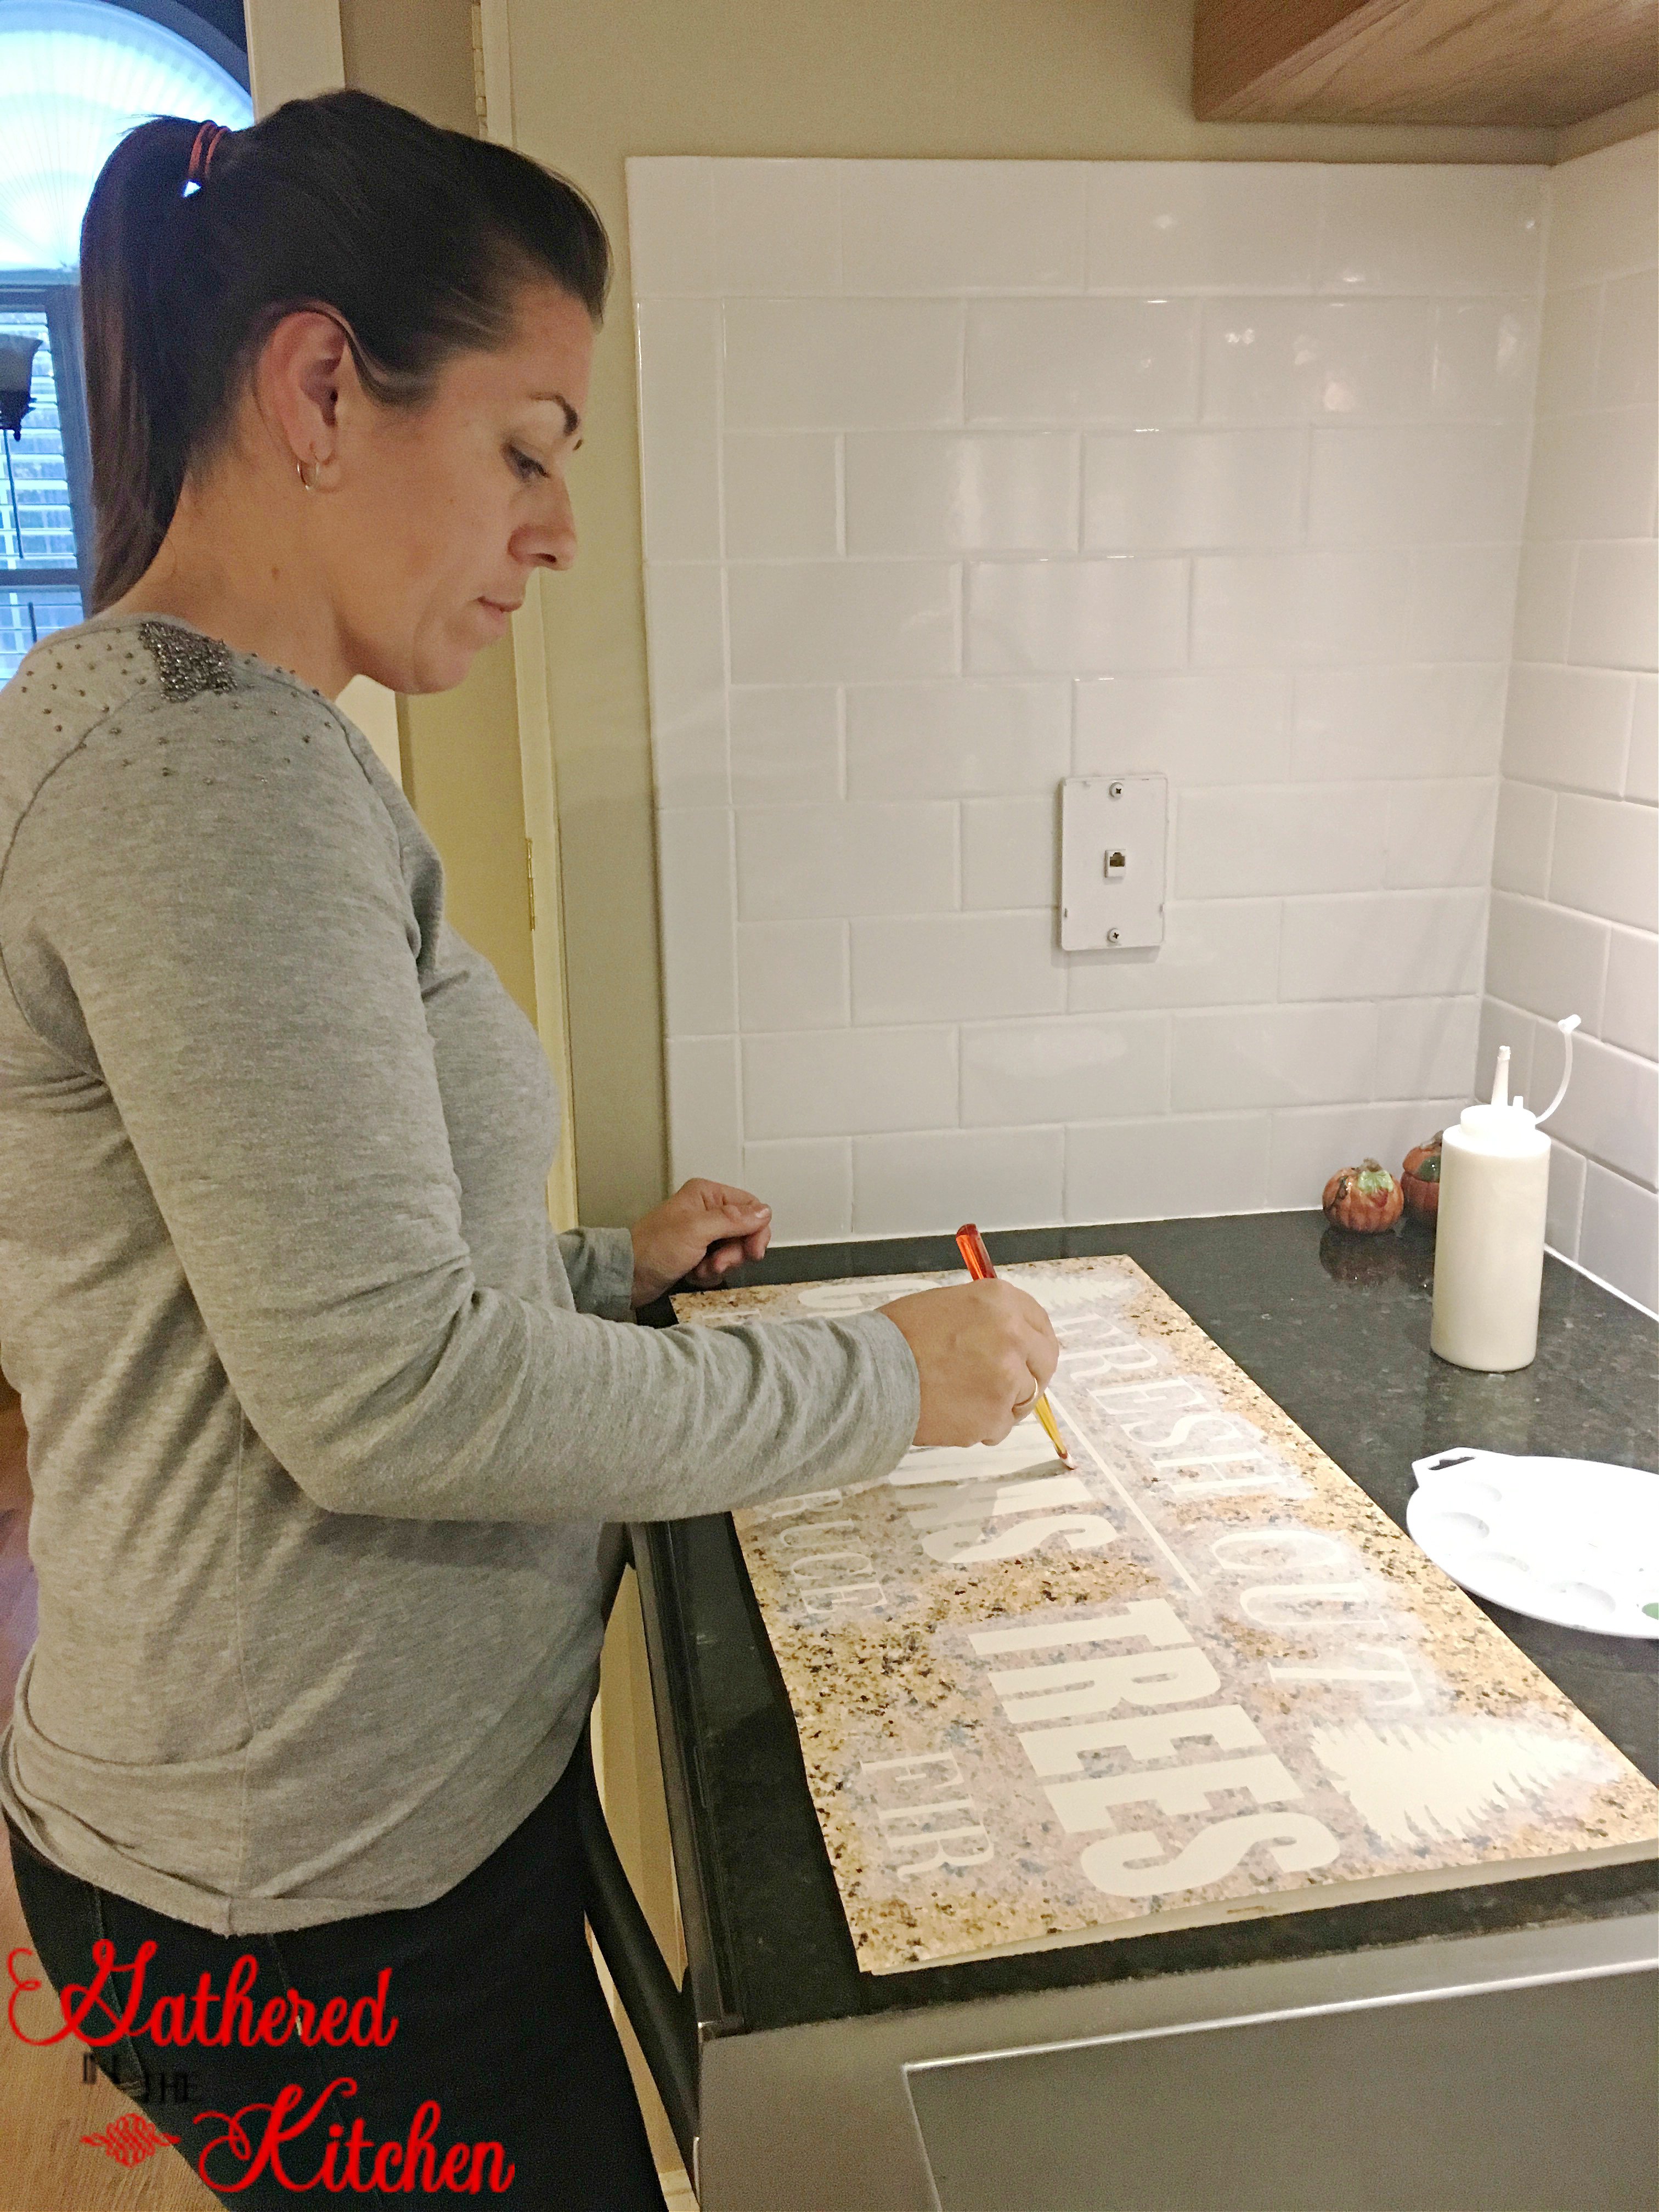
Step 9: Build the Frame
Mark pieces of 1×2 to length and cut. Stain the wood your color of choice, my favorite is Minwax Early American. Use an air nailer to secure 1×2 pieces to design for frame.

Ta da! Isn’t it adorable?!?! I love making my own signs!

More Great Tutorials
How To Apply Transfers to Wood To Make Small Signs
Make A Card with A Silhouette Cameo
Apply Heat Transfer Vinyl to Clothing or Fabric


Stephanie—home cook, DIY addict, seasonal decor fanatic, and proud chicken wrangler living in a Victorian house that’s always a project. Whether I’m cooking with garden-fresh ingredients, herding mischievous chickens, or tackling another DIY, I’m here to share the fun (and chaos).


2 Comments