How to Upcycle an Old Mirror with Wood U Bend Appliqués: A Step-by-Step Guide
I have a love-hate relationship with the area over my fireplace. My house was built in 1886 and the beautiful cast-iron fireplace insert is the highlight of the room. While you would think that this would be fantastic, the space above the firebox is what gives me the most heartburn.
Not only is the room super oddly shaped, the fireplace is not centered in the room, and the space above the fireplace is deceivingly large. So…I’ve spent lots of time rearranging my mantle for every holiday and season!
- January Mantle Decor
- February Mantle Decor
- March Mantle & Easter Decor
- Spooky Mantle Decor For Halloween
- 6 Tips for Decorating Your Mantle
- 7 Simple and Chic Easter Mantel Decor Ideas for a Fresh Spring Look
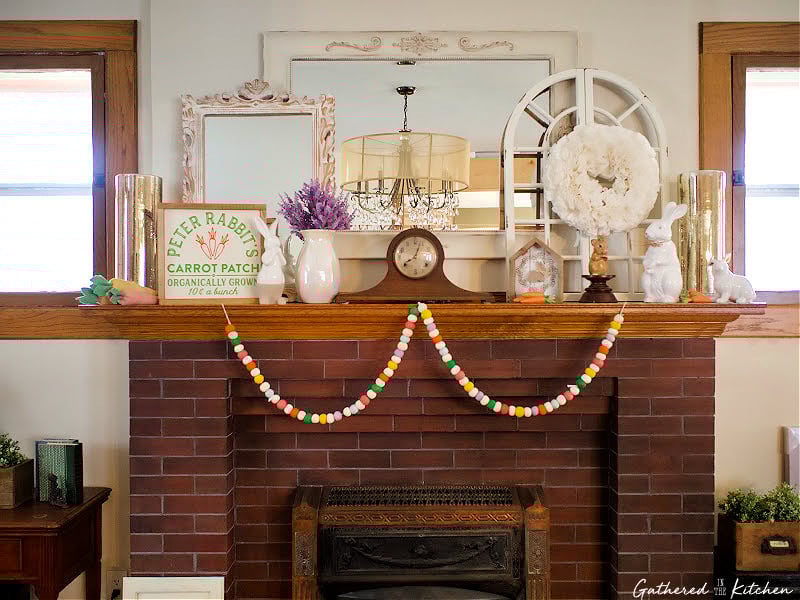
While my husband and I have big plans to makeover this entire brick surround (without paint!!), that is far down on the to-do list and not a priority at this time (see that beam peeking through in the mirror…yeah, we have a long list of other projects to tackle/finish). So in the meantime, I try different ways to fill the space until the big makeover one day.
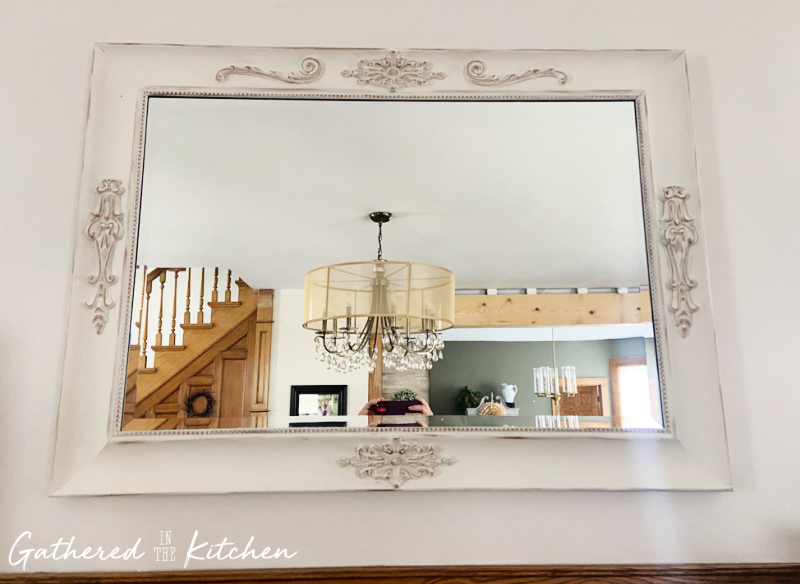
I have had a rather large mirror (honestly it’s hard to tell the size of it because of the size of my room) since our very 1st house in Georgia – 4 houses ago! (we’ve moved a lot!) I had bought the mirror at Home Depot and hung it over our primary bathroom soaking tub. It looked so pretty. This mirror has been carted all around the country and hung in every one of our houses since!
This post may contain affiliate links, which means I’ll receive a commission if you purchase through my link, at no extra cost to you. Please read full disclosure here.
In the past, I’ve stood the mirror up and decorated around it. Which looked pretty…but my mind just couldn’t get around the fact that it was dark colored. It just didn’t feel as light and airy as I had hoped. (P.S. in all of these photos I cut out my ceiling…because…well, that’s another story of unfinished projects from our lightning strike/house fire)

I finally figured out a way to make the mirror look more at home above my mantle. With a little chalk paint, wood decals and some mousse, I was able to take completely transform the look of this mirror to fit better in my old Victorian home!…and I love it!
Projects like these are my favorite! It reminds me of my thrift store lamp makeover with Rub ‘n Buff and the lampshade I put new fabric on! –> total transformation projects!
Before Getting Started
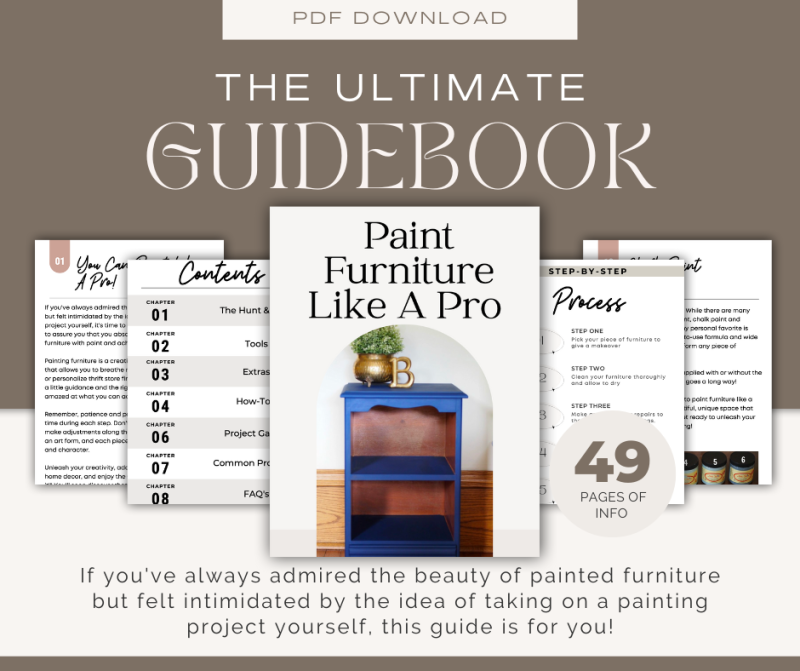
Before we get started, it’s important to understand the basics of using chalk paint as well as how to properly prep your items before painting. I’ve written a 49 page guidebook explaining all of the ins and outs of painting furniture that will be very helpful to you…even if you’re an experienced painter.
Products Used to Makeover My Mirror
Below is a list of the products that I used to completely give my mirror a new take on life!
- WUB1723
- WUB6039
- WUB1339
- Drop Cloth
- Gemstone Amber Mousse (no longer available) use Rub ‘n Buff instead *see my guide for What Is Rub ‘n Buff? | How To Use & Color Options
- Mini Angle paint brush
- French Tip paint brush
- painter’s tape
- baby wipes

Video Tutorial
I have recorded the entire process because I’m a very visual learner. Seeing someone else do something is the best way for me to learn. I hope that you find this tutorial video helpful and will like and subscribe to my channel.

How to apply Wood U Bend to a mirror frame: Step-by-Step Tutorial
Step 1: Measure for placement

Step 2: Heat appliqué with heat tool

Step 3: Apply wood glue to appliqué

Step 4: Apply appliqué and painter’s tape

Step 5: Tape mirror off with painter’s tape

Step 6: Paint with chalk paint

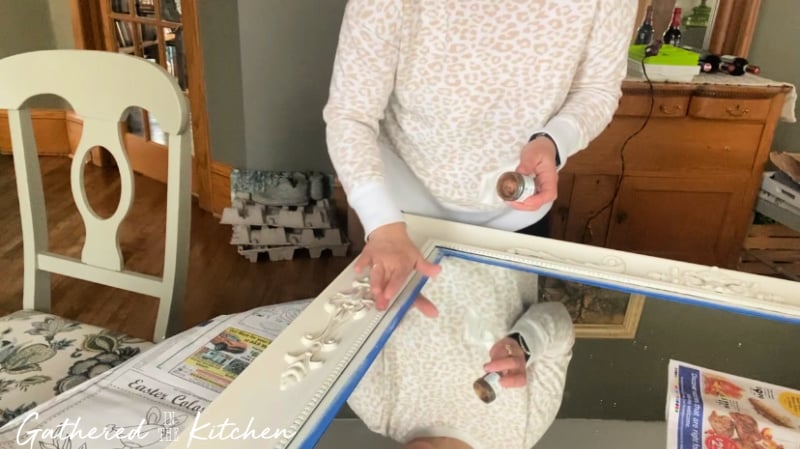
Step 7: Apply mousse
Step 8: Remove painter’s tape

And hang!!
Frequently Asked Questions
How to choose the right paint and mousse
Finding the right chalk paint to use can be hard. However, I’m hoping that my experience with chalk paint helps cut down your research and trial and error time with finding a chalk paint that you love.
I personally use Dixie Belle chalk paint, my favorite chalk paint on the market. It’s durable, applies well and requires no prep ahead of time. I’ve used Dixie Belle chalk paint on many furniture pieces in my home .

How to apply chalk paint and mousse to a mirror frame
The process is simple and quite easy!
STEP 1: wipe off any dirt or dust on the mirror
STEP 2: apply painter’s tape to the edge of the mirror where the frame meets
STEP 3: using the mini angle paint brush, apply a coat of chalk paint. Repeat a second coat if necessary. Allow to fully dry
STEP 4: using the tip of your finger, carefully apply the mousse or Rub ‘n Buff to the mirror frame, highlighting any appliqués or raised points in the mirror frame. If needed, use a baby wipe to wipe off any spots that were applied in error. Let dry and hang!

How to achieve a smooth and even finish look
Tip #1: don’t apply too much paint or mousse on your first coat. You can always come back and add a second coat if necessary
Tip #2: if you have brush marks, use a sanding sponge to smooth out any brush marks
Tip #3: always paint on a flat surface to avoid any drip marks or paint pooling
Tip #4: use quality products

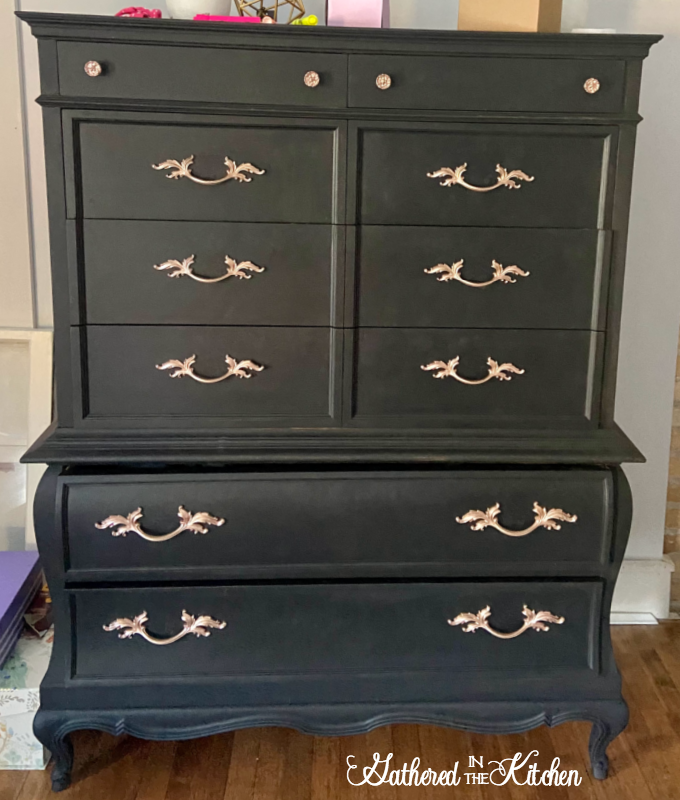
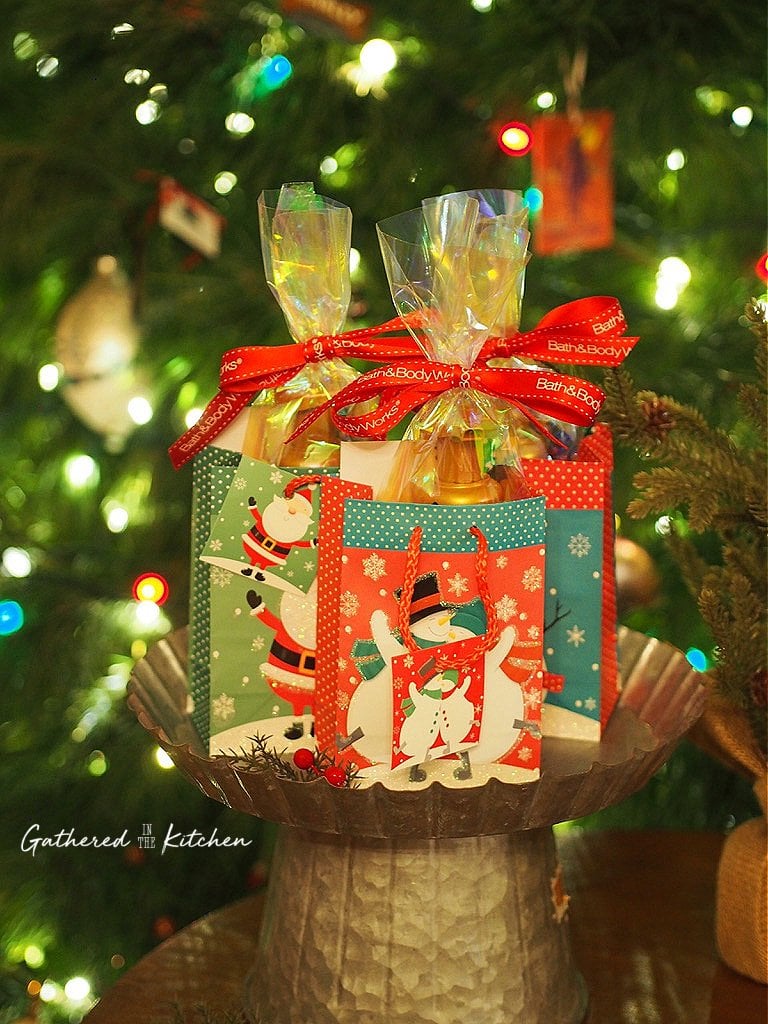
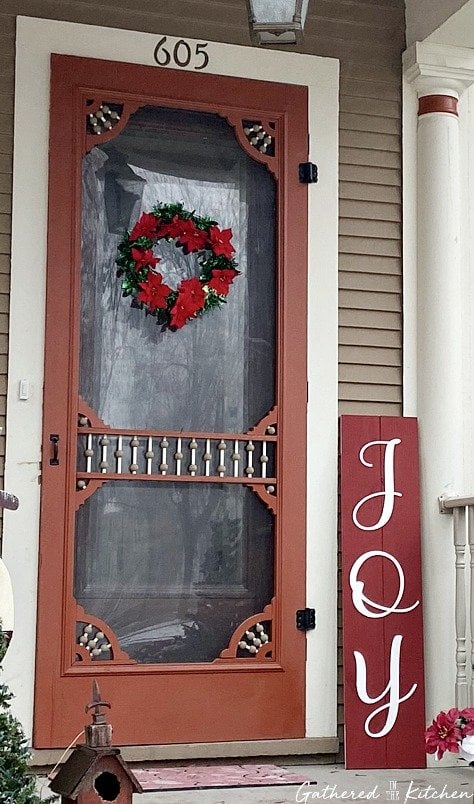
More Amazing Transformations!
Check out these awesome before and after projects I’ve also done with chalk paint! Click on the picture to see the tutorial!


Stephanie—home cook, DIY addict, seasonal decor fanatic, and proud chicken wrangler living in a Victorian house that’s always a project. Whether I’m cooking with garden-fresh ingredients, herding mischievous chickens, or tackling another DIY, I’m here to share the fun (and chaos).


Great tutorial! I have been looking for a mirror for my family room, but I can’t find anything with character. Now I know how to add my own. Thanks!!