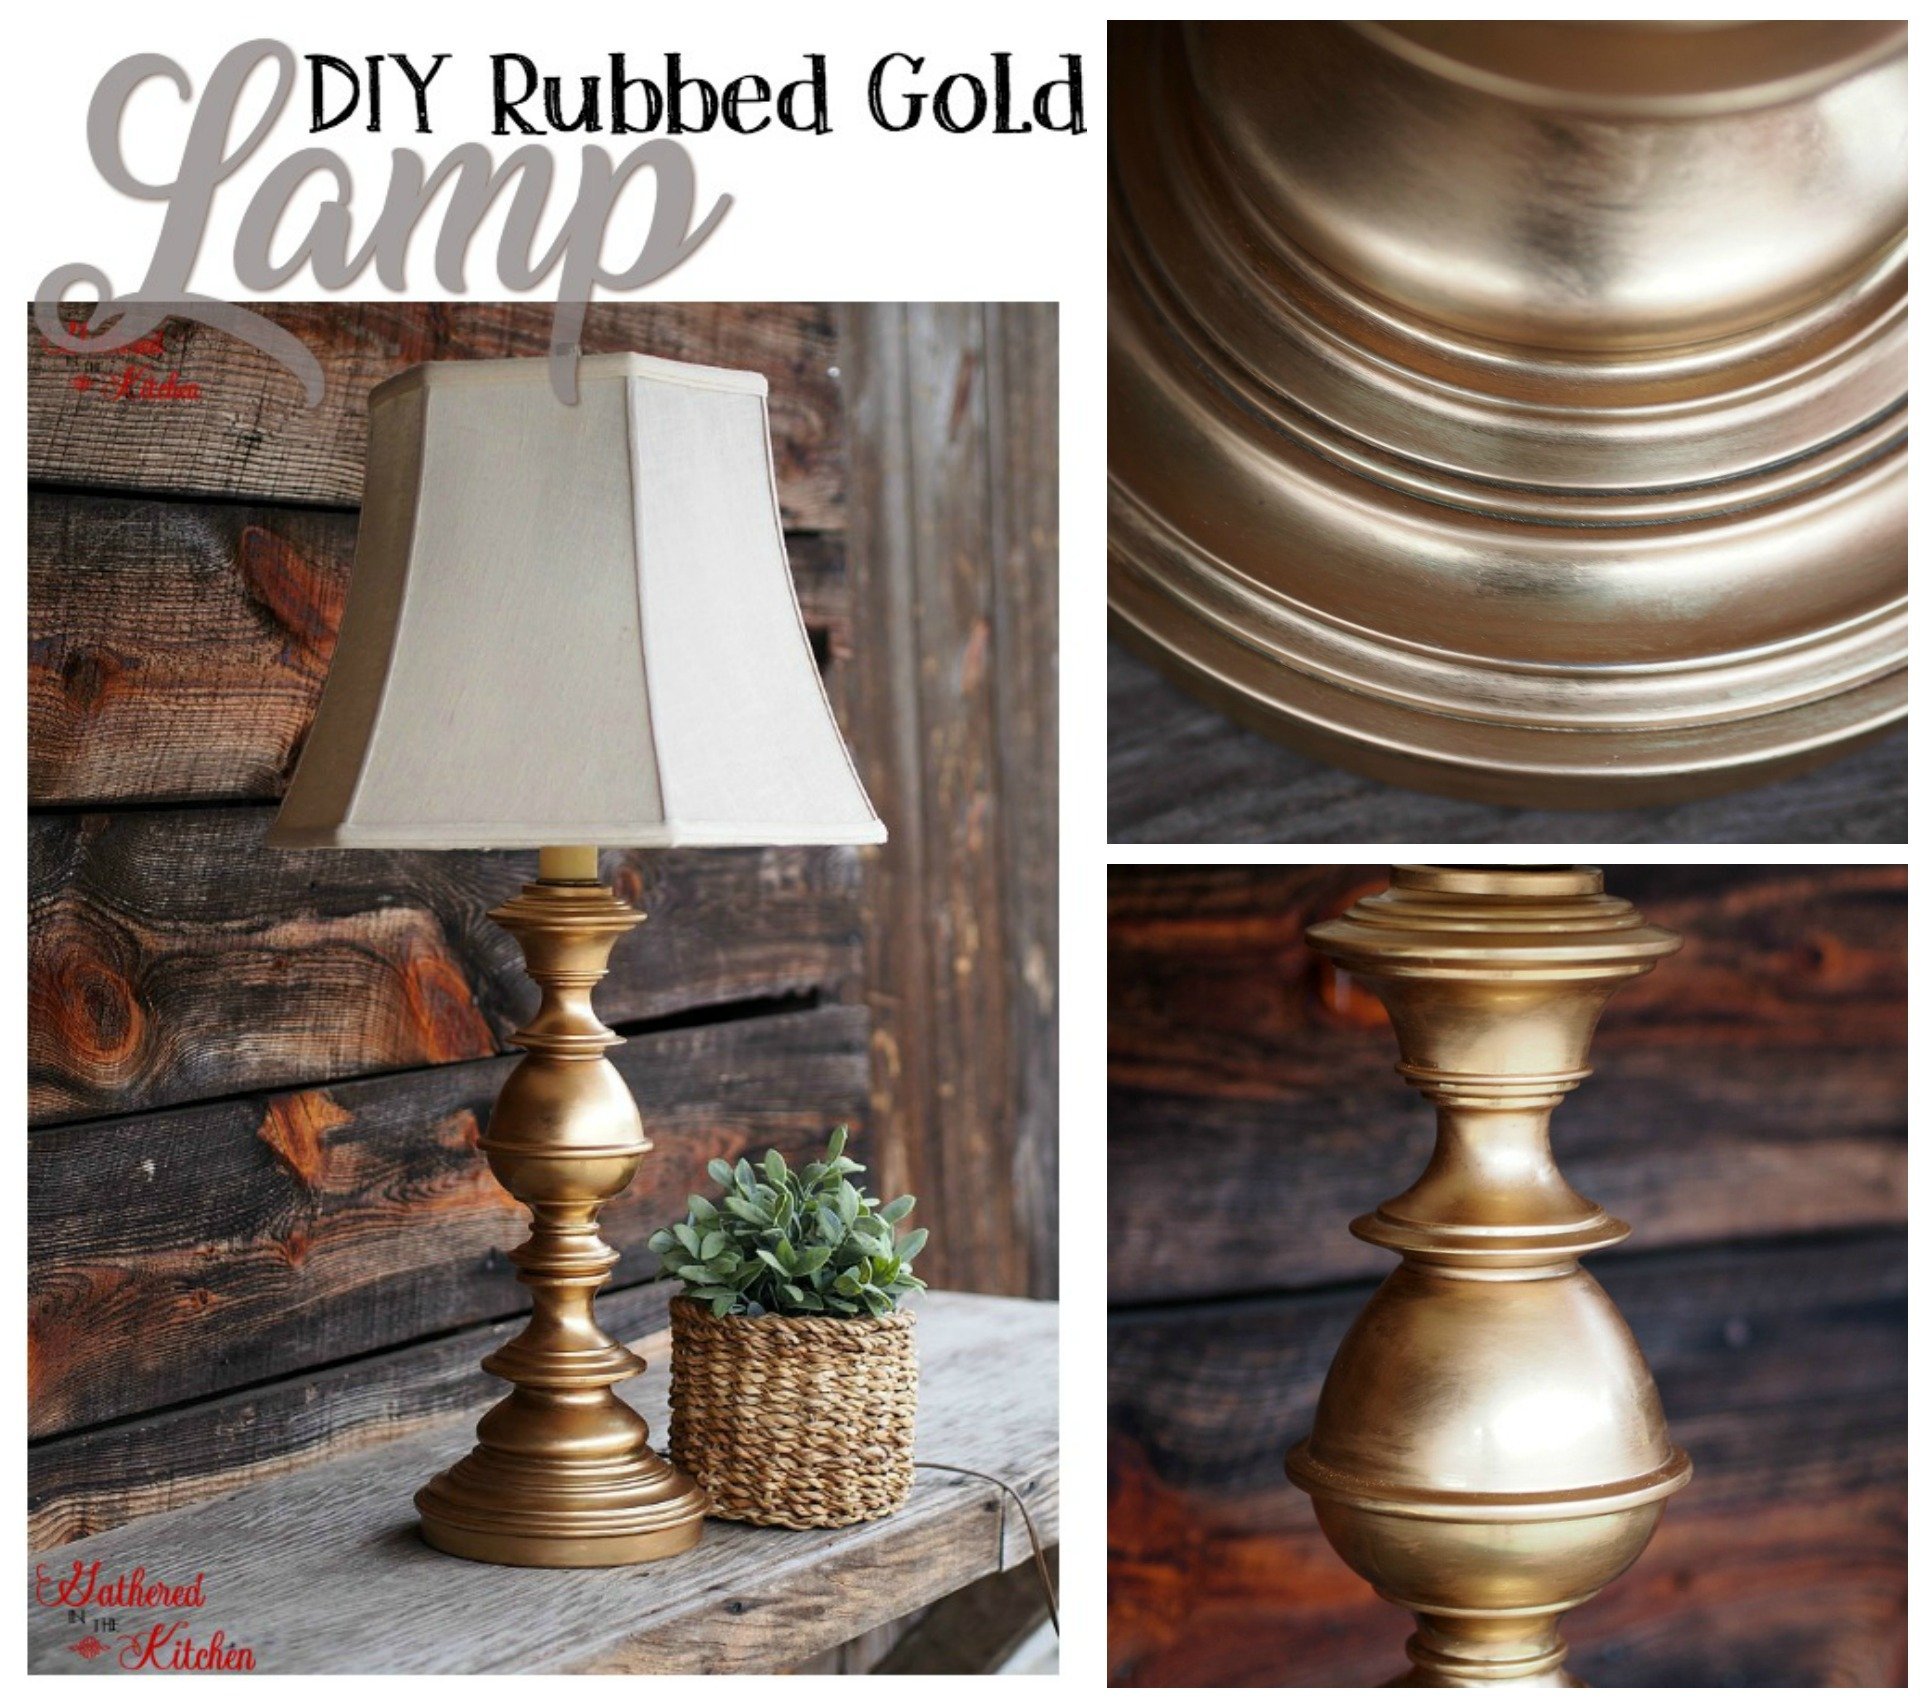
DIY Rubbed Gold Thrift Store Lamp Makeover Rub ‘n Buff Tutorial
Turn your thrift store lamps into beautiful showstoppers with this easy trick and save big! Create the lamp of your dreams for a fraction of the cost!
PIN this project now to save for later!
Gold. Gold of all hues, tints and sheens. Gold.
Gold sure has a funny way of going out of style and then coming back into style.
This post may contain affiliate links, which means I’ll receive a commission if you purchase through my link, at no extra cost to you. Please read full disclosure here.
I have always been a fan of gold, and even loved it when it wasn’t the most popular decision to put into a house being remodeled.
However, I know this is not the case for most people. A lot of people love to follow the trends and update based off of what is popular at the moment. If this is you, then I’ve got you covered!

One day I was out browsing Home Goods, Ross and Target and noticed that they have huge sections of GOLD lamps!!! You guys, GOLD! I mean people are still updating their homes and taking the gold out…and now it’s coming back!
Although, of course there is a twist to it – it’s “rubbed gold” (that similar luster look to oil rubbed bronze). And I have to admit, I like it! I’ve always been a fan of gold but it’s one of those colors that has to be in the right setting.
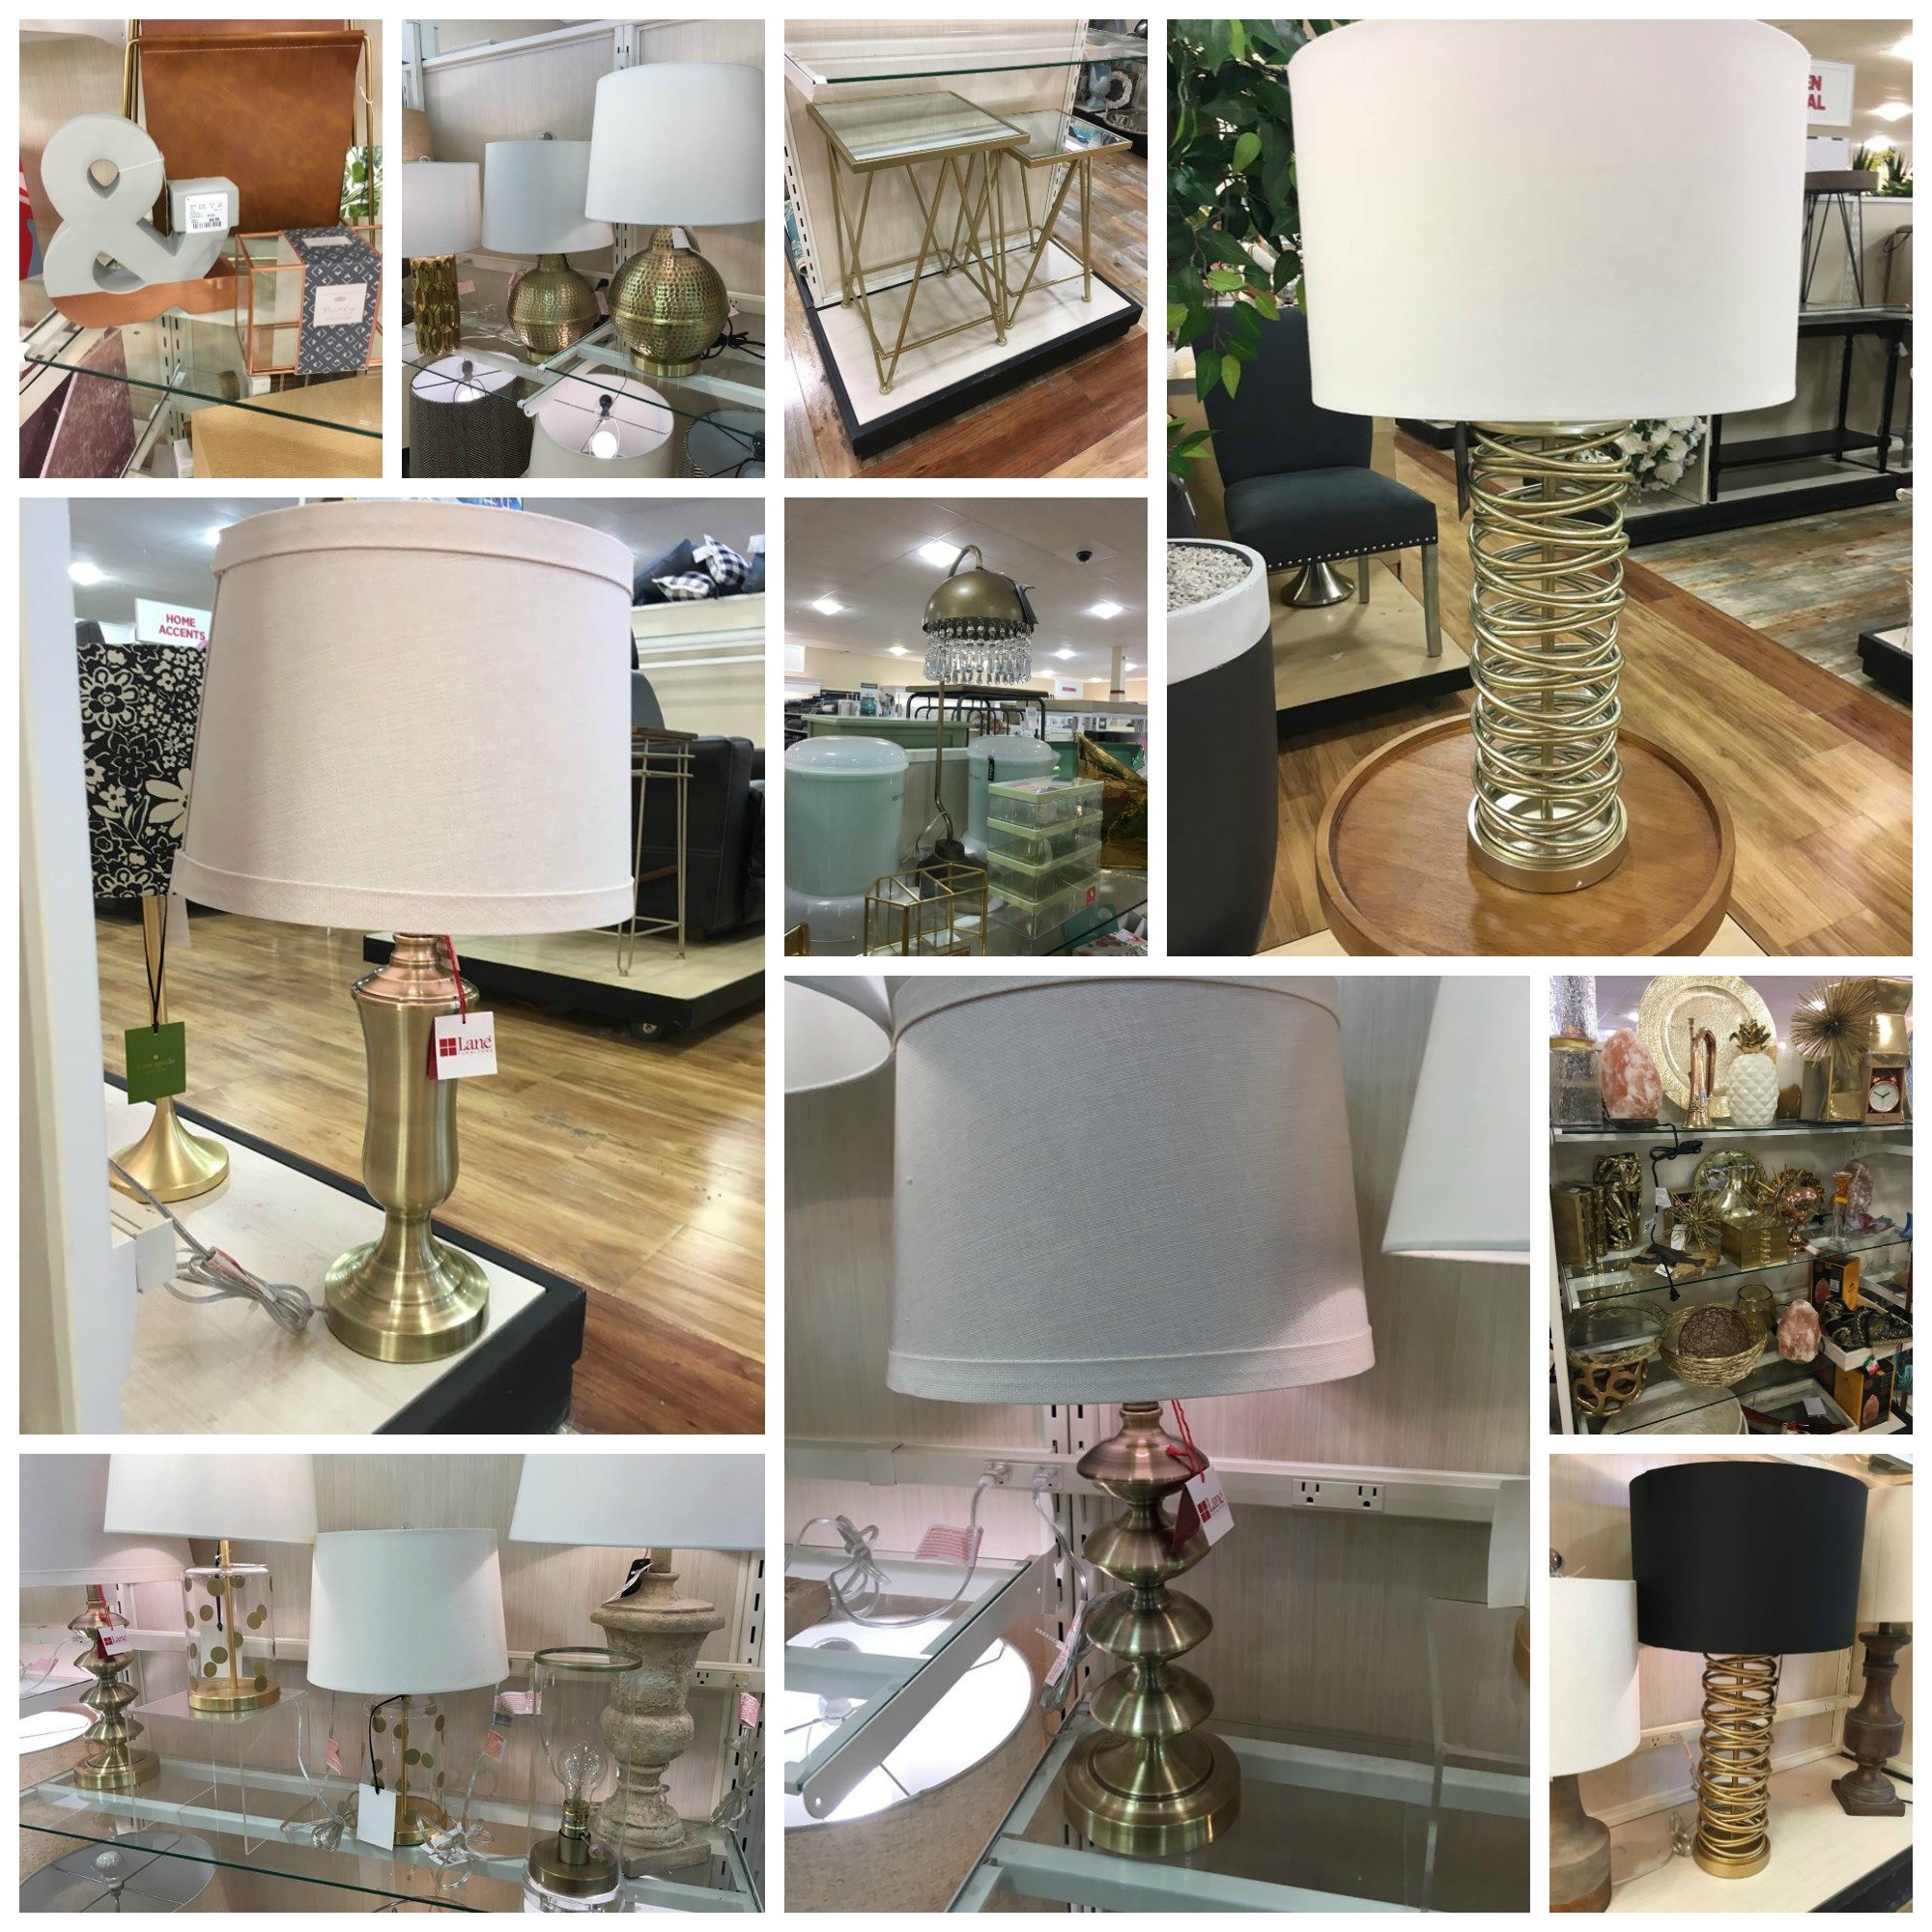
After seeing all of these pretty lamps…and their high price tags, I set out to my favorite local thrift store and scored a couple of beautifully shaped heavy duty, brass lamps.
I have to admit, there was a time (all of my life until recently) that I thought it was just gross to go to a thrift store. And now in my “older, more wiser years” I’ve become so much more aware of the amount of waste that we produce and it really just sickens me.
I have become totally addicted to buying someone else’s discards and giving them life again in a whole new way!
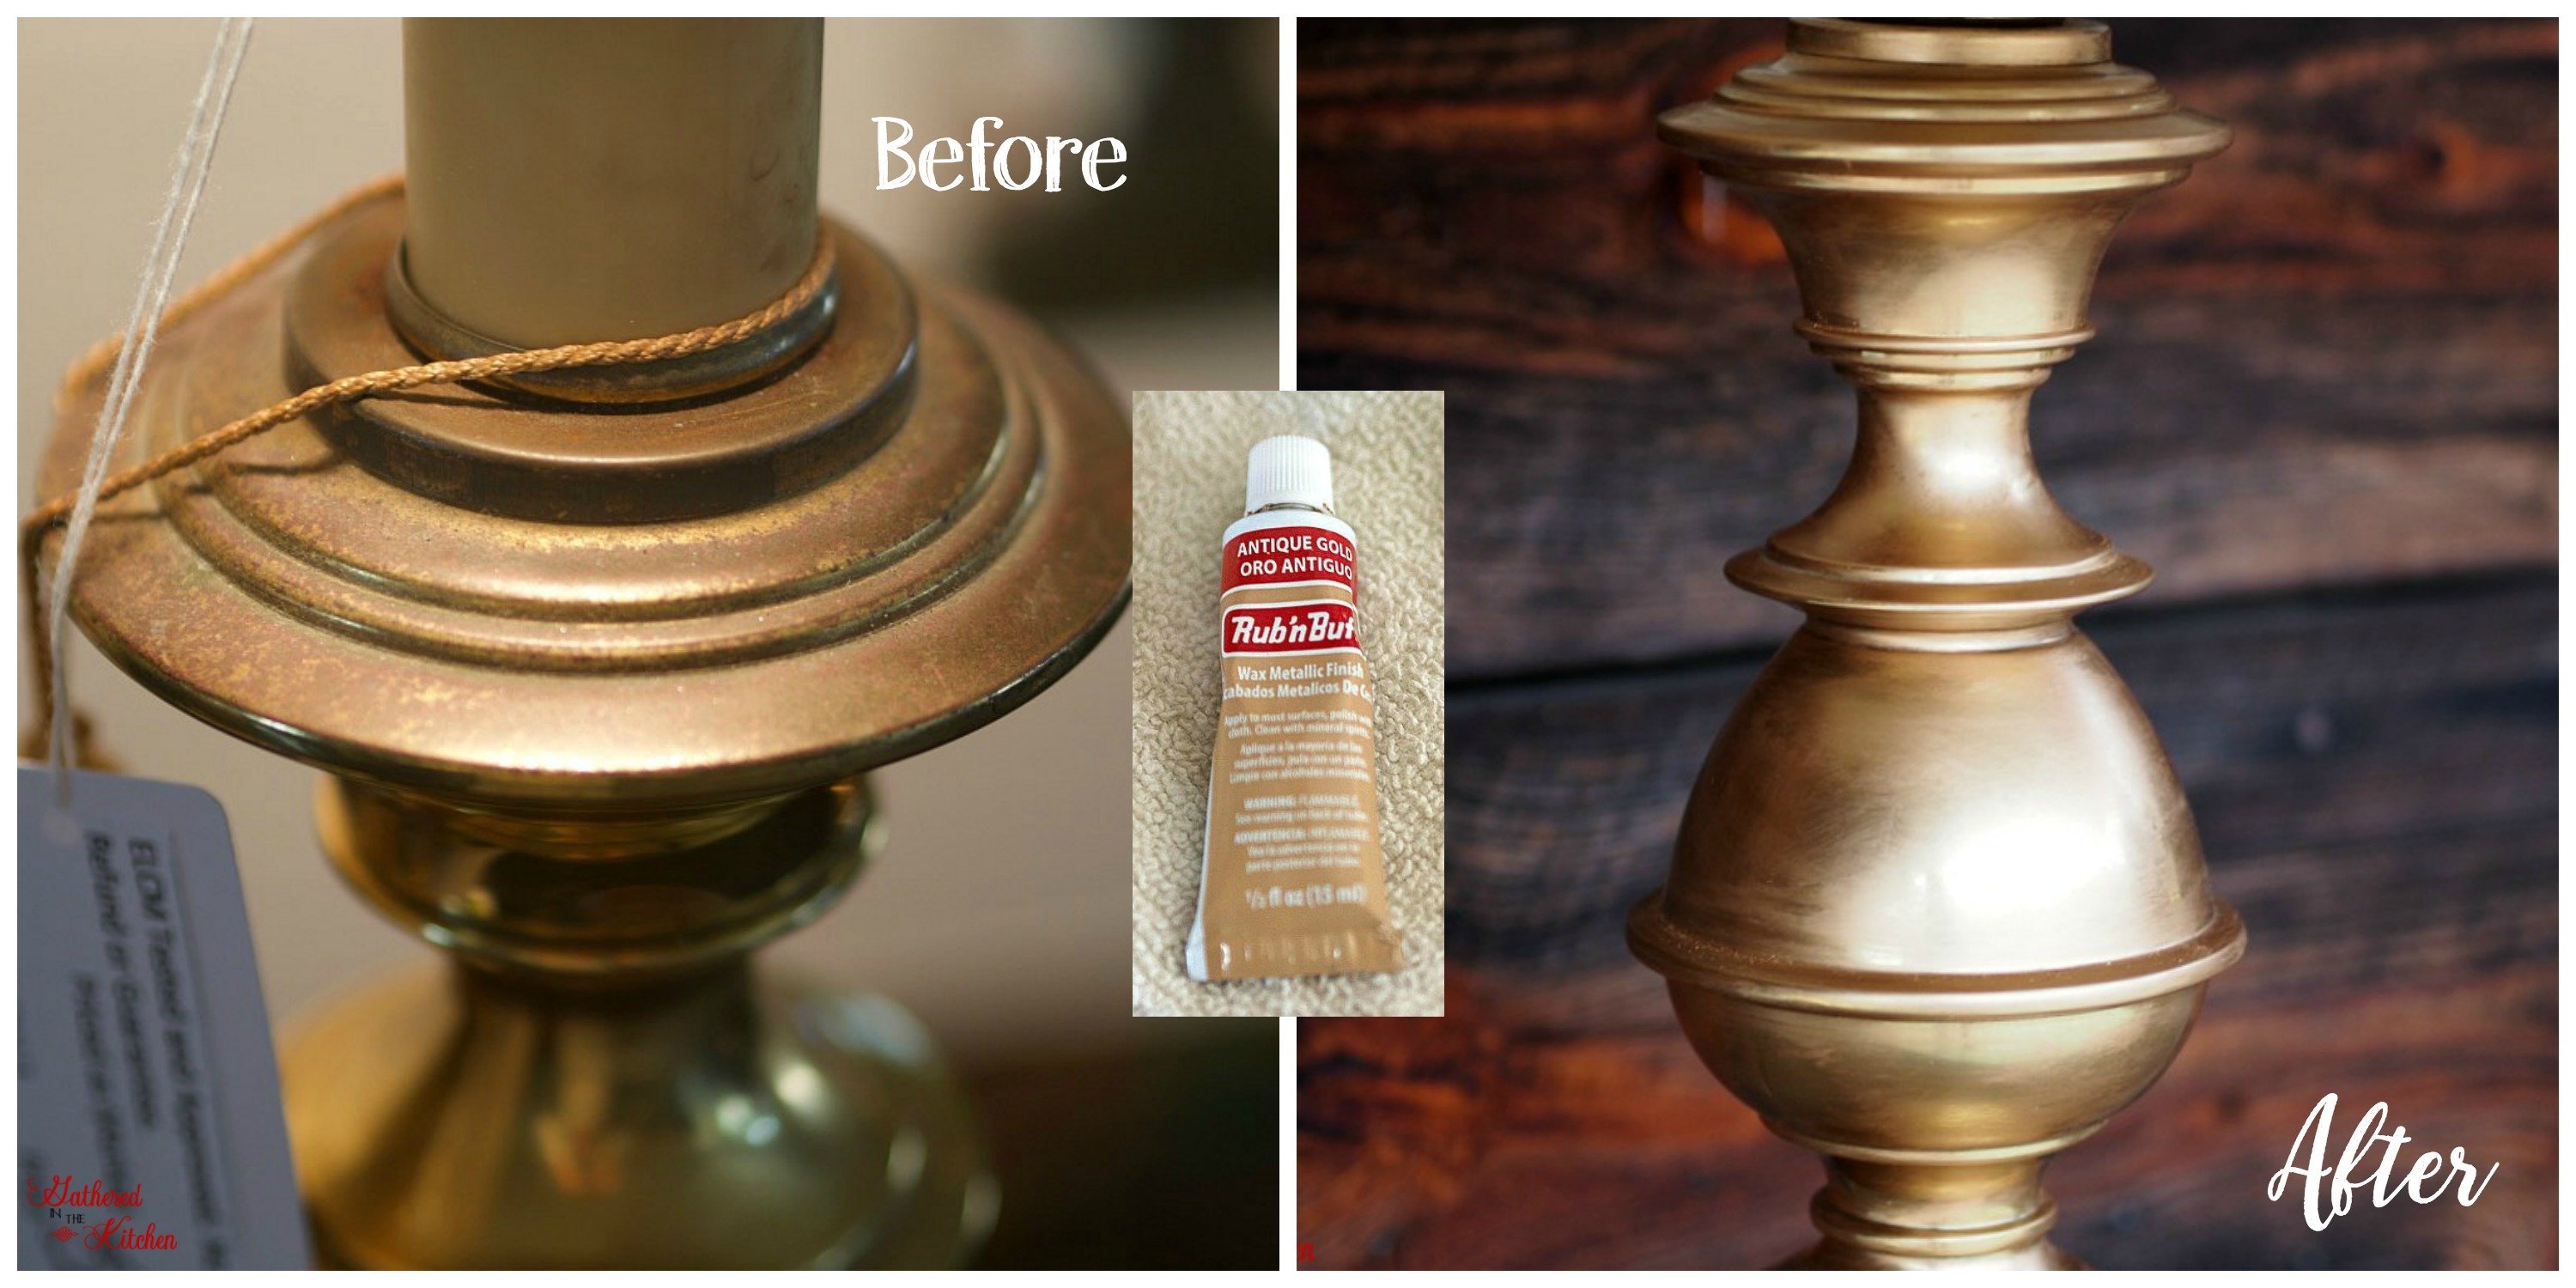
I fell in love with the shape of one of the brass lamps that I bought and knew I could update it with one little tiny tube of a product called Rub ‘n Buff!
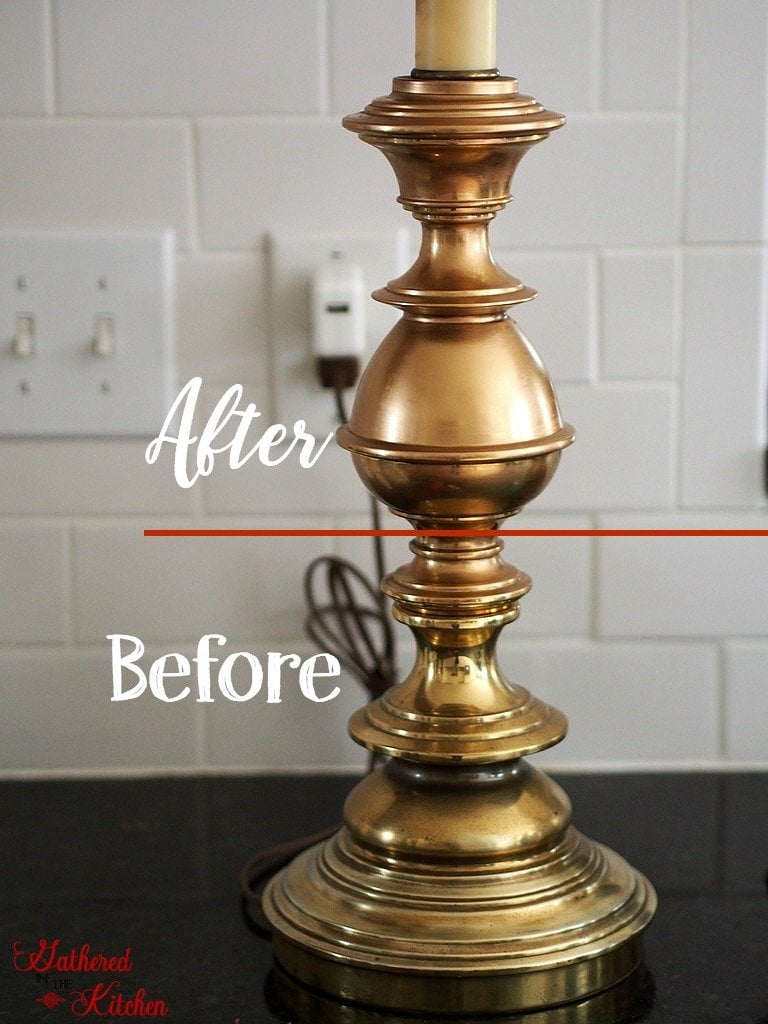
Thrift Store Brass Lamp Before
The lamp I bought, had a lot of imperfections with the brass coloring – there were black and brown spots all over the lamp; possibly rust.
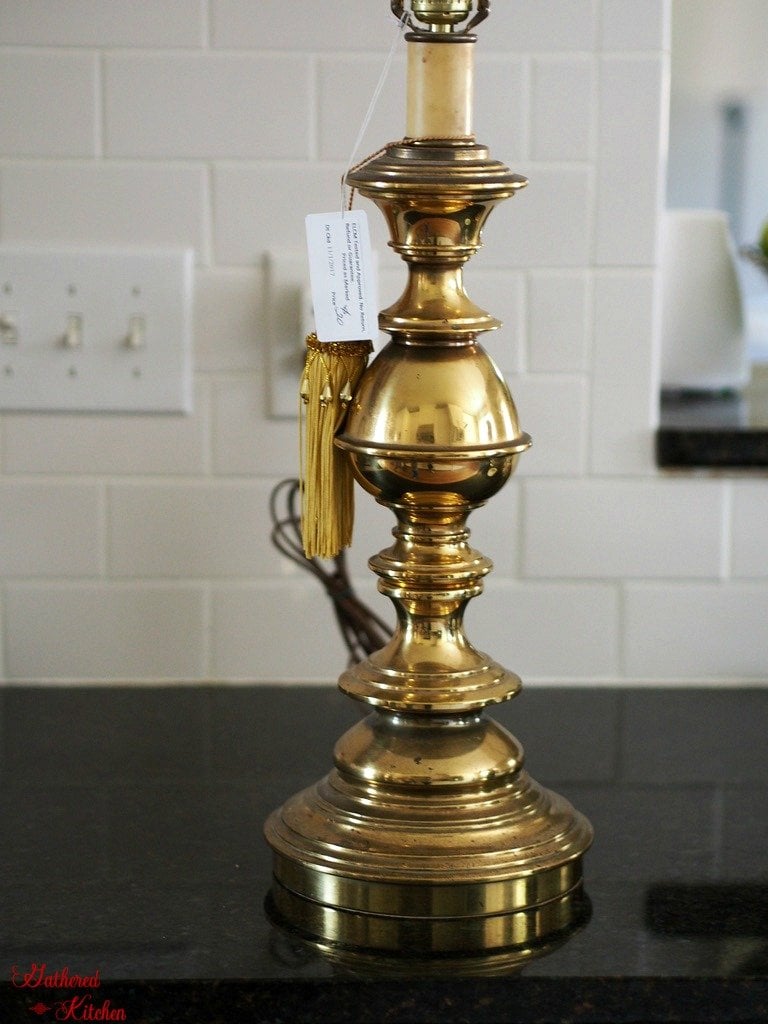
However, I was sold because the shape was so pretty and classic! It had such a timeless feel to it that could work in so many different types of styled rooms.
Decorating with unique but timeless feeling pieces is my motto. I enjoy to change out my decor…I never want to “have” to change out my decor because it’s no longer in style. I just want my decor and home to be a true reflection of the things my family and I love.

Besides the gorgeous shape of the lamp, the price tag price was just right for this thrifty/cheap DIYer! It was originally marked at $20 but it was 75% off the original price…making it a whopping $5 buckaroos! Now that’s my kind of price tag!

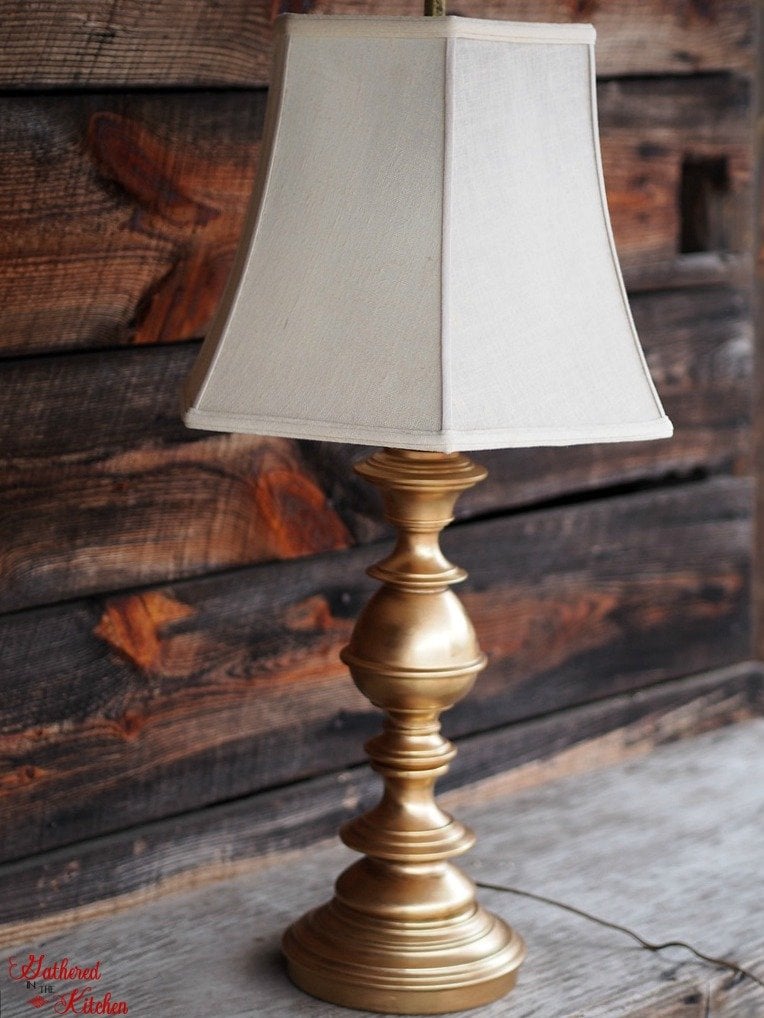
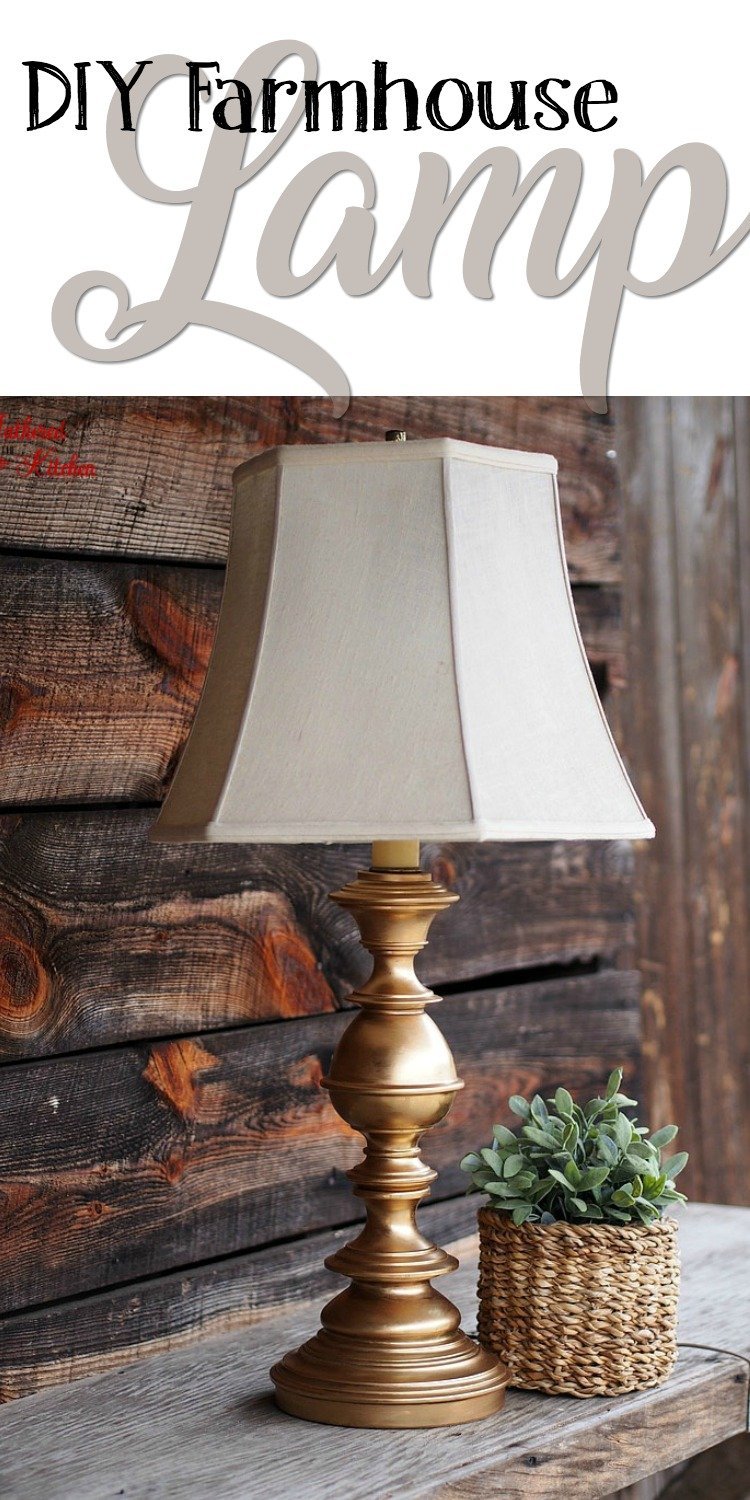
I completely transformed this thrift store brass lamp with the help of one tiny little tube of Rub ‘n Buff. With this amazing product I was able to transform this not so glorious lamp into a stunning showstopper that now graces my dining room buffet….and I LOVE IT!!!
I love my lamp way more than any of the lamps I saw at the stores when I was out shopping!
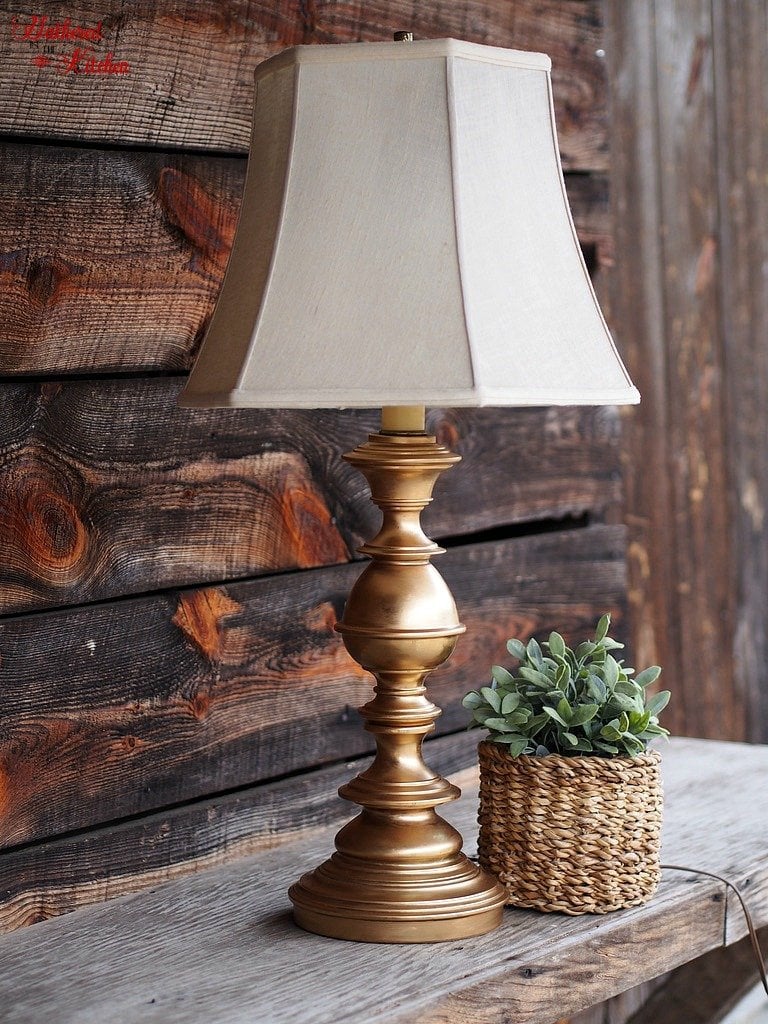
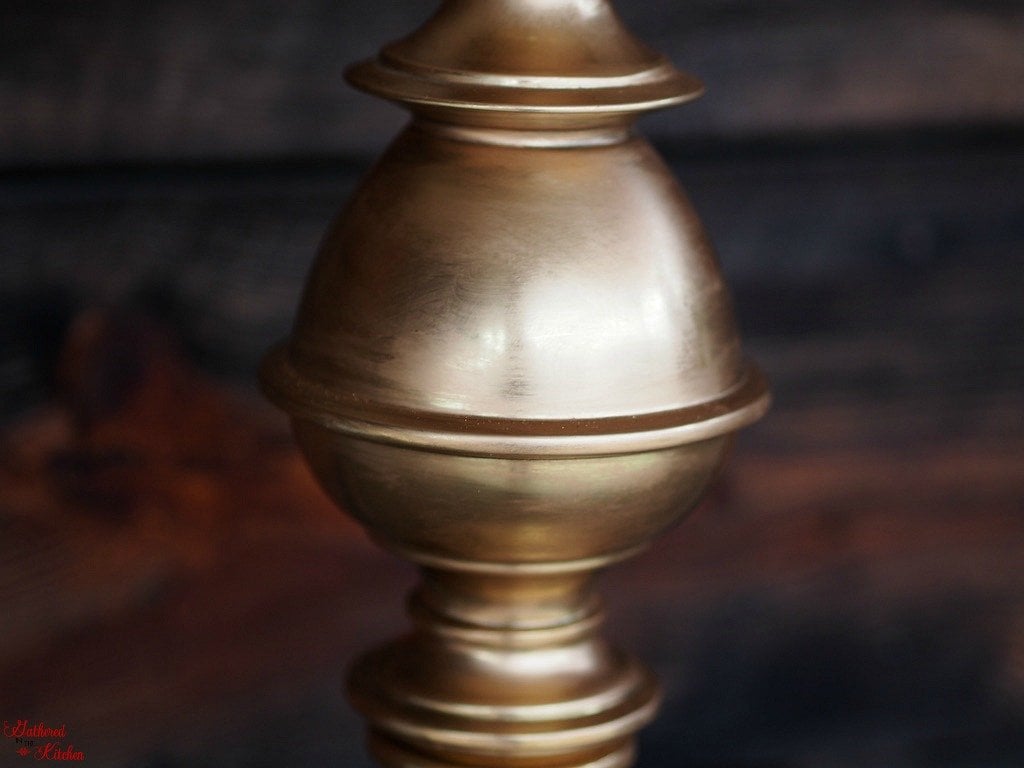
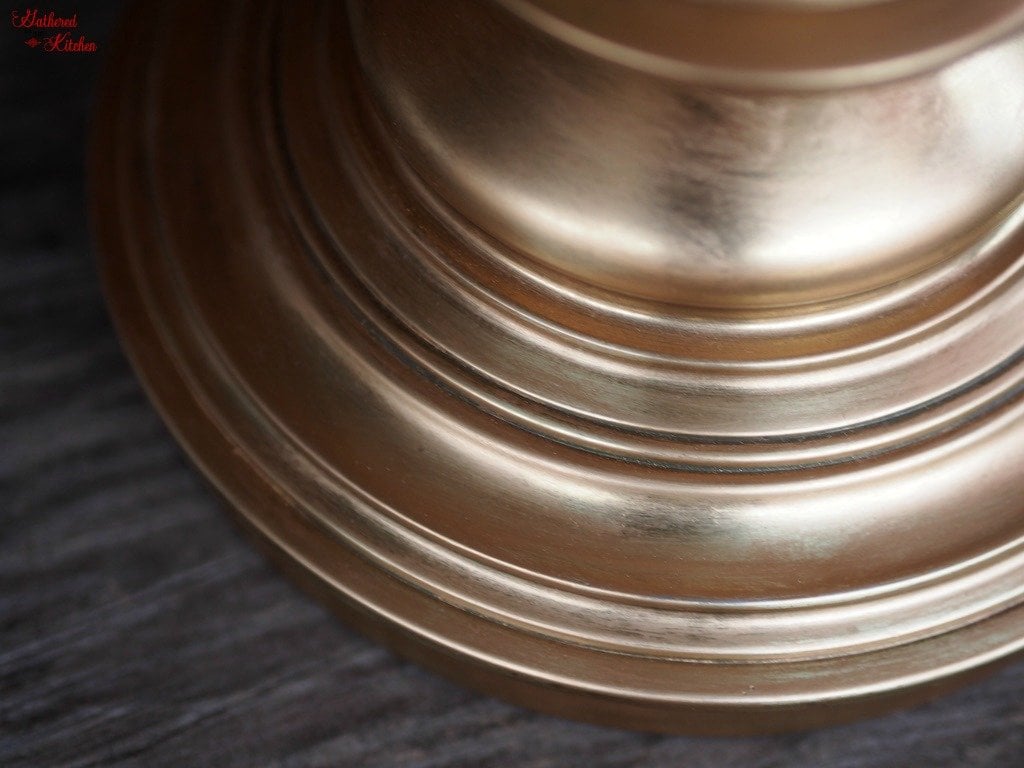
Isn’t this just absolutely the most gorgeous, creamy shade of gold you have ever laid your eyes on? I certainly think so!
Look at this absolutely beautiful finish! The old brass finish is completely covered in the new antique gold finish with a beautiful buffed appearance. I love that the Rub ‘n Buff created such a pretty, creamy gold look.
OK! Let me show you how I created this rubbed gold lamp makeover!
My mom recently told me about this product called Rub ‘n Buff. I had never heard of it before but after doing some research about it I just knew I had to give it a try, stat!
The best place to buy it is on Amazon. Local craft stores are hit and miss and to be honest, most of the employees I talked to at stores had no idea what i was talking about. Plus, if you get lucky and can find it in the stores, the color selections stink (and the price is waaay higher). However, on Amazon the price is amazing and you get all 12 colors!
p.s. I’ve since written several guides about Rub ‘n Buff! Check them out:
- What Is Rub ‘n Buff? | How To Use & Color Options
- Rub ‘n Buff Colors & What They Look Like
- Rub ‘n Buff Gold Colors
Supplies Needed:
- Rub ‘n Buff in Antique Gold
- Old rag
- Brass lamp

How To Use Rub ’n Buff on Brass
So it’s actually really easy! Like e.a.s.y!
Step 1: Clean the brass with a damp cloth
I did lightly clean my lamp with a damp cloth to begin with but I left all of the black spots that were all over the lamp.
Step 2: Apply Rub ‘n Buff on brass using a rag
I then put just a tiny bit of Rub ‘n Buff on an old rag and started rubbing it on the lamp. You’ll find that the more you rub, the more the Rub ‘n Buff adheres. Apply the Rub ‘n Buff in a circular motion almost as if you’re rubbing the wax into the brass. This will help create a “buffed” appearance.
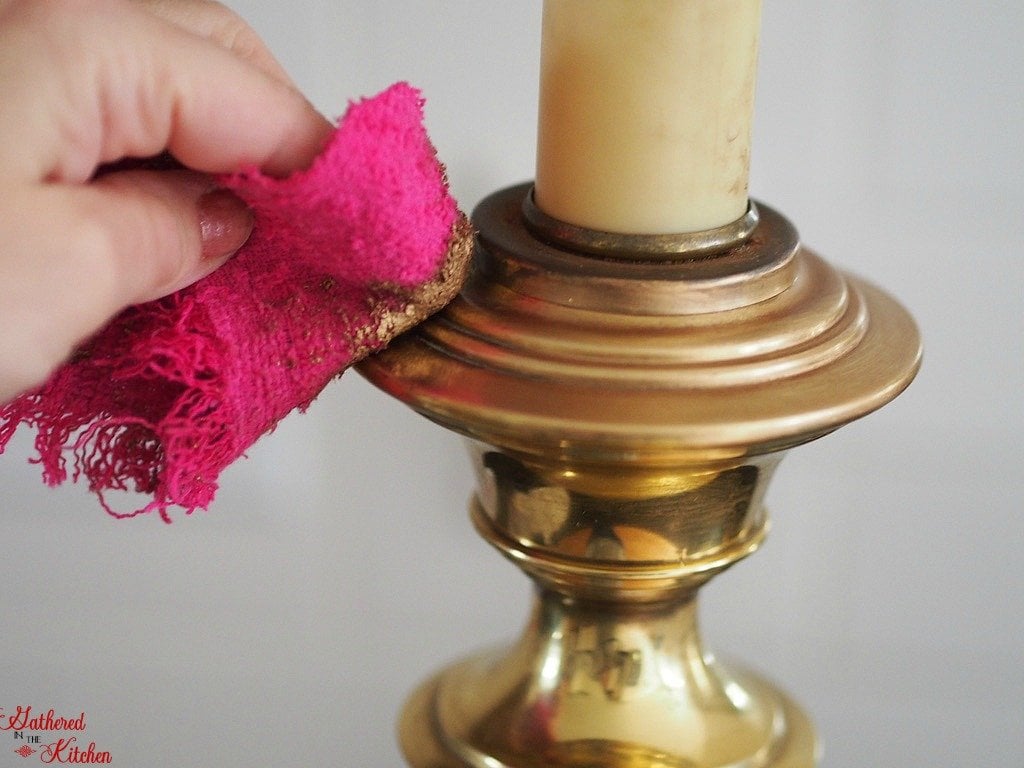
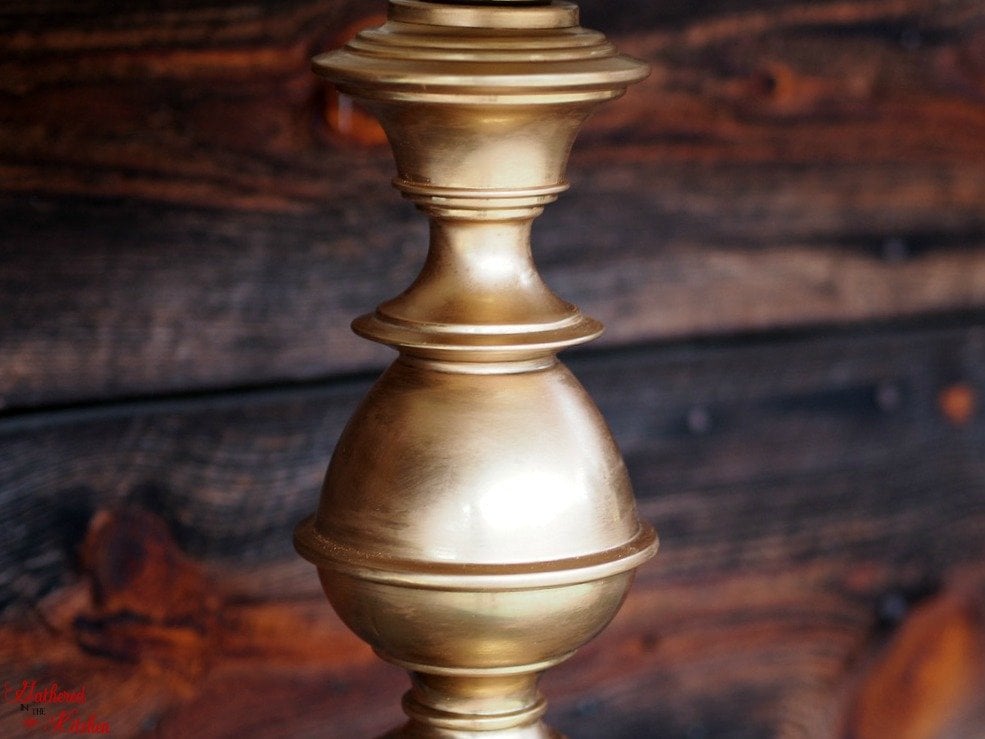
Here it is half way through the makeover. You can clearly see the difference in the gold colors. I just love the patina finish to it – so so so different than spray paint! This actually looks like it was professionally done!
Step 3: Allow Rub ‘n Buff wax to dry 24 hours between coats
I only did one coat of the Rub ‘n Buff and am totally impressed! It took me about 5 minutes to completely makeover my lamp. The Rub ‘n Buff dries pretty quickly to the touch. If you are going to do more than one coat because you either need more coverage or you want a deeper color, then I would allow at least 24 hours in between coats. I had done this on a door knob originally and tried doing a 2nd coat about 30 minutes after my first coat and noticed that it pulled up the Rub ‘n Buff in some areas because it wasn’t fully dry. But when I let it dry 24 hours in between it worked great!!
Remember what rough shape this lamp was in before? Take a look at it now!
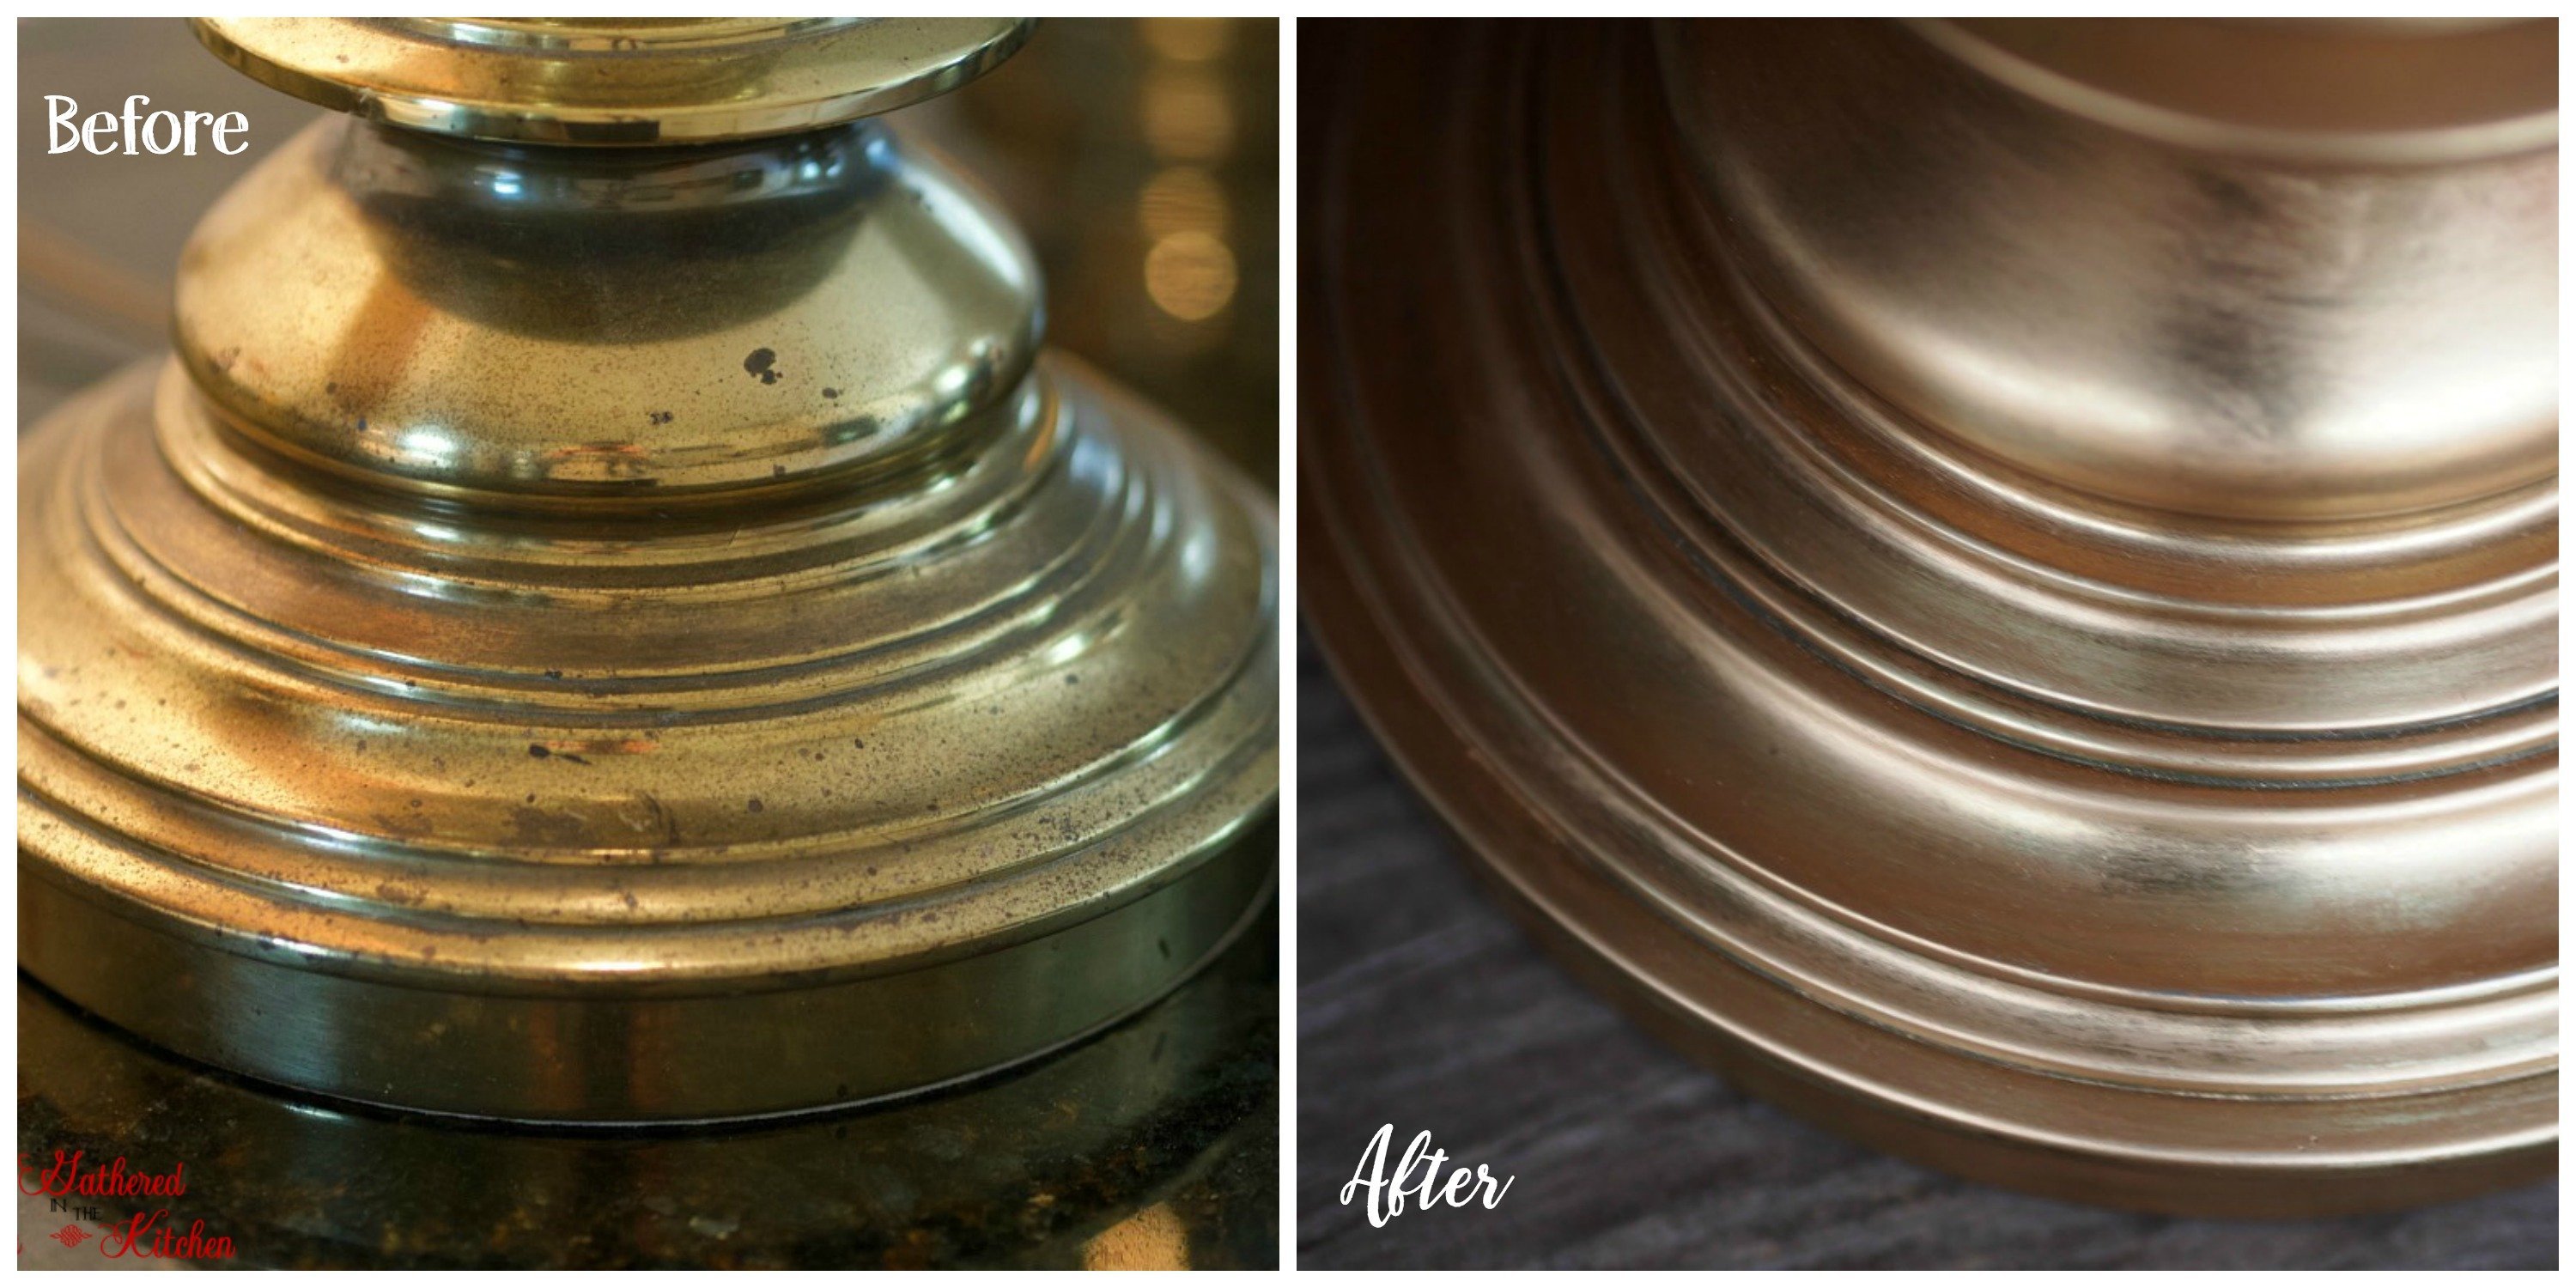
You would never be able to tell that this lamp went unloved for a while!
The Rub ‘n Buff holds up fantastic as well! I actually took my lamp some place and had to come to a quick stop and it fell over in my car and hit another lamp that I was also going to makeover – and there were zero dings in the “paint”.
Ahh!! I’m still so excited about it! I just love super easy projects that yield such dramatic results!!
There are 12 different Rub ‘n Buff colors and I’m so excited to do more projects! I’ve done some on a couple of wooden pieces and all I can say is WOW! I wish I would have known about this stuff a long time ago!!
Rub ‘n Buff Colors
Using Rub ‘n Buff is one of the easiest ways to create authentic, beautiful pieces of art, on any medium! Fortunately, it comes in 12 different colors, so there’s a color for every style! Find out what color is best for you with my Rub ‘n Buff Guide!

The Ultimate Guide to Using Rub ‘n Buff
- What Is Rub ‘n Buff?
- What Surfaces Can Rub ‘n Buff Be Used On?
- Color Options
- How To Apply and Use
- Where To Buy?
- What Does It Look Like Once Applied?
- Inspiration Projects
More Rub ‘n Buff Tutorials!
- What Is Rub ‘n Buff? | How To Use & Color Options
- How To Gold Leaf A Flower Pot
- Dresser Makeover – Before and After
- Painted Dining Room Hutch with Chalk Paint | Before & After


Stephanie—home cook, DIY addict, seasonal decor fanatic, and proud chicken wrangler living in a Victorian house that’s always a project. Whether I’m cooking with garden-fresh ingredients, herding mischievous chickens, or tackling another DIY, I’m here to share the fun (and chaos).


WOW! Your lamp looks gorgeous! I just found two lamps very similar to yours at a thrift store ($10 each) and I am going to follow your tutorial. Thank you so much for sharing!!!
yay!! that’s awesome!! Post a picture over on my facebook page when you get them done!! https://www.facebook.com/gatheredinthekitchen/
Love your lamps! What color gold did you use?
antique gold 🙂
Your lamp is gorgeous!
I have some 40+ year old Stiffel lamps too sentimental to get rid of not to mention I can’t afford new ones.
Thank you! I agree! I can’t believe how expensive lamps are usually. I love to find thrift store ones and then revamp them!!! I’ve even recover the lampshades with updated fabric! https://gatheredinthekitchen.com/how-to-recover-a-lamp-shade-tutorial/
I love this Stephanie! I need a new light fixture in my dining room because the color is all wrong. Everything I like is thousands of dollars. I think this would be a quick fix until I find the right (affordable) light. You just made my day!
yay!!! So happy to hear this Lynn!! It works amazing and literally can transform anything!
This is truly great looking. You know, I think most of us wouldn’t have ever wanted to try an unknown product but you have shown us that this one is a keeper. I just love the look of your lamp, so elegant, looks way more expensive than the before picture.
This lamp looks gorgeous!!! I’m so addicted to Rub N Buff!!! I just can’t stop!!! It makes everything look beautiful!
I totally agree!!! I love it!
So pretty! Did you have to seal it with anything? How do you clean it or “dust” it, while protecting the paint?
Nope, I did not seal it. It just dried and was completely fine. I dust it and nothing happens to it. I did this lamp makeover back in 2018…and this lamp has survived moving over 1,000 miles, a house fire, being in storage and every day use – and it’s still perfect! Hope this helps!
I have used Rub n Buff for years on many different projects and can’t say enough good things about it! Am so thrilled to see you celebrating its virtues! Also, have had trouble finding it and appreciate your referencing source for getting it. Among other things, I did a bathroom shelf (it was glass and some metal), the metal part in pewter 15 years ago and it still looks great! Thanks for featuring one of my favorite projects.
Can you use this over lacquered “gold” doorknobs and candlesticks?
It’s definitely worth a try! Rub ‘n Buff can be used on so many different types of surfaces. The only issue you may have is adhesion. If needed, lightly sand the candlesticks with a fine grit sandpaper first to help with adhesion of the Rub ‘n Buff. Good luck, happy crafting!