How To Can On An Induction Cooktop
If you’re like me, you’ve recently upgraded from traditional gas stoves or electric cooktops to an induction range. While my previous homes had glass electric cooktops, we decided on an induction range during our kitchen renovation because of its precise temperature control and energy efficiency.
However, one challenge emerged: how to can and preserve food on this type of cooking surface. My trusty Granite Ware water bath canner, designed for traditional cooktops, is not compatible with induction technology because it requires magnetic cookware to function. In this blog post, I’ll share how I adapted my canning routine using induction-compatible cookware and a pressure canner.

Four years after purchasing our GE Café double oven induction cooktop, and I’m still in love with it! The induction cooking zones heat faster than electric coils and offer exceptional cooking results for everything from simple recipes to advanced culinary arts. Most of my cookware, including stainless steel and cast iron pans, transitioned seamlessly—except for canning.
Traditional water bath canners, (like the big black Granite Ware pot with white specks all over it) made from materials like aluminum, don’t work on induction stovetops due to the lack of ferrous metals in their construction. Induction cooktops work by generating electromagnetic waves, transferring heat directly to magnetic cookware, such as stainless steel or cast iron, rather than using a heating element. (*note: according to the product description, it is not recommended to use this canner on a glass cooktop because “some do not generate enough heat to safely preserve food”…again, I never have had an issue.
This post may contain affiliate links, which means I’ll receive a commission if you purchase through my link, at no extra cost to you. Please read full disclosure here.

After researching kitchen appliances that work with induction technology, I found the Presto 23-Quart Induction-Compatible Pressure Canner. This canner is versatile, functioning both as a pressure canner and a water bath canner, with a large capacity perfect for preserving vegetables, fruits, and soups. Its compatibility with induction stovetops and other heat sources like gas ranges or electric stoves made it the ideal choice.
I was initially nervous about using a pressure canner because of the potential risks. However, with its built-in safety features and clear instruction manual, it has been a game changer for preserving delicious meals.

Truth be told, I was super nervous about purchasing a pressure canner. The thought of built-up pressure inside my house just makes me nervous. However, I can say with complete confidence, that I have used this to can many different things from vegetables to soups and stews and fruits, and I have had absolutely no issues or scary situations! Using a pressure canner is actually very simple and easy!
The Presto pressure canner comes with very easy to follow directions which takes a lot of that worry out of canning your first few batches in your canner.
Which canning method is best for you?
- If you have an induction cooktop, use this canner = induction pressure canner
- If you have a gas or electric cooktop, use this canner = water bath canner

How to can on an induction cooktop
Canning on an induction cooktop requires specific equipment and techniques to ensure successful food preservation. Follow these steps to can on an induction cooktop:
Similar to water bath canning, the first few steps are very similar.
1) Prepare Your Equipment:
- Gather all necessary canning supplies, including jars, lids, bands, a jar lifter, and a canning rack. Use jars with flat bottoms and inspect for cracks. Inspect each jar for any cracks or chips; if there are any, discard those jars
- Ensure your canner is clean and in good, working condition – specifically check the vent hole and rubber ring according to the brand’s manual

2) Prepare Your Food:
- Follow your recipe to prepare the food you intend to can. This could include washing, peeling, cutting, and cooking as required.
- Note: be sure to note if your recipe is a “raw pack” or “hot pack” and prepare the food accordingly
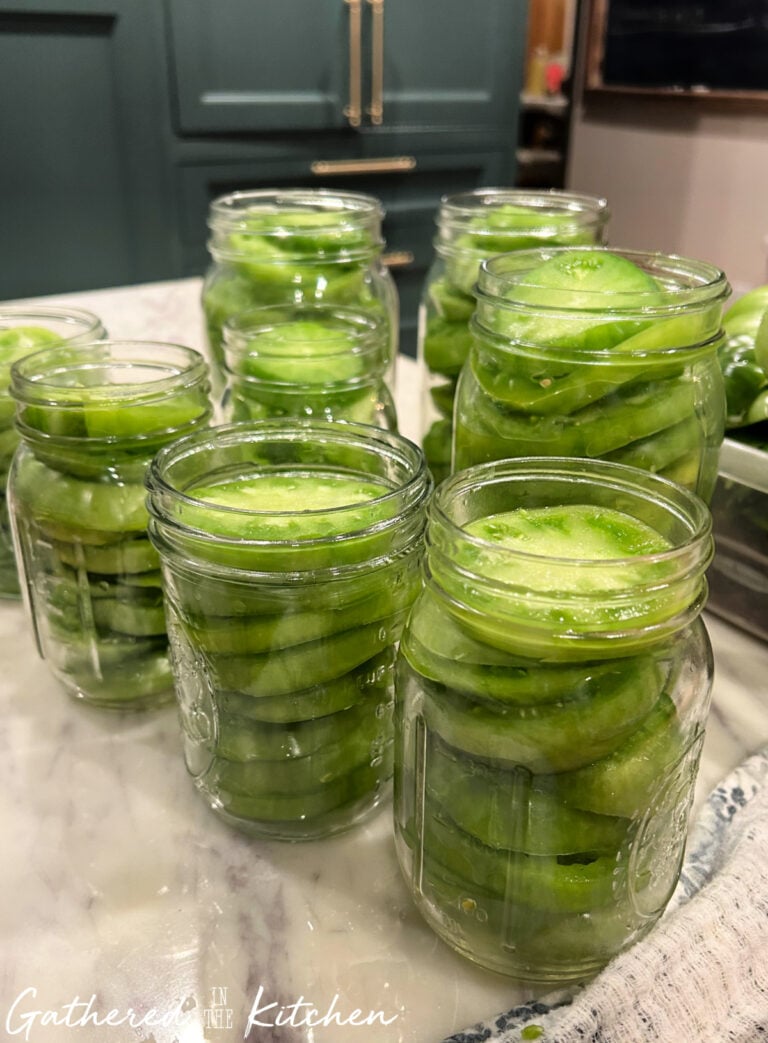
3) Fill Your Jars:
- Carefully fill your canning jars with the prepared food, leaving the appropriate headspace as specified in your recipe
- Wipe the rims of the jars with a clean paper towel and white vinegar to remove any food residue and ensure a good seal
- Place the lids and bands on the jars, tightening them to fingertip-tight
- Place jars on the rack inside the canner, ensuring the heating zone and the bottom of your pan align with the induction zone

4) Set Up the Canner:
- Follow the directions in the brand’s owners manual and begin the pressure canning process
- Tips: do not overcrowd the pressure canner with jars to process
5) Monitor the Process:
- Keep an eye on the pressure gauge and adjust accordingly
- Adjust the heat as needed to maintain a steady pressure reading throughout the processing time. Maintain consistent heat transfer by watching the control panel and pressure gauge

6) Cool and Store:
- Once the processing time is complete, turn off the heat and let the canner sit for a few minutes. Only remove the pressure canning lid when the air vent lock has dropped and it is safe to remove the lid, according to the owners manual
- Carefully remove the jars using a jar lifter and place them on a towel to cool undisturbed for 12 hours
- Allow jars to cool undisturbed before checking seals. Properly sealed jars can be stored safely for months. Check the seals after the jars have cooled. Any jars that did not seal properly should be refrigerated and used promptly
- Label and store your sealed jars in a cool, dark place

By following these steps, you can safely and efficiently can your favorite foods using an induction cooktop. Canning on an induction cooktop is straightforward with the right tools. The Presto pressure canner’s induction-compatible design ensures a smooth canning experience while preserving indoor air quality, avoiding carbon monoxide, and enhancing energy efficiency. Whether you’re a professional chef or a first-time canner, this appliance is worth the investment.
To sum everything up…
My favorite features about this Presto induction pressure canner are:
- induction compatible (works on gas, electric, smoothtop and induction)
- extra-large 23 quart canner
- doubles as a water bath canner
- easy to use

Check out my recipe for Water Bath Canning Blueberry Conserve to learn how to use this Presto pressure canner as a water bath canner!


Stephanie—home cook, DIY addict, seasonal decor fanatic, and proud chicken wrangler living in a Victorian house that’s always a project. Whether I’m cooking with garden-fresh ingredients, herding mischievous chickens, or tackling another DIY, I’m here to share the fun (and chaos).