House Update #24: Plaster Walls
I haven’t shared an update lately…and when that happens it usually means because things aren’t going super swell.
I’ve mentioned many times during my updates that we had lath and plaster walls…obviously, because our house was built in 1886. During the restoration process, the walls and ceilings were ripped out. My hubby and I were very adamant about not having drywall replace our lath and plaster, so…we went with an alternative. Instead of drywall, we now have a plaster based gypsum blueboard.
Drywall vs Blueboard
The main advantage of regular drywall over blueboard is that the special veneer plaster hardens so well it resists dings, scratches, and holes. The appearance of the finished blueboard is far superior to that of drywall. The overall wall is smoother, the finish is more evenly toned, and the joints are less noticeable. source

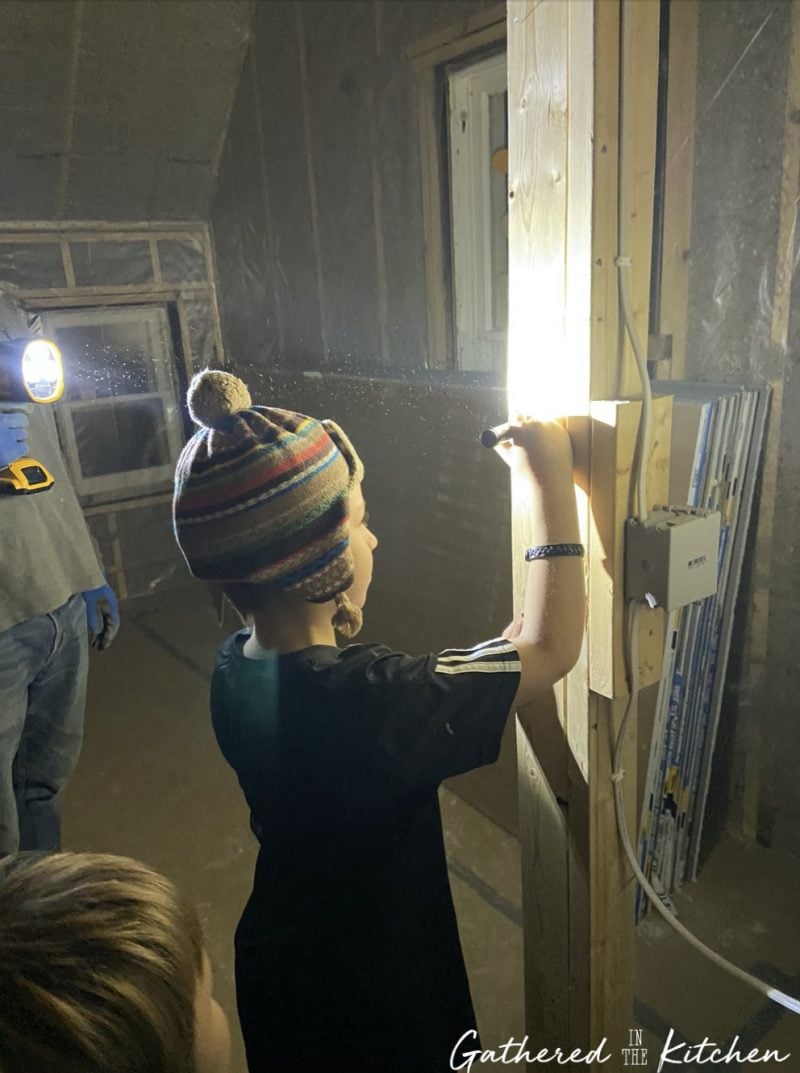
The blueboard was delivered and we had a bit of a freakout moment… we raced to the house one night with flashlights (still no electricity there…? Everyone signed their names on their walls and we wrote a few bible verses throughout.


Putting Up The Blueboard
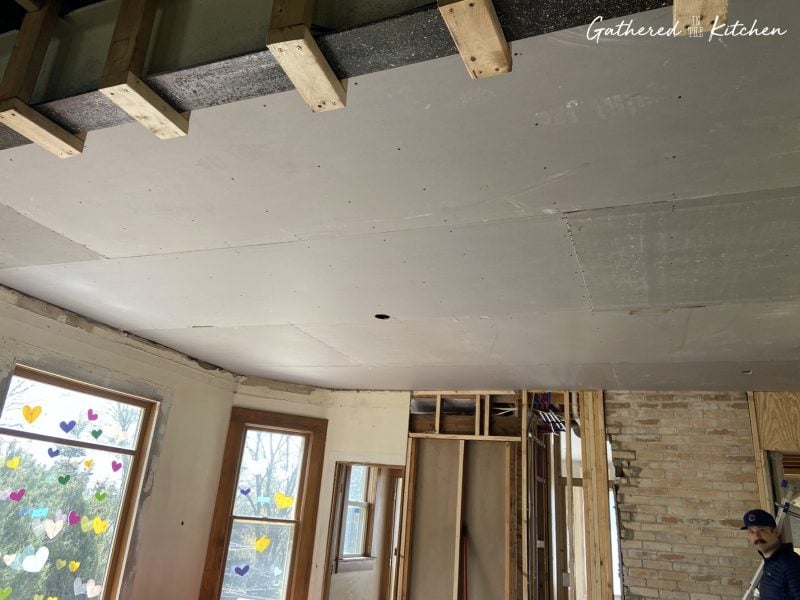
The blueboard started going up on May 8th (almost a year after the fire…ugh!), first on the ceilings and then the walls. We were told that this process would take 2-3 days and then plastering 5-6 days … hahahaha. Today is June 13th and the plastering tools were just removed from the house today. Not sure what happened there!
This post may contain affiliate links, which means I’ll receive a commission if you purchase through my link, at no extra cost to you. Please read full disclosure here.
Exposed Chimney
When the 2nd chimney was exposed during the demo phase, we decided to keep the chimney exposed. However, the walls were starting to go up and they edge of the chimney (that was pretty rough) was not covered…like we had thought it would be. (see above photo … the left side of the chimney isn’t the greatest).
So, because the claim has gone above our coverage limits, we are making sure that there is nothing “extra” being done by anyone. To solve the super simple problem, my hubby and I went to the house, chalk lined the chimney edge, pre-drilled holes using a special drill bit for brick and then secured 1×2 pieces of wood so the blueboard could be attached to it and cover up the crappy edge of the chimney.


The process was long as there are so many walls and ceilings in our home.

It’s interesting to see how the blueboard (the gray stuff) was butted up to the real lath and plaster (the yellow walls) … it was quite comical.

Next came covering all of the joints/seams.

Then plaster. All of the blueboard had to be covered with a veneer plaster coat by hand.

Fire Updates:
Update #1: House Fire, Struck by Lightning
Update #2: Update
Update #3: Frustration
Update #4: The Beginning of Demo & A Few Hidden Surprises
Update #5: Demo of the Downstairs
Update #6:
Update #7: Silver Spoon
Update #8: Trick-Or-Treat; Victorian Style
Update #9: New Joists
Update #10: Roof
Update #11: Roof Demo
Update #12: Roof Demo & Rebuild
Update #13: Beginning of Rebuild
Update #14: Secret Bookcase!
Update #15: We Have Roof Shingles!
Update #16: Heart Hunters & Easter
Update #17: Butler’s Door
Update #18: Hometalk Segment & Video Walk-Through
Update #19: Beginning of Electrical, Plumbing and HVAC
Update #20: Garden & Bunnies
Update #21: Choosing An Exterior House Color
Update #22: Treasures Hidden In The Ceiling
Update #23: Insulation
Update #24: Plaster Walls


Stephanie—home cook, DIY addict, seasonal decor fanatic, and proud chicken wrangler living in a Victorian house that’s always a project. Whether I’m cooking with garden-fresh ingredients, herding mischievous chickens, or tackling another DIY, I’m here to share the fun (and chaos).


