House Update #23: Insulation
Almost all of the walls in our house had to come down. Not necessarily because of damage caused by the fire, rather more because of water damage and questions related to structure (needing to see how the framing was, etc). With that, came down a whole ton of lath and plaster – and any insulation that was in the walls and ceilings.
The house has been reframed, the roof rebuilt and shingles have been put on at this point. All new exterior walls inside the house needed to have insulation added. So a company came and did blown-in cellulose insulation. Cellulose insulation is a loose-fill product made of recycled newspaper treated with chemicals to make it fire-retardant and insect-proof.
They sprayed the wet cellulose in between all of the studs (wall cavities) as well as between the joists & roof rafters in the ceilings.

Once the cellulose was dry, they came back and installed a vapor barrier type product over top of the cellulose.
This post may contain affiliate links, which means I’ll receive a commission if you purchase through my link, at no extra cost to you. Please read full disclosure here.


Extra Insulation
Because I’m married to a degreed Mechanical Engineer, we always do things a little bit different from the norm. While the insulation that was done is great, we wanted to beef it up a bit in more areas of the house, some of the interior walls and ceilings.
Our cast iron plumbing was removed from the house and replaced with PVC (go ahead, and shed a tear with me… regardless of the fact that over looooong periods of time cast iron pits and can cause problems). My hubby and I had a lot of heart stabs with the replacement for several reasons – simply put, I cook with cast iron, not plastic because it’s more durable. But…in the day and age we live in now, cast iron isn’t really used for residential plumbing anymore. However, cast iron is very quiet (think when you flush a toilet or take a shower), PVC on the other hand, is noisey and you often times can hear the water rushing through it, asa well as squeaks from it expanding and contracting during temperature fluxes. That right there = a big no no. We don’t want to be sitting in our sunroom listening to water coming down the walls.
So, to help rectify the issue, we rented a honking sized machine from Home Depot to blow in dry, loose-fill cellulose insulation. The process is not hard by any means, but it’s messy and, well…a pain in the butt.

We parked the truck with the machine near the back of the house and ran the hoses in through the door.

The whole process works by filling the machine with bags of recycled fibers.

*You have to break it up though otherwise it will clog the machine. As luck would have it, the tube was clogged and we spent the first 3 hours trying to unclog it. We looked like complete idiots out in our driveway trying to get the insulation unclogged (like for real! I’m sure the people who saw us think we must have several screws loose! ? ? ? ) Thankfully Home Depot was kind enough to extend our rental because it came clogged.

There are rotating teeth inside the bottom of the machine that break up the chunks of fill and then it blows it through the tube.

The bags of insulation make a great place to rest!

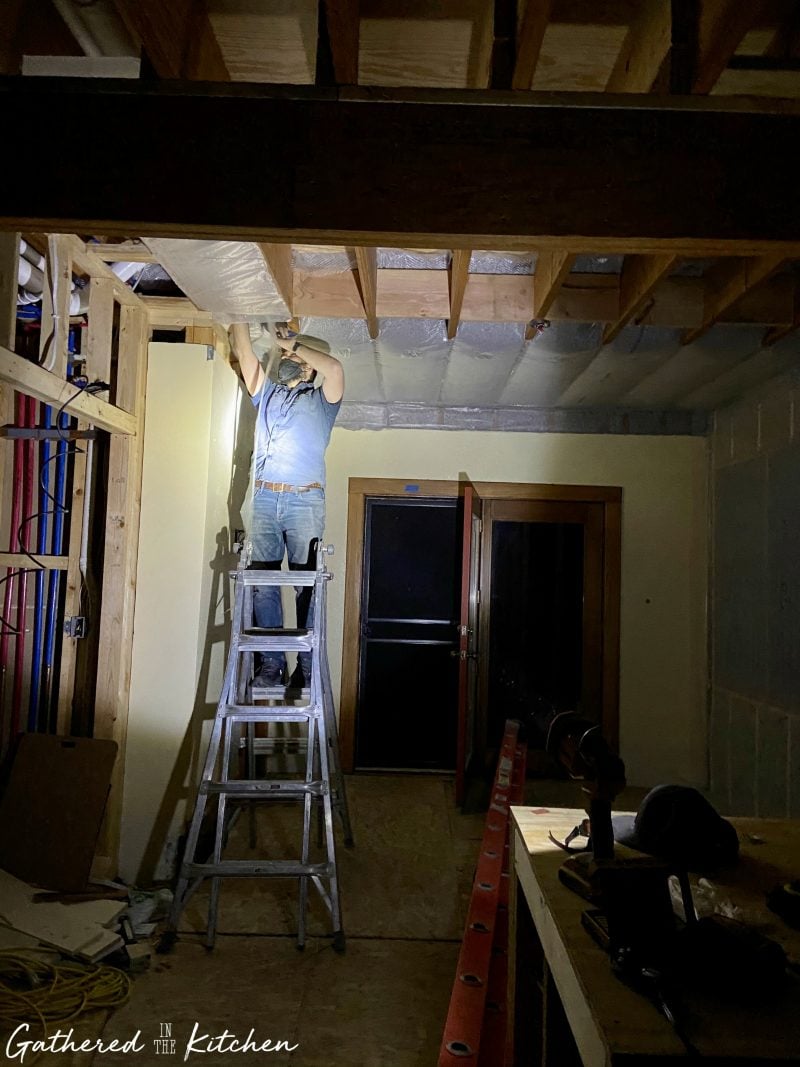
We used staples in our air nailer to put up a fabric barrier. It’s recommended to use a breathable fabric, however, we weren’t able to find any products for sale at any of our local hardware stores. So…we solved the problem by using white landscaping fabric paper!


Once the fabric was up and in place, it was time to fill the cavities with the blown-in insulation.

We worked into the night on the first night with light from a battery flashlight!
We also did one of the ceilings in our basement, in our “movie theater room”. The same ceiling where we found a hidden treasure!!
We’re going to be coming back in these next couple of days and installing rolls of batting insulation in several more rooms in the ceilings and walls – it should be way easier, simply because this method of blown-in insulation is more or less for blowing in insulation in your attic: big wide open spaces. Putting up the paper fabric barrier was the most time consuming part…and just not really one we want to repeat. So, we’ve got our work cut out for us, but in the long run, if you have the opportunity to better insulate your 134 year old house, why not take it!

Fire Updates:
Update #1: House Fire, Struck by Lightning
Update #2: Update
Update #3: Frustration
Update #4: The Beginning of Demo & A Few Hidden Surprises
Update #5: Demo of the Downstairs
Update #6:
Update #7: Silver Spoon
Update #8: Trick-Or-Treat; Victorian Style
Update #9: New Joists
Update #10: Roof
Update #11: Roof Demo
Update #12: Roof Demo & Rebuild
Update #13: Beginning of Rebuild
Update #14: Secret Bookcase!
Update #15: We Have Roof Shingles!
Update #16: Heart Hunters & Easter
Update #17: Butler’s Door
Update #18: Hometalk Segment & Video Walk-Through
Update #19: Beginning of Electrical, Plumbing and HVAC
Update #20: Garden & Bunnies
Update #21: Choosing An Exterior House Color
Update #22: Treasures Hidden In The Ceiling
Update #23: Insulation


Stephanie—home cook, DIY addict, seasonal decor fanatic, and proud chicken wrangler living in a Victorian house that’s always a project. Whether I’m cooking with garden-fresh ingredients, herding mischievous chickens, or tackling another DIY, I’m here to share the fun (and chaos).


