$12 DIY Planter Boxes
Looking to build your own simple and cheap planter boxes? This tutorial shows how to make a planter box using a Kreg Jig and circular saw.
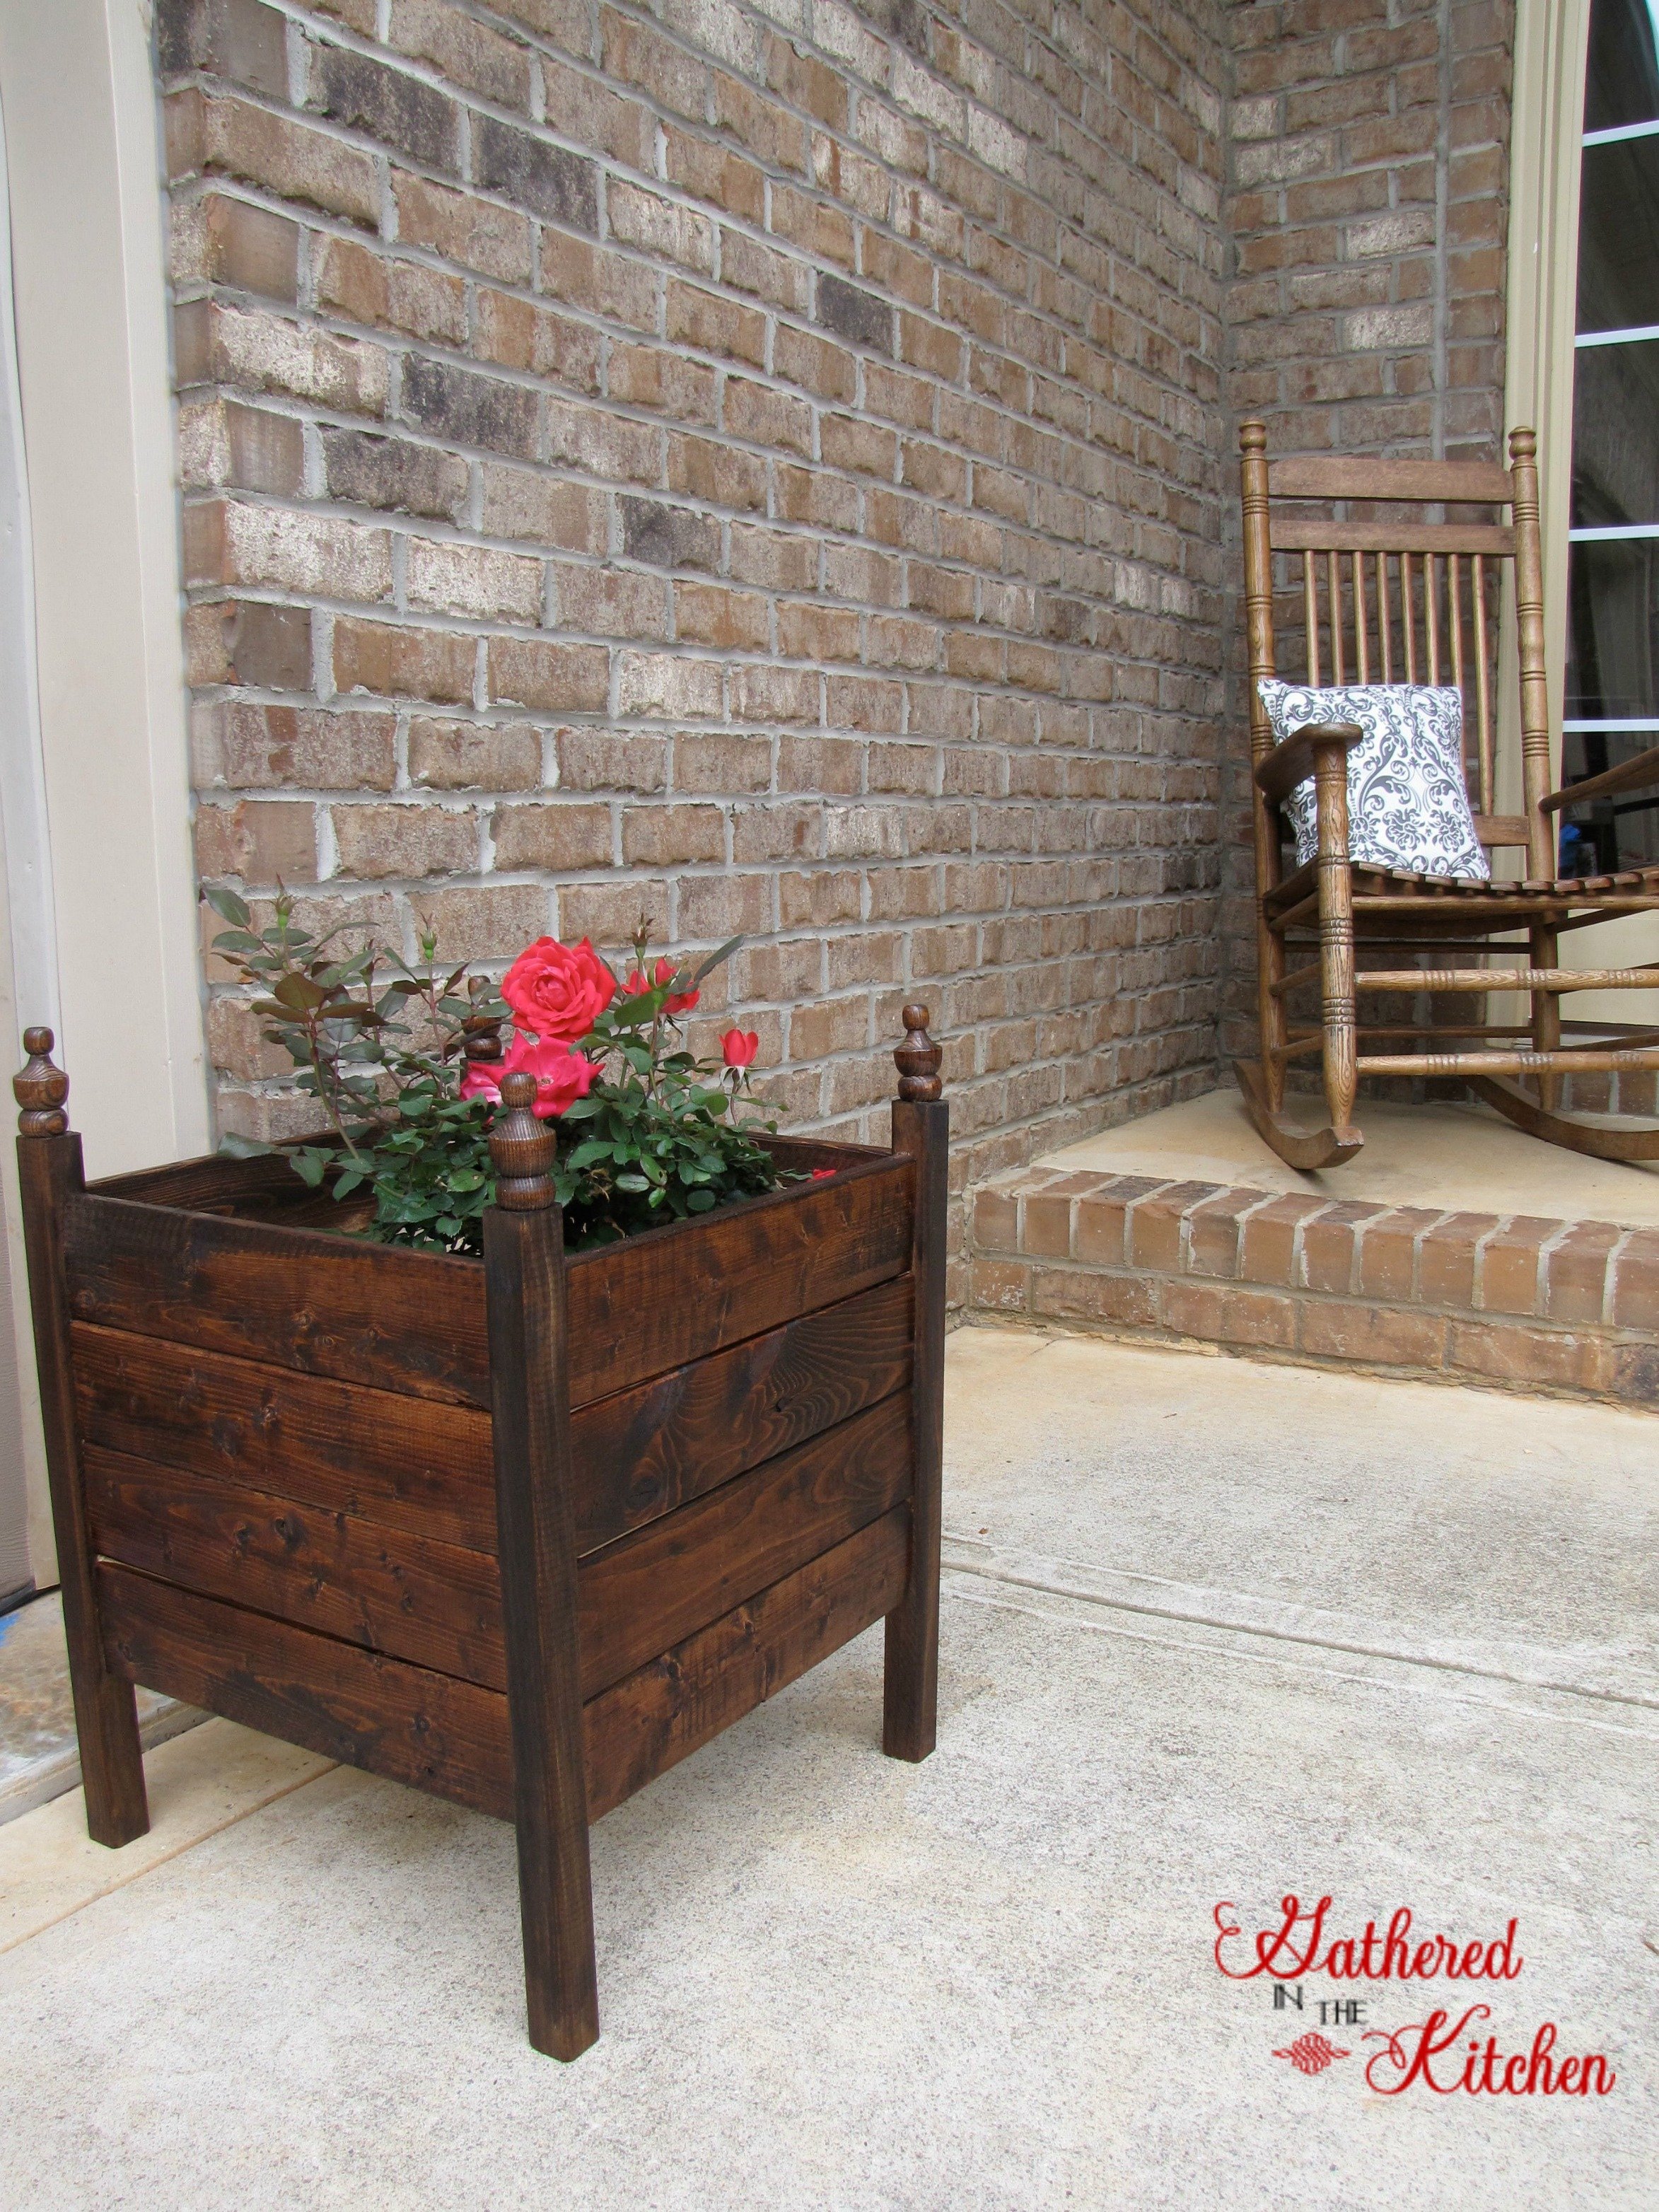
Spruce up your curb appeal with these easy to make DIY Planter Boxes for only $12 a piece! The dramatic difference it will make will be well worth your effort towards this weekend project!
My garage was looking lonely and not very homey feeling so I built two planter boxes, one for either side of my garage door, and it made a world of a difference! My home went from neglected looking to inviting and warm. I love the difference I was able to make with such a small investment and little effort.
This post may contain affiliate links, which means I’ll receive a commission if you purchase through my link, at no extra cost to you. Please read full disclosure here.

Since building these planter boxes, I’ve also added a few more Easy DIY Outdoor Projects to my home, making it even more inviting as well as a collection for . Check out my 14 Beginner Building Projects – Simple & Easy for more easy building projects!

Let’s Build Them Together!
This weekend it rained the.entire.time – boo! But I didn’t let it stop me from getting a few projects done. One of which I’m going to share today… $12 DIY Planter Boxes that my 2 year old son and I built (p.s. I’m 36 weeks pregnant).
I followed the plans from Ana White found HERE:
You can also see Shanty-2-Chic’s take on it HERE:
The project is soooo easy IF you have a Kreg Jig. I finally used mine for the first time. My wonderful hubby bought it for me back in October for my birthday but with moving into a new house, being pregnant and having a billion other things to do I just hadn’t gotten around to taking it out of the box. -Let me just say, I did not know what I was missing!

DIY Raised Planter Boxes
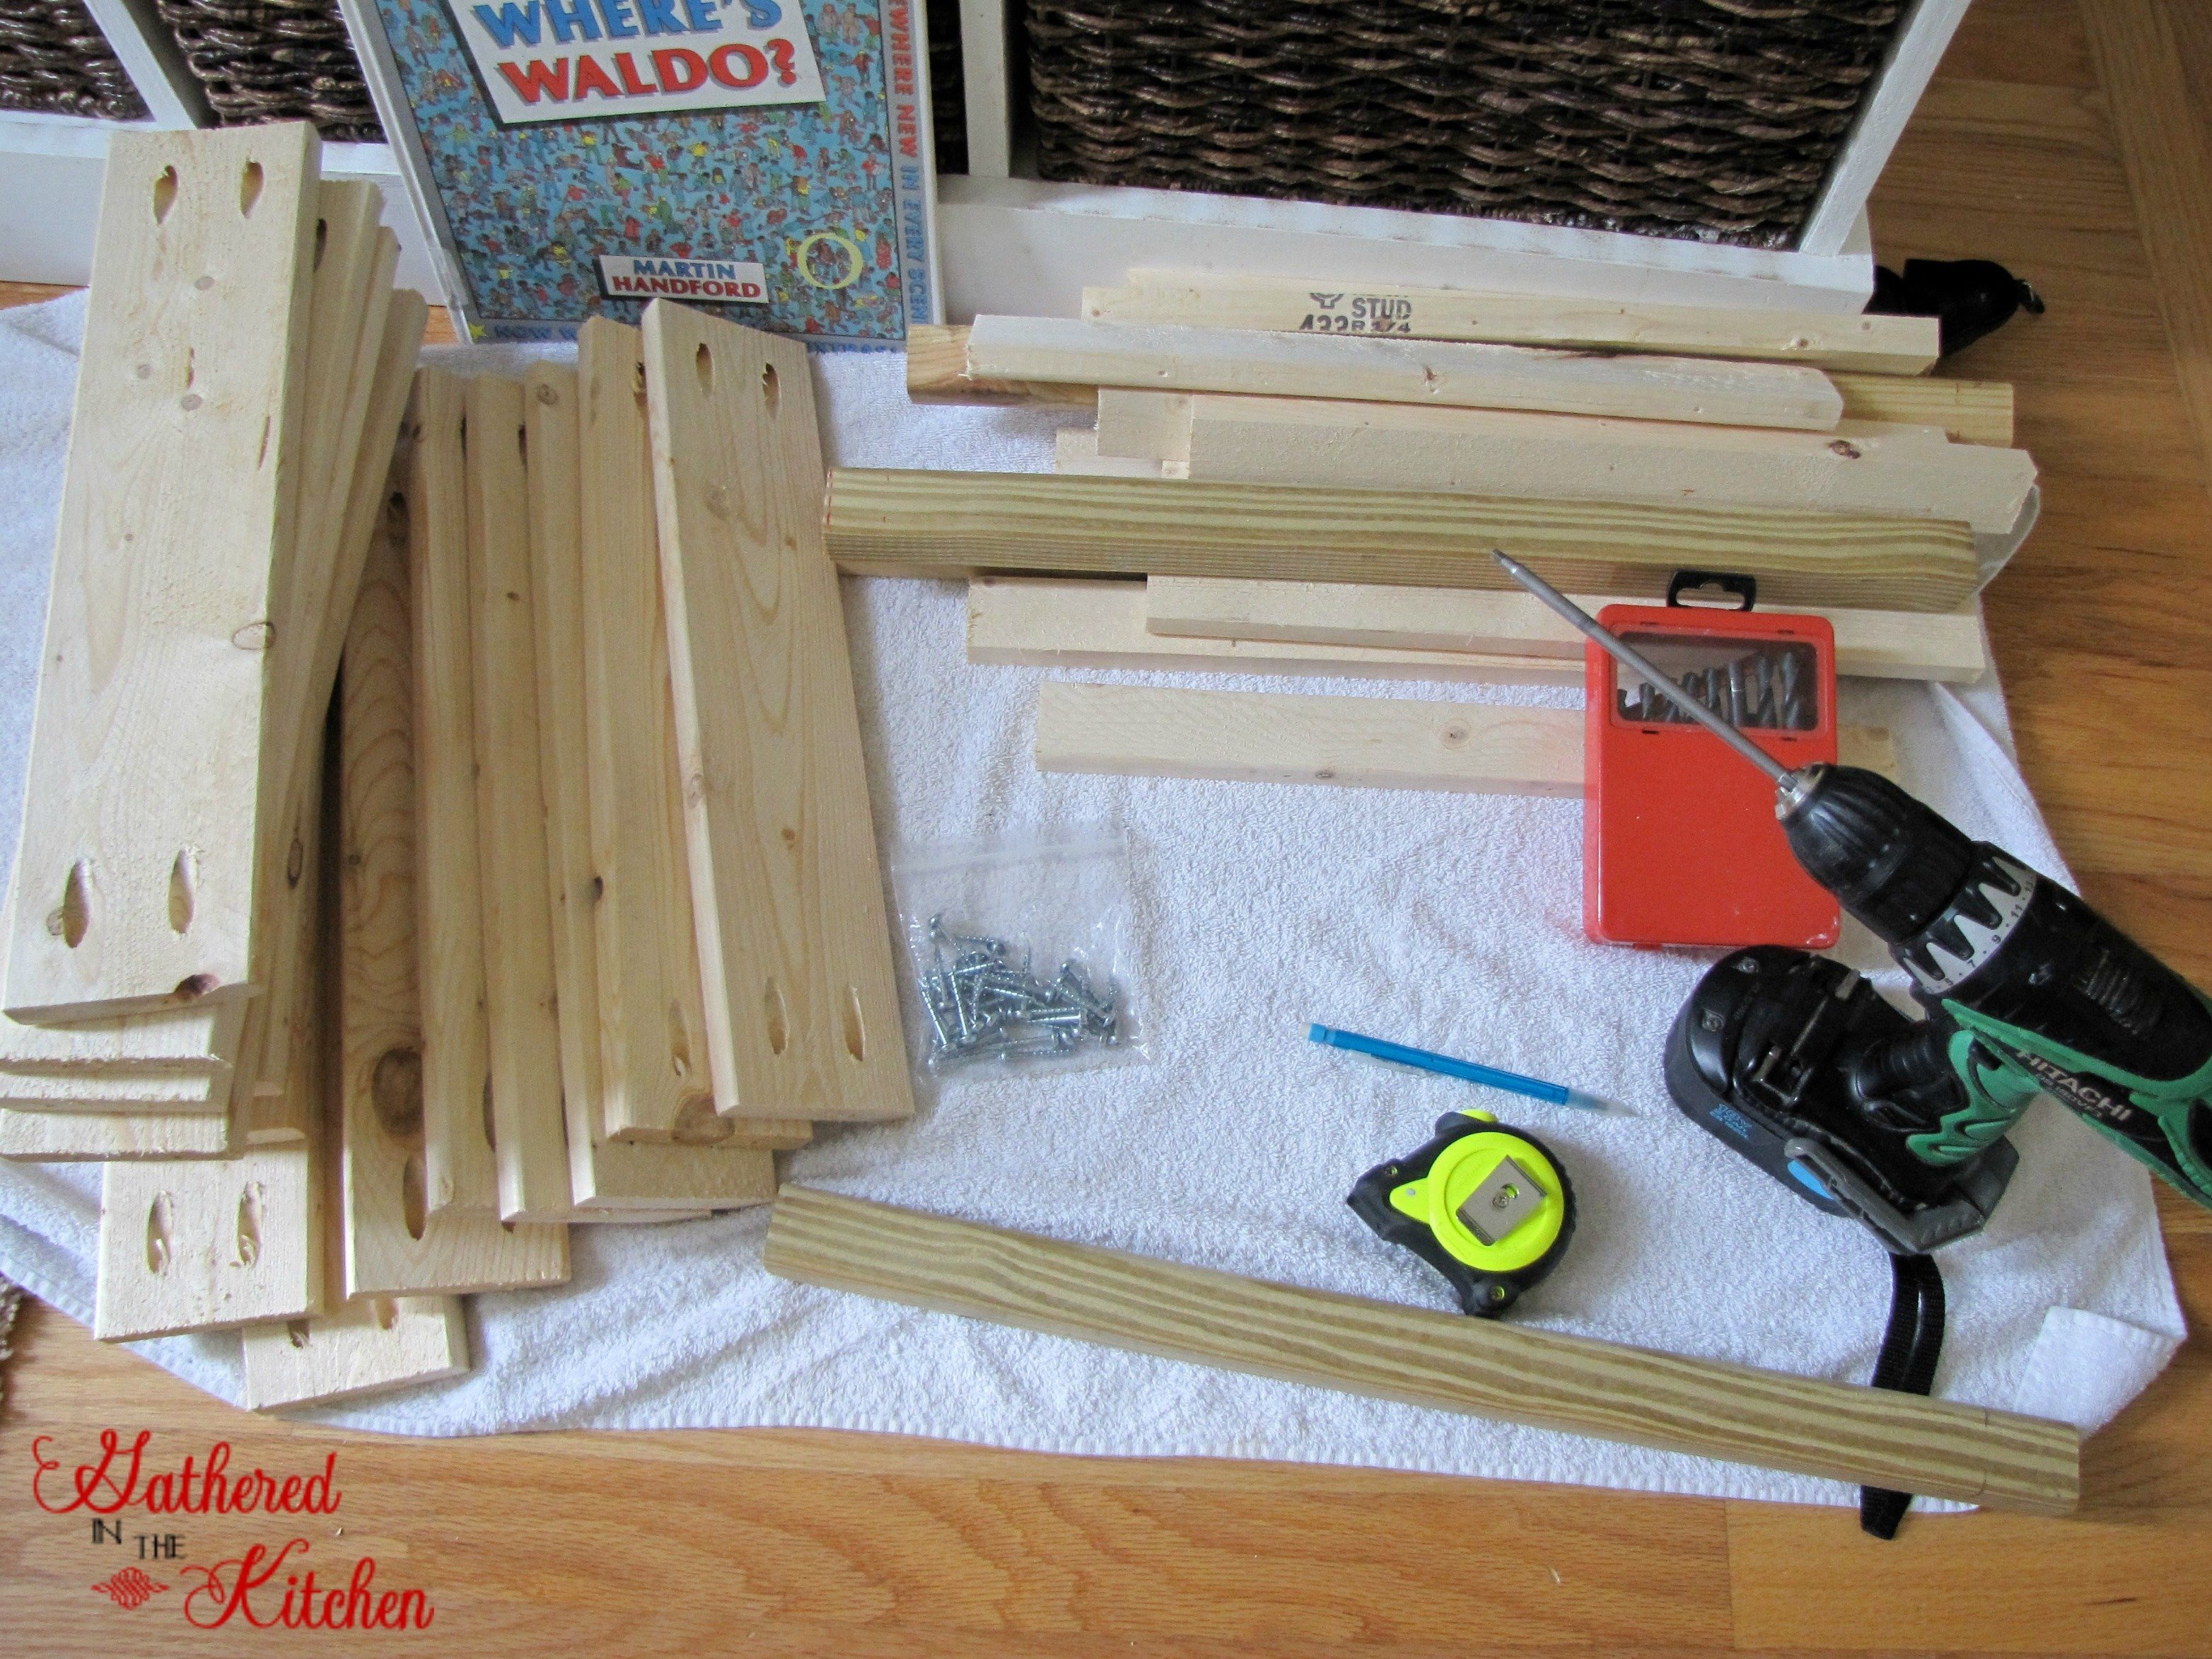
Equipment
- circular saw
- Kreg jig
- tape measure
- power drill
- Countersink drill bit
- Sander if your wood is rough and you want to smooth it out
Ingredients
Shopping List
- 2 1×6 @ 8 feet long
- 2 1×2 furring strips @ 8 feet long
- 1 2×2 @ 8 feet long
- 4 craft finials
- 1 ¼” pocket hole screws
- Wood glue
- Hardware cloth, tar paper or other material or plastic planter for containing soil on slats I used garbage bags and cut holes in it!
Cut List
- 4 2×2 @ 18” long (legs)
- 16 1×4 @ 15 ¾” OR 12 – 1×6 @ 15 ¾” (sides)
- 10 1×2 @ 15 ¾” (bottom slat system)
Instructions
- To find the detailed step-by-step posts, visit Ana White at https://www.ana-white.com/woodworking-projects/square-planters-finials. My photos are meant to help guide and show you steps along the way
Notes
- NOTE: If 2 – 1×6 x8’ boards are cheaper than 3 – 1×4 x 8’ boards, use three rows of 1x6s instead of four rows of 1×4 for the sides. I’d also make the legs 20” long instead of 18”

I used my Kreg to create those holes (pocket holes) on the 1x4s – lost those pictures somehow, sorry!
How To Build Raised Planter Boxes Step by Step
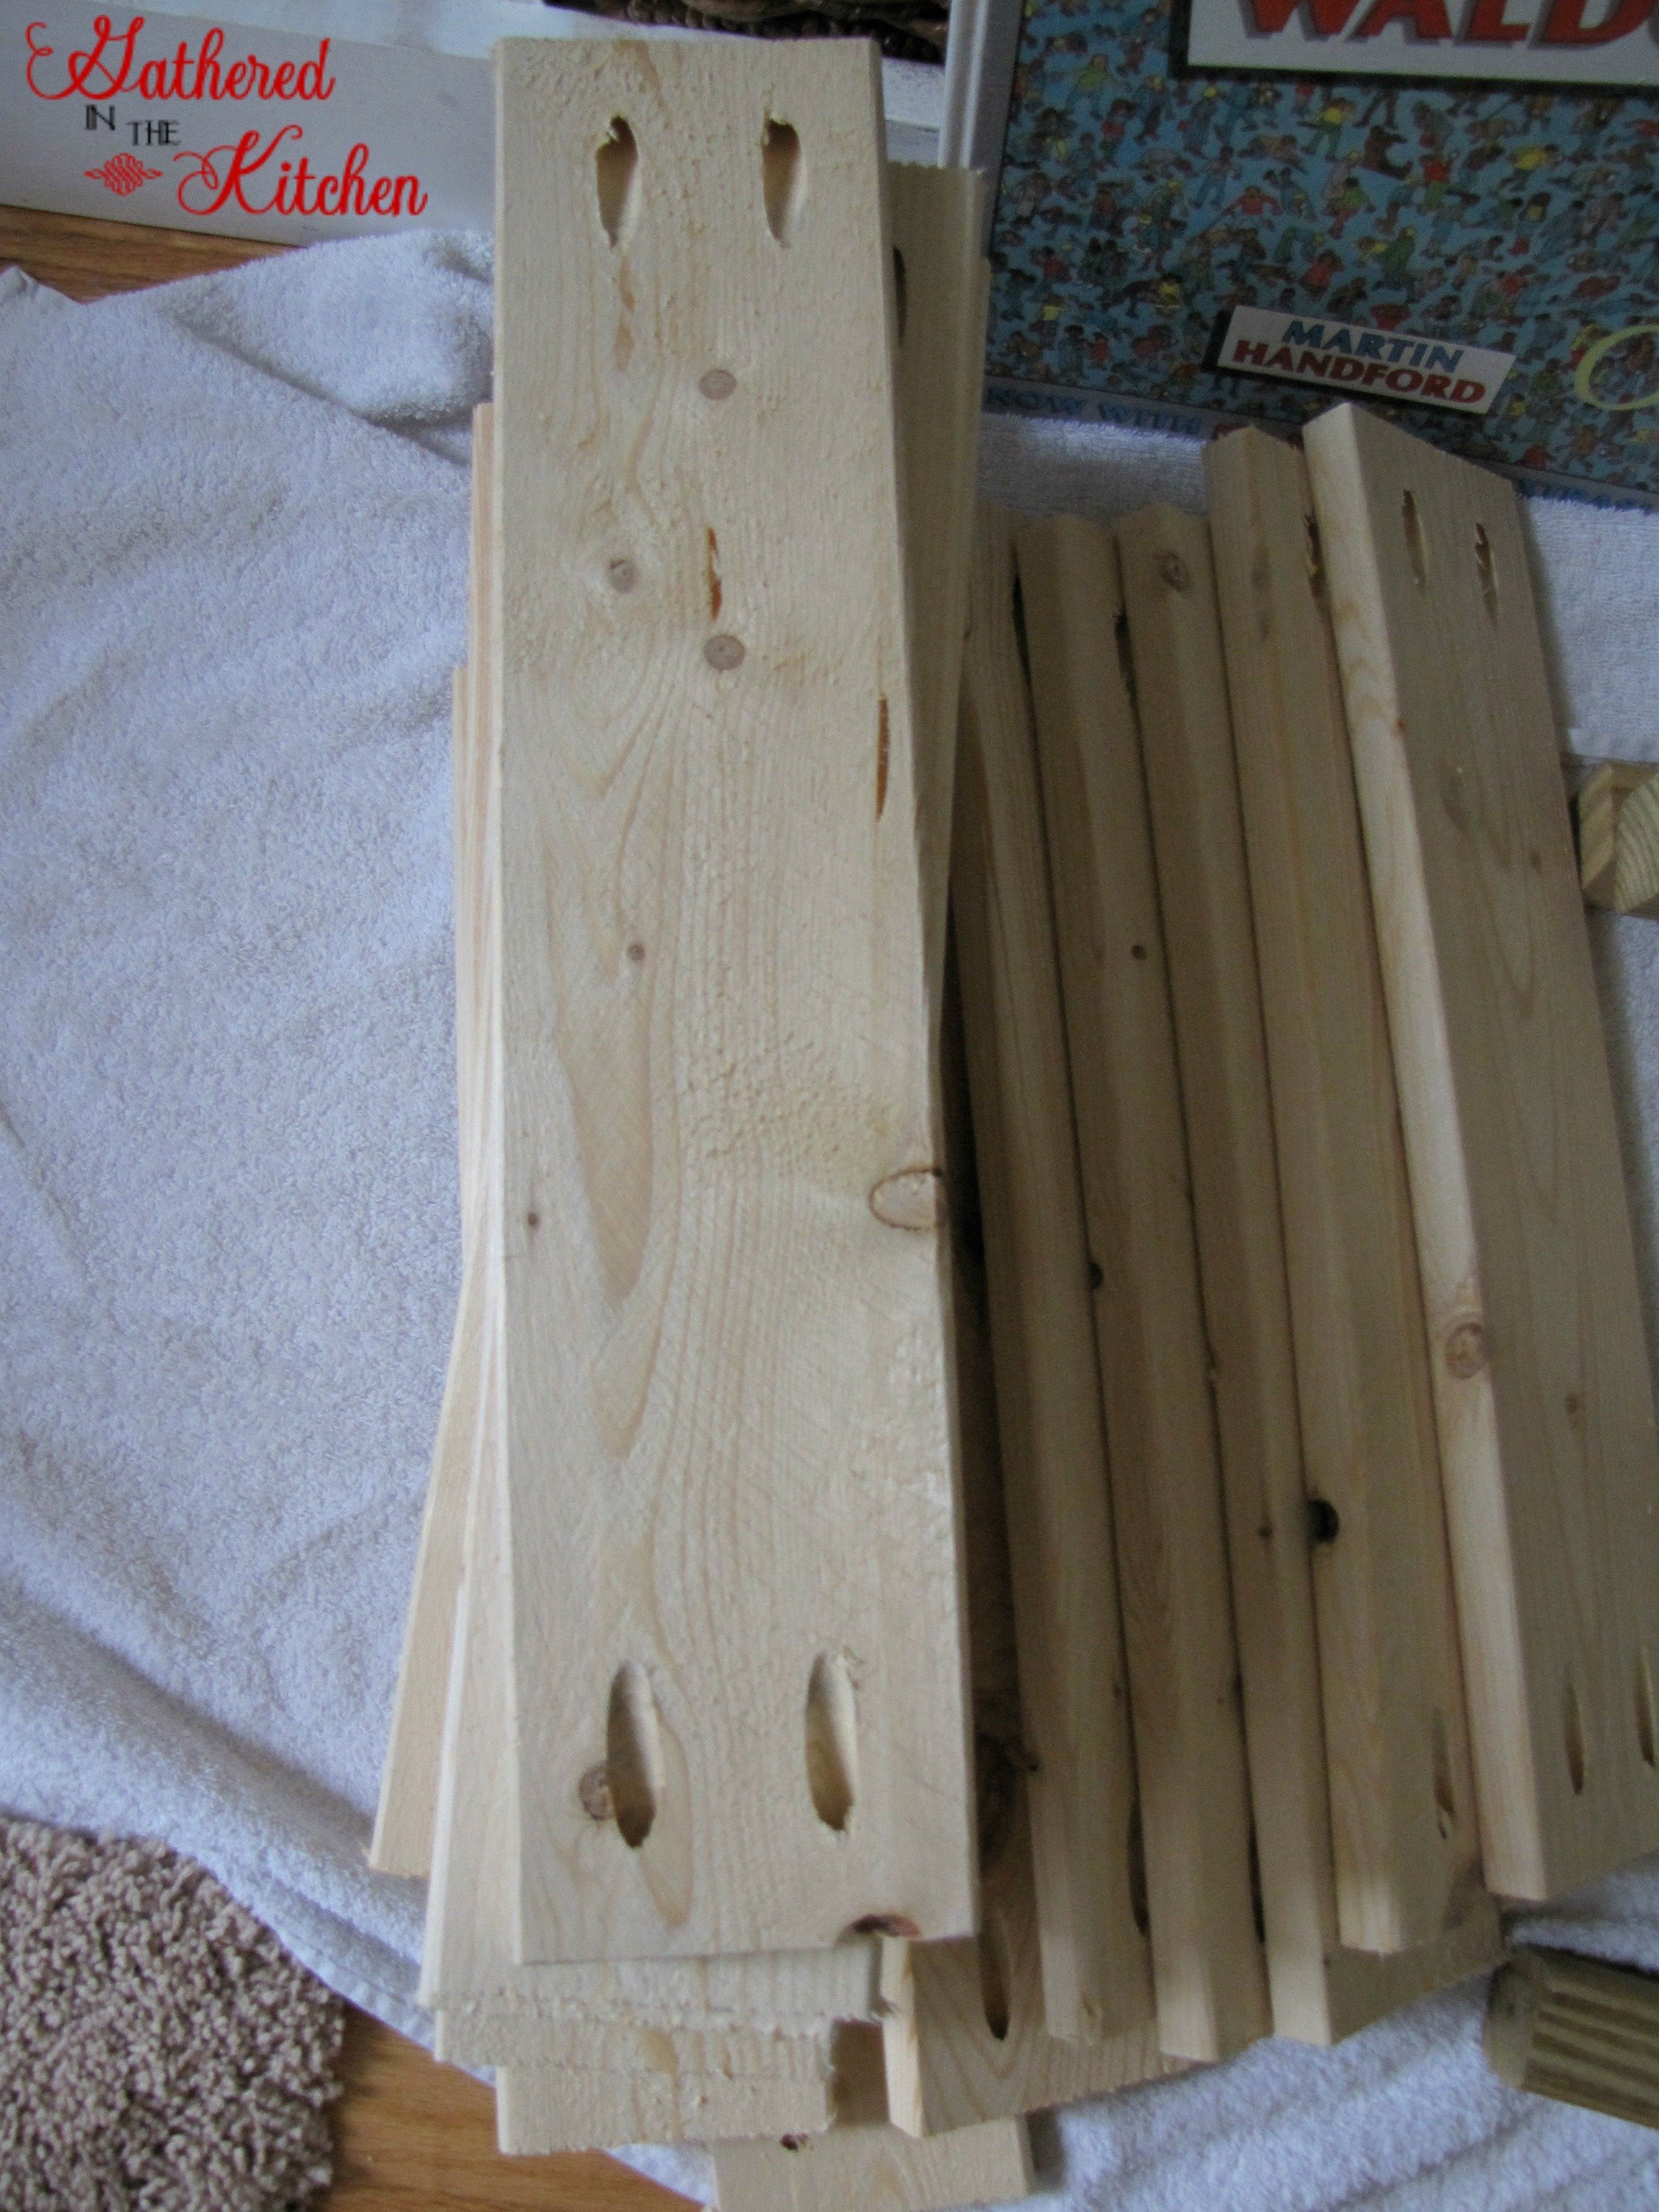
See these pretty pocket holes? They make this thing go together like a box kit!

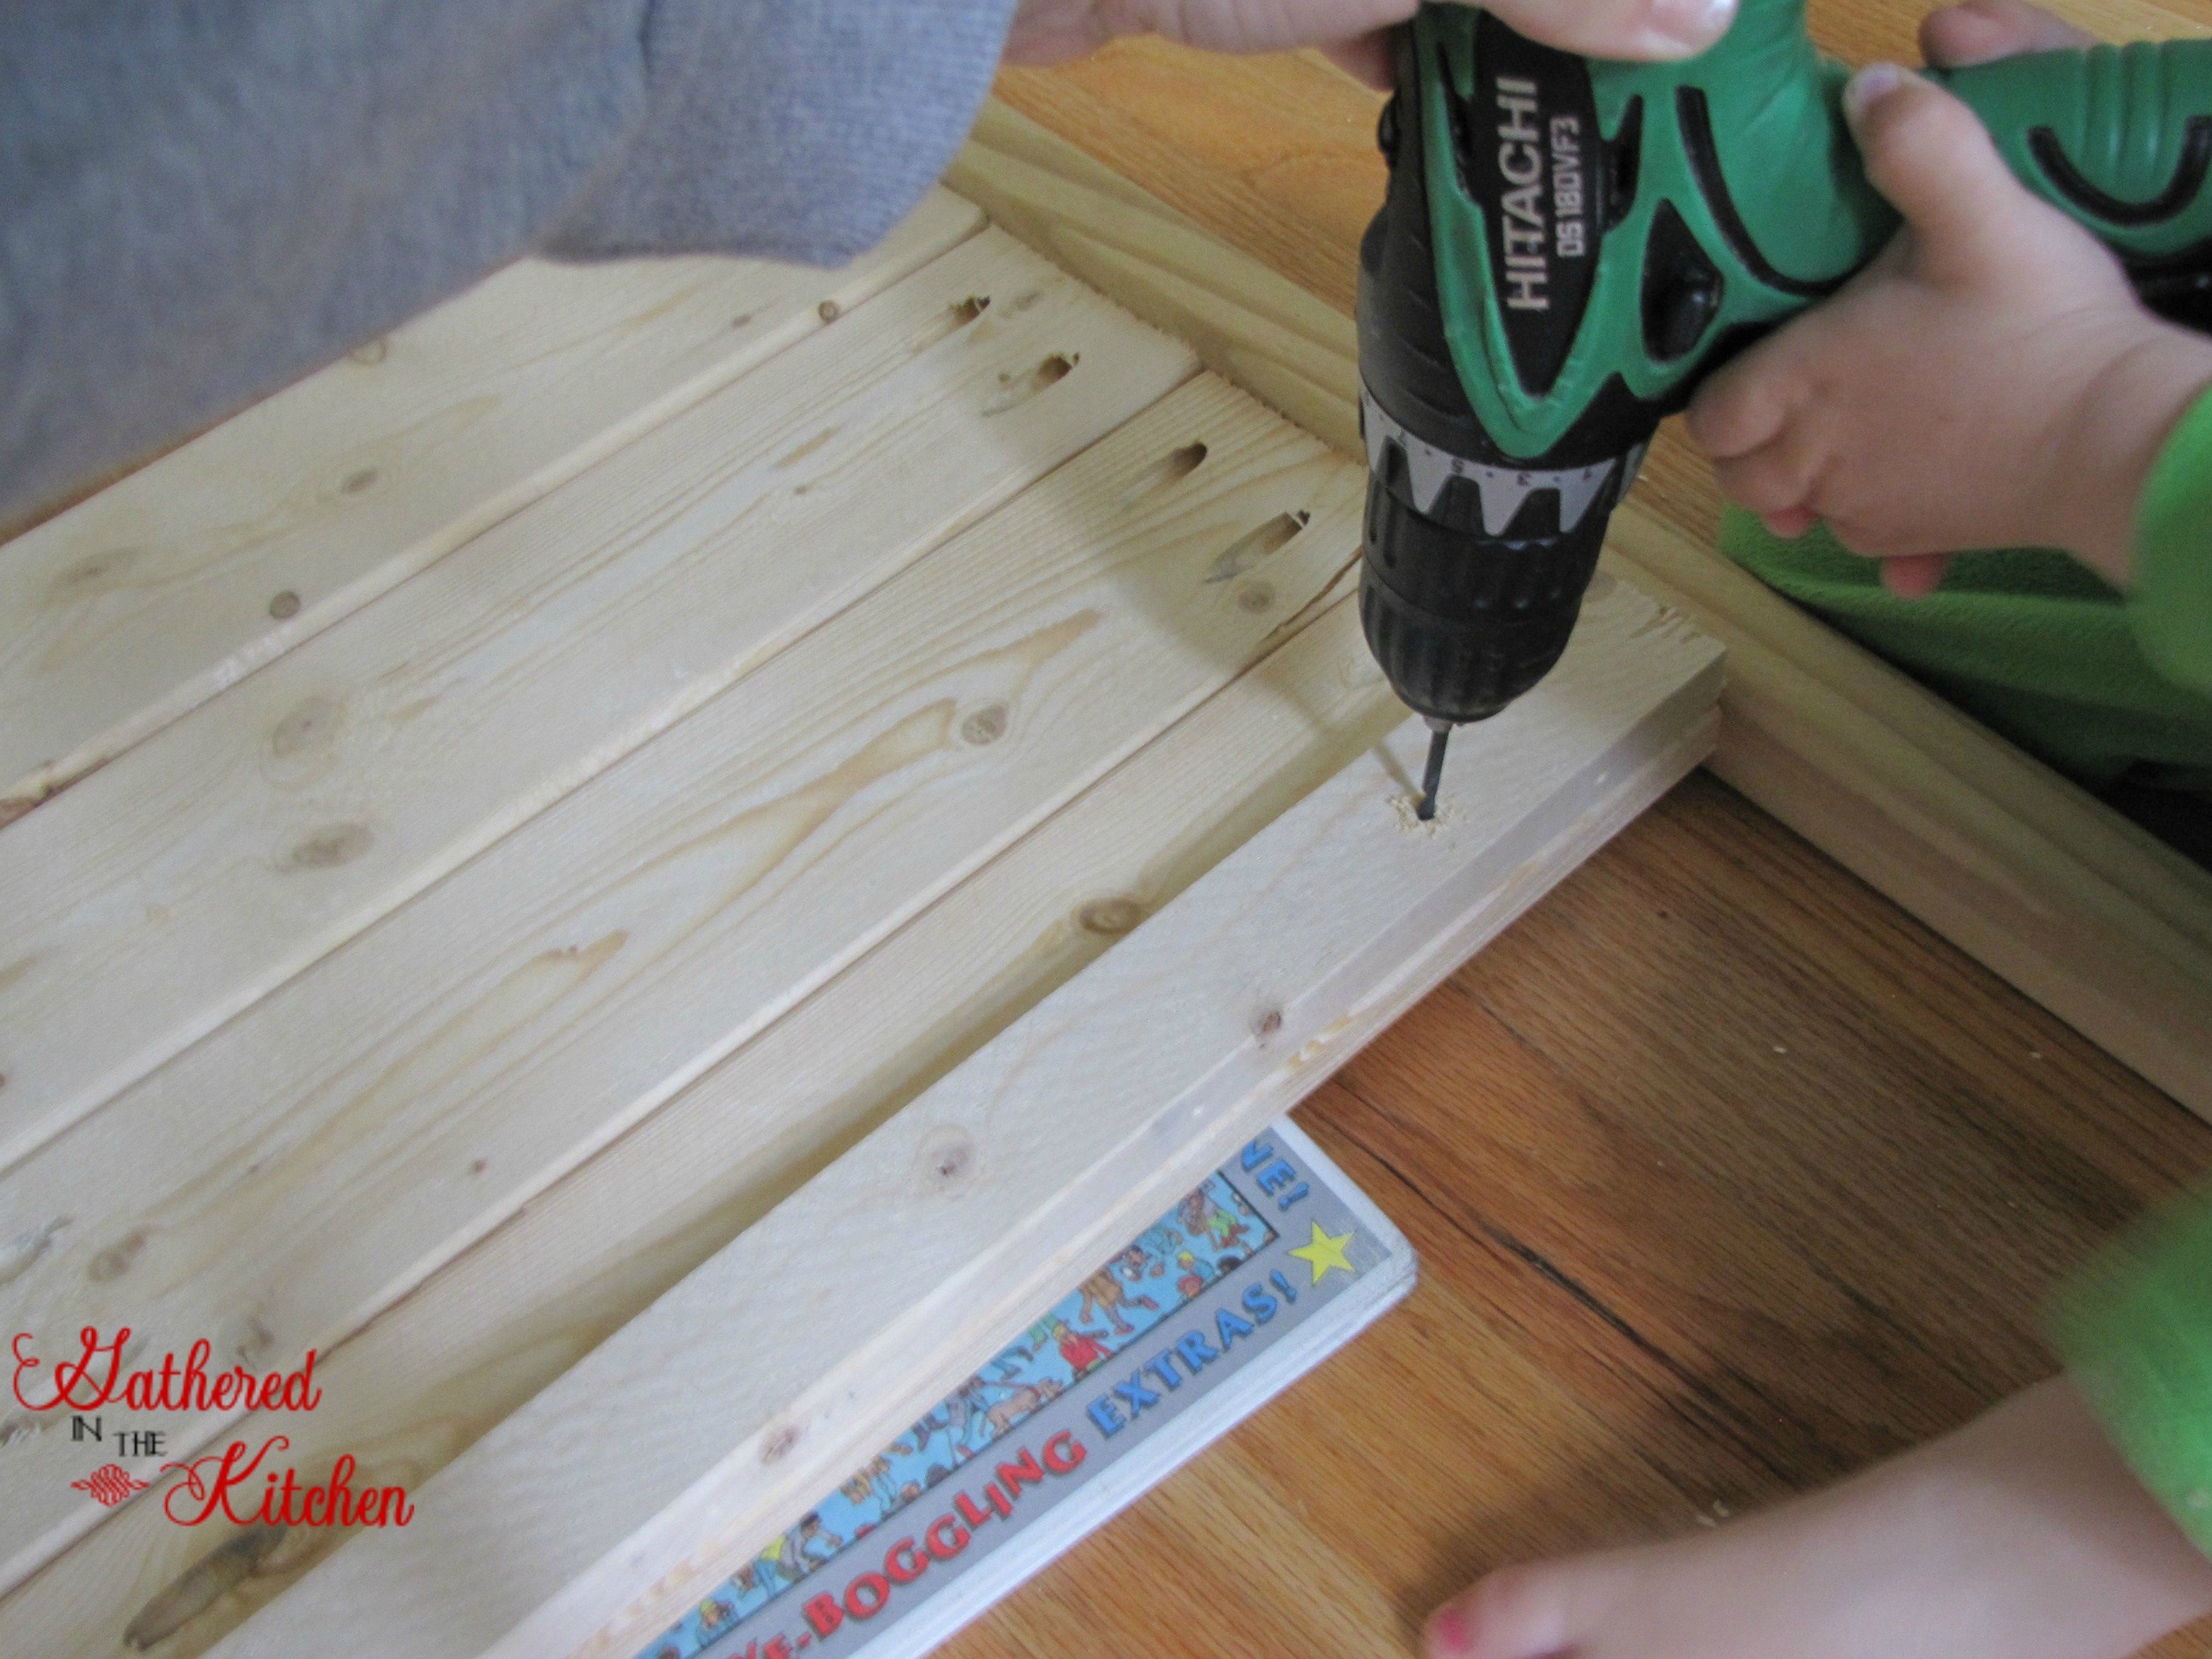
On my 2×2 I measured down 1.5″ and marked it off. I wanted my top board to start below the mark.

I used this library book as a spacer to help make my boards even/in the middle on the 2×2. I used the square Kreg drill bit with the Kreg Pocket Hole Course Screws (they are pre-drilling so you don’t have to pre-drill holes in the 2×2 – such a time saver!!)
We then pre-drilled and screwed in 1 1×2 cleat on each of the two completed sides. You will build 2 of these sides.
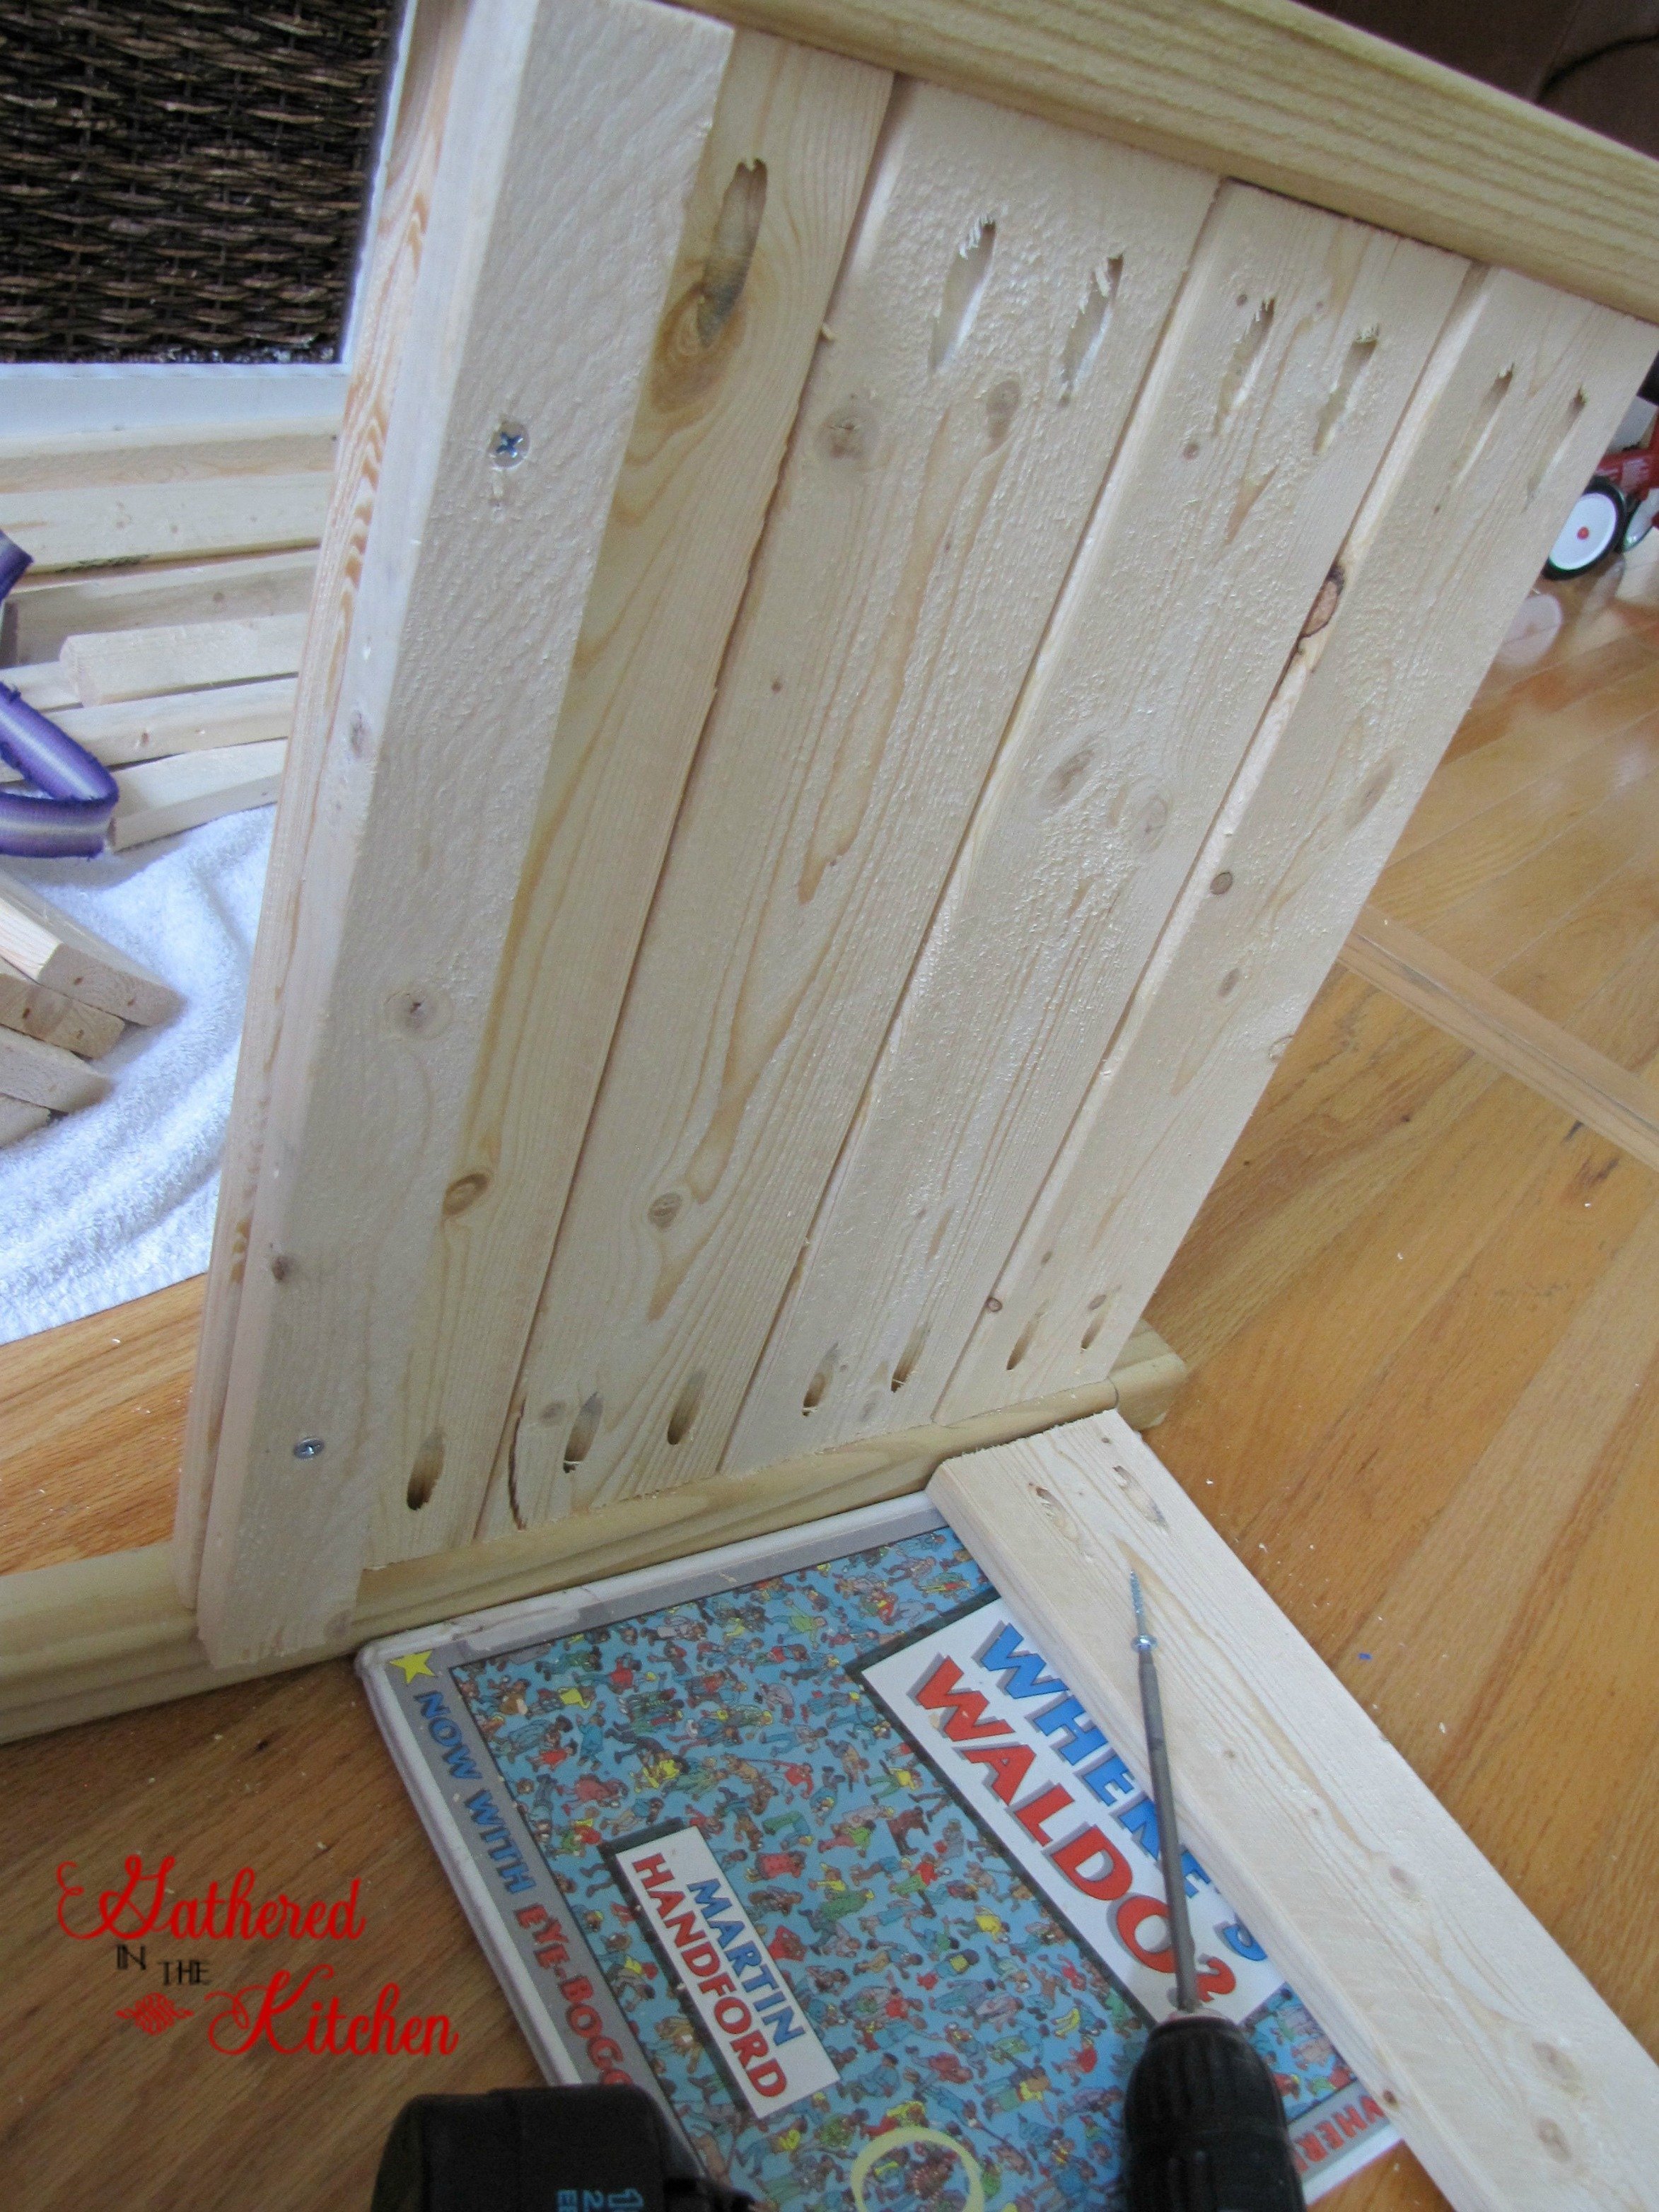
Next turn your completed side up and start attaching the boards for the next side. Continue until you have a square!

Ta Da!

Pre-drill holes in the top of the 2x2s for the finials
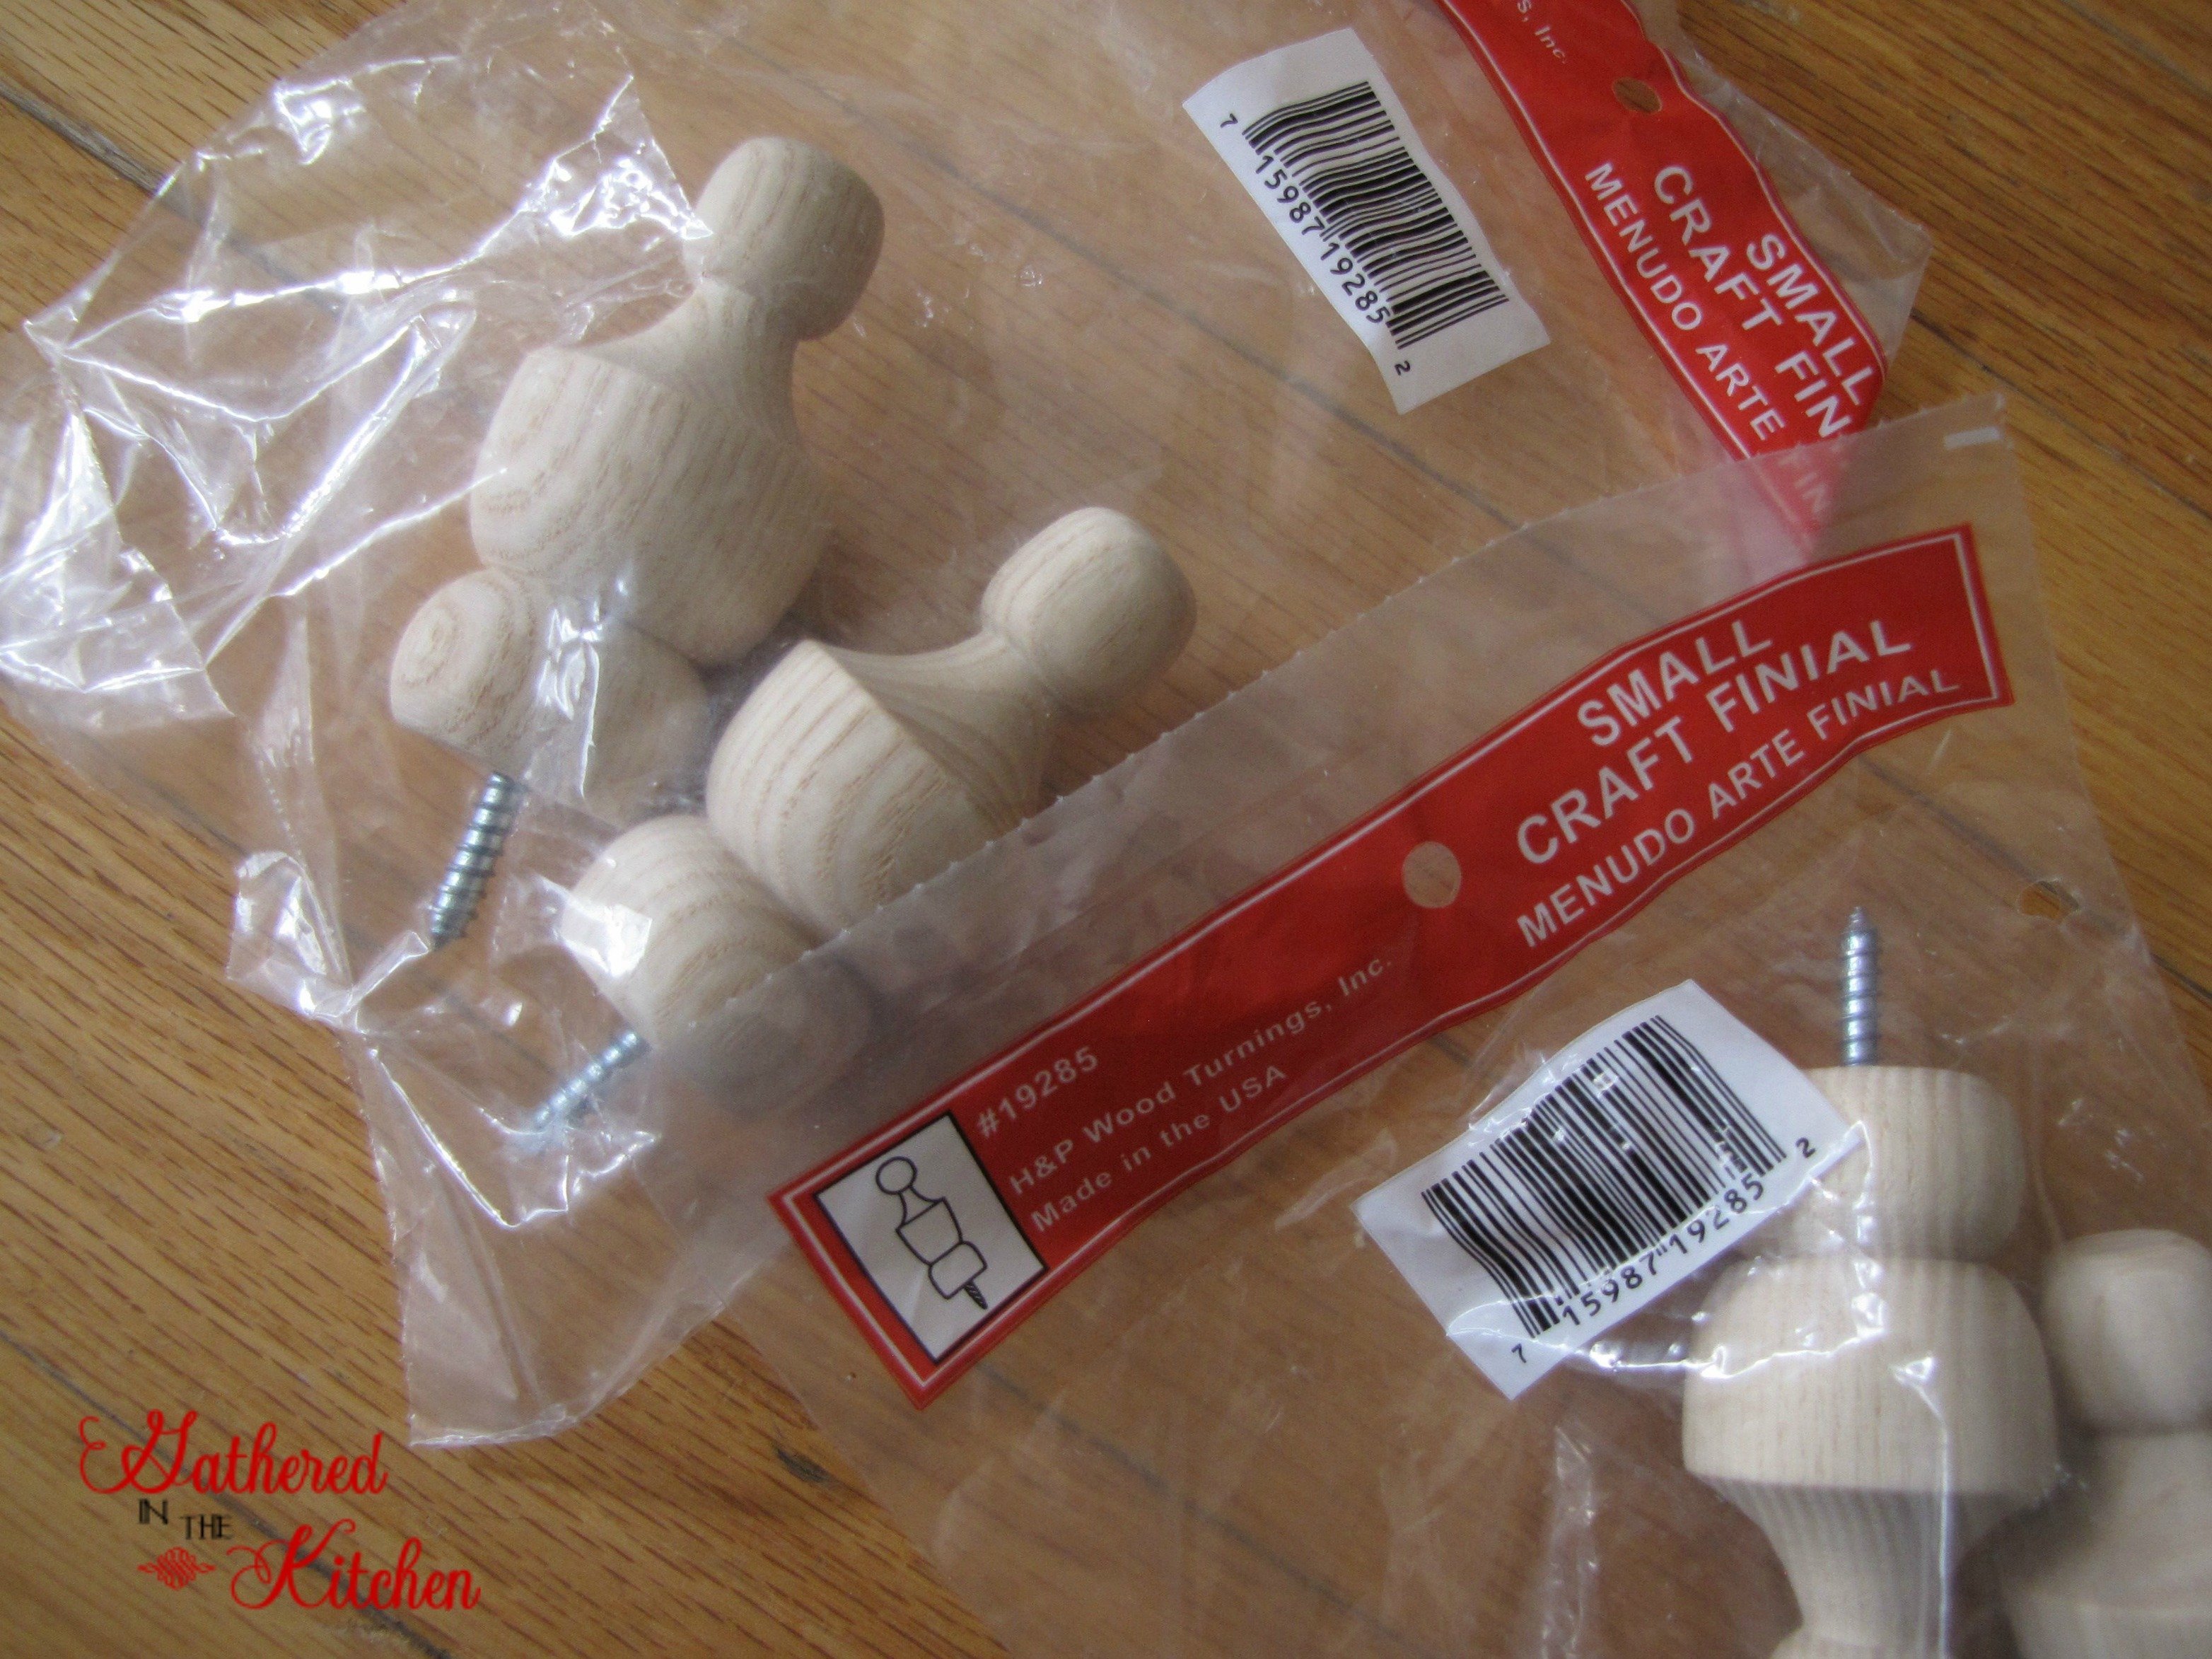
I bought these on clearance at Lowes about 2 months ago for $0.98 a pack! Twist them by hand into the pre-drilled holes

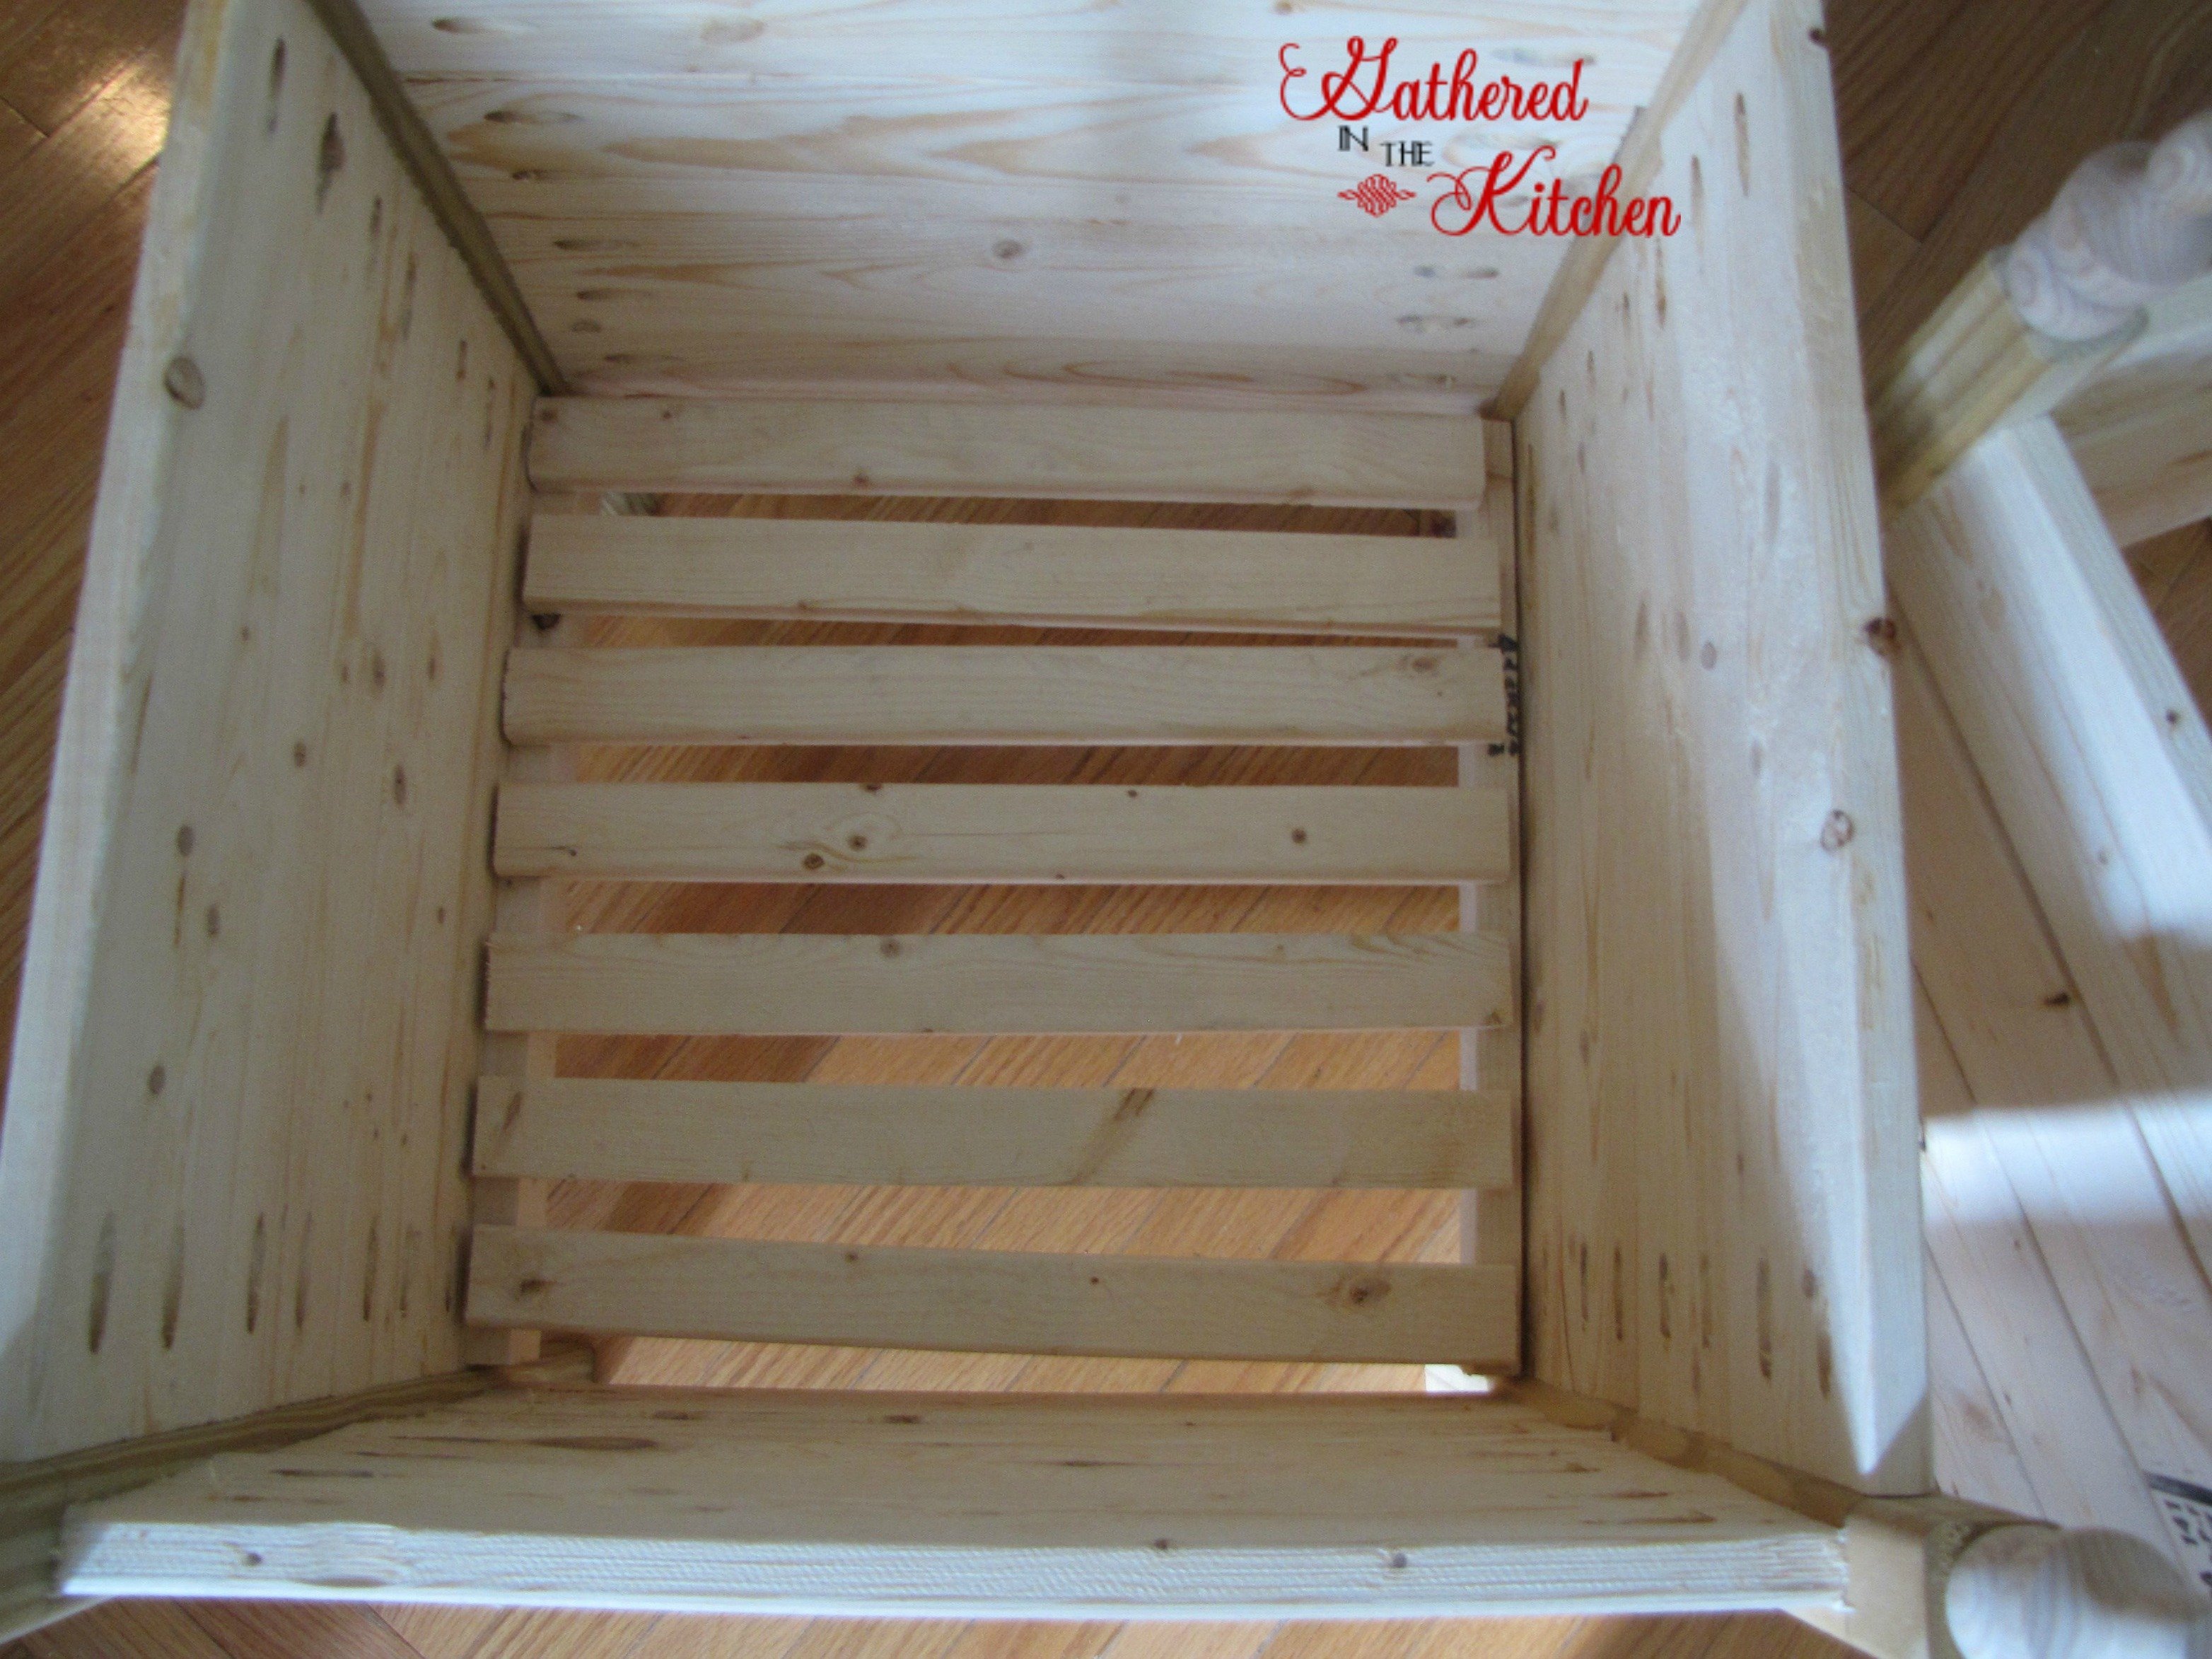
Lay the 1x2s along the bottom cleats
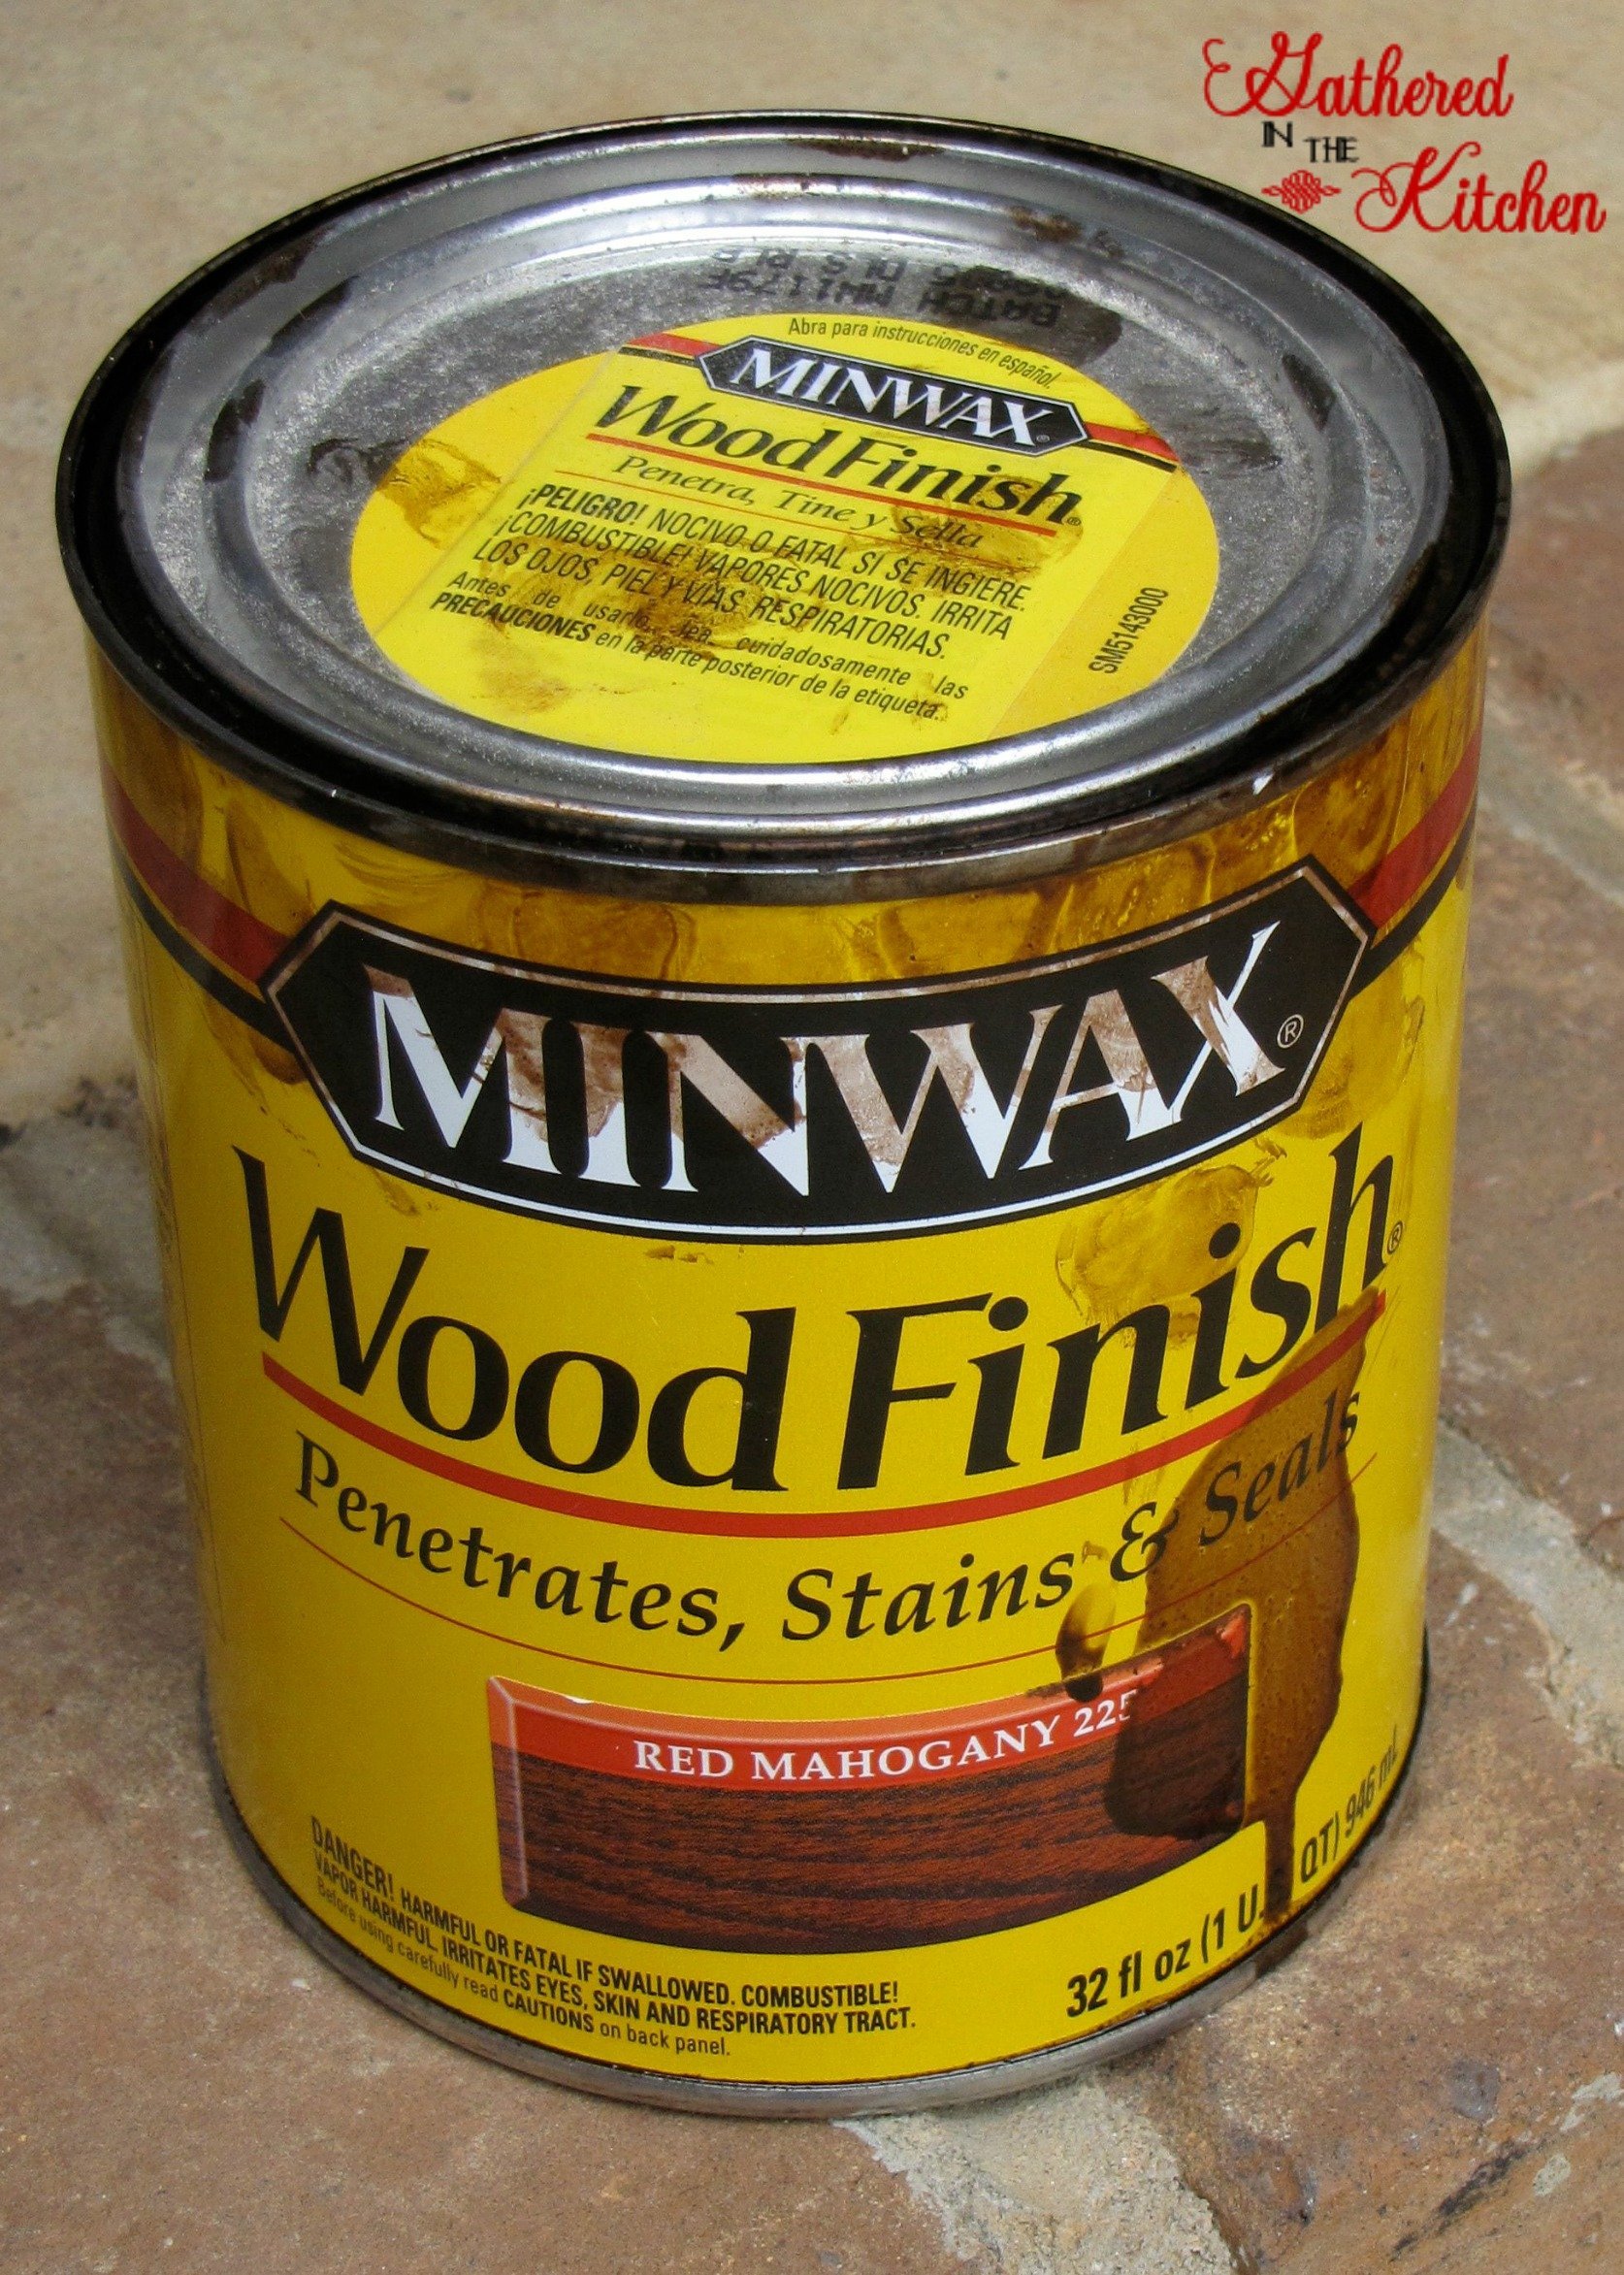
Grab stain and seal them to make them beautiful!
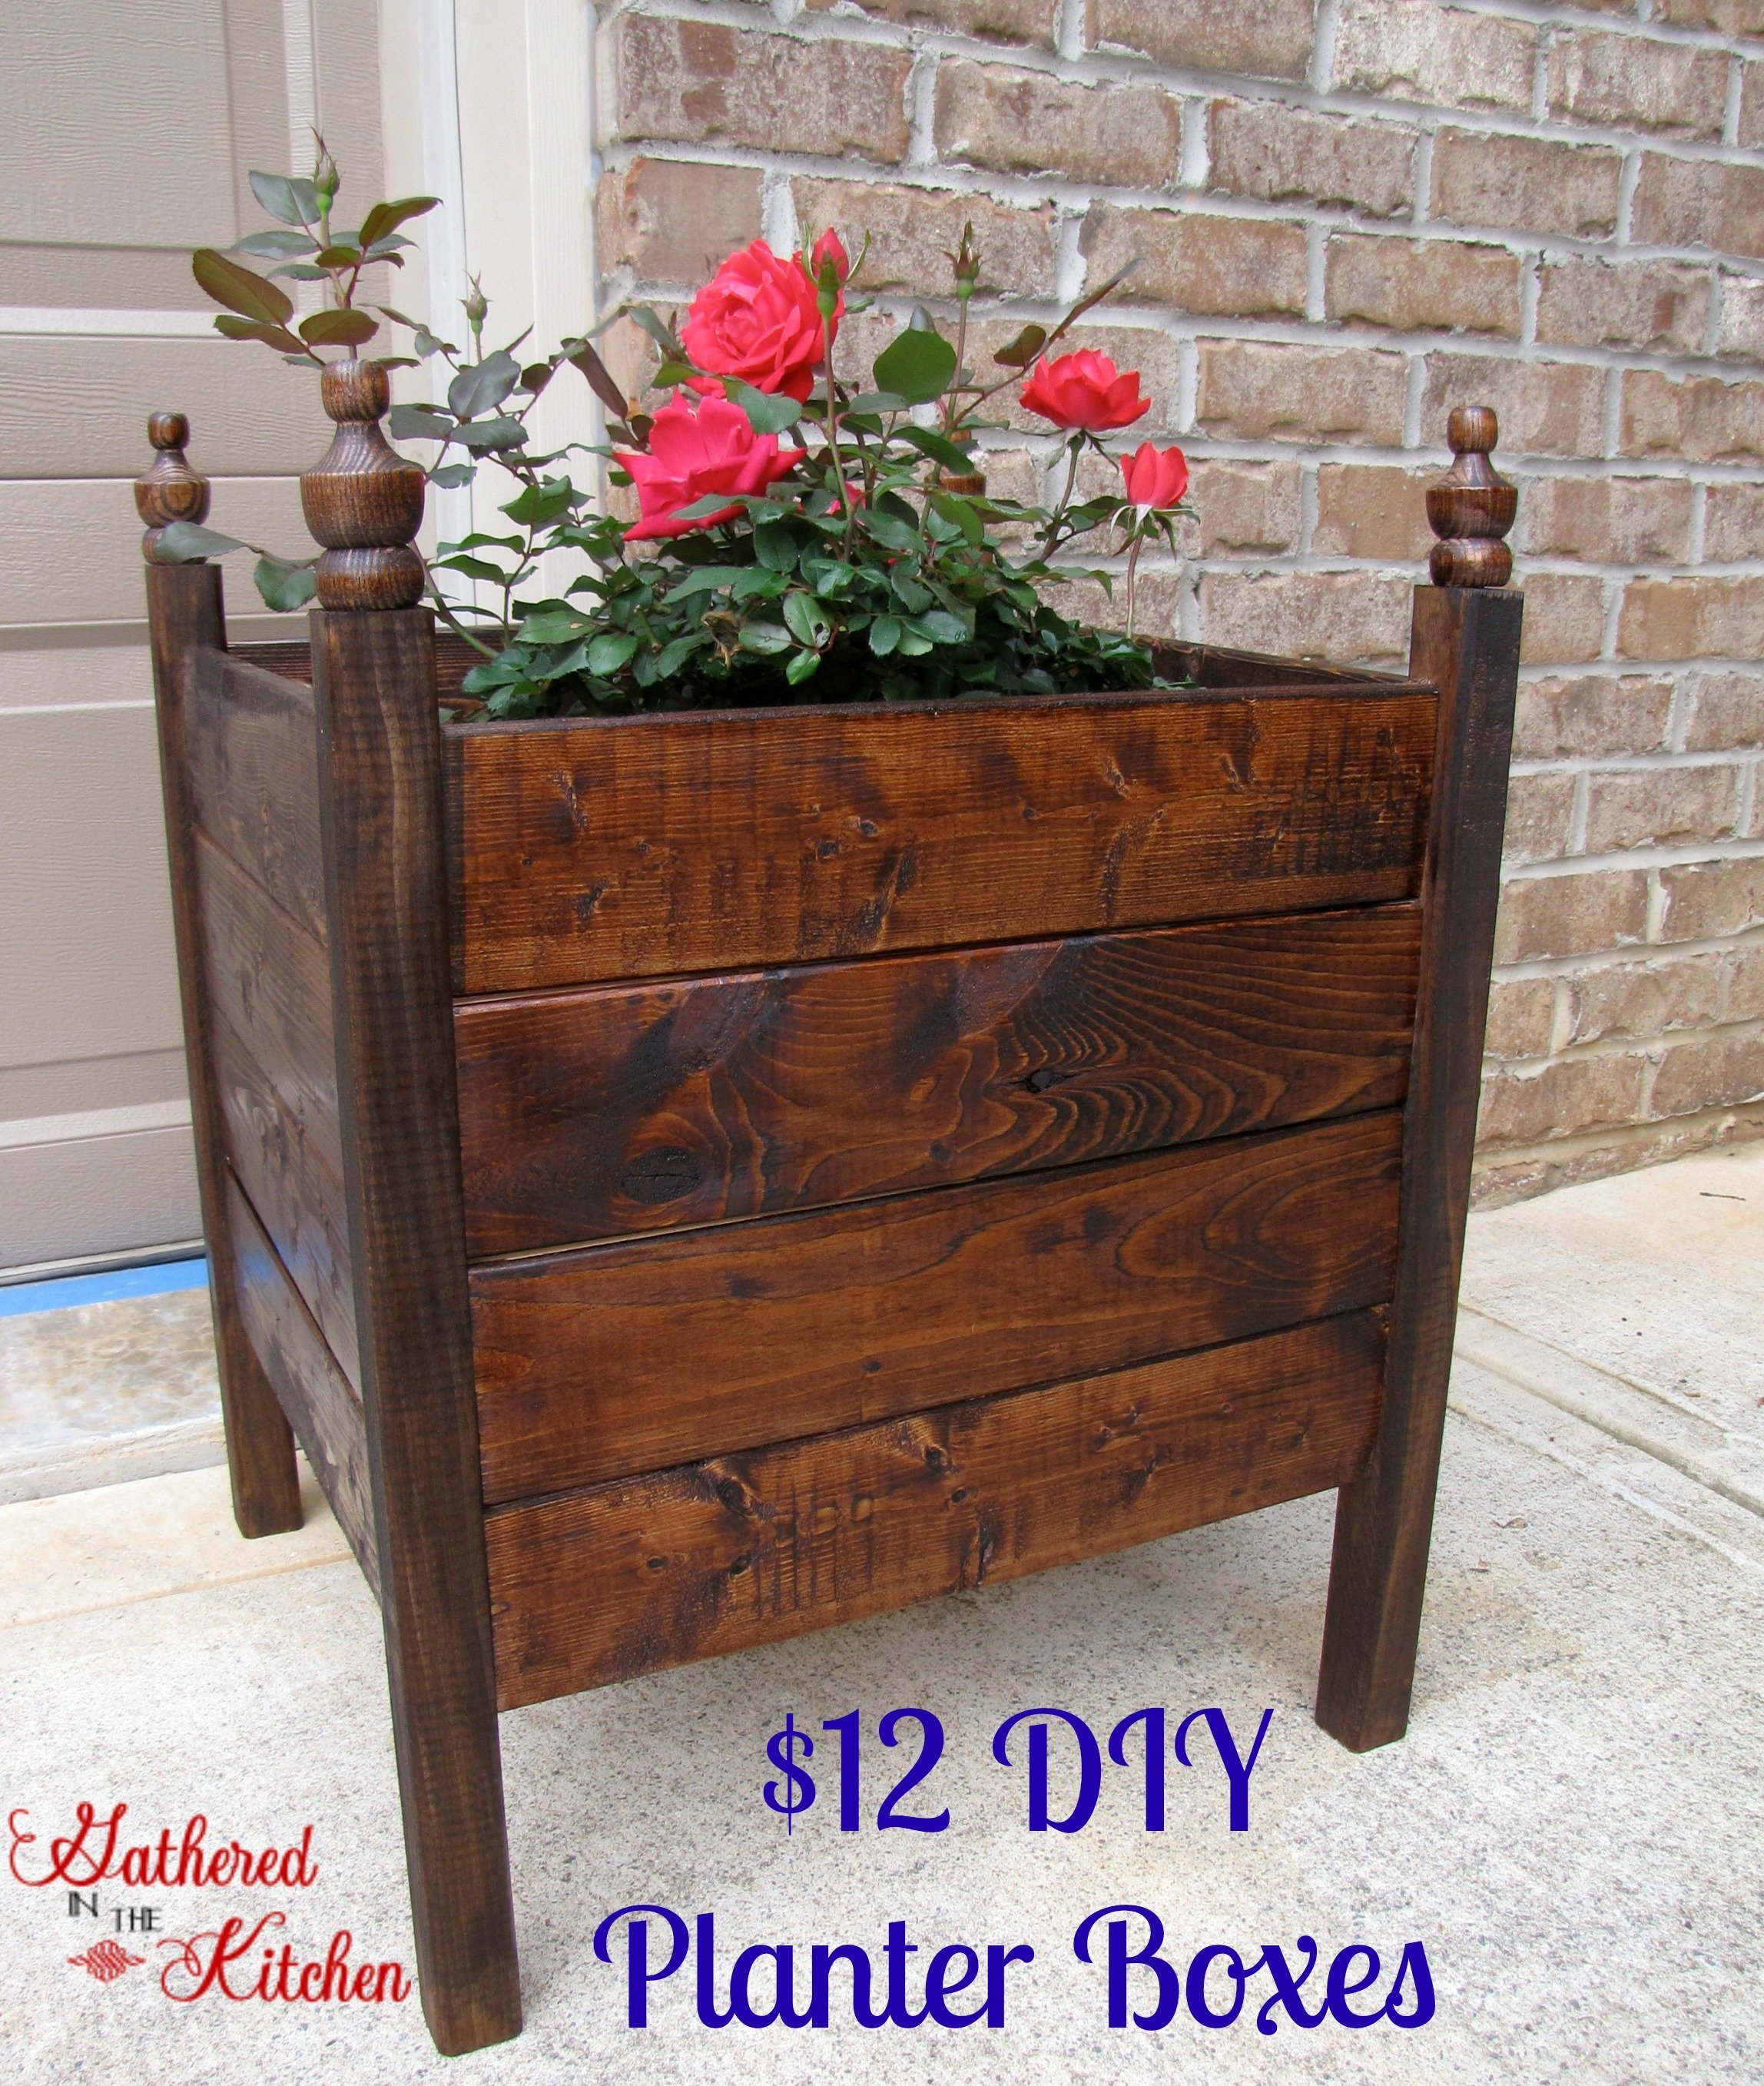
I placed one on either side of my garage door

I would love for you to PIN this and email me pictures of the planters you create!!
You Will Also Love…
Garage Door Makeover – Before and After

Transform Your Garden Today with These Easy Projects

Garage Door Makeover – Before and After


Stephanie—home cook, DIY addict, seasonal decor fanatic, and proud chicken wrangler living in a Victorian house that’s always a project. Whether I’m cooking with garden-fresh ingredients, herding mischievous chickens, or tackling another DIY, I’m here to share the fun (and chaos).


I LOVE that planter!! It’s really very, very nice!!! I don’t think I could make one myself. Our Lowes no longer cuts wood for you and I don’t have the tools to cut the wood myself. I also don’t have the tool to make the screw holes. By time I bought the equipment, it would cost me a LOT of money! You should make those and sell them at a flea market. You could easily get $39.99 for them.
Things must be a lot less expensive there because I recently bought 4 plain round finials and they cost me almost $12 just for that. I replaced the ceramic ones on my daybed with wooden finials and painted them a shiny black to match the black bedspread. It would probably cost a good $30 just to make that box here. Even at that, it would be worth it.
THANKS!!! Finials can be really expensive!! Most of them are…the ones I used are pretty small AND they were on clearance! I knew I wanted to make this project so I stocked up on them when I saw they were such a great price!!
As far as the rest of the wood goes, I used furring strips (which are long thin strips of wood or metal used to make backing surfaces to support the finished surfaces in a room – aka REALLY cheap wood) – since they are not used for appearance they are often really crummy (ie: knots, warped, dings, etc) – you have to go through several pieces of wood to find some that will be sufficient for a project that will have them showing. If I would have used whitewood, pine, oak, etc they cost would have been much more expensive (even if I used the whitewood which is the cheapest option…almost double what I paid overall – I did a price comparison at the store).
That is a major bummer that your store doesn’t cut wood anymore 🙁 We’ve allllways cut our own, but with being SO pregnant and having 2 little kids at home I didn’t want to run the saw for that many cuts without my husband home. Thankfully my husband is very handy and enjoys all of these types of projects as well so we’ve got ourselves covered with the tools! *I told him too we should sell them! 🙂
How do you keep dirt and water from making a mess? Friend has offered me some crates almost just like this that would stain beautifully just unsure what to do about bottom.
I placed a large garbage bag underneath the dirt/on top of the wooden slats…and poked holes in n it for the water to drain out
How did the minwax hold up outside? I am making these, but I’ve never used minwax on something that will be exposed to rain, etc.
Hi Rachel – not great. I have had to restrain them every year. I should have used an exterior stain but just used what I had on hand at the time.
This is fantastic!!
These are neat! I love DIY projects especially ones that don’t cost a ton. Thanks for sharing this at the #HomeMattersParty. We hope to see you again this Friday.
Thanks for sharing this Stephanie. It was exactly what I was looking for. I can’t wait to make them. Jessica
You will certainly get a complete web link file in CSV style upon completion, yet the most effective way is to just examine your favorite backlink checker device.
If you have constructed a much larger planter box, you should consider adding a few more drainage holes.
I like these ideas and so economical. Very creative!
Thank you!!