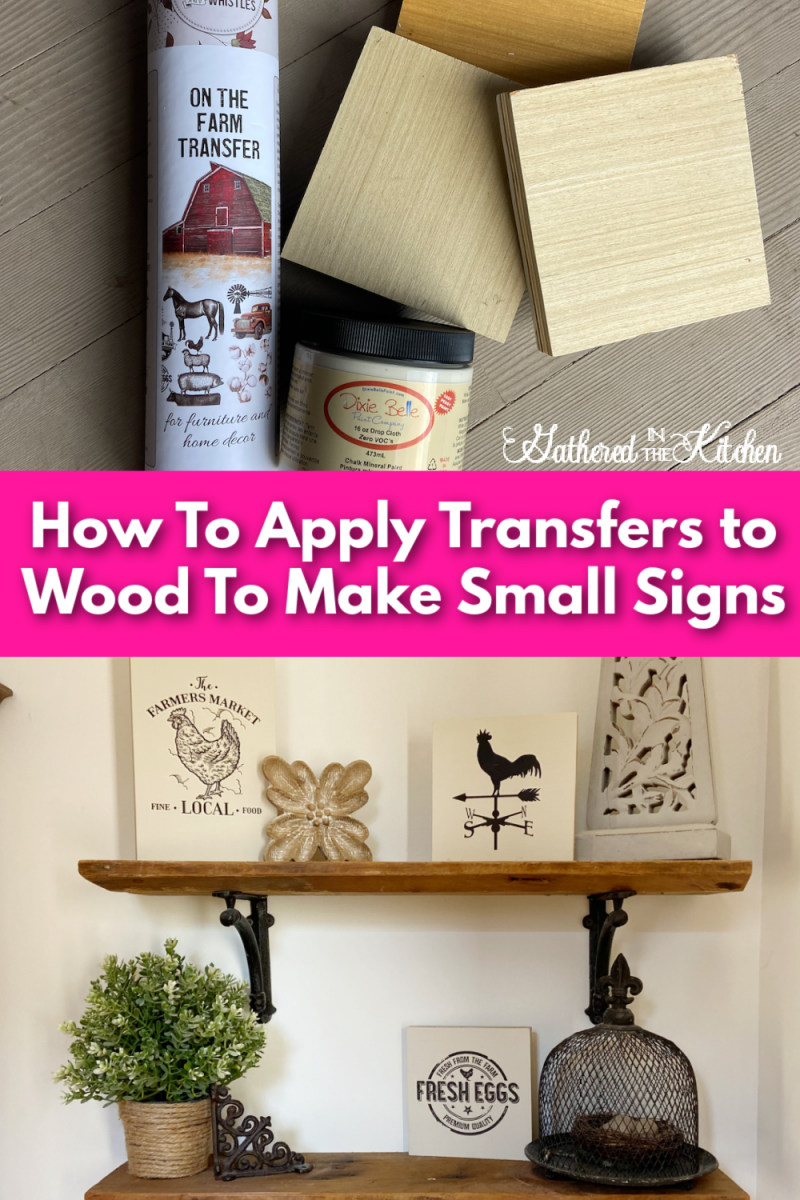
How To Apply Transfers to Wood To Make Small Signs
Have you ever needed a small sign to add to your shelf decor? I run into this problem all of the time. Finding a small sign that fits on my shelves can be a challenge…until I decided to make my very own signs using decorative transfers and scrap pieces of wood. Now I never run into the issue of not being able to find small enough wooden signs!
Let me show you what I made!

If you follow me on Instagram, you’ve probably seen an abundance of chicken photos that I’ve been sharing! In fact, I actually started an Instagram account just of our chickens called Hobby Farm Chickens. I highly encourage you to check it out if you like videos of cute creatures! 🐓
Because my love for our backyard chickens has exceeded anything I would have thought, I now want to decorate my entire house with chickens – haha just kidding…kind of.
This post may contain affiliate links, which means I’ll receive a commission if you purchase through my link, at no extra cost to you. Please read full disclosure here.

My main floor half bathroom needed a quick decor makeover, and I figured this would be the perfect place to incorporate some chickens!
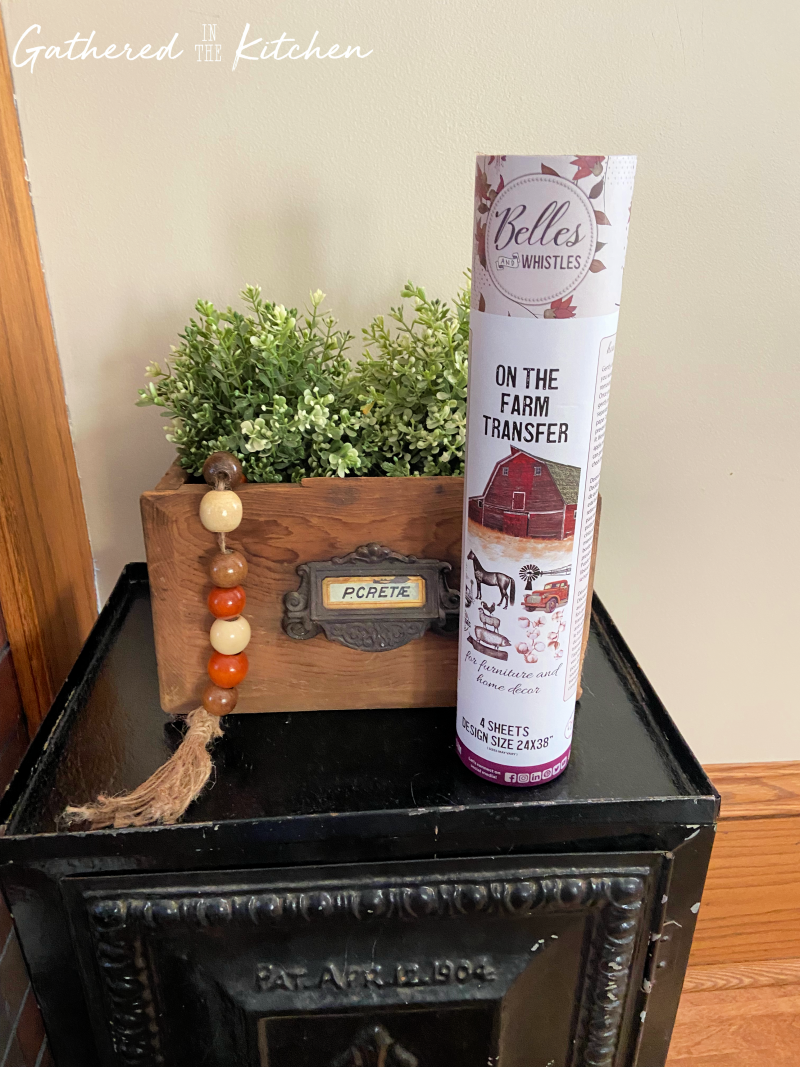
I already owned the Belles & Whistles ‘On The Farm’ transfer from when I made the large wooden horse sign for my daughter’s horse riding instructor for Christmas. I remembered that there were several chicken related transfers in that pack that I did not use. So, I gathered up a few scrap pieces of wood and got busy making custom decor for my bathroom!
It took me less than 10 minutes to complete the entire project…and that included videoing the process so I could show you just how easy it is!
Check out: Before & After Projects Using Dixie Belle Chalk Paint
Supplies Needed
- scrap wood blocks – I happened to have several wooden blocks left over from another DIY project that I had already painted
- chalk paint – I love and used Dixie Belle Chalk Mineral paint in the color of Drop Cloth
- furniture transfer – I used Dixie Belle’s Belles & Whistles ‘On The Farm’ transfer
Step-by-Step Tutorial
Time needed: 30 minutes
- Paint wooden blocks
I painted one coat of chalk paint and then let the paint fully dry before moving on to the next step.
- Cut out transfer designs
Unroll the sheets of transfer designs and cut out the design you want to use. Be sure to keep the white wax-like paper backing on the design. Otherwise, your design will stick to everything and be ruined before you apply it to your wood
- Remove the wax-like paper backing
Once your design is cut out, remove the wax-like paper backing from the transfer. You will be left with the design on a clear (ish) piece of plastic
- Apply the transfer
Place the transfer on the wood block where you would like it. Use a tape measure to ensure your design is straight, if desired. Using the tongue-like compressor that comes in the package, apply pressure all over the design until it sticks to the wood. Slowly remove the plastic sheet ensuring that your design has fully secured to the wood. If needed, rub the tongue compressor over the design as your slowly peel away the plastic sheet
Video Tutorial


PIN This Project for Later!
FAQs
Can you overlap furniture transfers?
Yes! You definitely can overlap furniture transfers.
How to seal furniture transfers?
I personally never seal my transfers because I’m not using them in high traffic areas. However if you were to use a transfer on a table, like I did with the Magnolia transfer on a drum table, then you can seal the transfers using a water based product called Dixie Belle Gator Hide.
More DIY Projects with Transfers
Click each photo below for the tutorial!


Stephanie—home cook, DIY addict, seasonal decor fanatic, and proud chicken wrangler living in a Victorian house that’s always a project. Whether I’m cooking with garden-fresh ingredients, herding mischievous chickens, or tackling another DIY, I’m here to share the fun (and chaos).


These are so well done Stephanie. I can see it being both decorative as well as helping with organization in some projects.
Very cute signs. Your chicken is a beauty!
I have so many transfer odds and ends, this is a great idea to use them.
Love this idea. They would also make great gifts or little gift tags.
You are so right!! Those would be the cutest gift tags around! Thanks for the great idea!
Love them but not in the bathroom.