Foyer Renovation: Before & After
I love foyers – they’re the first room you see when you walk into a home and they can make or break the overall feel. I am a sucker for really big foyers. I love, like LOVE old homes that have super adorable, authentic front rooms – especially the ones with a separate entry way – like a double door entry way. But…we don’t have an old home so that’s out the door! 😉 (hardy har har). However, we do have a really great sized foyer with ridiculously tall ceilings. I’ll admit, I have a love/hate relationship with super tall ceilings. They look amazing! But they are such a huge pain in the hiney to decorate! Everything you put up on the walls looks so tiny, so it’s a challenge. (what a problem to have, I know! I sound kind of pathetic :-)).
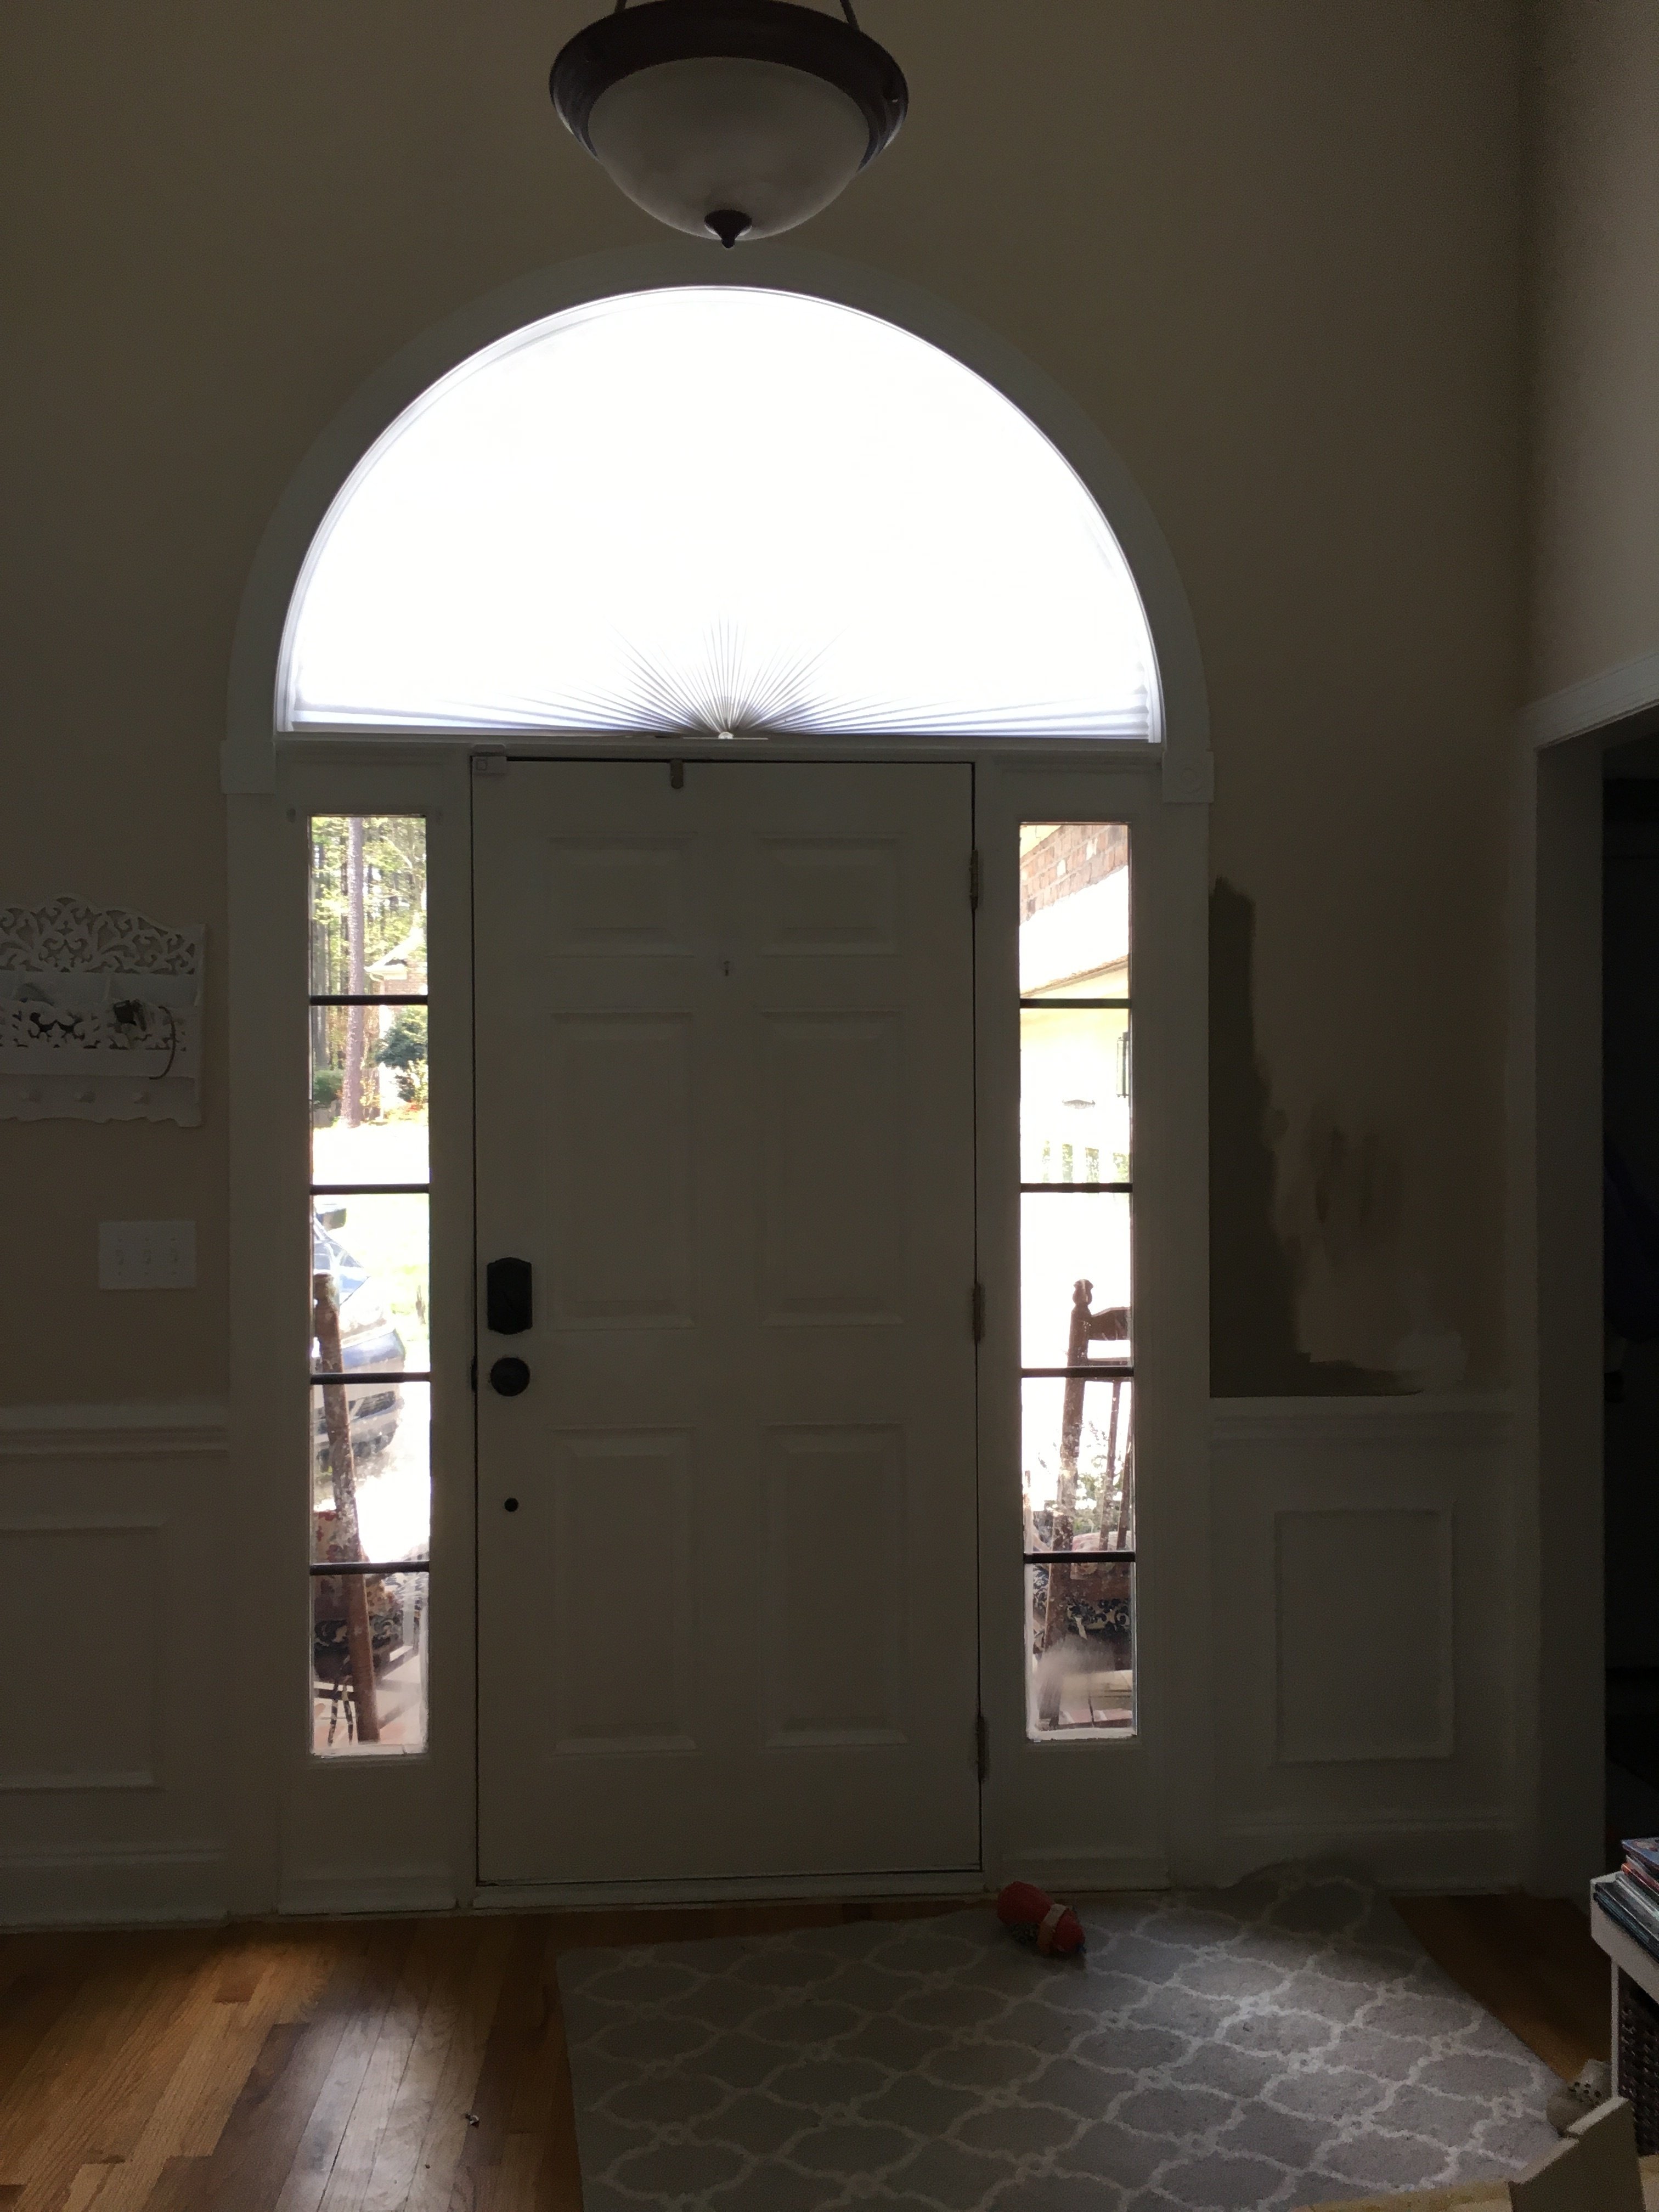
Before
When we first moved in this is what our foyer looked like…

It’s pretty…just needed some love 🙂
My biggest complaint about the foyer were the side light windows on either side of the door. They’re so pretty but seriously, who wants to see outside like that?!?! Not me!! It drove me bonkers and I was always freaked out. While I was trying to decide what to do about those windows (it’s taken me 3 years!!!) I had temporarily put up dark privacy window film to help from seeing in but…
This post may contain affiliate links, which means I’ll receive a commission if you purchase through my link, at no extra cost to you. Please read full disclosure here.
Daytime: Hello!! You can still totally see everything!
Nighttime: You can still see out/in!
It didn’t work. Honestly, it did not accomplish what I was wanting. I was still always freaked out. And let’s just get real, who the heck wants to be scared in their own home? Not this girl!
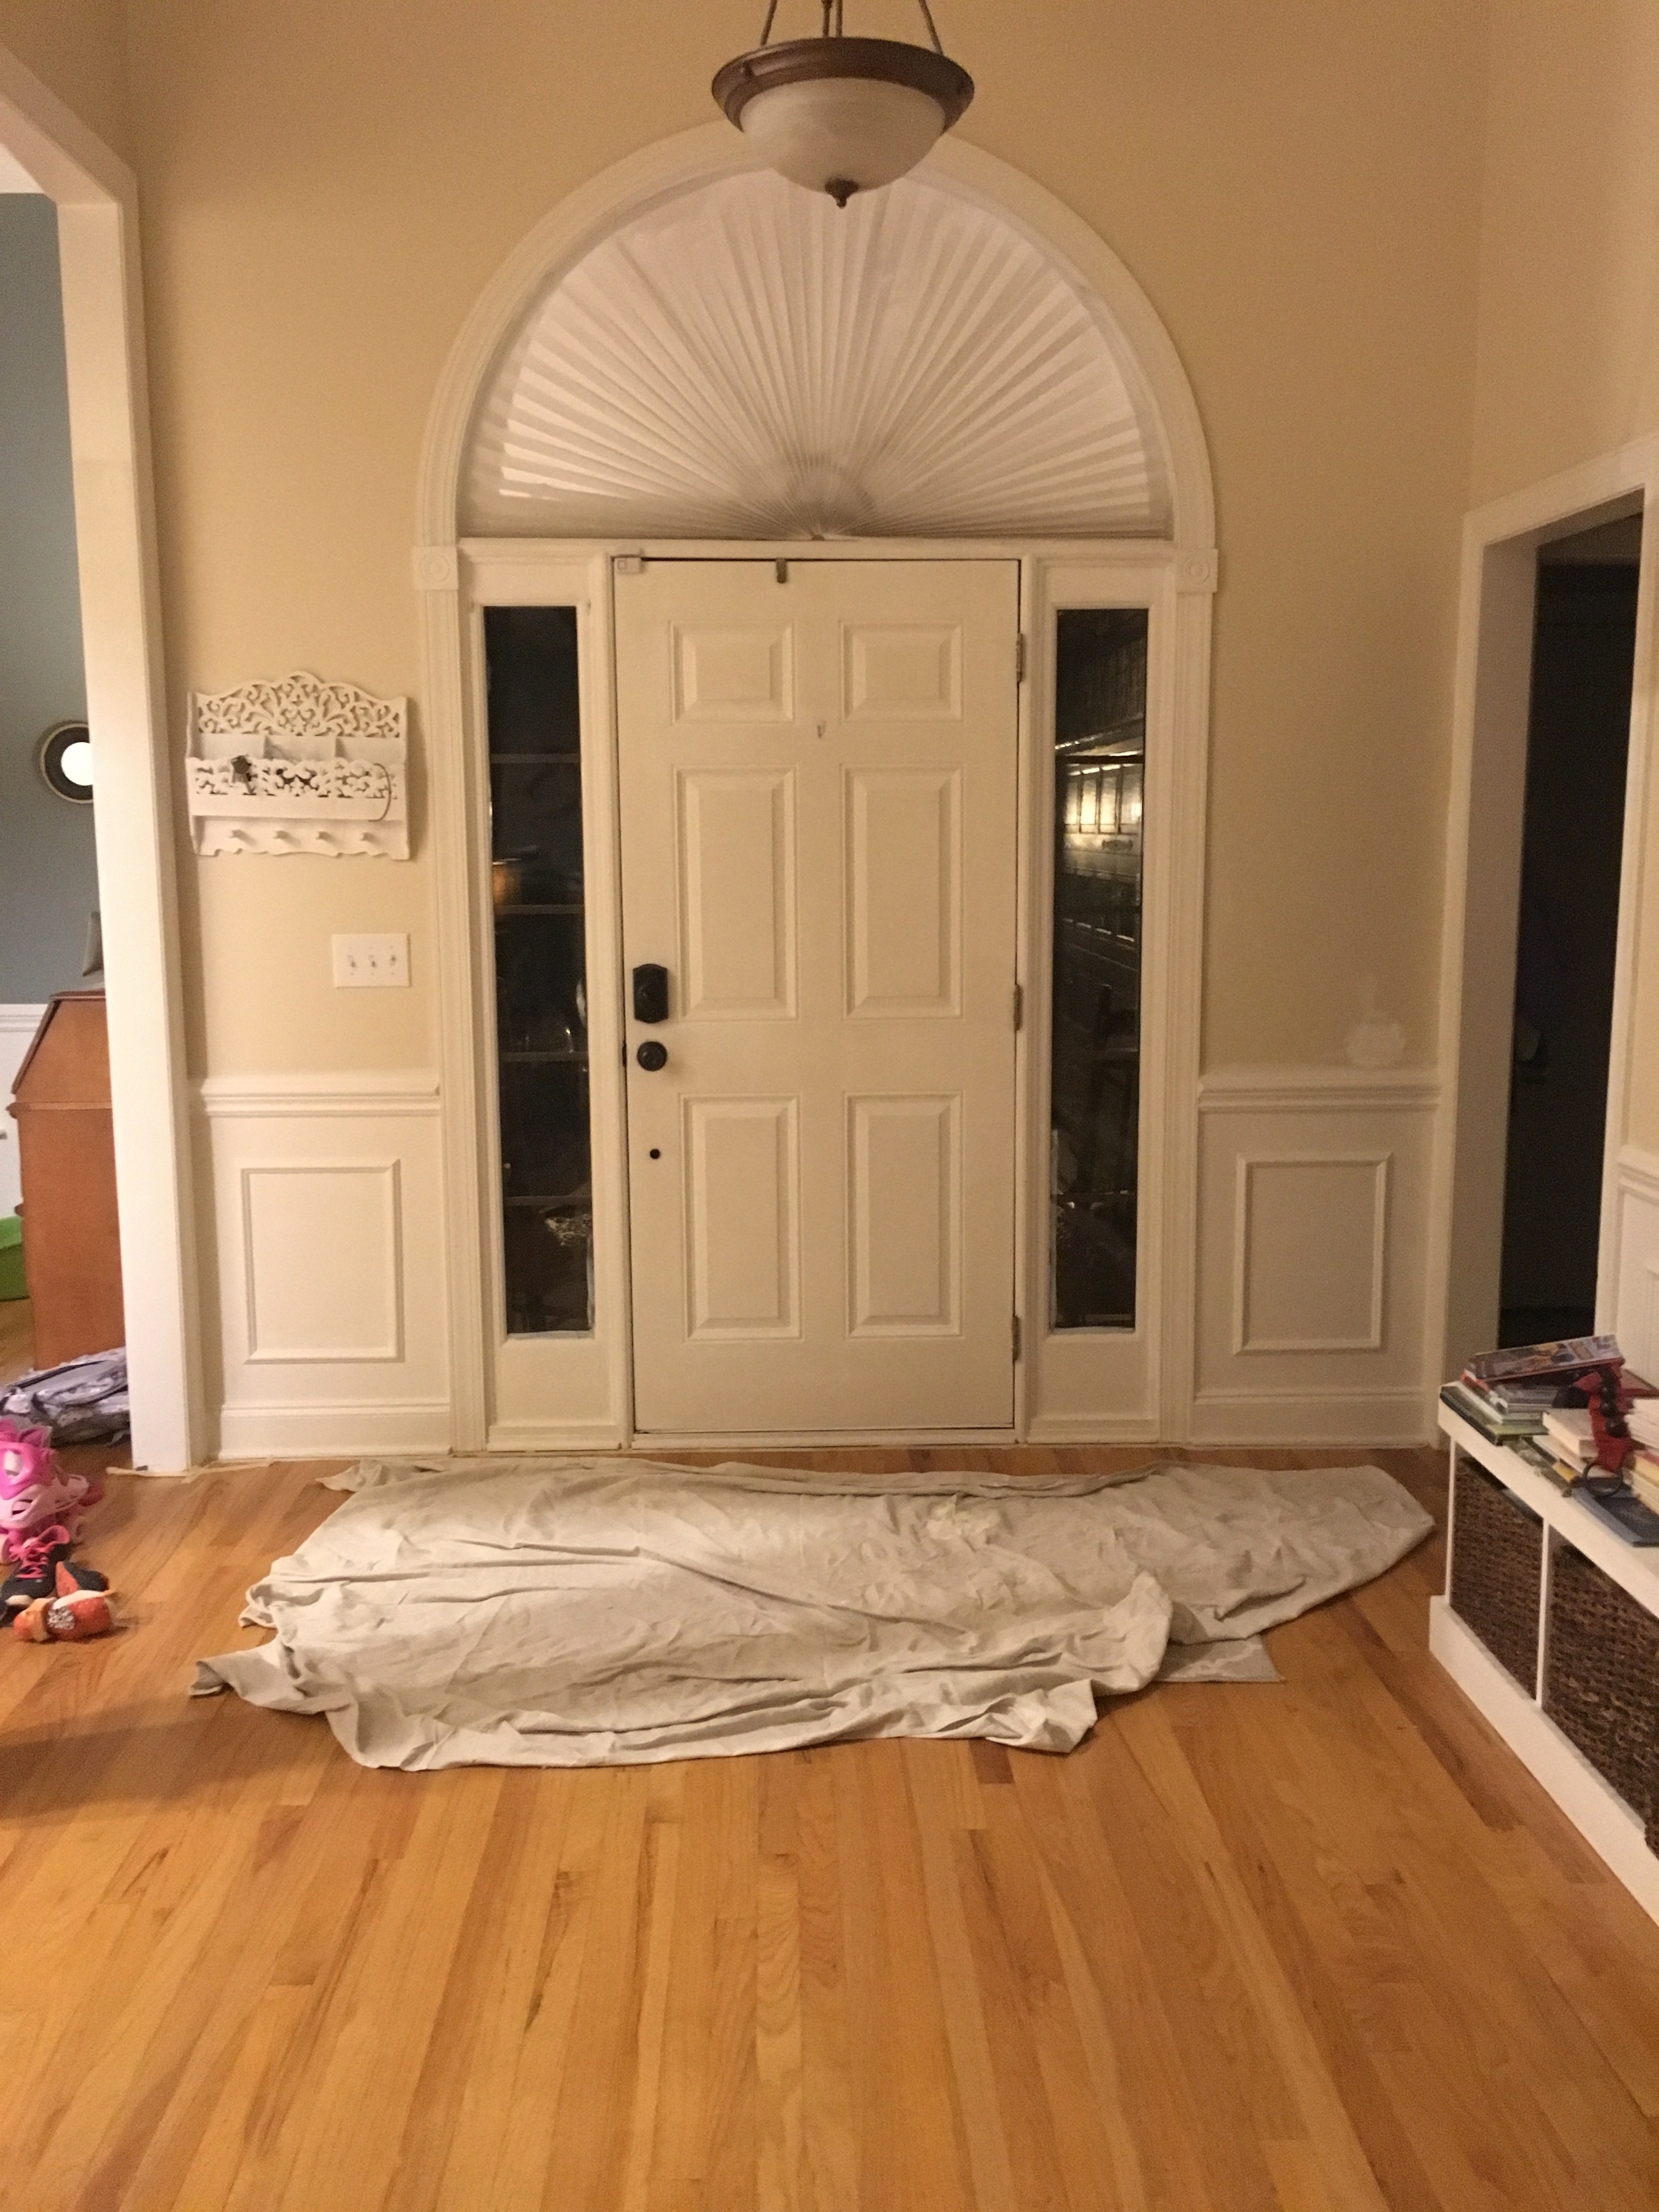
I wasn’t exactly sure what I was going to do with the windows when I started painting the walls. I was just so sick of the foyer walls because the previous home owners had made a decent sized hole in the wall (now that I’m looking at pictures from before we bought the house they must have done it when they were moving out, lol!) But 3 years of someone else’s hole in the wall had taken its toll on me and it was about time to say adios! (p.s I’m sure you’re wondering why the heck did you not fix it sooner than 3 years? Well, I have a very good reason…we’ve tackled 1934903403 other projects on the house first because major renovations are way more important than little holes! **we’re weird!)
After
Annnnyway, lets ‘s just get to the fun details! On the large wall I hung a shelf that my hubby made back at house #1 and a shoe bench (here’s the building plans) that he made at house #2.


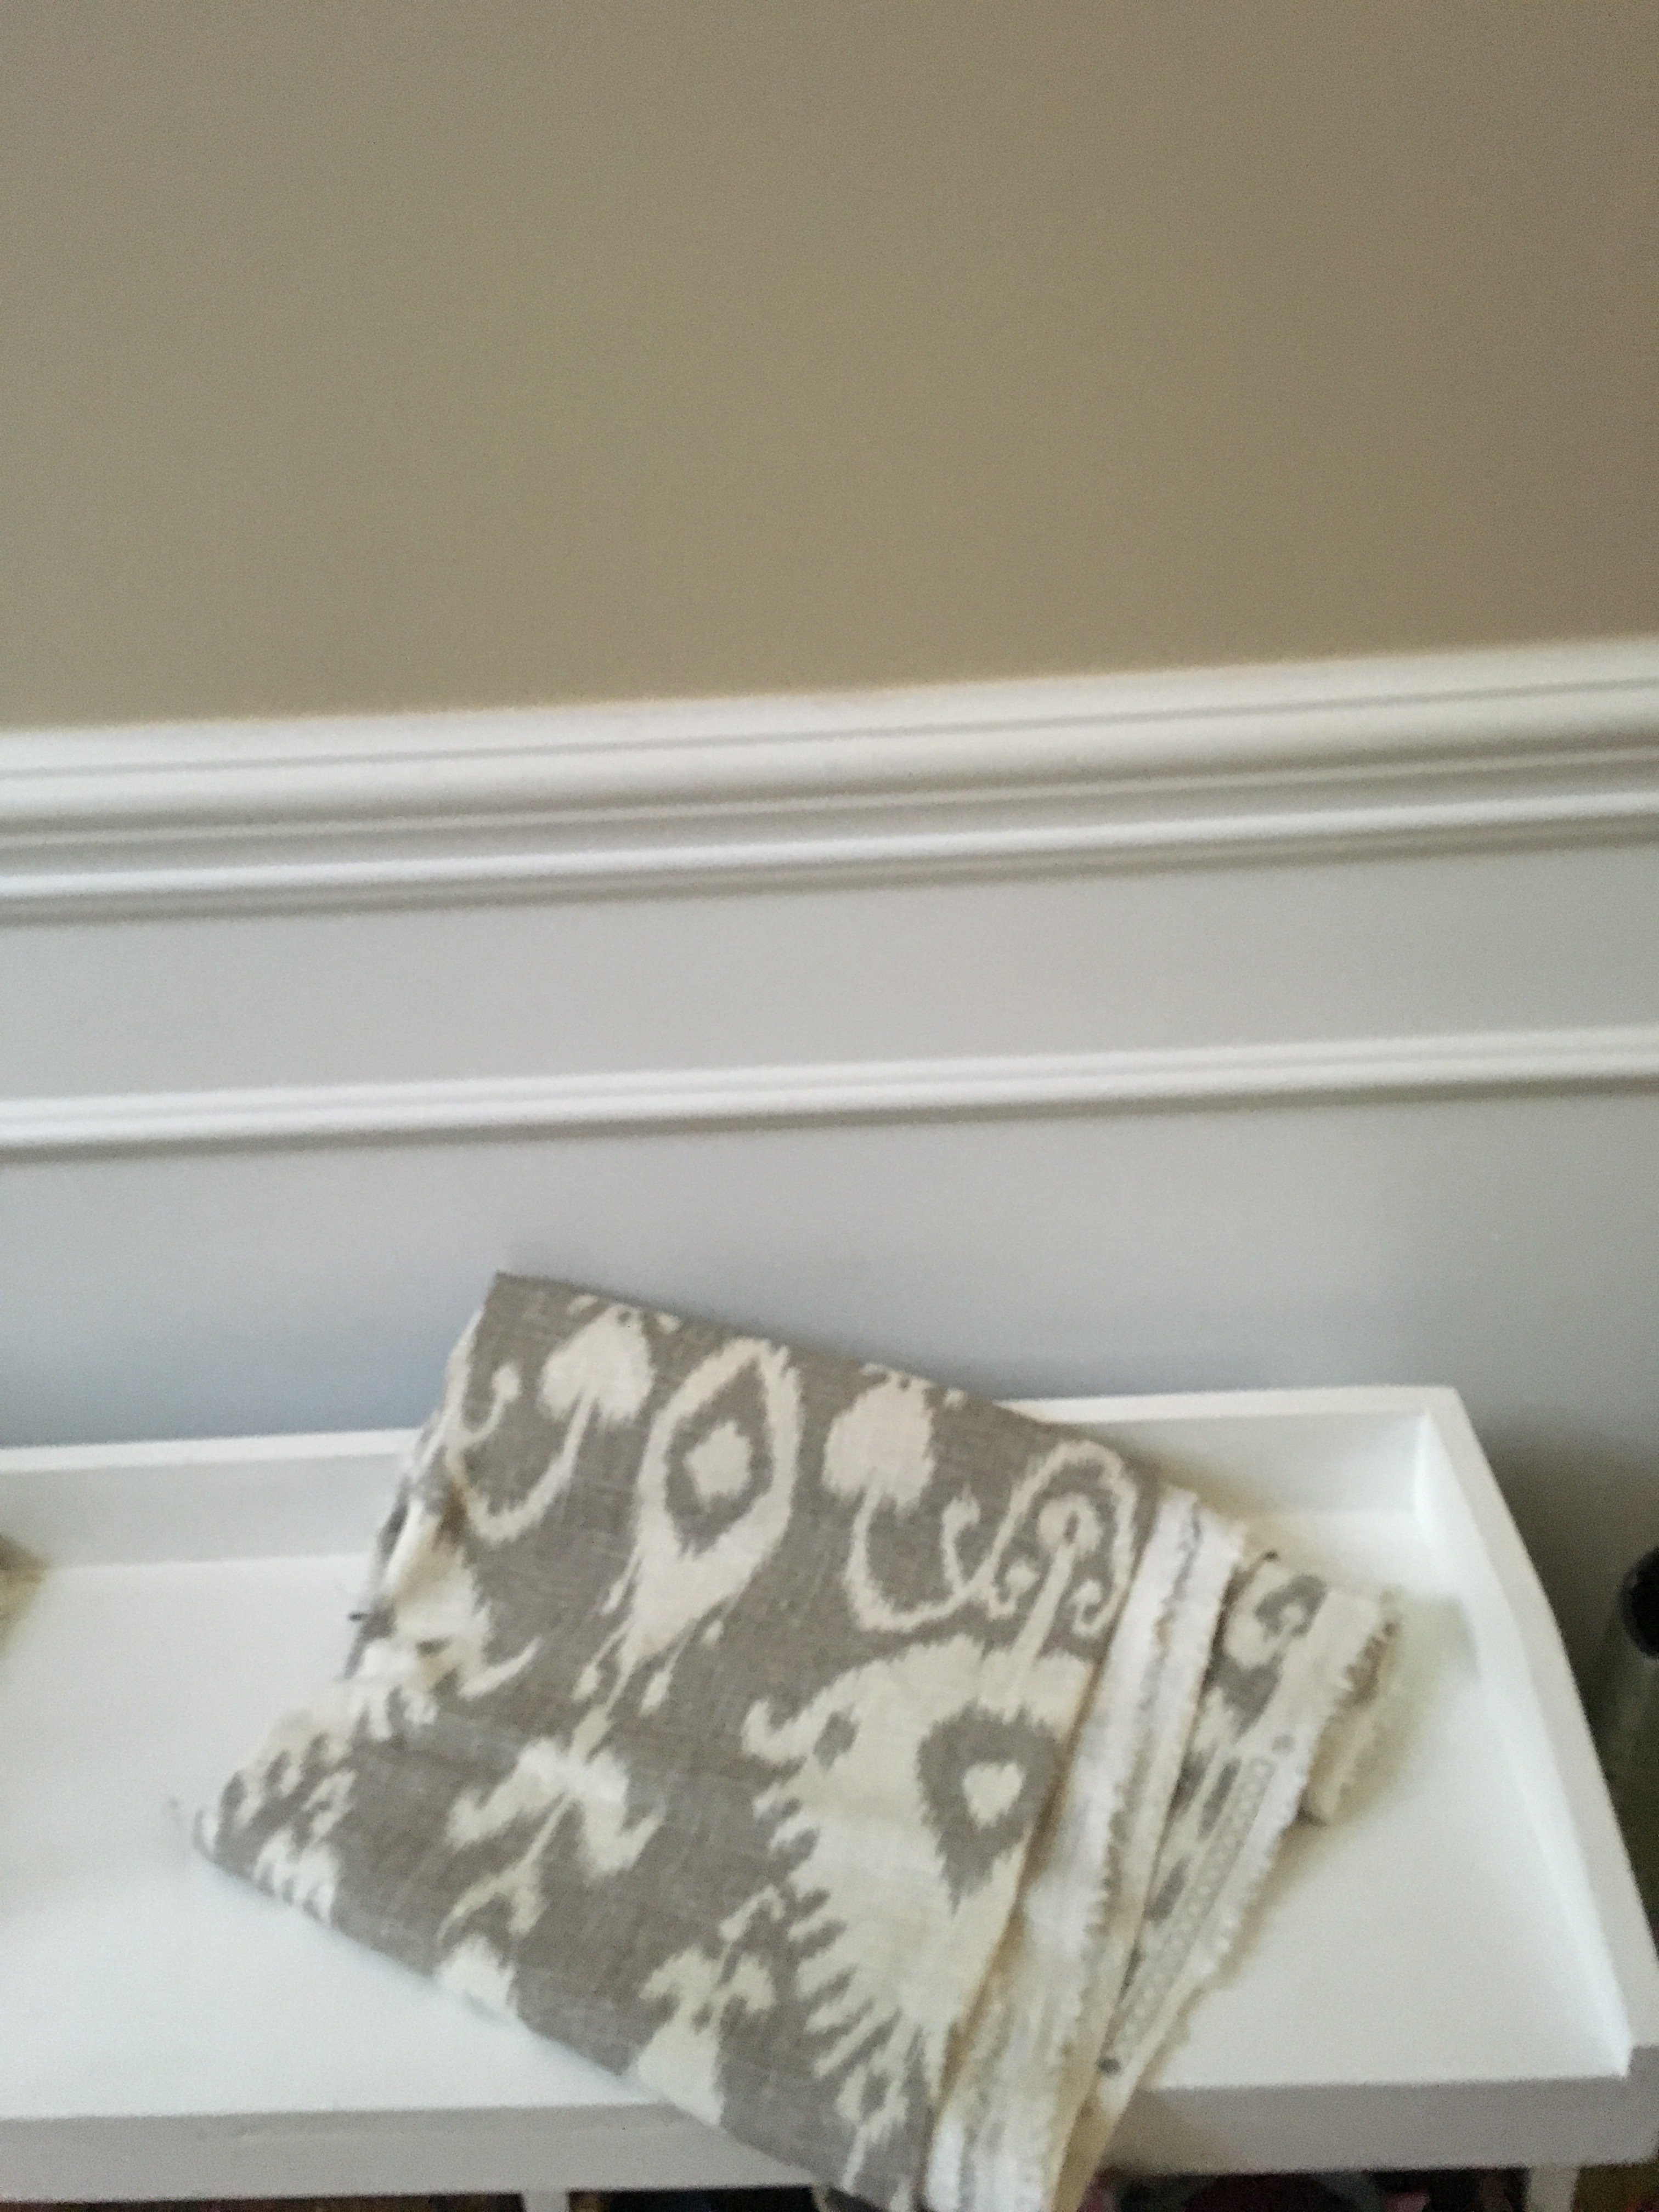
Curtains
I used a fun gray ikat print fabric that came pretty close to matching my walls and made them to the size of my windows.
I searched high and low for side light curtain rods and I could not find them anywhere! Lowes and Wal-Mart both carried the type of rod I needed but they were for normal sized windows, no store carried the smaller sized rods. The only place I could find ones that would fit were from Amazon and they worked perfect! (and they’re clear and adjustable!!)
Get The Same Look
Curtain Rods
ikat Printed Fabric
Decorative Floating Shelf
Entry Shoe Bench
Coffee Filter Wreath
Burlap Bubble Wreath
Quatrefoil Area Rug
Paint: Benjamin Moore Bleeker Beige
Trim: Benjamin Moore Simply White
I love the way it turned out. I wish I would have done it sooner!!
This post contains affiliate links


Stephanie—home cook, DIY addict, seasonal decor fanatic, and proud chicken wrangler living in a Victorian house that’s always a project. Whether I’m cooking with garden-fresh ingredients, herding mischievous chickens, or tackling another DIY, I’m here to share the fun (and chaos).


