How to Apply Dixie Belle Transfers for Farmhouse Signs
Create custom farmhouse-style wooden signs with this step-by-step tutorial. Using Dixie Belle Belles and Whistles On The Farm transfers, I’ll guide you through tips for applying transfers, building a wooden frame, and avoiding common mistakes.
Handmade gifts are hands down my favorite type of gifts. I soak up every opportunity there is to let my creative juices flow and make something unique and special. While of course it’s way easier to just buy something at the store or give a gift card…I prefer to make things hard on myself and make something that has a ton of meaning behind it!
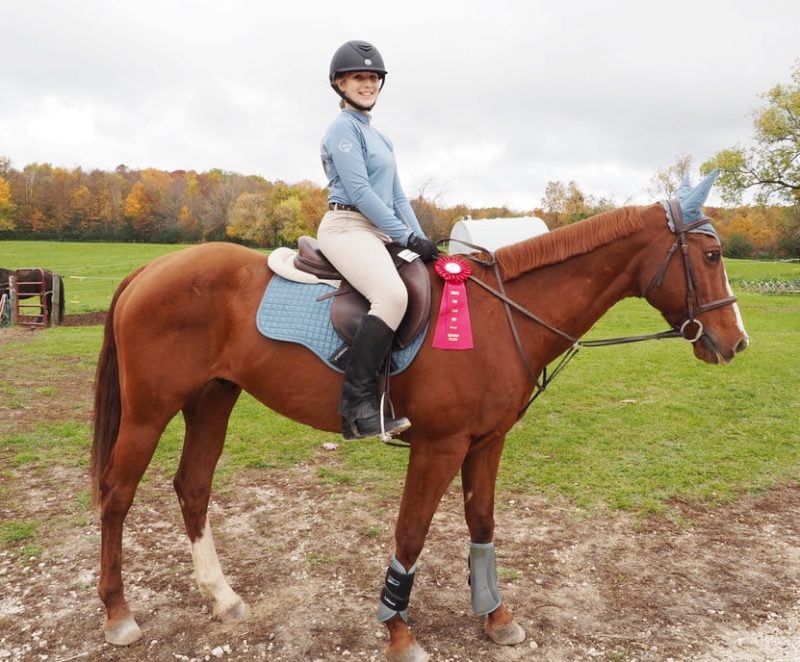
This past year my daughter started English horseback riding lessons and it quickly became her life’s passion. So much that we began leasing this super sweet fella; Ty!

My daughter is so dedicated and spends almost all of her free time at the farm taking lessons, spending time with Ty or helping with chores (if only I had piles of horse poop around the house, maybe she would be interested in doing chores at our house! hahaha)
This post may contain affiliate links, which means I’ll receive a commission if you purchase through my link, at no extra cost to you. Please read full disclosure here.

They really make such a great team!
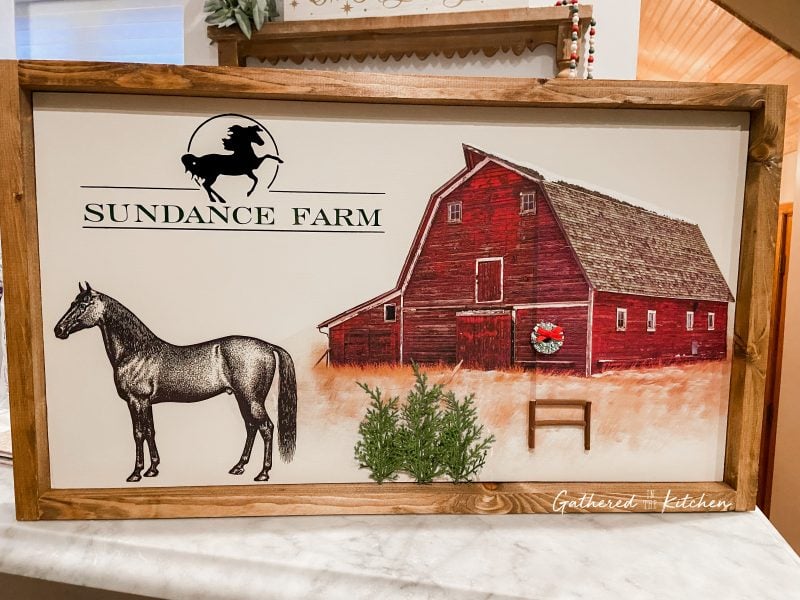
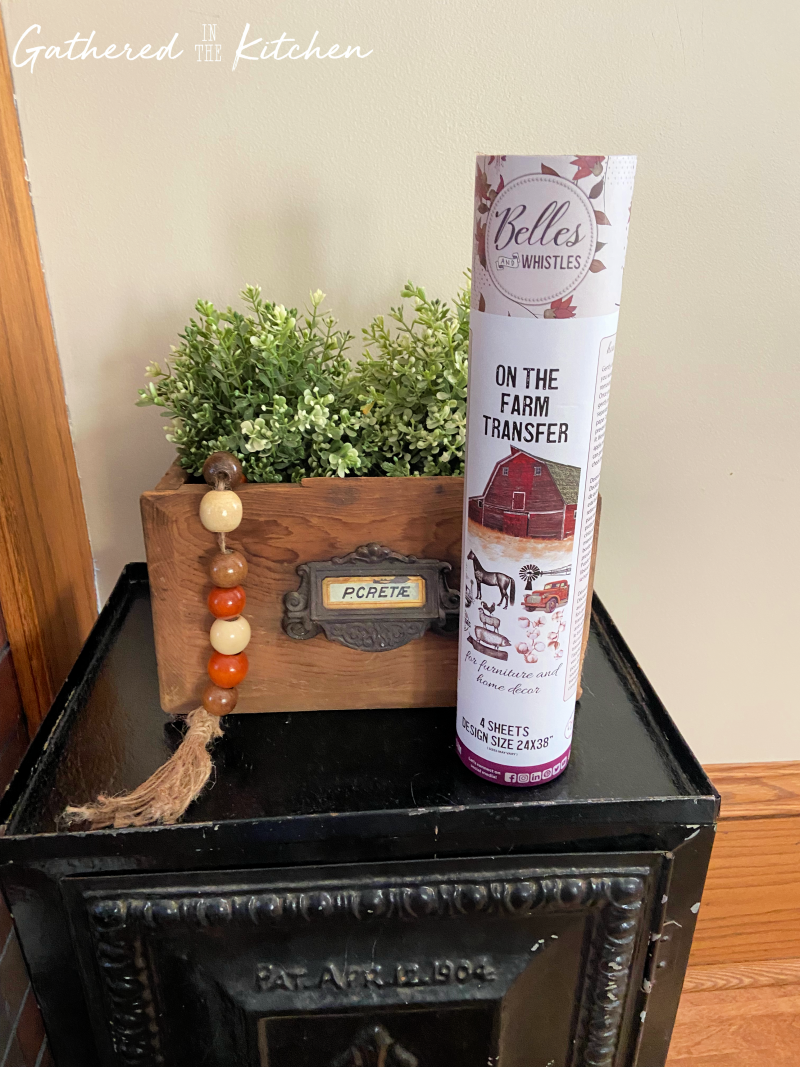
For Christmas I wanted to do something special for her instructor who owns the farm. When I received the “On The Farm” transfers from Dixie Belle Paint in the December Unboxing, I immediately knew I was going to make…a personalized wooden sign!
This was actually my first time using a Belles & Whistles transfer so I learned a lot! In this post I’ll share all of my errors to help ensure you don’t make the same mistakes as I did!
Check out: Before & After Projects Using Dixie Belle Chalk Paint
Supplies
- 3/4″ sanded plywood (I used a scrap piece of wood and am not sure how large this really was)
- 1X2x8 furring strips (not pictured below)
- Minwax Early American stain
- Dixie Belle chalk paint: Drop Cloth
- Dixie Belle chalk paint: Fluff (not pictured below)
- Belles and Whistles On The Farm Transfer
- 2″ Angled mini brush
- Sanding Sponge
- Silhouette Cameo to cut out customized designs (I cut the words out of vinyl using my Silhouette)
- small wreath and greenery
- hot glue gun
Step-by-Step Guide to Using Dixie Belle Transfers
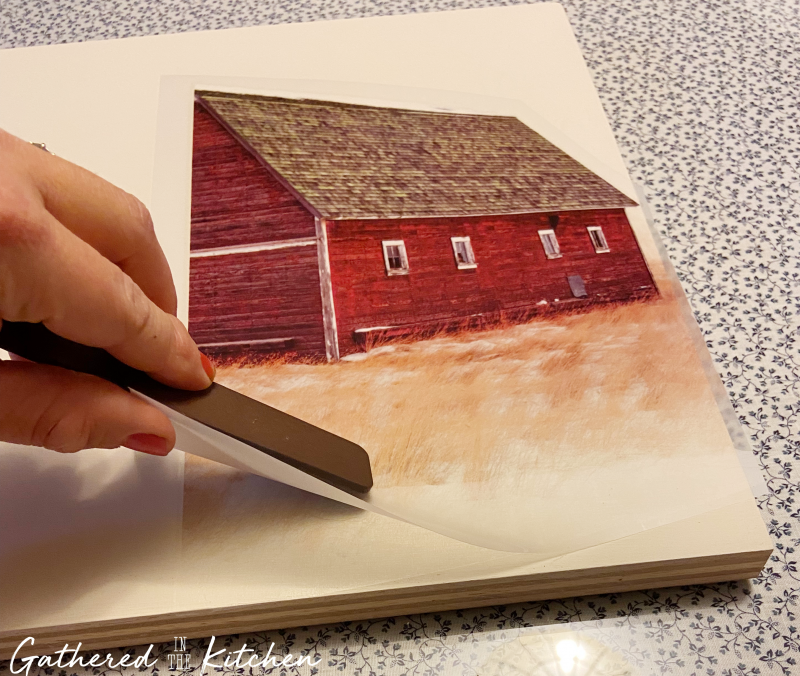
STEP 1: Cut Out Transfer
Remove the transfer from the packaging and lay flat. Cut out the designs you want to use from the large sheet, ensuring that the white backing paper does not come off.
Lay the design WITH the white backing paper still on, on the wood and arrange until you’re happy with the placement.

STEP 2: Lay Transfer
Once you’re happy with the design placement, it’s time to start laying the transfer!
Carefully remove the white backing paper from the transfer. **Do not let the transfer touch anything except where you want it to be permanently.
Angle the wooden stick (aka tongue compressor) that comes with the transfer, and rub firmly over top of the transfer. Very carefully begin pulling back the clear plastic piece that is on top of the transfer. You may have to rub harder and longer in some places while you remove the plastic top. Be careful not to tear the transfer.
STEP 3: Build the Frame
Once I had the On The Farm transfer applied along with my vinyl logo, I built the frame for the sign. I used 1x2x8 furring strips that can be purchased at Home Depot or Lowes. I cut the wood pieces to size using my Dewalt miter saw and then stained them with Mixwax Early American stain. Once the stain was dry, I used my air nailer and 18 gauge nails to attach the frame to the to 3/4″ plywood sign.
For additional tutorials, you can see my tutorial for building signs HERE along with how I design, cut and apply vinyl transfers using my Silhouette Cameo.

When the frame was done, I came back and added some embellishments to hide my mistakes/errors. Using a hot glue gun, I added a wreath to the barn, greenery for the pine trees and wooden sticks for a fence. Which, in all reality matches the farm where my daughter rides … so … hopefully those additions didn’t really seem like they are covering errors! I also cut permanent vinyl for the farm name using my Silhouette Cameo.
I was bummed that I didn’t have better light to take a photo of this sign completely made with the actual barn behind it – but I was down to the last minute finishing it before my daughter’s lesson and us heading out of town to celebrate Christmas with family. So…this is the best we get!

Common Mistakes When Applying Transfers
Here are some common mistakes when applying furniture transfers and how to avoid them:
1. Not Preparing the Surface Properly
- Mistake: Applying the transfer to a dirty, greasy, or uneven surface.
- Solution: Clean and sand the surface to ensure it’s smooth and free of dust, grease, or debris. Use a damp cloth to wipe it clean and let it dry completely.
2. Skipping Sealant Before Application
- Mistake: Applying transfers directly on chalk paint or unfinished wood without sealing.
- Solution: Seal the painted or stained surface with a clear topcoat before applying the transfer to prevent peeling or damage.
3. Incorrect Placement of the Transfer
- Mistake: Applying the transfer in the wrong position or not aligning multiple pieces properly.
- Solution: Plan the layout in advance by positioning the transfer with its backing paper still attached. Use painter’s tape to mark the exact placement if necessary.
4. Peeling the Backing Paper Too Quickly
- Mistake: Removing the backing paper too quickly before the transfer has adhered properly.
- Solution: Take your time to rub the transfer thoroughly with the provided stick or tool before peeling off the backing.
5. Not Rubbing Enough or Unevenly
- Mistake: Leaving parts of the transfer unadhered because of insufficient or uneven rubbing.
- Solution: Use consistent pressure and go over the entire design carefully. Double-check edges and corners before peeling the backing.
6. Overlapping Transfer Sections Incorrectly
- Mistake: Misaligning overlapping transfer pieces, leaving visible seams or gaps.
- Solution: Carefully match overlapping sections and ensure a seamless fit by lightly overlapping the designs as instructed. Practice laying out the transfer designs with the backing on first to figure out properly alignment.
By understanding and avoiding these mistakes, you’ll ensure a smooth application and a professional-looking result!
Have you tried using Dixie Belle transfers? Share your experience in the comments below or tag me on Instagram!
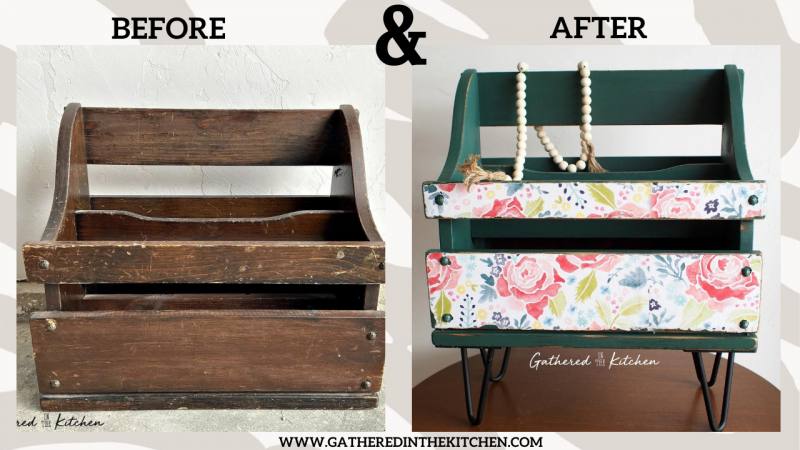
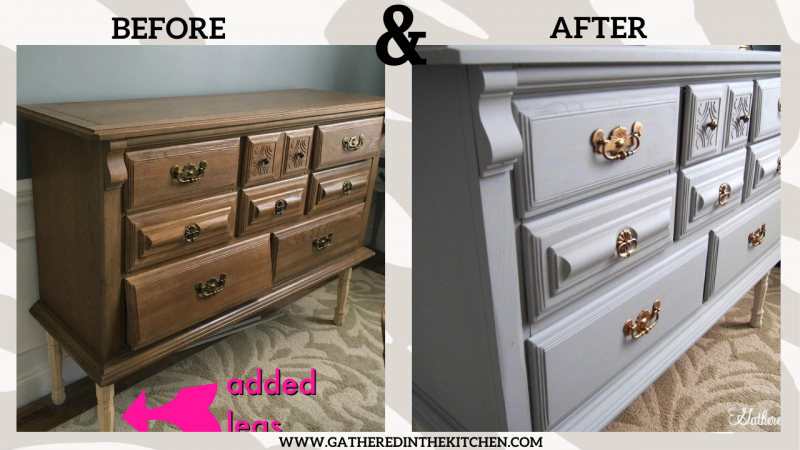
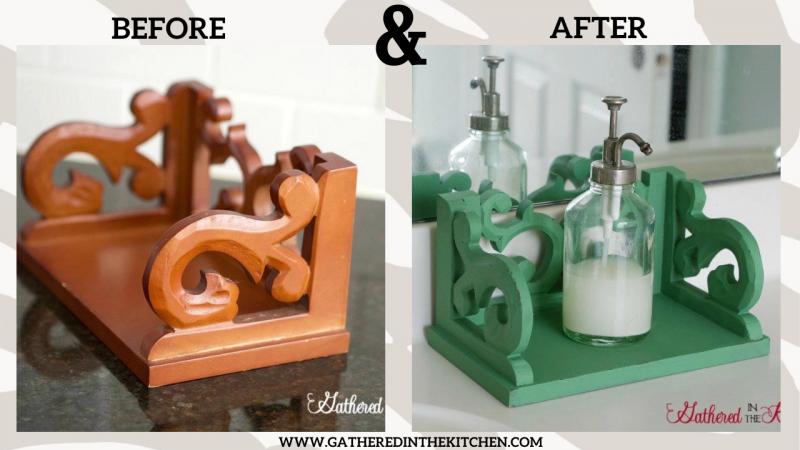
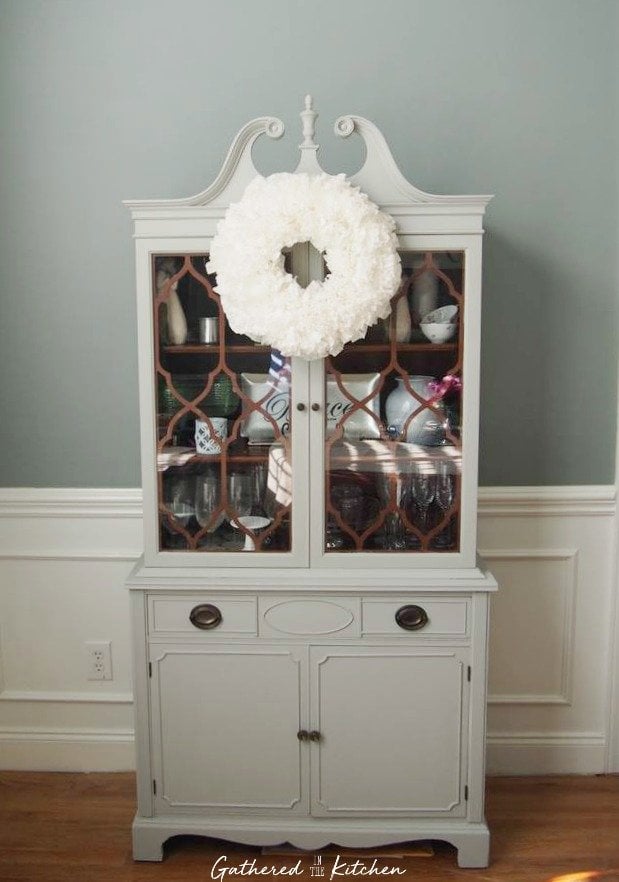
Check Out More Dixie Belle Projects!
Click on the photo below for the full tutorial!


Stephanie—home cook, DIY addict, seasonal decor fanatic, and proud chicken wrangler living in a Victorian house that’s always a project. Whether I’m cooking with garden-fresh ingredients, herding mischievous chickens, or tackling another DIY, I’m here to share the fun (and chaos).


What a lovely gift for your daughter’s riding instructor. I’m sure she loved it!