DIY Ceramic Tile Serving Tray Makeover – Easy Step-by-Step Project
Repurposing items from thrift stores is a great way to treasure discarded pieces and turn them into trendy and useful pieces! Adding a little paint and a DIY stencil, you can transform a thrift store wooden tray into a beautiful farmhouse inspired focal piece!

I scored this wood and tile tray from my local Habitat for Humanity store for $4. As adorable as the tile design was, I knew immediately I was going to paint it with a stencil…and that’s exactly what I did!
Here is the before…Truth be told, I felt a little guilty tearing up these cute tiles, lol.
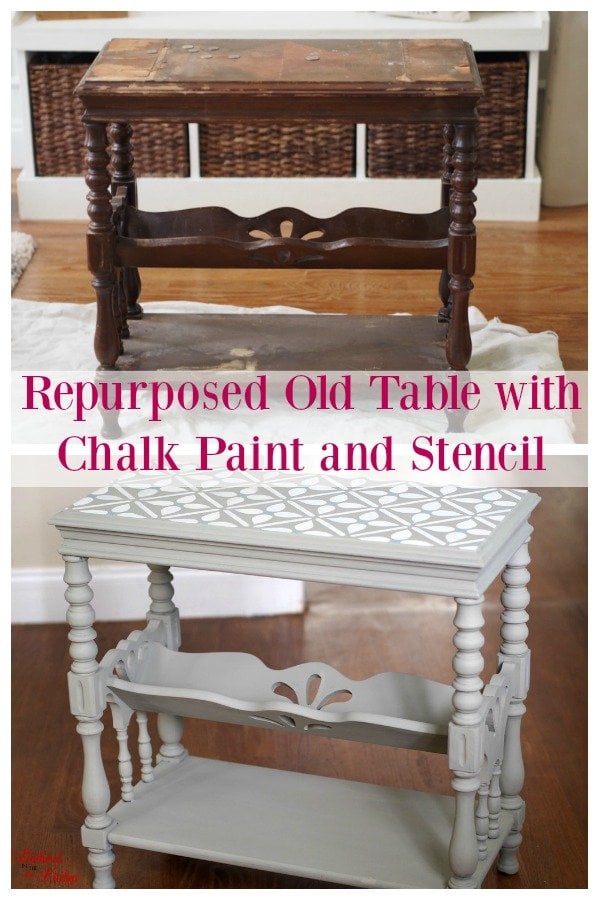
Check out 10 Ways to Make Over Furniture with Chalk Paint
This post may contain affiliate links, which means I’ll receive a commission if you purchase through my link, at no extra cost to you. Please read full disclosure here.

This post contains affiliate links. See my disclosure here.
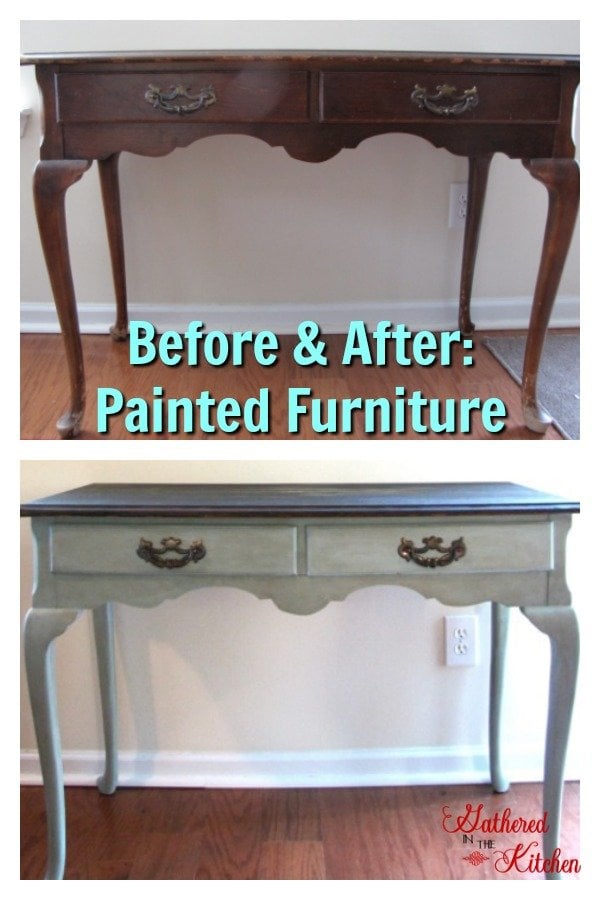
Check out: Before & After Projects Using Dixie Belle Chalk Paint
Lets Make It Together!
I began by chiseling up the tiles with a hammer, paint scraper and flat tip screwdriver.

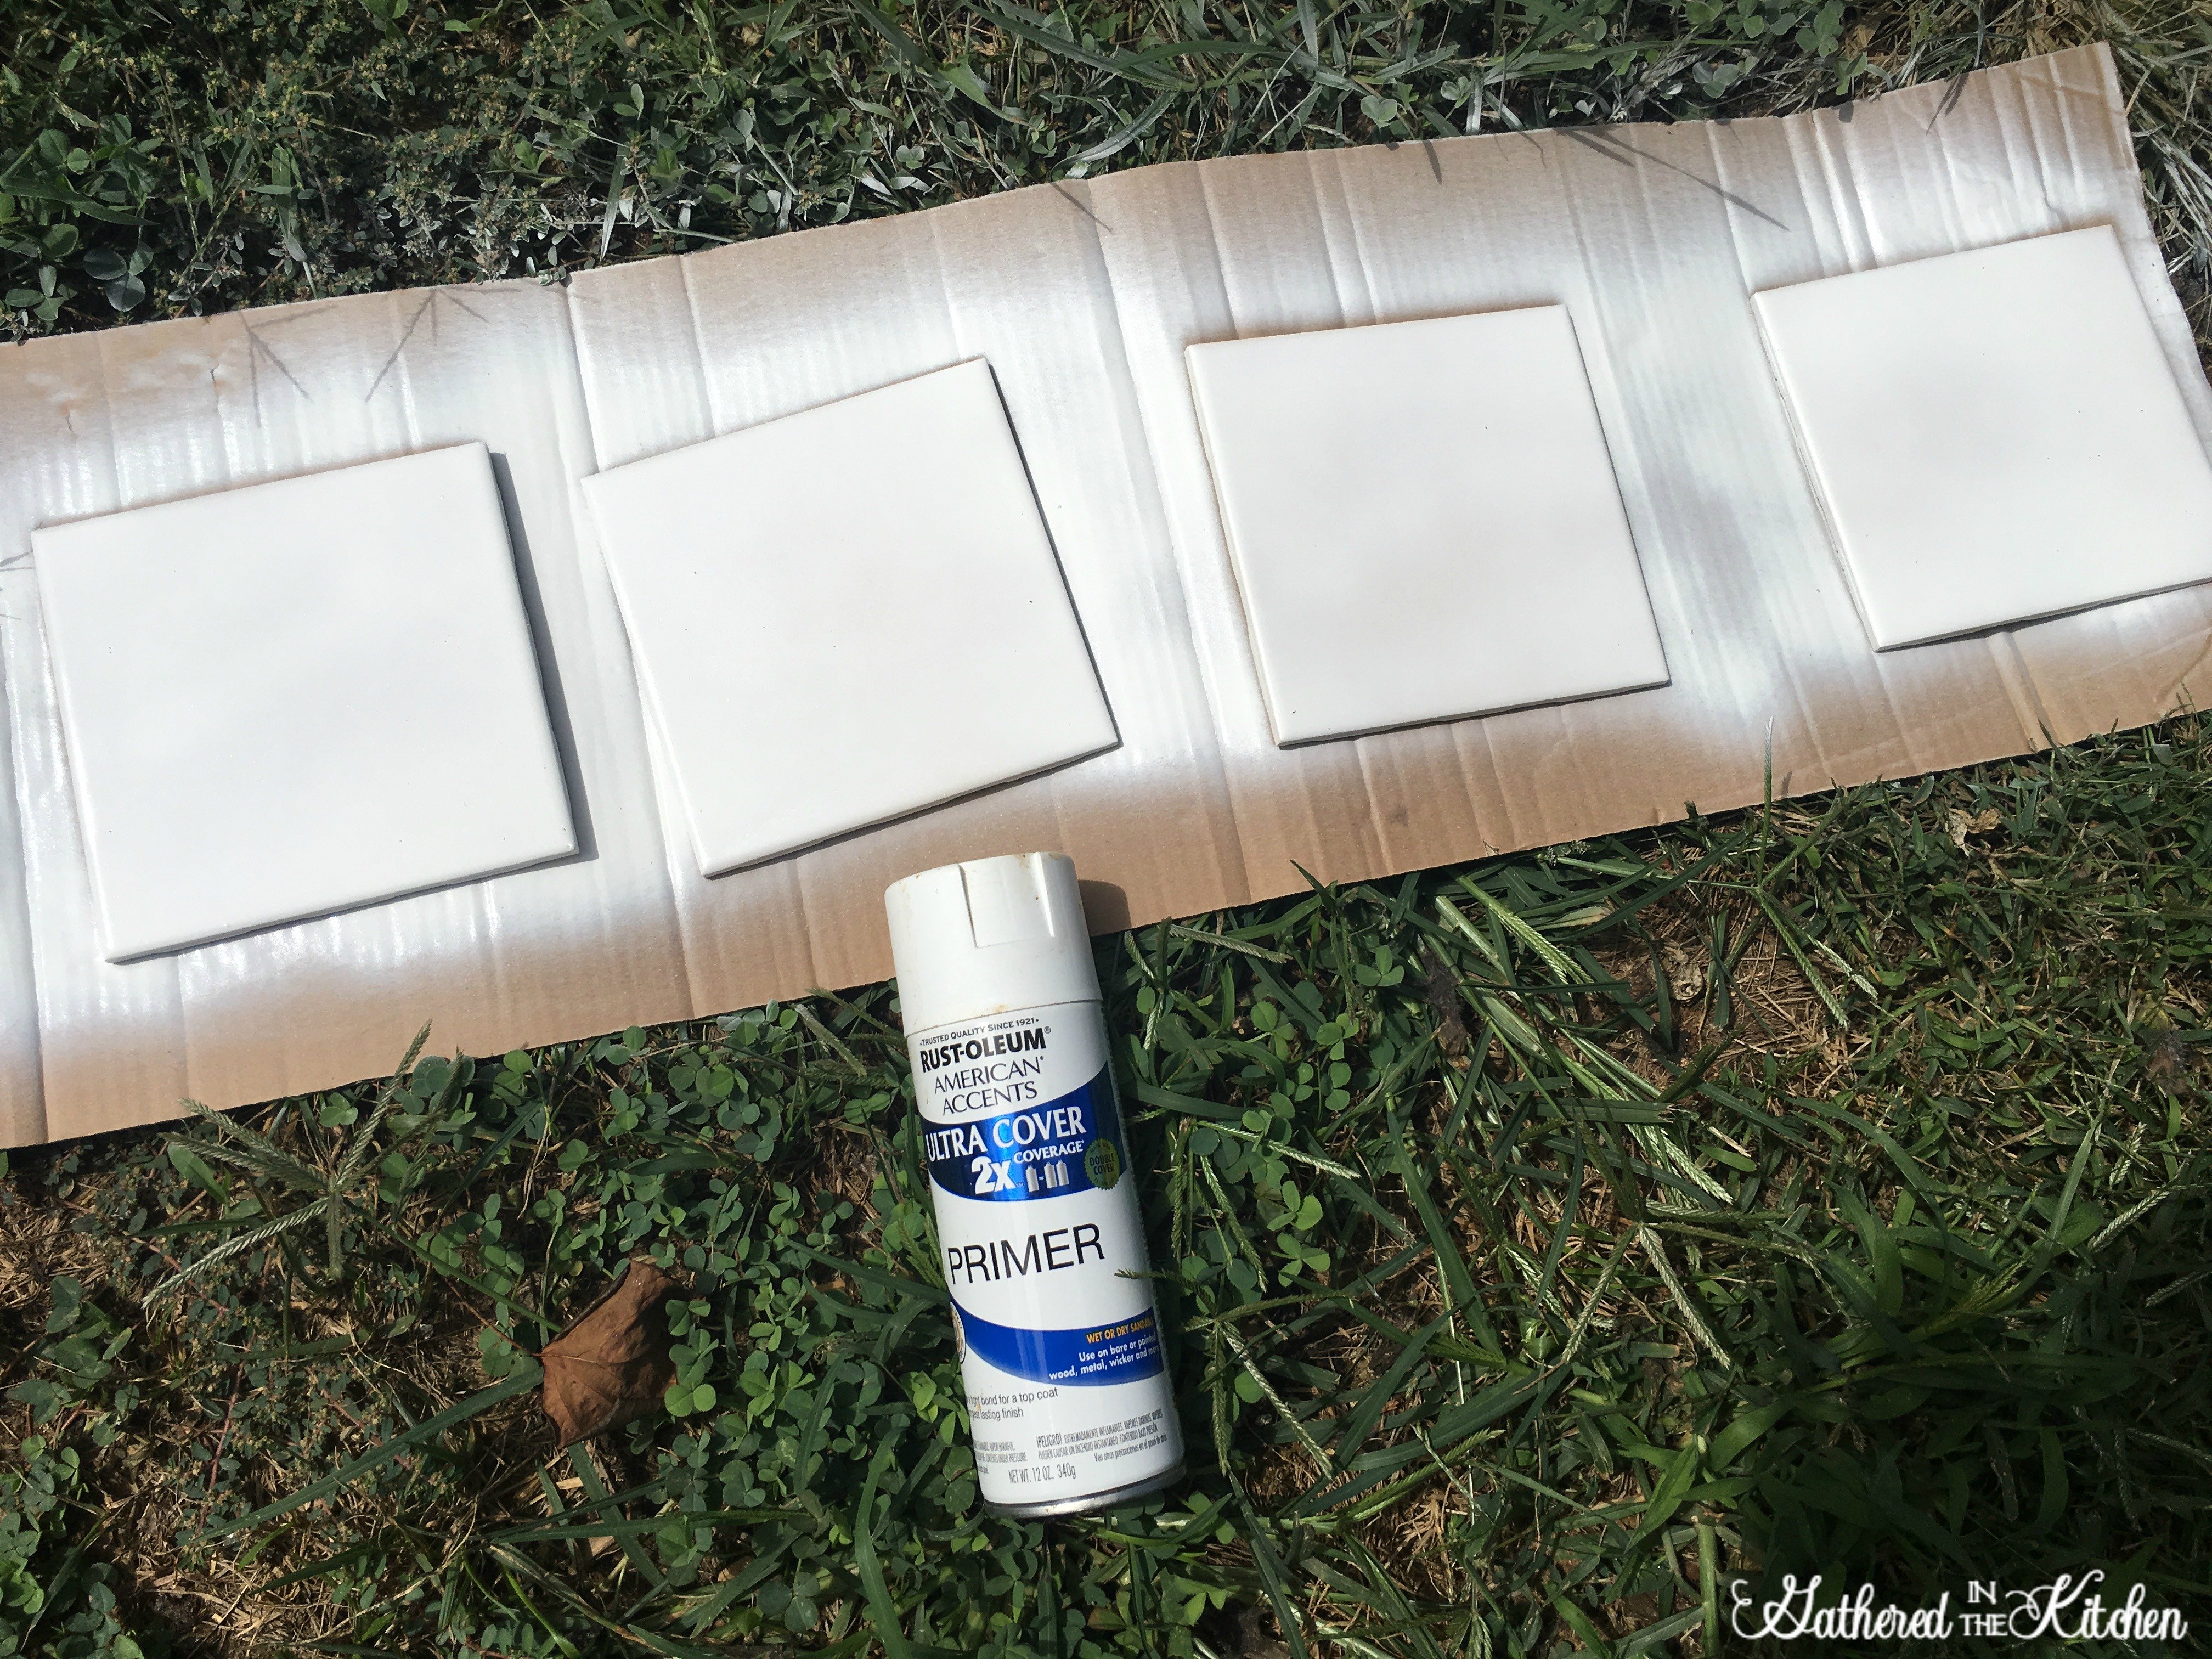
I also purchased 4 square ceramic tiles at my Habitat Restore for $2 and I painted them using Rust-Oleum primer paint. I actually loved the white color of the primer, so I left that as the base color!
While that dried, I got busy creating my stencil on my Silhouette Cameo. I cut the design on sticky shelf liner, my favorite way to make stencils and then weeded it with a sewing seam ripper. Silhouette actually carries a whole line of products for vinyl transfer tools but I personally love my seam ripper and other tricks I’ve learned along the way! *You can find more of my Silhouette Cameo tutorials here.

I then transferred it using clear sticky shelf liner, also another favorite, and used an old gift card to make sure it was adhered properly.

Once the stencil was adhered, I removed the clear transfer and got busy painting using my favorite chalk paint, Dixie Belle in Bunker Hill Blue.
You can purchased Dixie Belle Paint HERE using my special promotion code just for my readers and save some extra money!
Why I Love Dixie Belle Paint
- Beyond easy to use! I mean, literally
- Creates a flat rich finish that is easily distressed on furniture or crafts
- No sanding or priming. No VOC’s
- Creates no brush marks
- Doesn’t “peel” off wet paint when applying more
- Requires only one coat
- Water based so only water is required to wash out your brushes
- Dries within minutes
- A little goes a realllly long way!
- And again…no sanding or priming required!!! Super win for a busy mom!

Once I was done painting, I let it dry for about 15 minutes and then I removed the sticky stencil and wa-la!
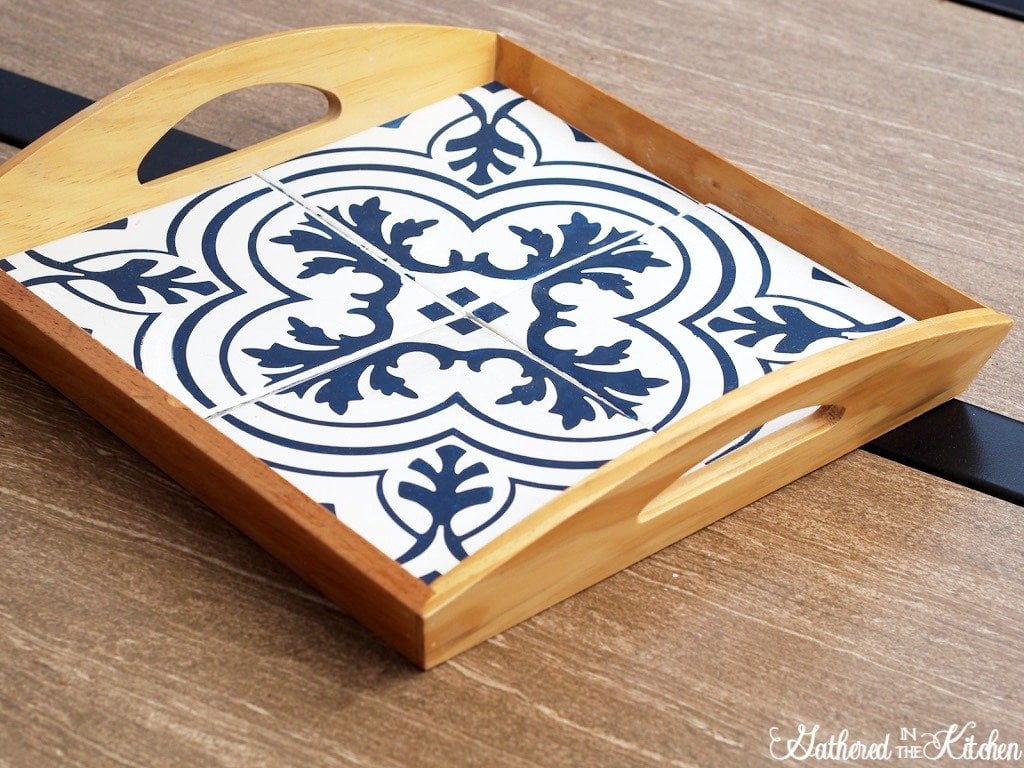
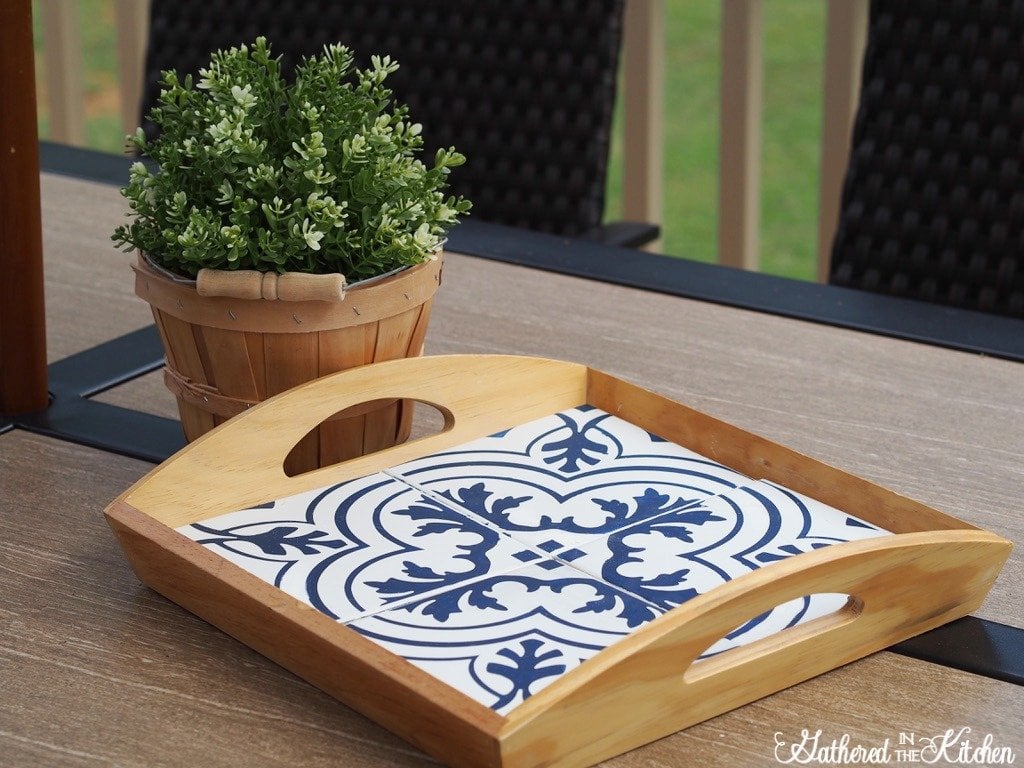
I absolutely love how it turned out!!! It’s so pretty!

Video Tutorial
It looks so pretty on my newly built and renovated back porch!!


More Stencil Tutorials
More Before & After Tutorials


Check out: Before & After Projects Using Dixie Belle Chalk Paint


Stephanie—home cook, DIY addict, seasonal decor fanatic, and proud chicken wrangler living in a Victorian house that’s always a project. Whether I’m cooking with garden-fresh ingredients, herding mischievous chickens, or tackling another DIY, I’m here to share the fun (and chaos).


One Comment