How to Personalize Plastic Gift Baskets with Adhesive Vinyl and a Silhouette Cameo
Personalized gift baskets are a fun and meaningful way to show someone you care, and they’re even better when customized with their name using adhesive vinyl! In this tutorial, I’ll guide you through creating a beautiful monogrammed design with a Silhouette Cameo, perfect for any occasion…especially gift giving!

I’ve said this time and time again on this ol’ blog that my love language is gifting…like…handmade gifts! Ever since I was a little girl, I have always been all about making gifts for people special to me.
Not only do I love hand making the actual gift itself, I love to make it presentable in a way that the person receiving the gift is extra excited.
When we lived in Georgia, my favorite local shop was called “The Freckled Frog”. They sold the absolute cutest items!!…and everything was personalized with monograms! Be still my heart! But beyond the adorable items, they distinctly wrapped up their items with colored tissue paper, clear cellophane bags and the prettiest curling ribbon that they “folded” in a certain design pattern before curling. Believe me, I watched them like a hawk to learn their secrets on the prettiest gift wrapping!
This post may contain affiliate links, which means I’ll receive a commission if you purchase through my link, at no extra cost to you. Please read full disclosure here.
Everyone in town knew “The Freckled Frog” and how they wrapped their items. When I attended a Christmas gift-exchange party for my women’s bible study, someone brought a “Freckled Frog” package! …you better believe that was the gift that kept getting “stolen”! You always wanted to pick that one because you knew it would be something good!
My newest nephew just turned one and we went to Illinois to celebrate the cute little schmoopie! In true Stephanie fashion, I packaged all of his gifts in a plastic tote container and personalized it with his name!…I like to make all parts of the gift useful! Now he has a storage bin for toys!

List of Materials You’ll Need
- cute plastic storage bin or basket – I always buy mine at Dollar Tree! They always have different shapes and sizes and in my honest opinion, they hold up really well! They are durable! This is the basket I used
- Silhouette Cameo or Cricuit – I personally use a Silhouette Cameo and have been since 2011. You can see some of my past Silhouette Cameo projects here
- adhesive vinyl – this deserves some explaining. Back in the day (2011), the vinyl that you could buy to use with you at-home cutting machine was buns. I used to apply a clear coat of polyurethane over everything I made to ensure that the vinyl did not peel off. Fast forward many years, Oracle 651 permanent vinyl came out and changed the game of adhesive vinyl for at-home crafters! (Oracal 651 = permanent vinyl. Oracle 631 = removable vinyl…use whichever one is best for your project needs)
- weeding tools – weeding tools are used to remove the excess vinyl of the design you cut out
- transfer tape – transfer tape is needed to transfer your vinyl design from the original backing to the item you are putting the design on

Step-by-Step Instructions
Step 1: Choose a Design
- The name I was cutting out in vinyl was “Mason”. I wanted my design to have a large “M” with lines in the middle so I could type out his whole name. This is called “split lettering”. Google search the letter you need and either screenshot it and import it to Silhouette Cameo or purchase it from Etsy like I did with my split letter M.

Step 2: Create the Design in Silhouette Studio Design Software
- Using the design software, Silhouette Studio, created by Silhouette America, create your design. Import your split letter design and type out your name in the middle of the split letter. I’ve circled all of the important features you need to know to duplicate this project

Step 3: Cut the Vinyl
- “Send” the design to the Silhouette Cameo machine.
- Be sure to use the recommended blade settings for the material you are cutting – for mine, I set it to “glossy vinyl” because that is what Oracal 651 is.
Step 4: Weed the Design
- Using the weeding tool, remove all of the surrounding vinyl that is not apart of the design

Step 5: Prepare the Plastic Surface
- Proper preparation of the surface the vinyl is to applied to is essential in ensuring your vinyl doesn’t fall off
- Always clean the plastic surface with rubbing alcohol on a cotton ball or tissue to ensure proper vinyl adhesion

Step 6: Apply Transfer Tape
- Peel the white paper backing off of the transfer tape
- Lay the sticky side of the transfer tape down on the TOP of the cut design
- Use a credit card or something similar to apply pressure to the transfer tape and ensure that the entire vinyl design is covered
- Carefully peel back the transfer tape to remove the cut vinyl design from the white paper backing

Step 7: Apply the Vinyl Design to the Plastic Bin
- Place the sticky side of the cut vinyl on the bin, ensuring that it is aligned
- Gently press with your fingers to make sure the entire design is securely stuck to the bin
- Use a credit card or something similar to apply pressure to the transfer tape and ensure that the entire vinyl design is “stuck” (transferred) to the bin
- Carefully and slowly pull back the clear transfer tape from the vinyl design. If the vinyl design does not stick, reapply pressure and repeat the peel back process

Tips For Applying Vinyl to Curved Surfaces
- Align and place the center of your design first
- Gradually smooth outwards toward the edges, pressing down as you go to minimize bubbles or wrinkles
- For complex curves, make small slits around the edges of the transfer tape. This allows it to conform to the curved surface without creating wrinkles
- Use a sewing needle or ball head pin to pop out any air bubbles
- If needed, lightly warm the vinyl with a hairdryer or heat gun (on a VERY low setting held back a good distance) to make it more flexible and easier to manipulate around curves

How To Wrap A Gift Basket
Once the vinyl transfer is done and the gift basket has been filled with all of the goodies, wrap it in cellophane, and secure it with a decorative bow for a beautiful presentation! I love to buy the “basket bags” in the gift wrapping isle of Dollar Tree to wrap all of my gift basket and bins!
FAQ Section
- Can I use removable vinyl instead of permanent vinyl? – YES! Absolutely! Choose which vinyl you should use based off of what your project is for, what it will be used for and where it will be stored. Remember, Oracal 631 is the removable vinyl and Oracal 651 is the permanent (however, with some effort, you can always remove this vinyl)
- How do I clean the surface after applying vinyl? – a warm, wet wash cloth with mild soap
- What’s the best type of vinyl for plastic surfaces? – the best type of vinyl for plastic surfaces would be Oracal 631, which a removable vinyl transfer or Oracal 651, which has a permanent hold on the plastic surfaces
- Can this project be done with a Cricut instead of a Silhouette Cameo? – yes, of course. Use whichever machine you have access to!
I hope you enjoyed this step-by-step guide for creating personalized gift baskets with permanent vinyl! If you give this project a try, I’d love to see your creations—tag me on social media or share your photos in the comments below! Don’t forget to check out my other fun crafting projects and tutorials for more inspiration.
More Crafting Tutorials Using A Silhouette Cameo!
How To Make A Card Using A Silhouette Cameo
Learn to create personalized cards with this step-by-step tutorial, perfect for any occasion.

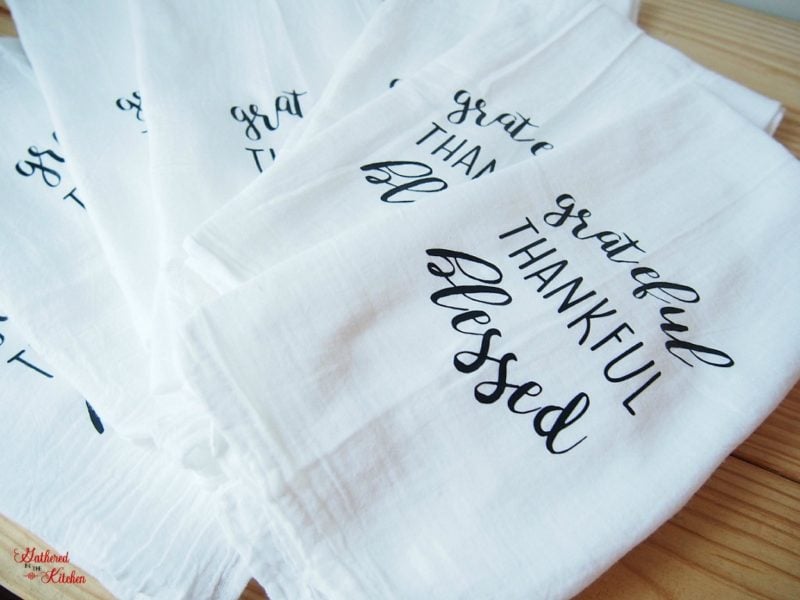
DIY Farmhouse Tea Towels Using A Silhouette Cameo and Heat Transfer Vinyl
Craft beautiful tea towels with custom designs to add a farmhouse flair to your kitchen and that make great gifts!
How To Make A Sign with A Silhouette Cameo
Create a funny laundry room sign with this comprehensive guide, adding humor to your home decor.

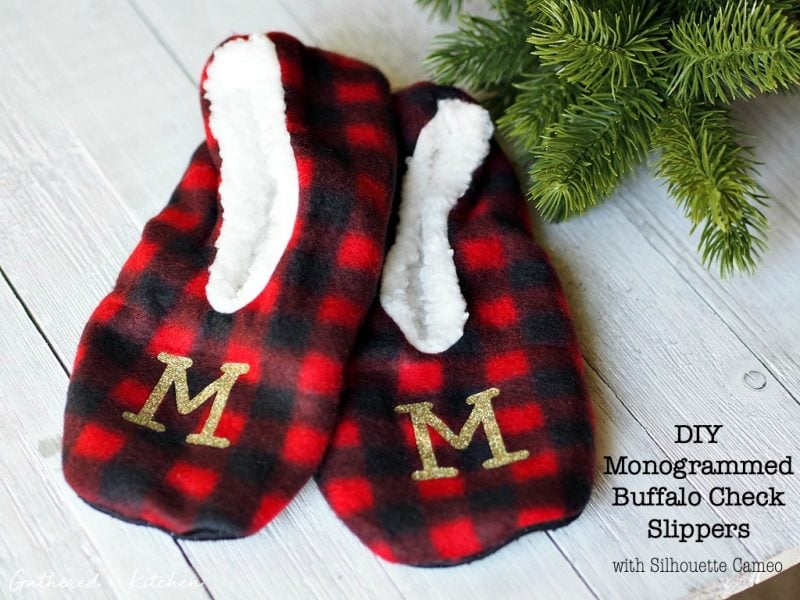
Monogrammed Slippers with Silhouette CameoHow To Make Monogrammed Slippers with Silhouette Cameo and Heat Transfer Vinyl
Design personalized monogrammed slippers, an ideal gift for loved ones.
How To Stencil Sugar Cookies Using A Silhouette Cameo & Wilton Color Mist
Learn how to stencil sugar cookies using your Silhouette Cameo for professional-looking treats.


Stephanie—home cook, DIY addict, seasonal decor fanatic, and proud chicken wrangler living in a Victorian house that’s always a project. Whether I’m cooking with garden-fresh ingredients, herding mischievous chickens, or tackling another DIY, I’m here to share the fun (and chaos).


Adorable and that monogram really takes the whole gift up a notch! I think I need a machine!
yes!!! you do!