Valentine’s Day Burlap Bubble Wreath Tutorial
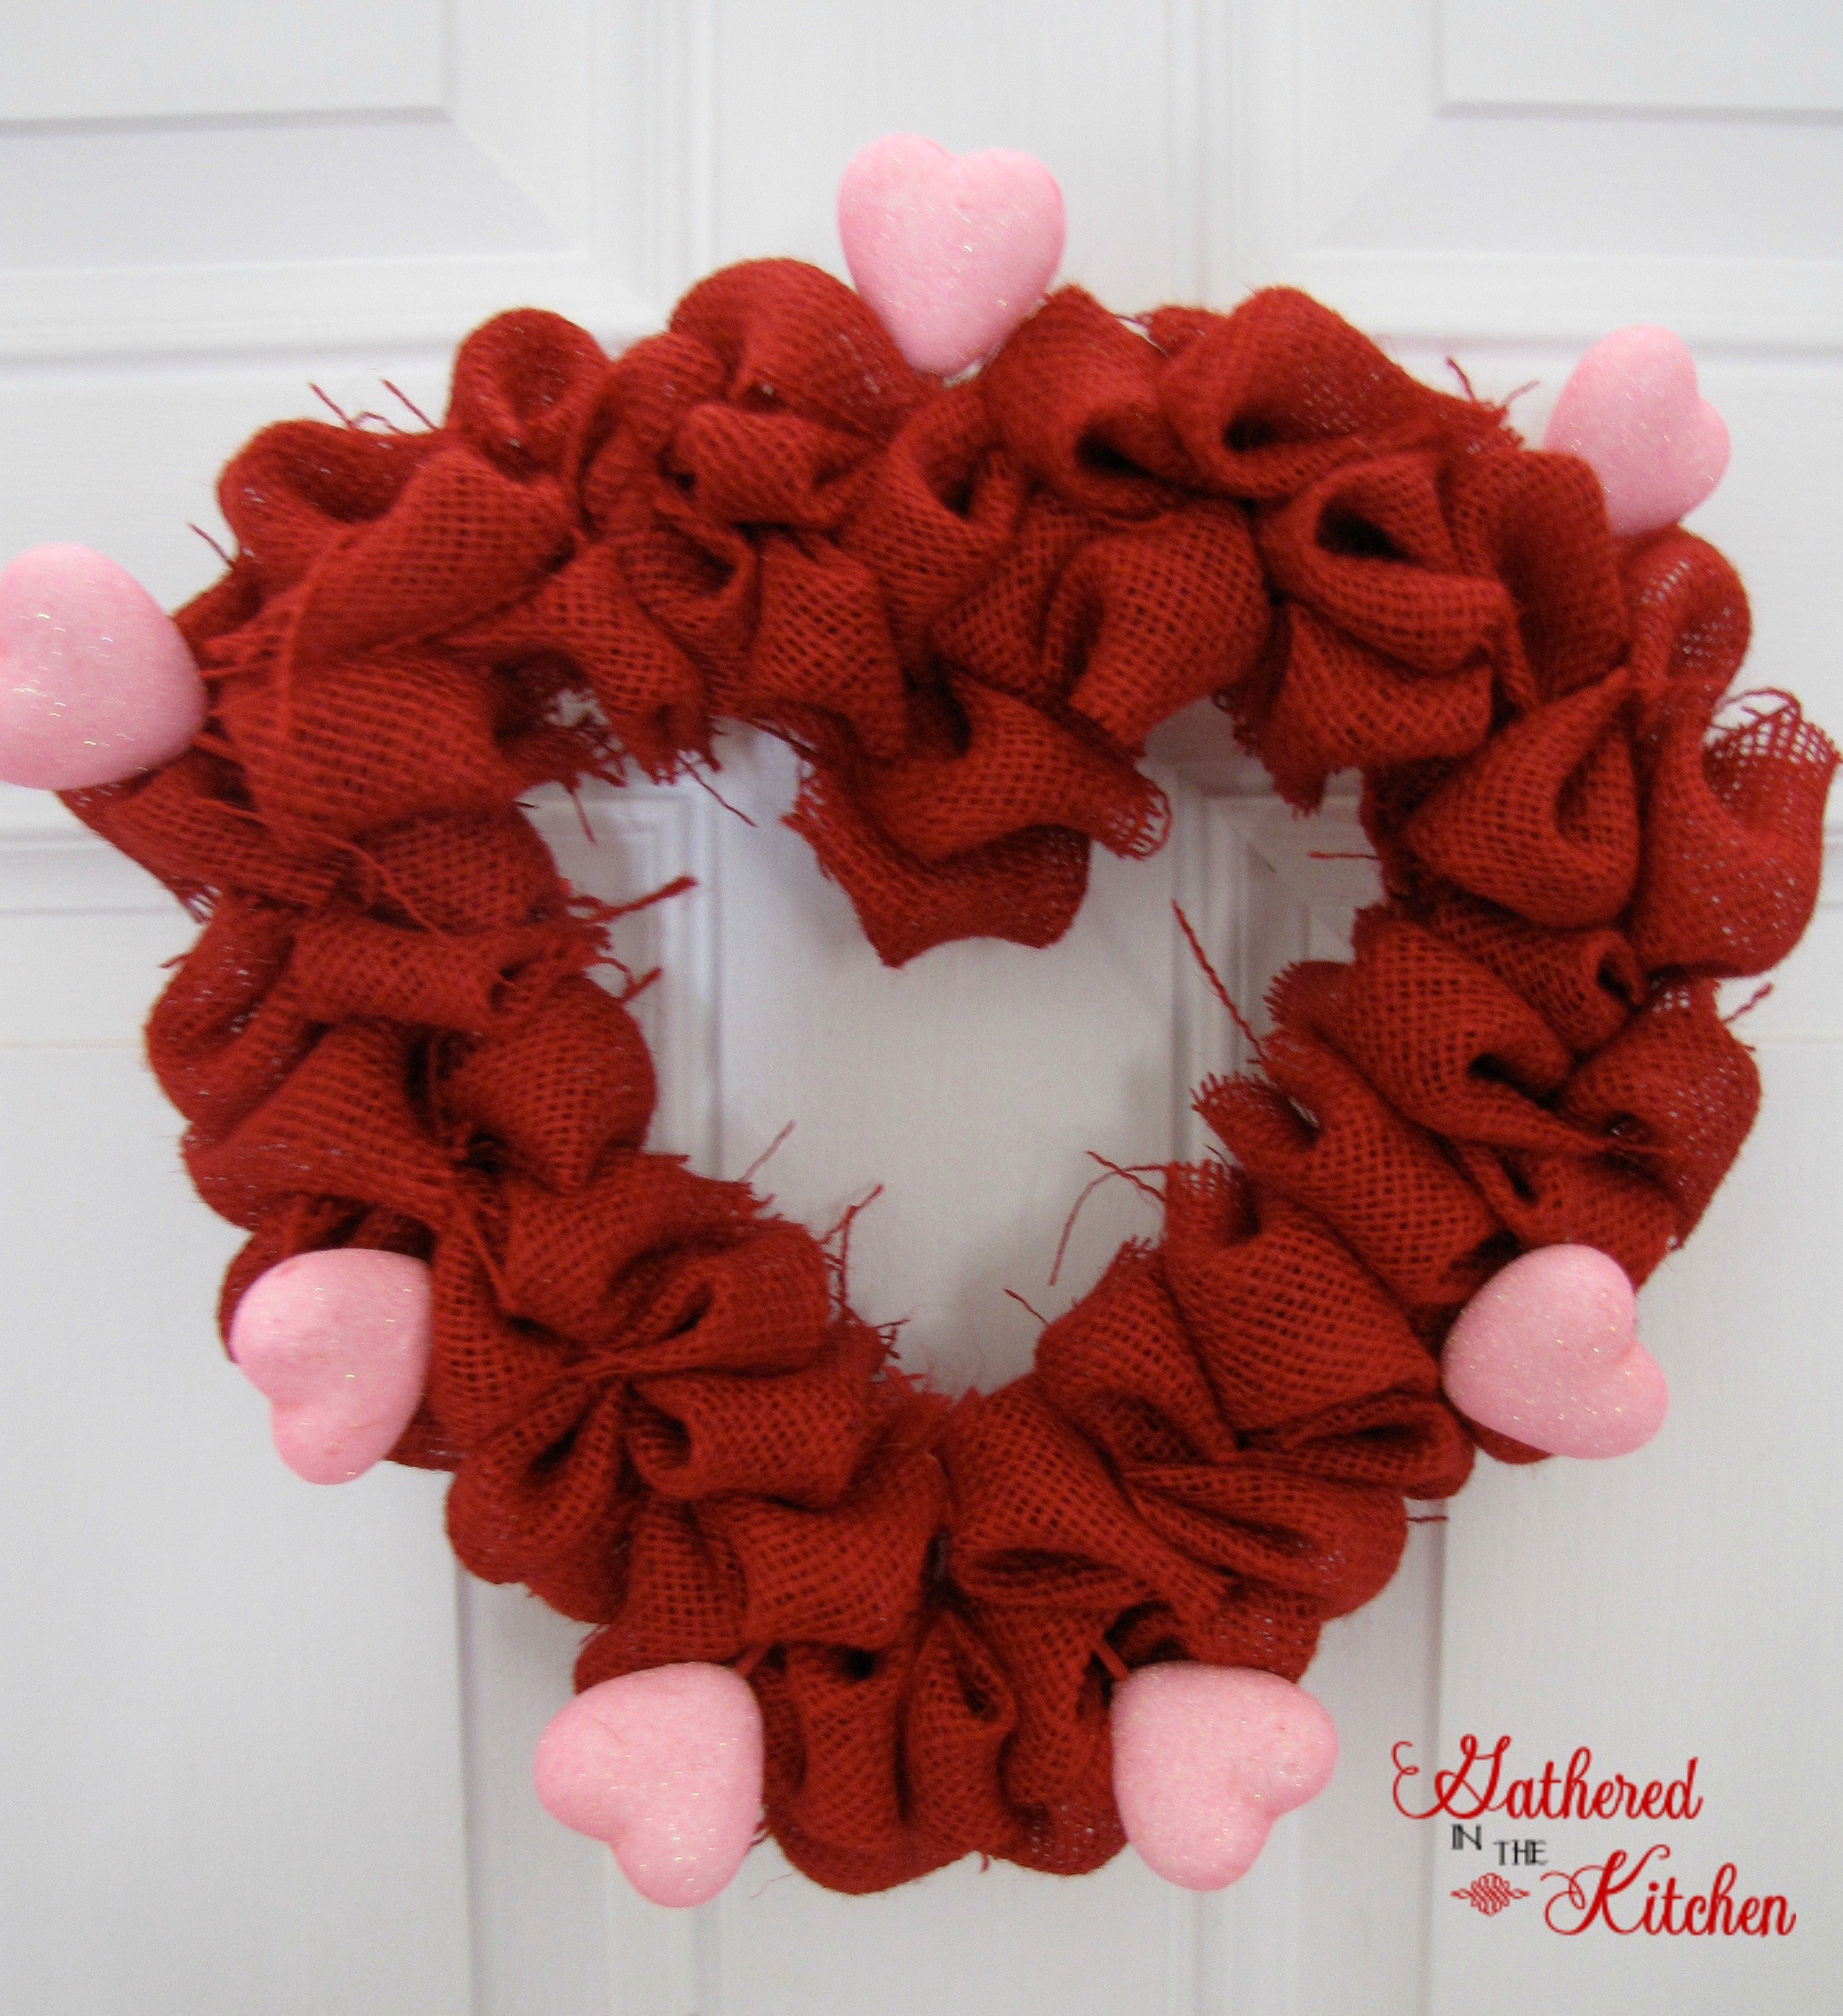
Make a Valentine’s Day heart-shaped burlap wreath in no time! Simply fold burlap squares, secure them with sewing pins, and attach them to a heart-shaped wreath form—no glue or sewing needed. A perfect DIY decoration for your home or front door!
My kids have been enjoying several “snow days” this month so we’ve had lots of time at home for creating! One of the days we decided to pull out our Valentine’s decorations. I decided to bring out some of my craft supplies and we got to work creating a Burlap Bubble Wreath! If you’ve been around for a while, you know I LOVE making Burlap Bubble Wreaths!
Here’s the one we made for the inside of our door.
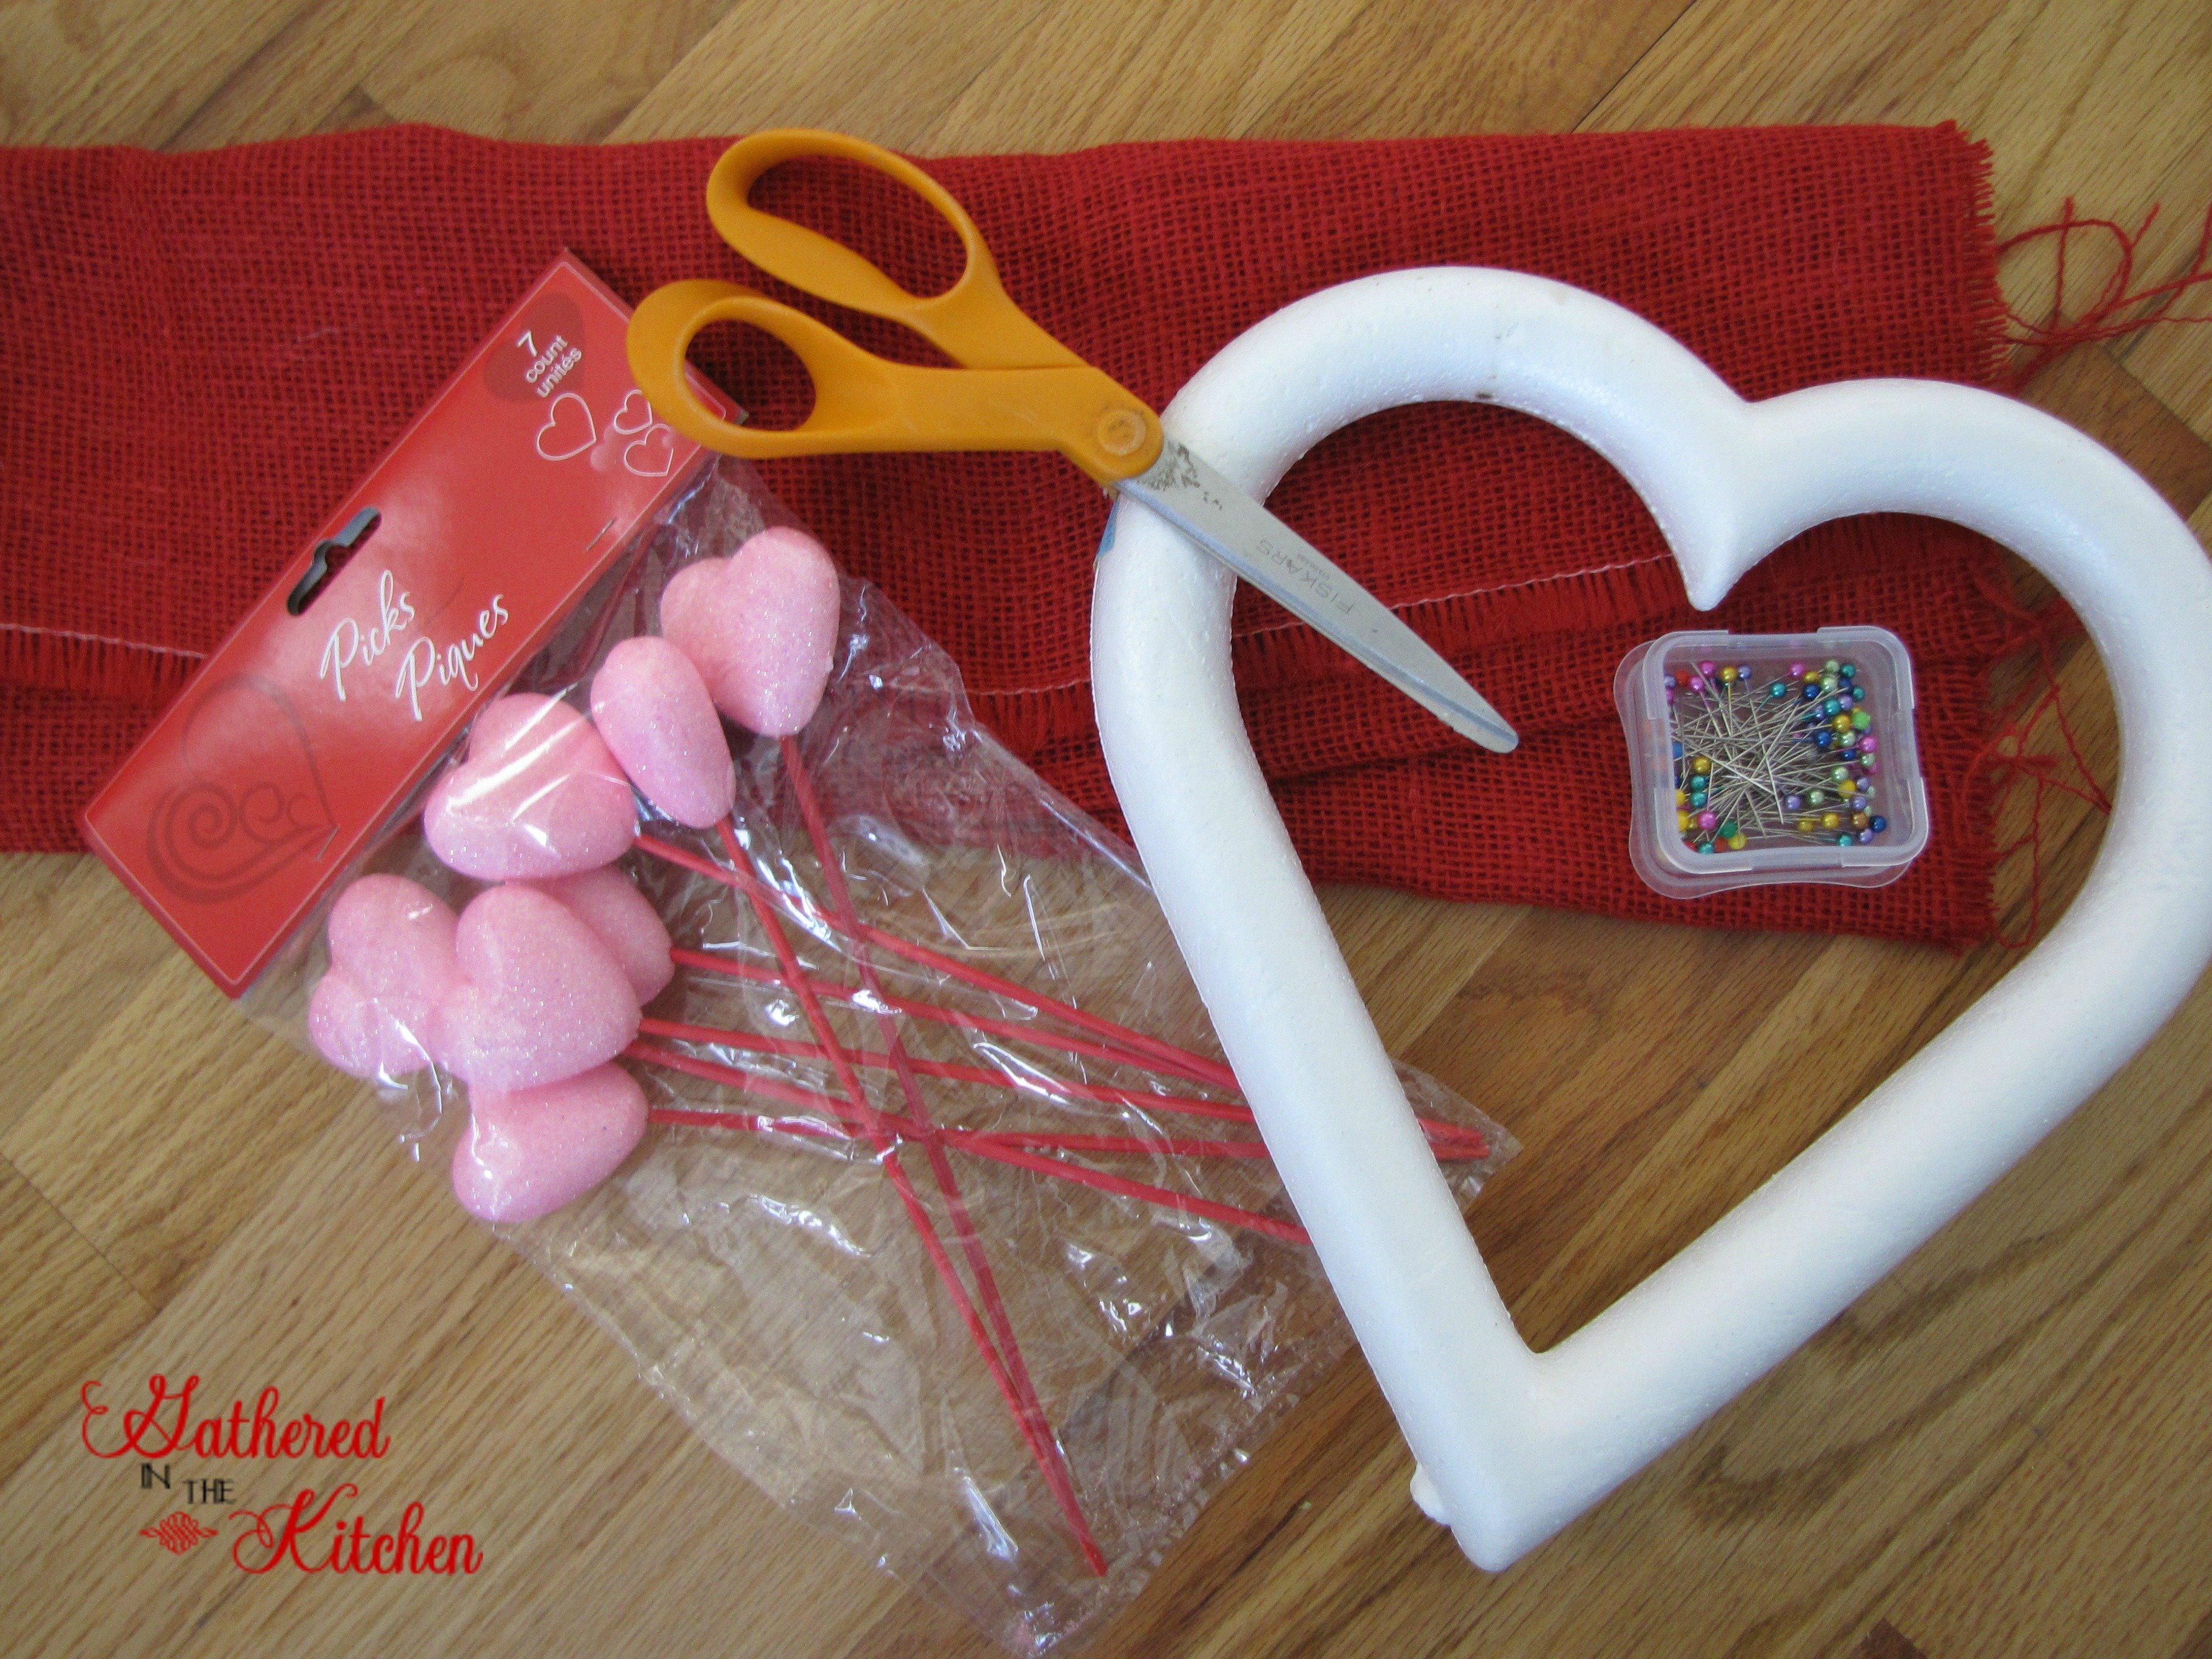
Supplies You’ll Need
- 1/4 yard red burlap
- 1 heart foam wreath form
- sewing straight pins
- fabric scissors or rotary tool
- foam heart floral picks
- twisty tie (not pictured)
Step-by-Step Instructions
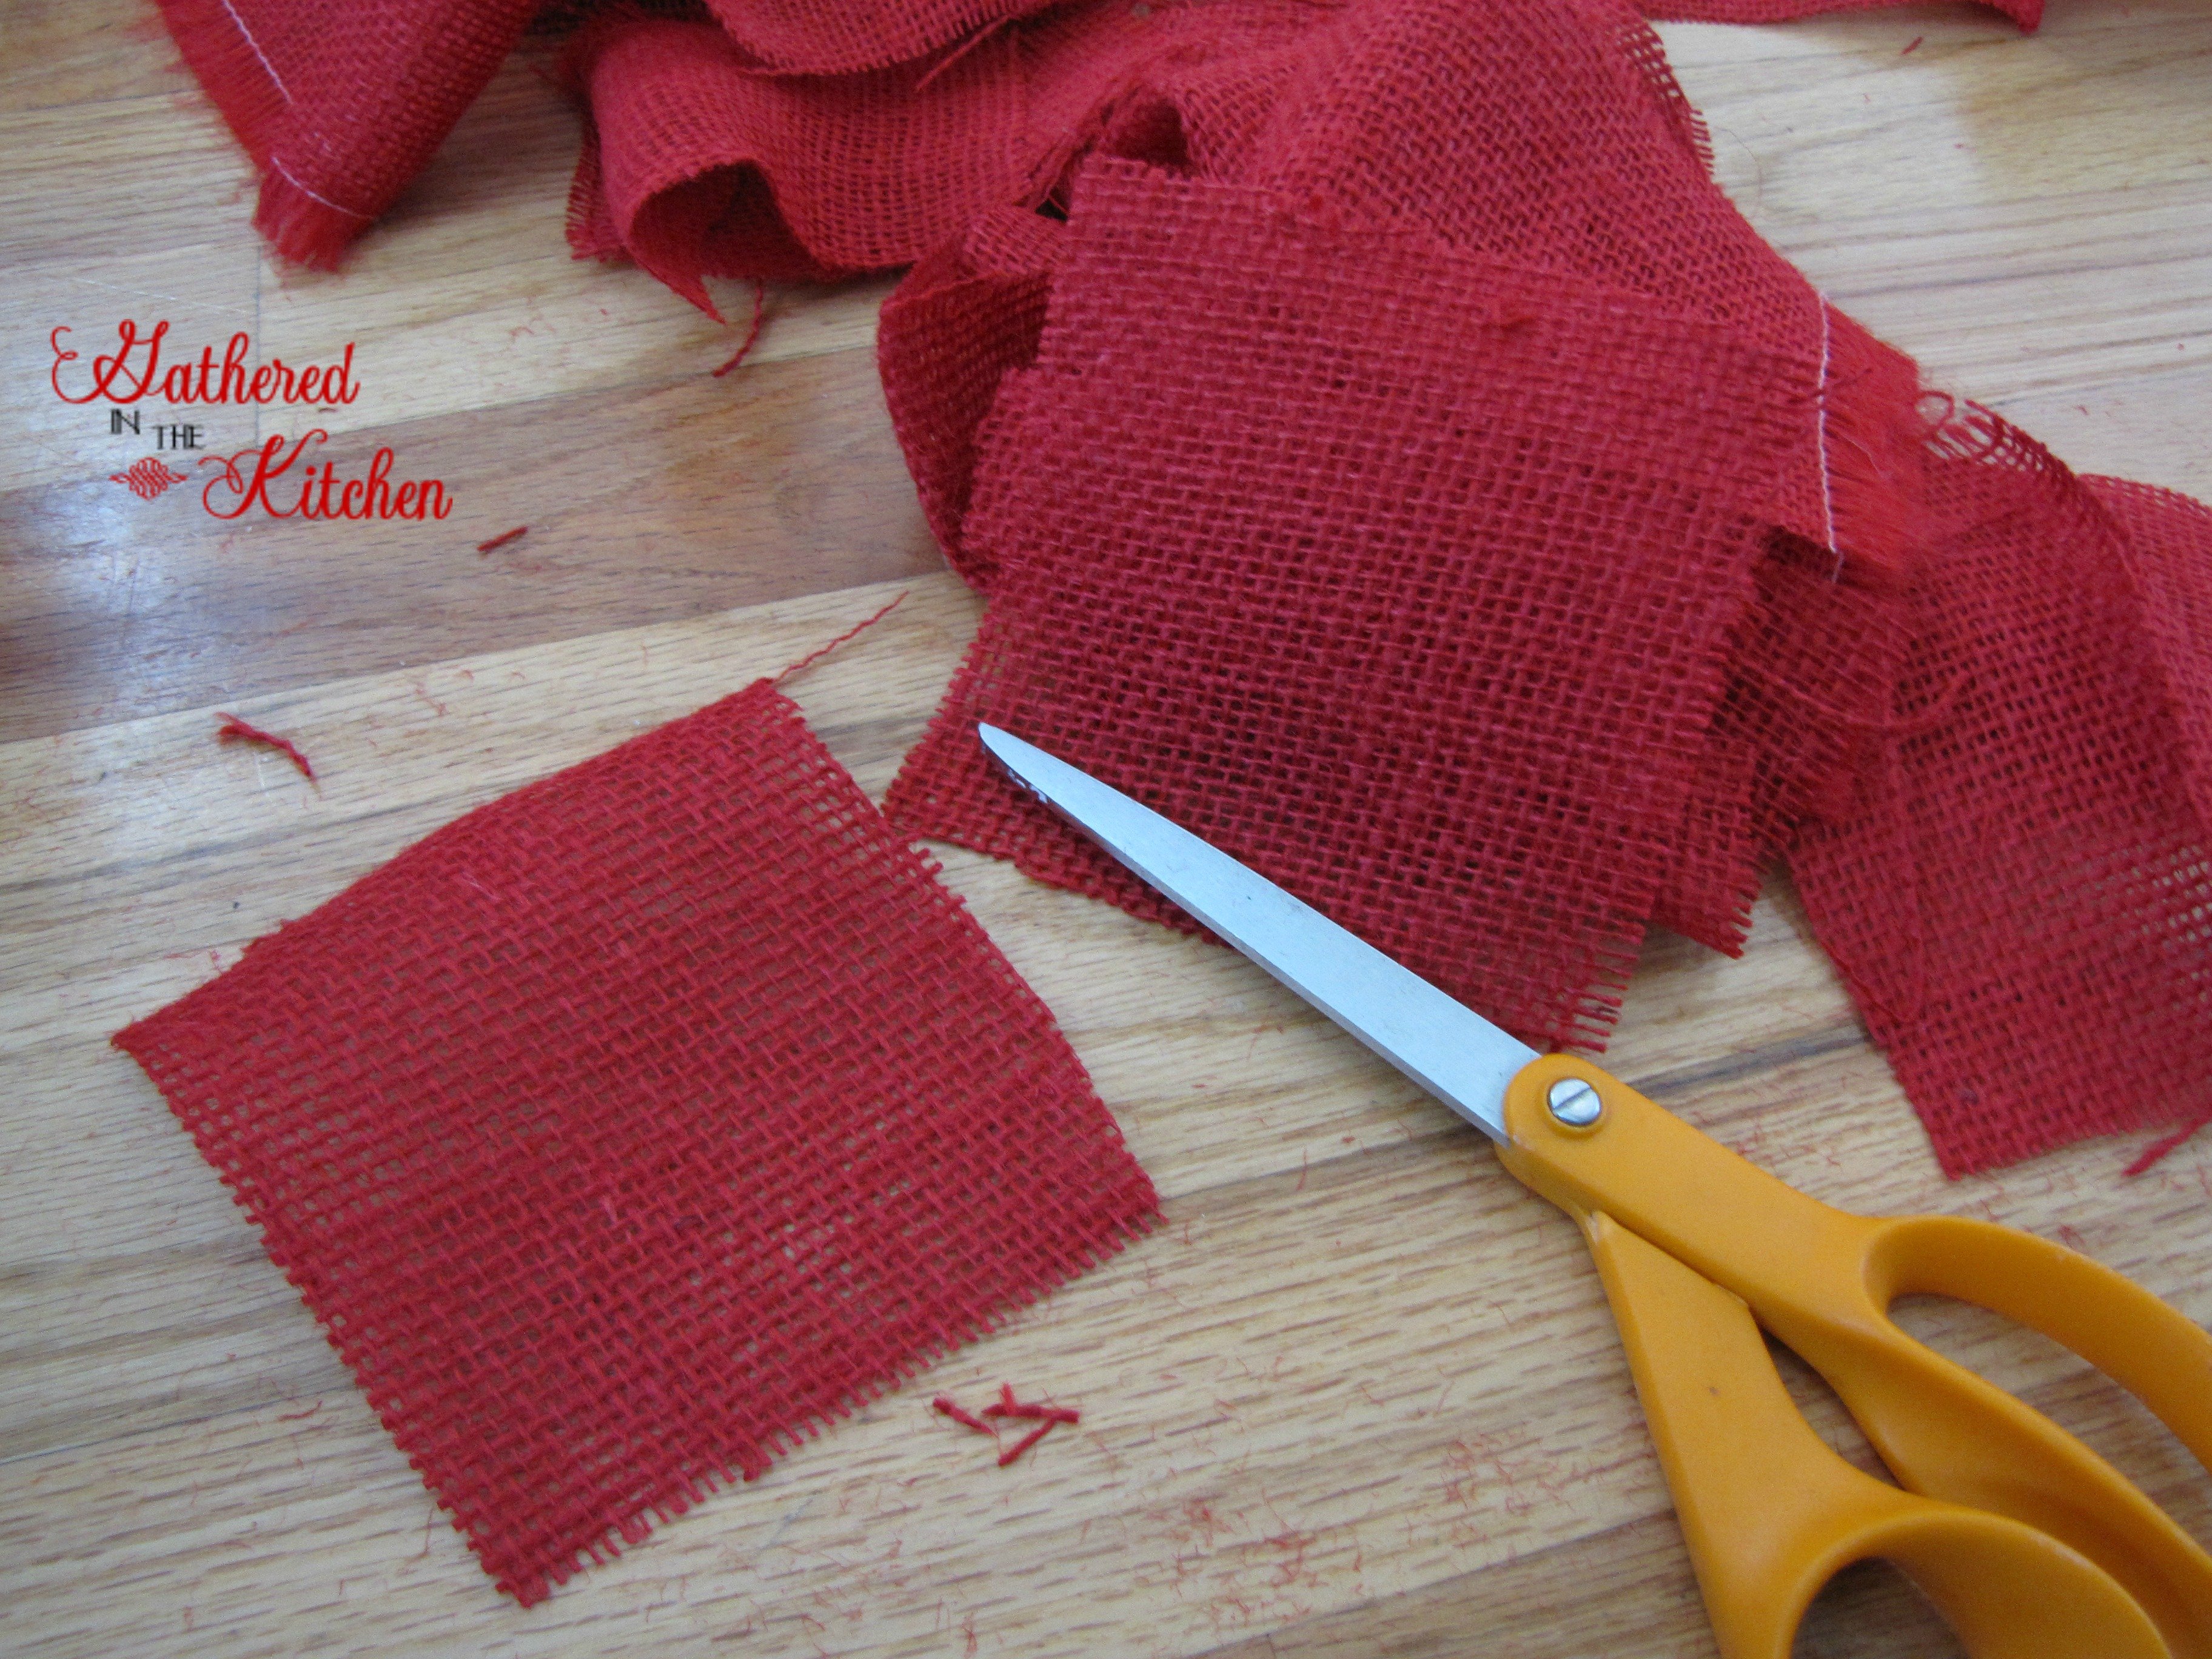
Step 1: Cut the Burlap into Squares
One of the key elements of a bubble burlap wreath is the “poufs” that create a full, fluffy look. To achieve this, start by cutting your burlap into 3″ x 3″ squares.
This post may contain affiliate links, which means I’ll receive a commission if you purchase through my link, at no extra cost to you. Please read full disclosure here.
💡 Pro Tip: Burlap tends to fray, so handle it gently and consider using a rotary cutter for clean edges!
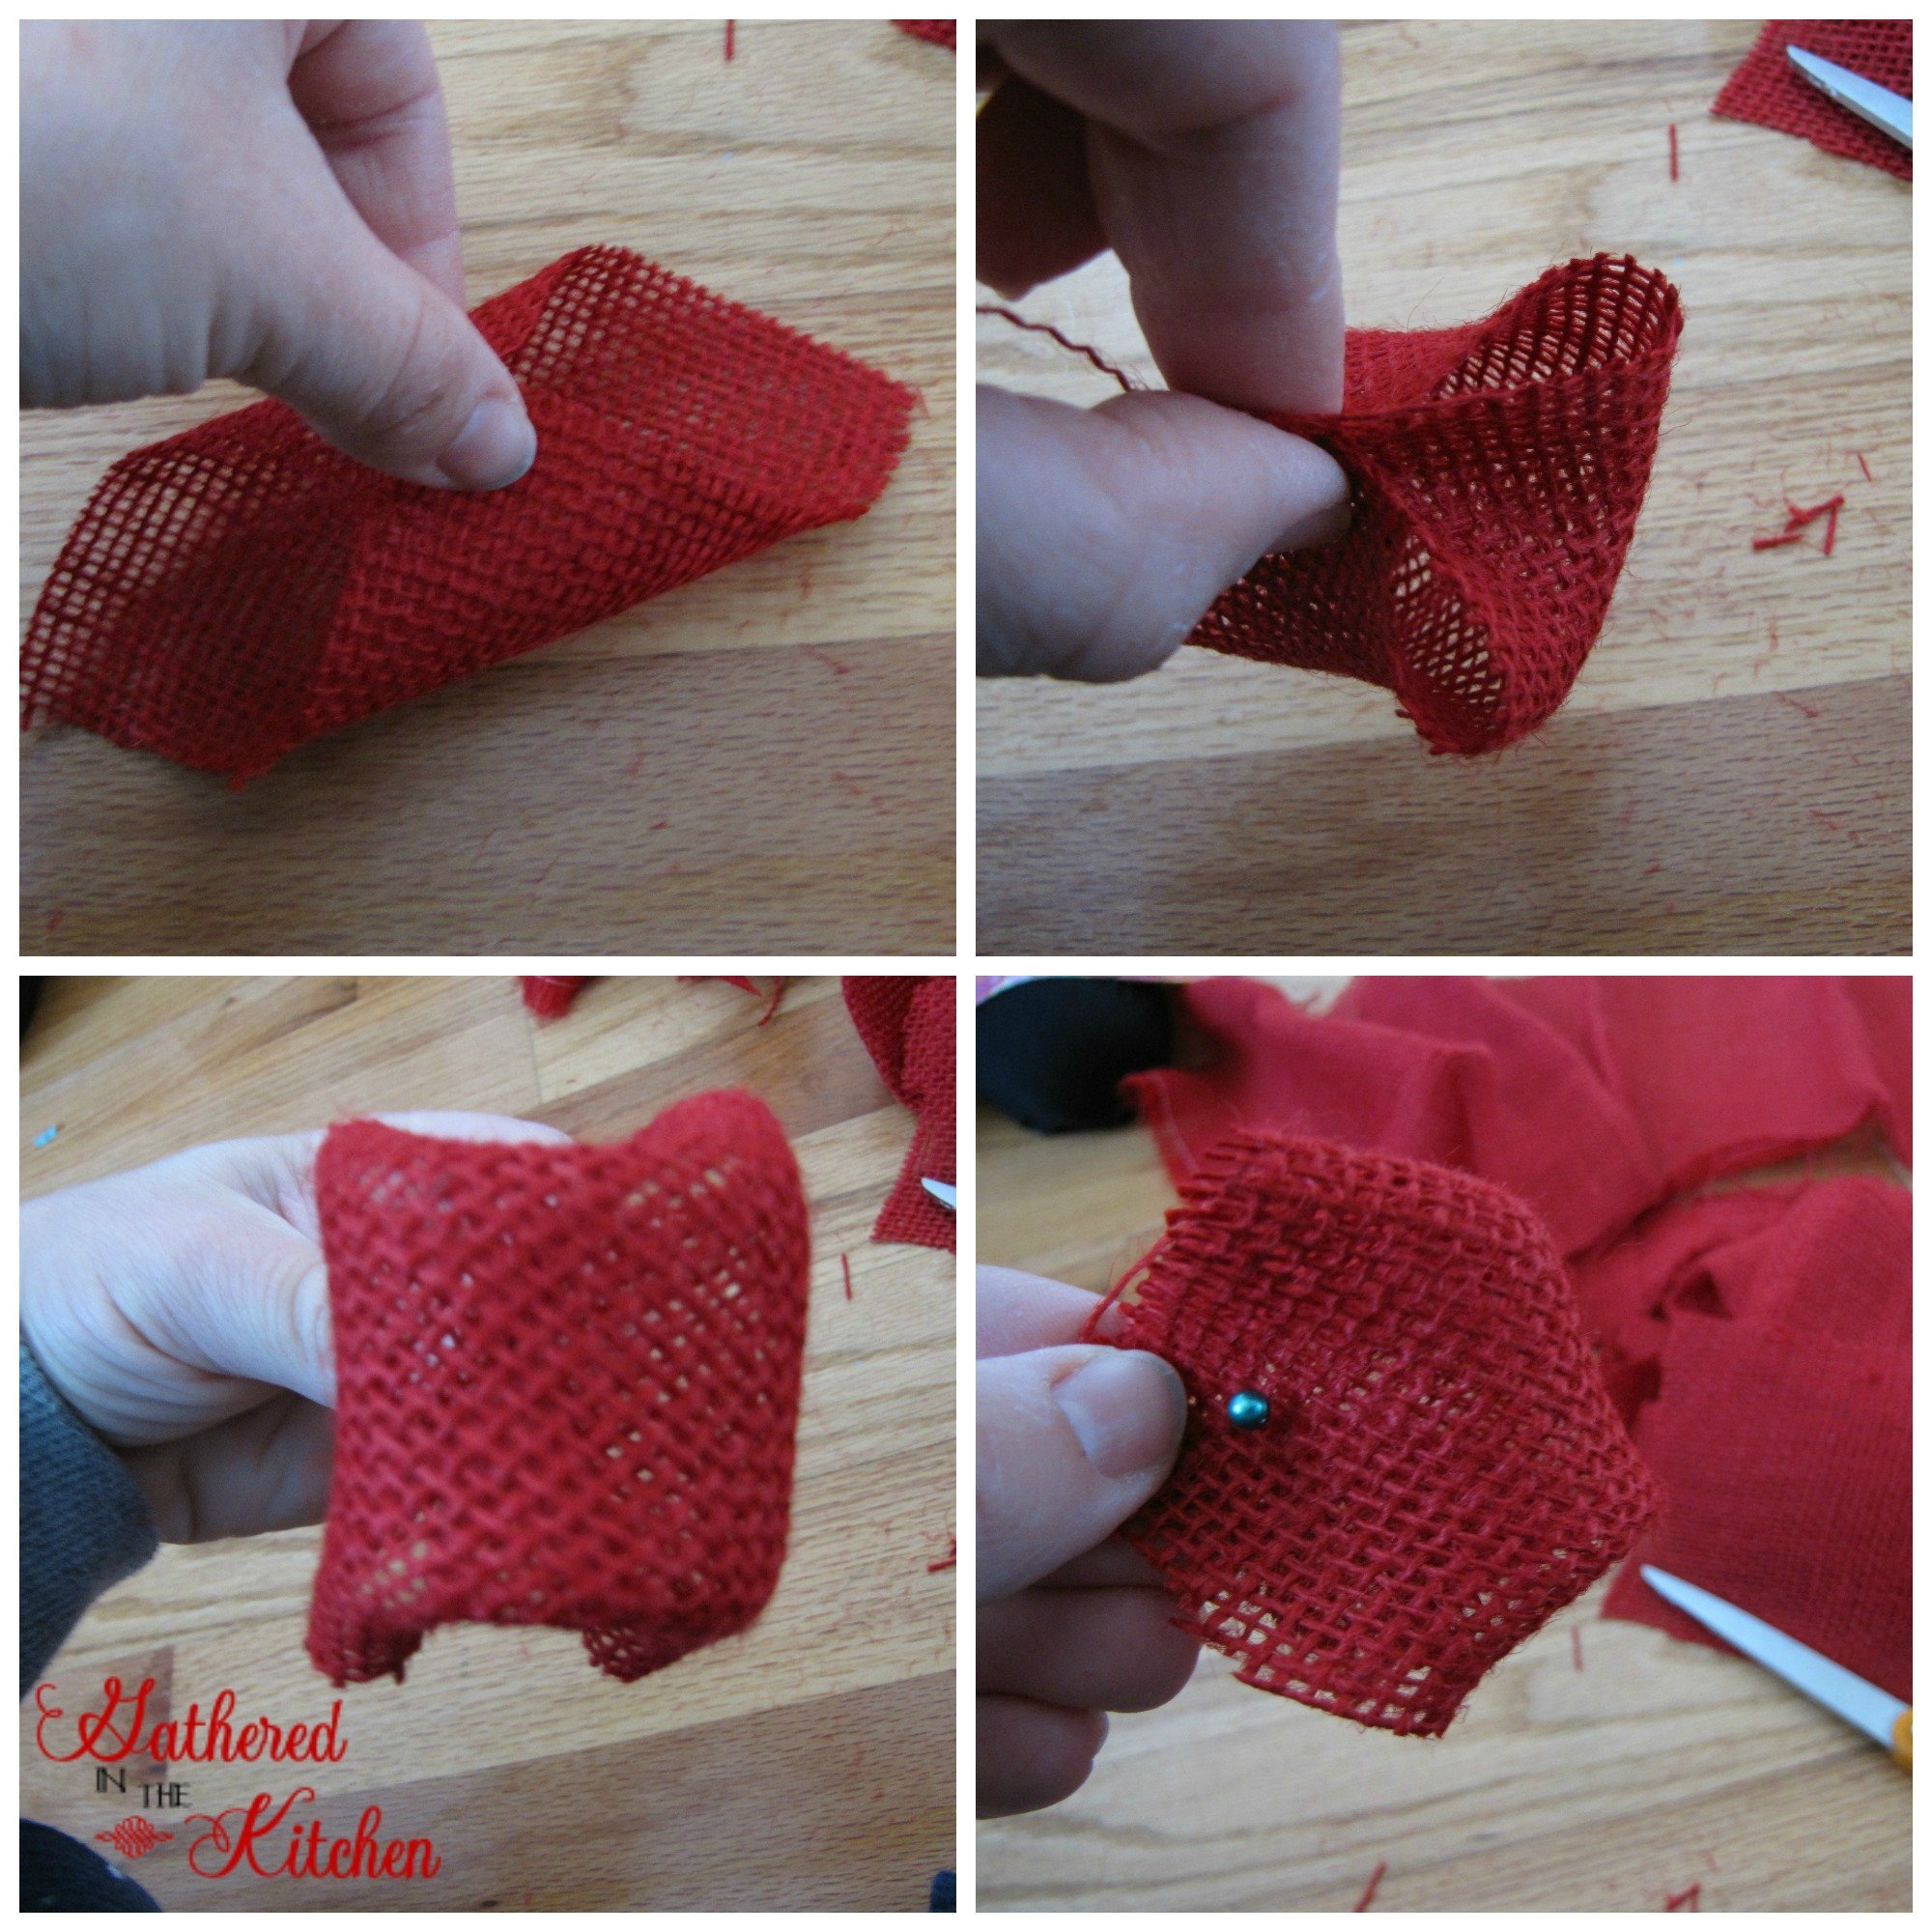
Step 2: Fold the Burlap to Create the Bubble Effect
Now, let’s make the signature “bubbles” that give this wreath its textured appearance.
1️⃣ Take one square and fold opposite corners inward.
2️⃣ Fold in the other two corners the same way.
3️⃣ You should now have a pouf shape!
4️⃣ Insert a pin through the bottom of the folded burlap to hold its shape.
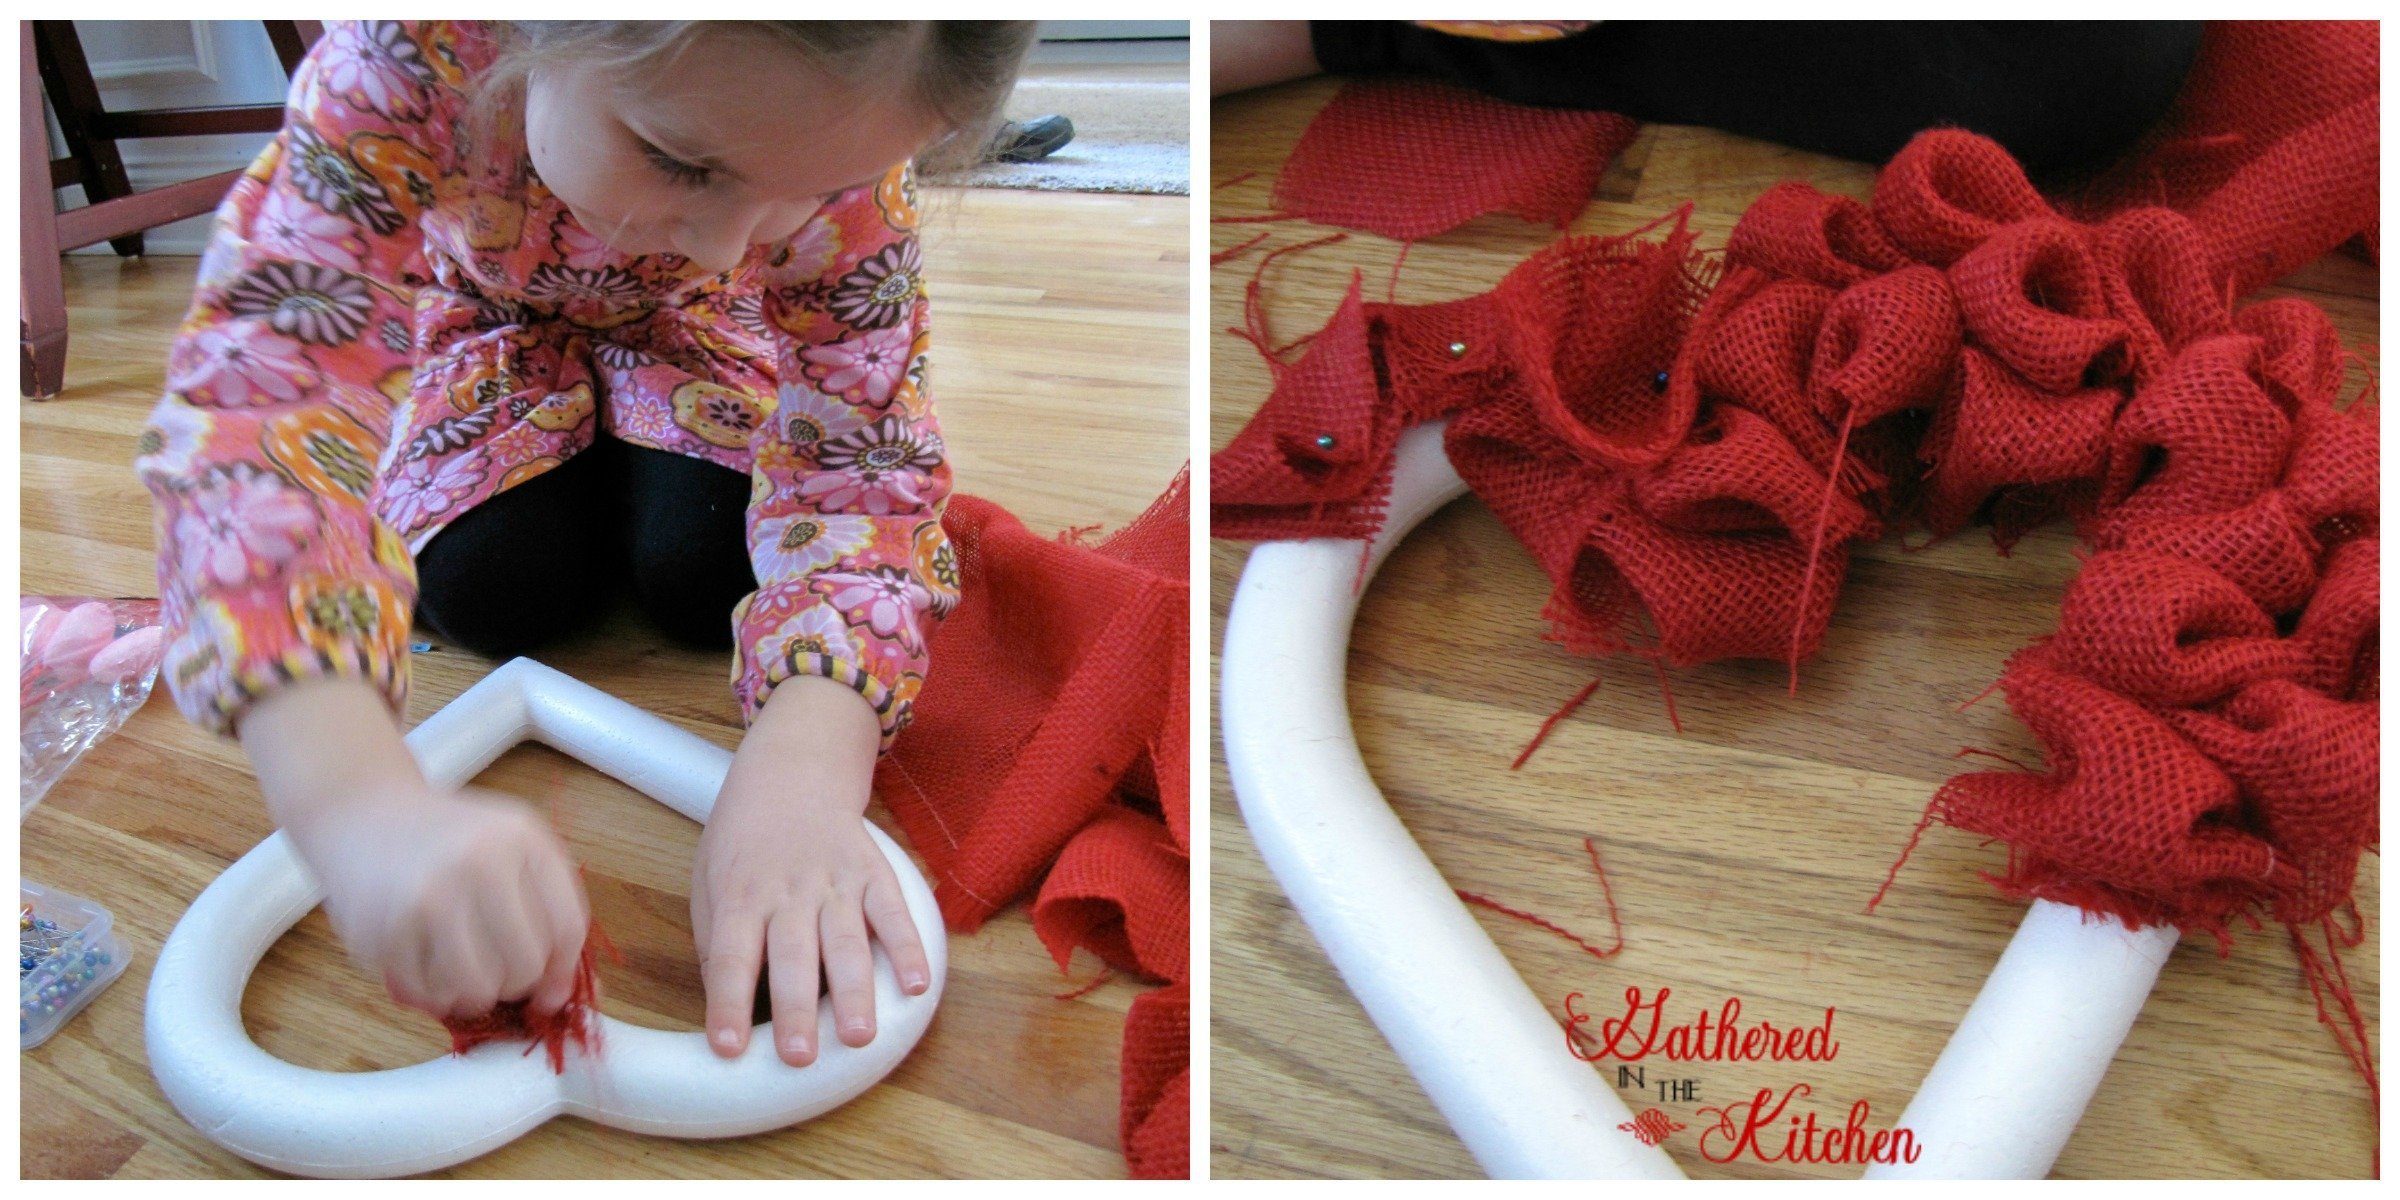
Step 3: Attach the Burlap Pieces to the Foam Wreath
- Start at the top of your foam heart wreath form and begin pinning your burlap poufs.
- Continue adding more burlap pieces until the wreath is full and fluffy.
- Make sure to cover all gaps so your wreath looks lush and full.
💡 Do you love a rustic, farmhouse-style look? Leave the frayed edges for a textured appearance. If you prefer a neater look, you can trim the excess frays!
Step 4: Add Decorative Heart Picks
- Once your burlap bubble wreath is complete, insert the heart picks around the wreath to add some extra Valentine’s Day charm.
- Trim the wooden sticks if needed to fit securely.
Step 5: Attach a Hanging Loop
- Take a twisty tie and make a small loop.
- Pin it to the back of your wreath for easy hanging on your front door, mantel, or wall.

Where to Hang Your DIY Valentine’s Burlap Wreath
This easy Valentine’s Day wreath is perfect for adding festive decor anywhere in your home! Here are some creative ways to display it:
❤️ Front Door: Welcome guests with a heart-shaped front door wreath.
❤️ Above the Fireplace: Add a cozy, rustic Valentine’s touch to your mantel.
❤️ Wall Decor: Hang it in your living room or entryway for a farmhouse-style accent.
❤️ Gift Idea: This DIY burlap wreath makes a thoughtful handmade Valentine’s gift!

More Valentine’s DIY Projects You’ll Love
- Valentine’s Day Decor
- Pink Buffalo Plaid Valentine’s Day Porch Decor
- Valentine’s Day Garden Flag DIY


Stephanie—home cook, DIY addict, seasonal decor fanatic, and proud chicken wrangler living in a Victorian house that’s always a project. Whether I’m cooking with garden-fresh ingredients, herding mischievous chickens, or tackling another DIY, I’m here to share the fun (and chaos).


Lovely! I love that red burlap. Pretty!
Hello! Just stopping by to let you know that I featured your wreath at this week’s Submarine Sunday party!
Oh my goodness!! Thank you so much! I’m so excited!!