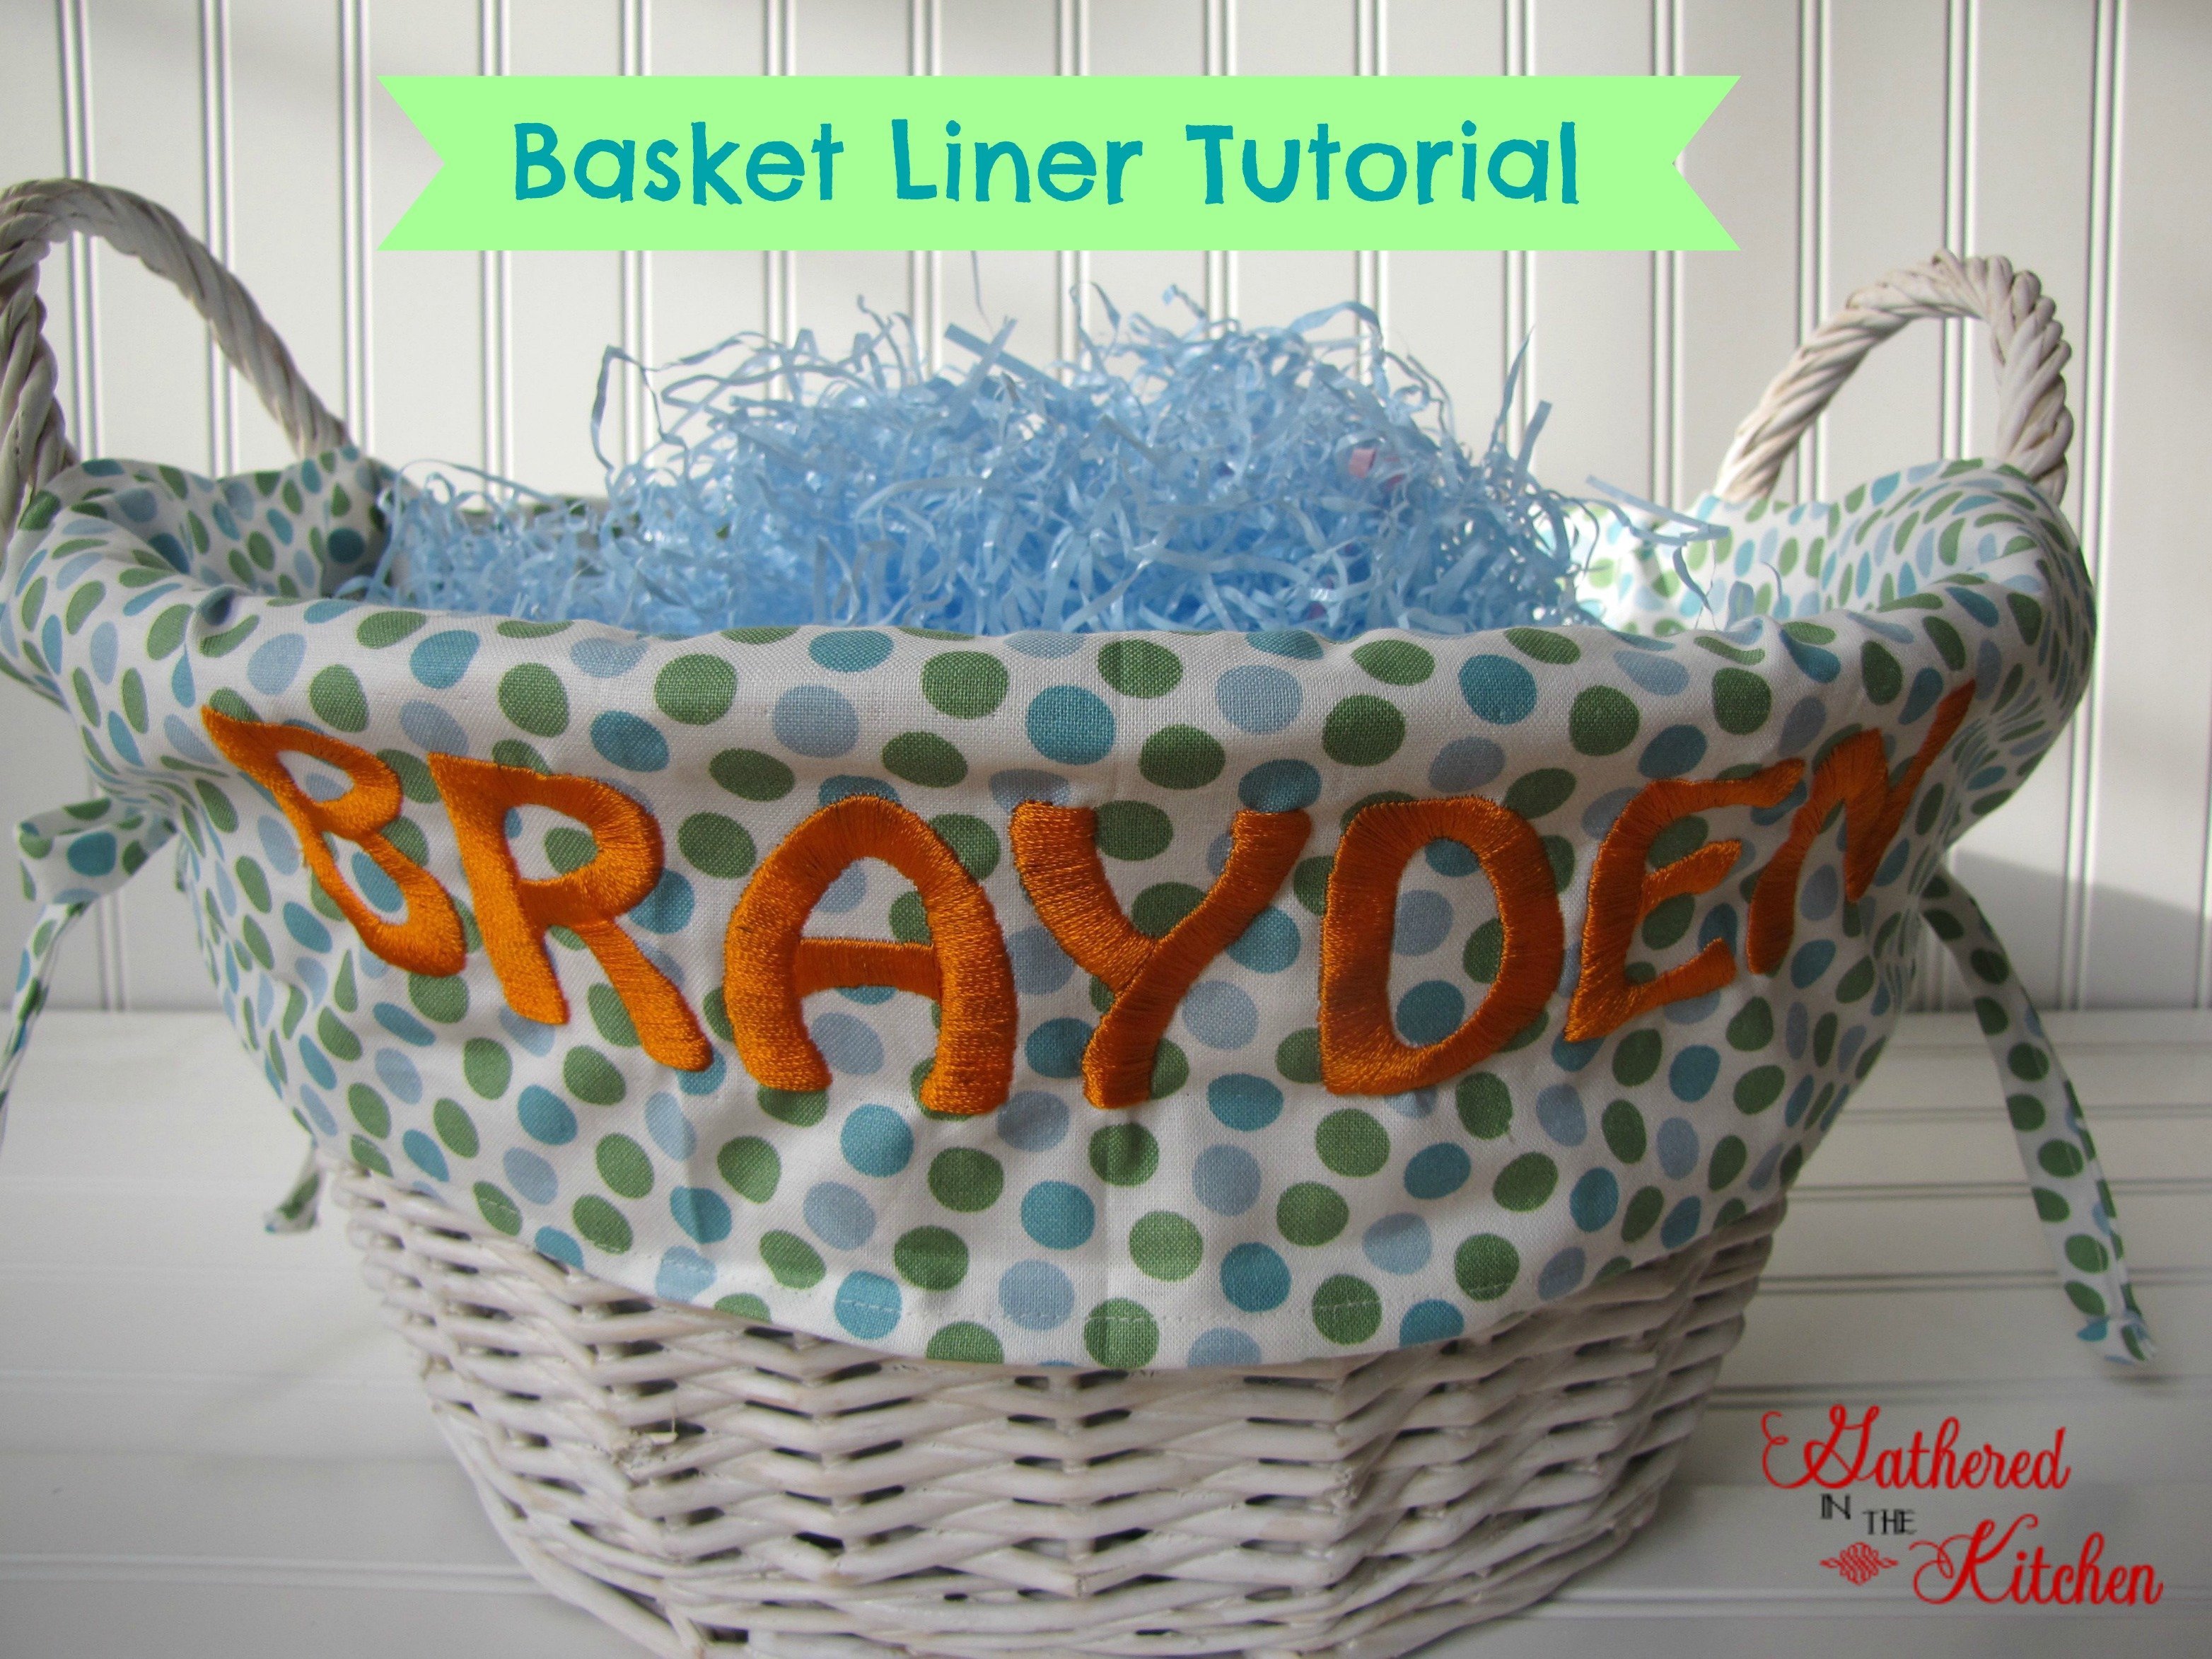
How to Make a Round Basket Liner with Handles: Easy DIY Sewing Tutorial
Learn how to sew a basket liner with handles in this easy step-by-step tutorial. Perfect for DIY Easter baskets or home organization!
Last year, when I saw the beautiful Easter baskets in the Pottery Barn Kids magazine, I instantly fell in love. However, buying one for each family member would have been expensive. Instead, I decided to keep my eyes open for large baskets with liners—or better yet, learn how to sew a basket liner with handles myself! This way, I could create a custom DIY Easter basket liner that was both practical and stylish.
Where To Buy Baskets
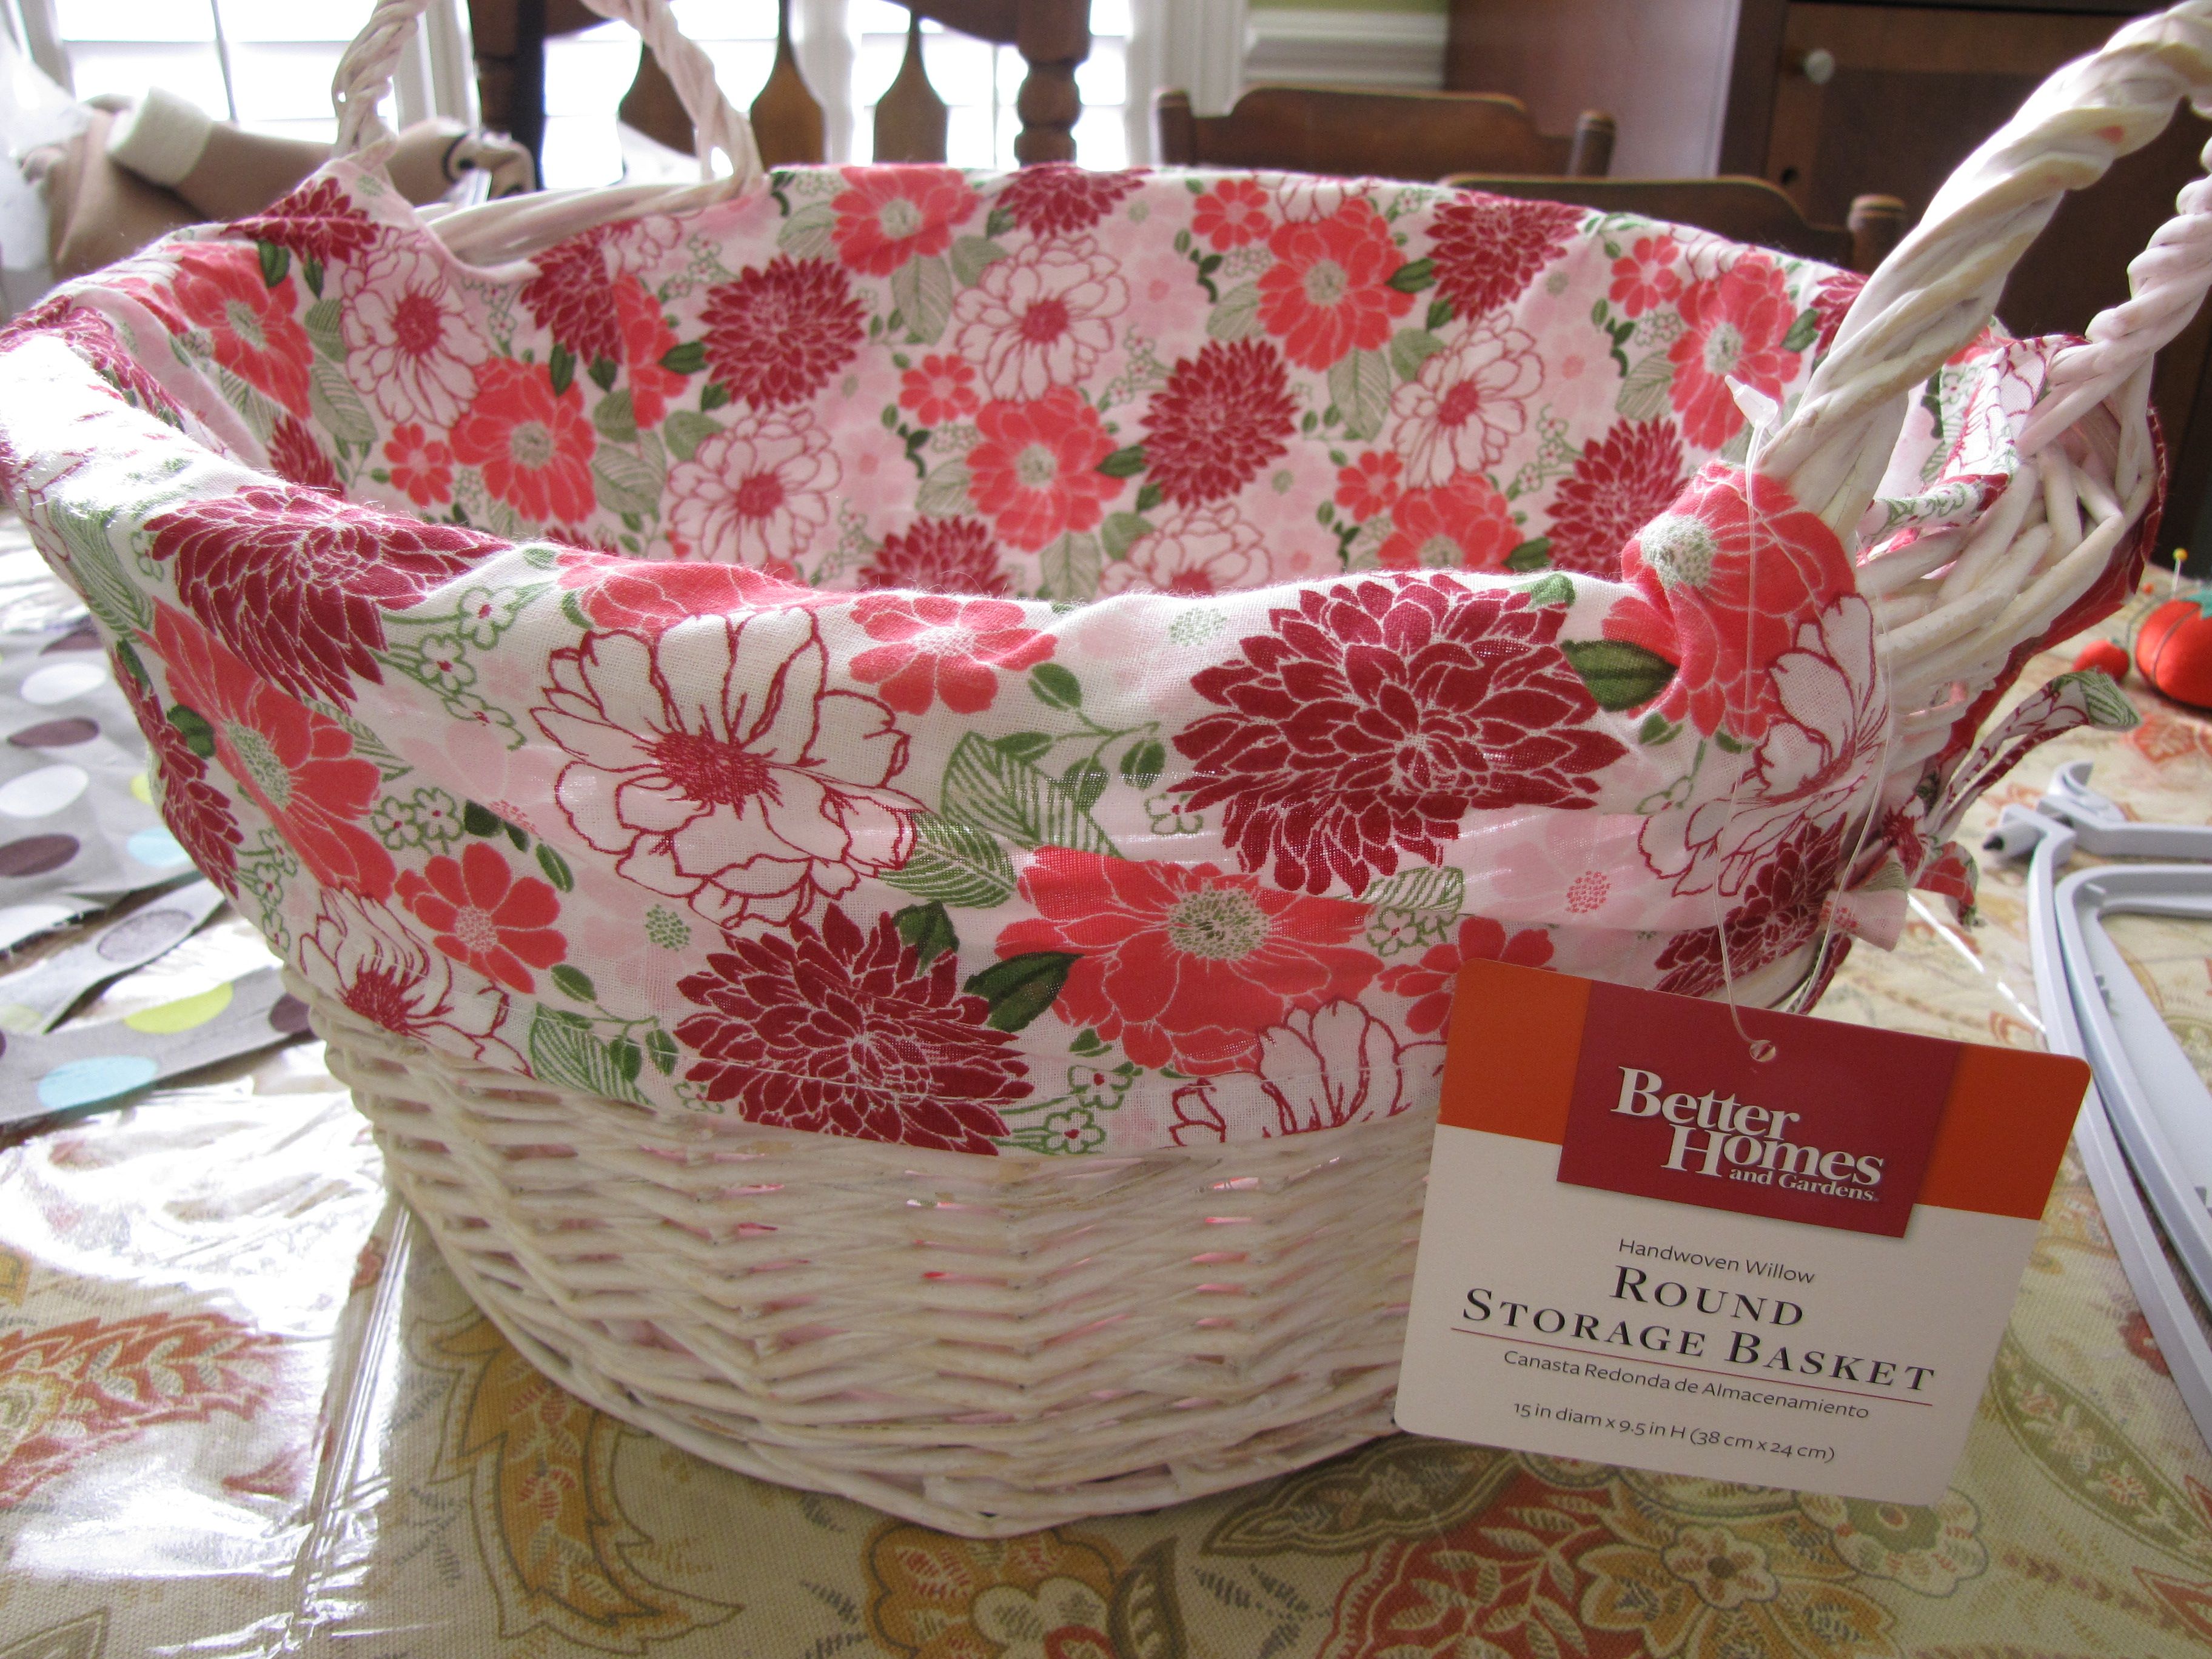
I found these large white wicker baskets at Walmart on clearance right after Easter, which was the perfect time to score a great deal. They were sturdy, spacious, and had a classic look that made them ideal for creating custom liners. While I was there, I also picked up a variety of colorful fabrics, each with fun patterns and bright hues, to match the festive Easter theme. The fabrics were lightweight yet durable, making them easy to work with for sewing the basket liners. I loved having the freedom to mix and match different designs to create a unique and personalized look for each basket.
This post may contain affiliate links, which means I’ll receive a commission if you purchase through my link, at no extra cost to you. Please read full disclosure here.
You can also check stores like Target, Michaels, Hobby Lobby, or even thrift stores for affordable basket options.
How to Make a Basket Liner with Handles – Step-by-Step Guide
Since I wanted each of us to have our own basket with a unique, personalized liner, I needed to create a custom pattern that would fit perfectly. Fortunately, the baskets I purchased already came with liners, which made the process much easier.
I was able to remove the original liners and use them as a template to create my own custom Easter basket liners. This saved me the time and guesswork of drafting a pattern from scratch, allowing me to focus on selecting the perfect fabrics and adding personalized touches.
STEP 1: Trace your basket onto large pieces of paper

STEP 2: Cut out your tracings with scissors

STEP 3: If your basket already had a liner, trace and cut out the side panels

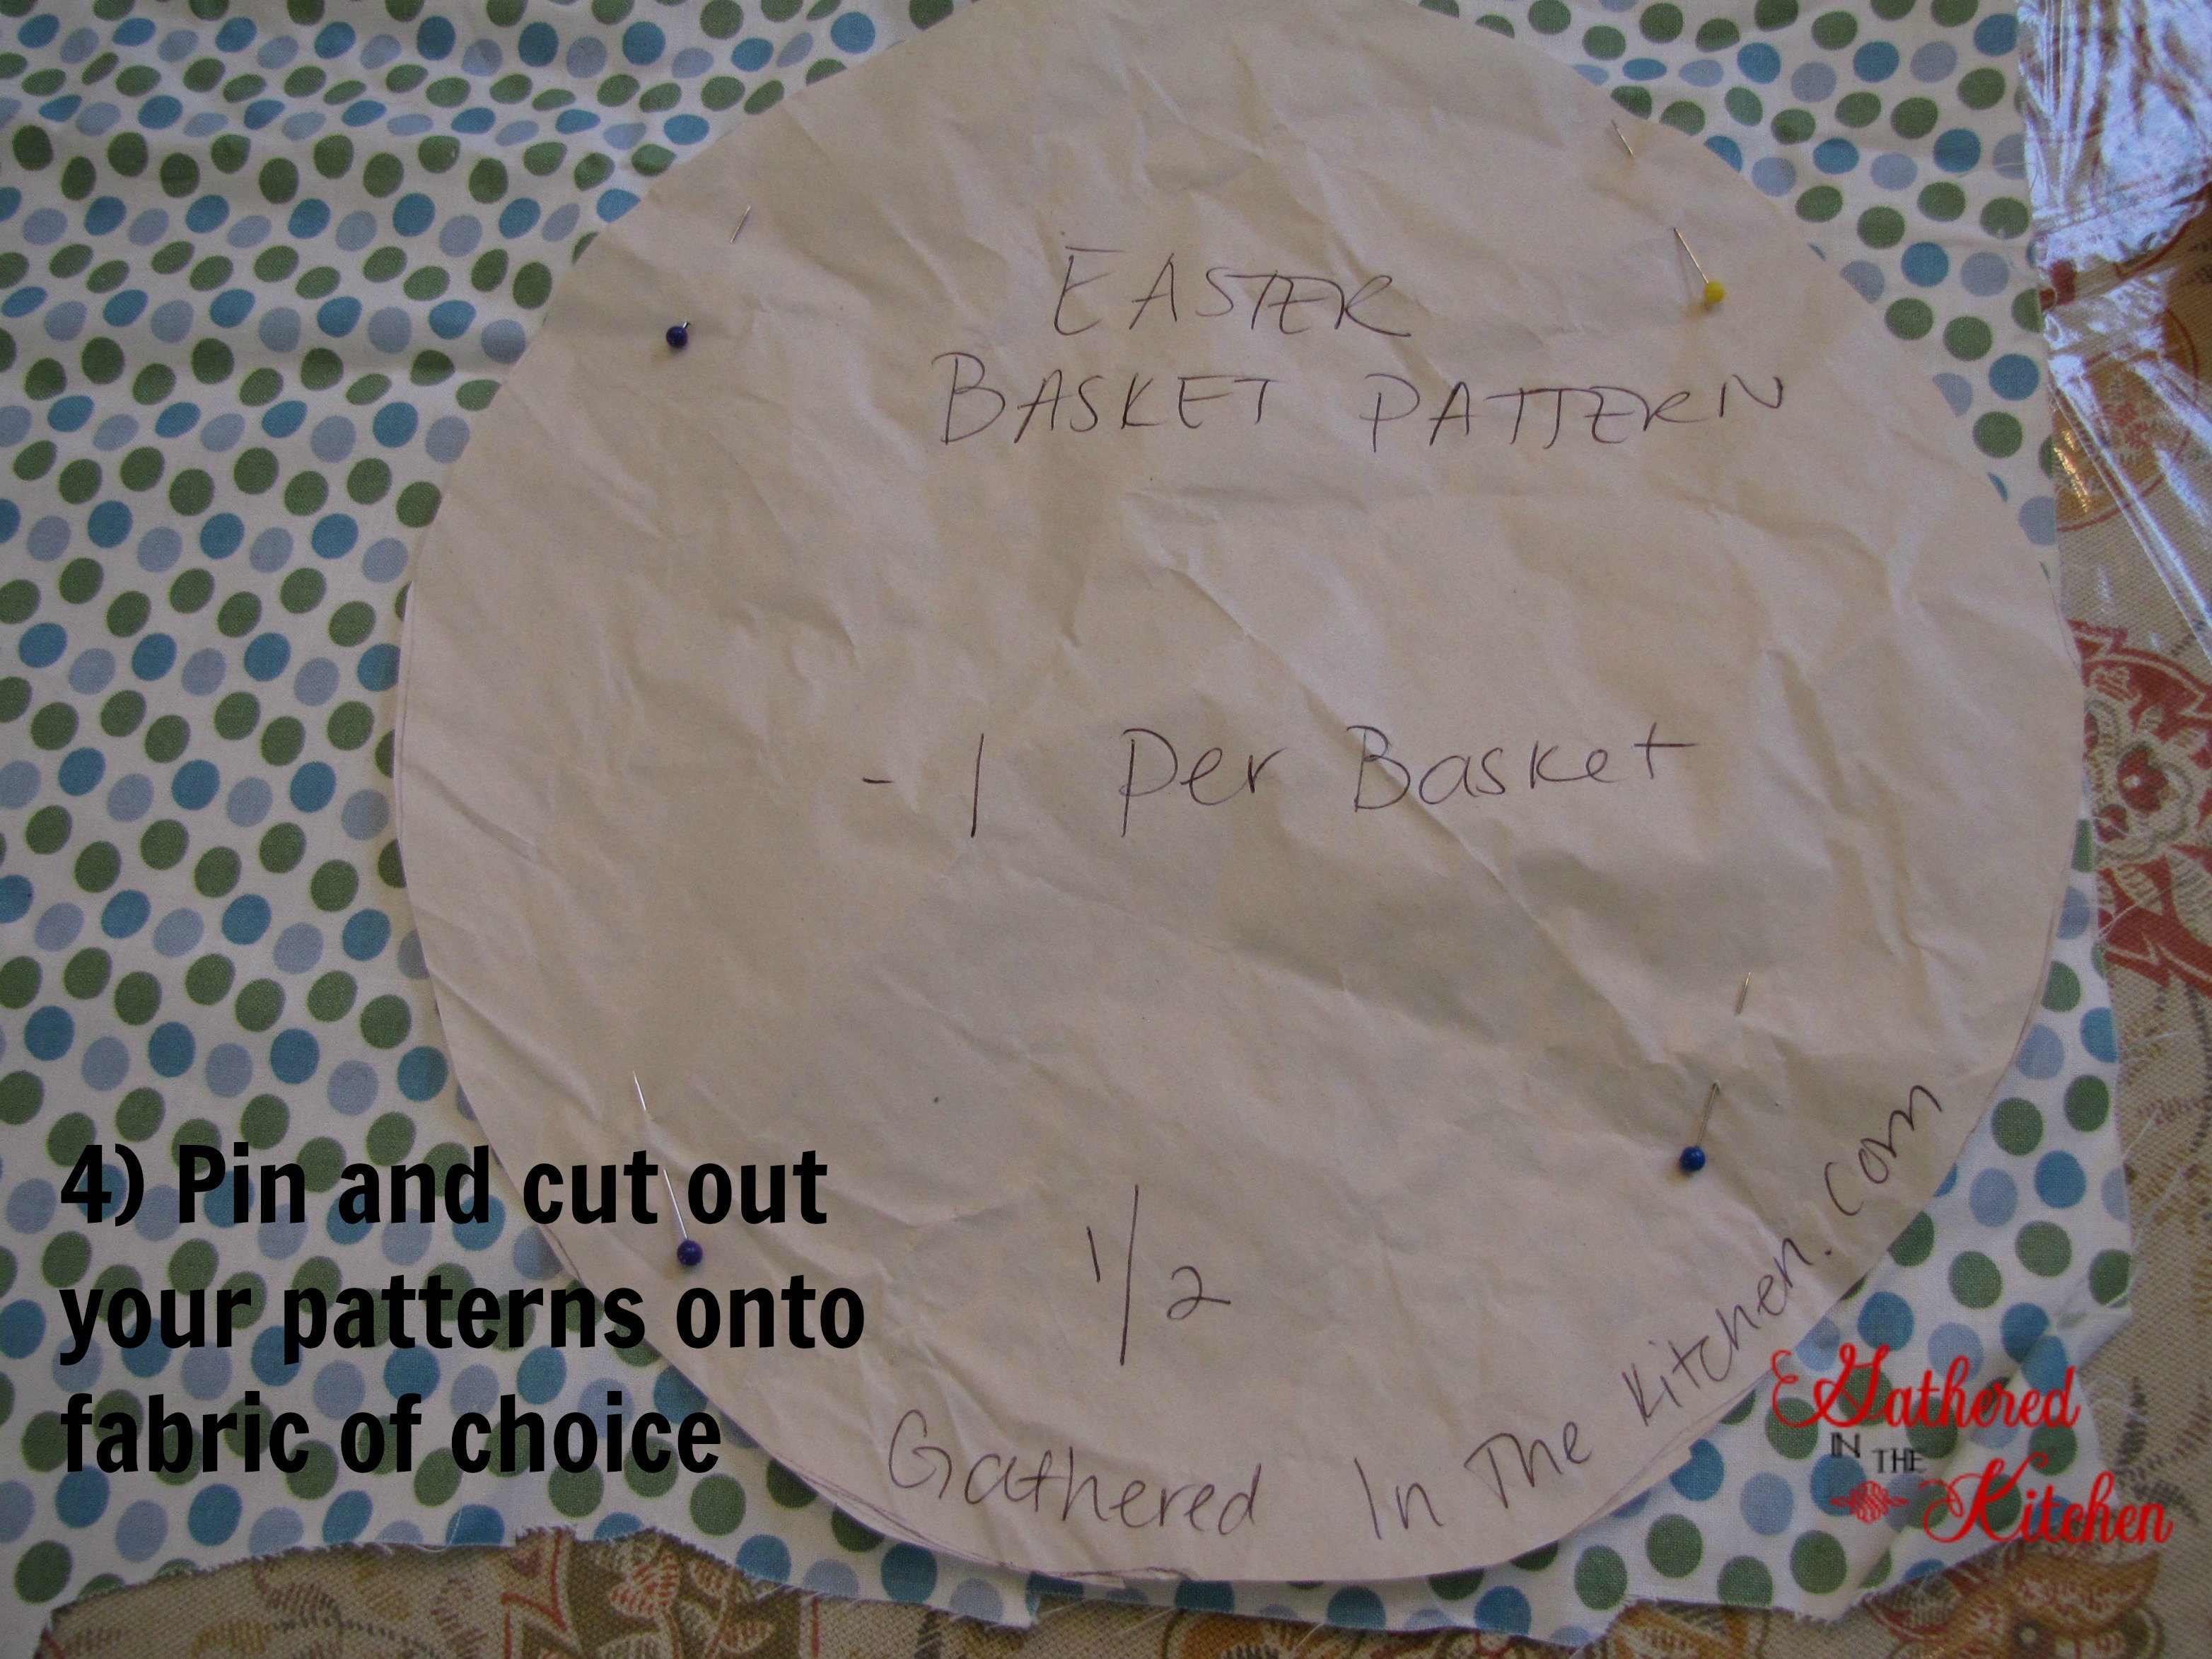
STEP 4: Pin and cut out your patterns onto the fabric of your choice
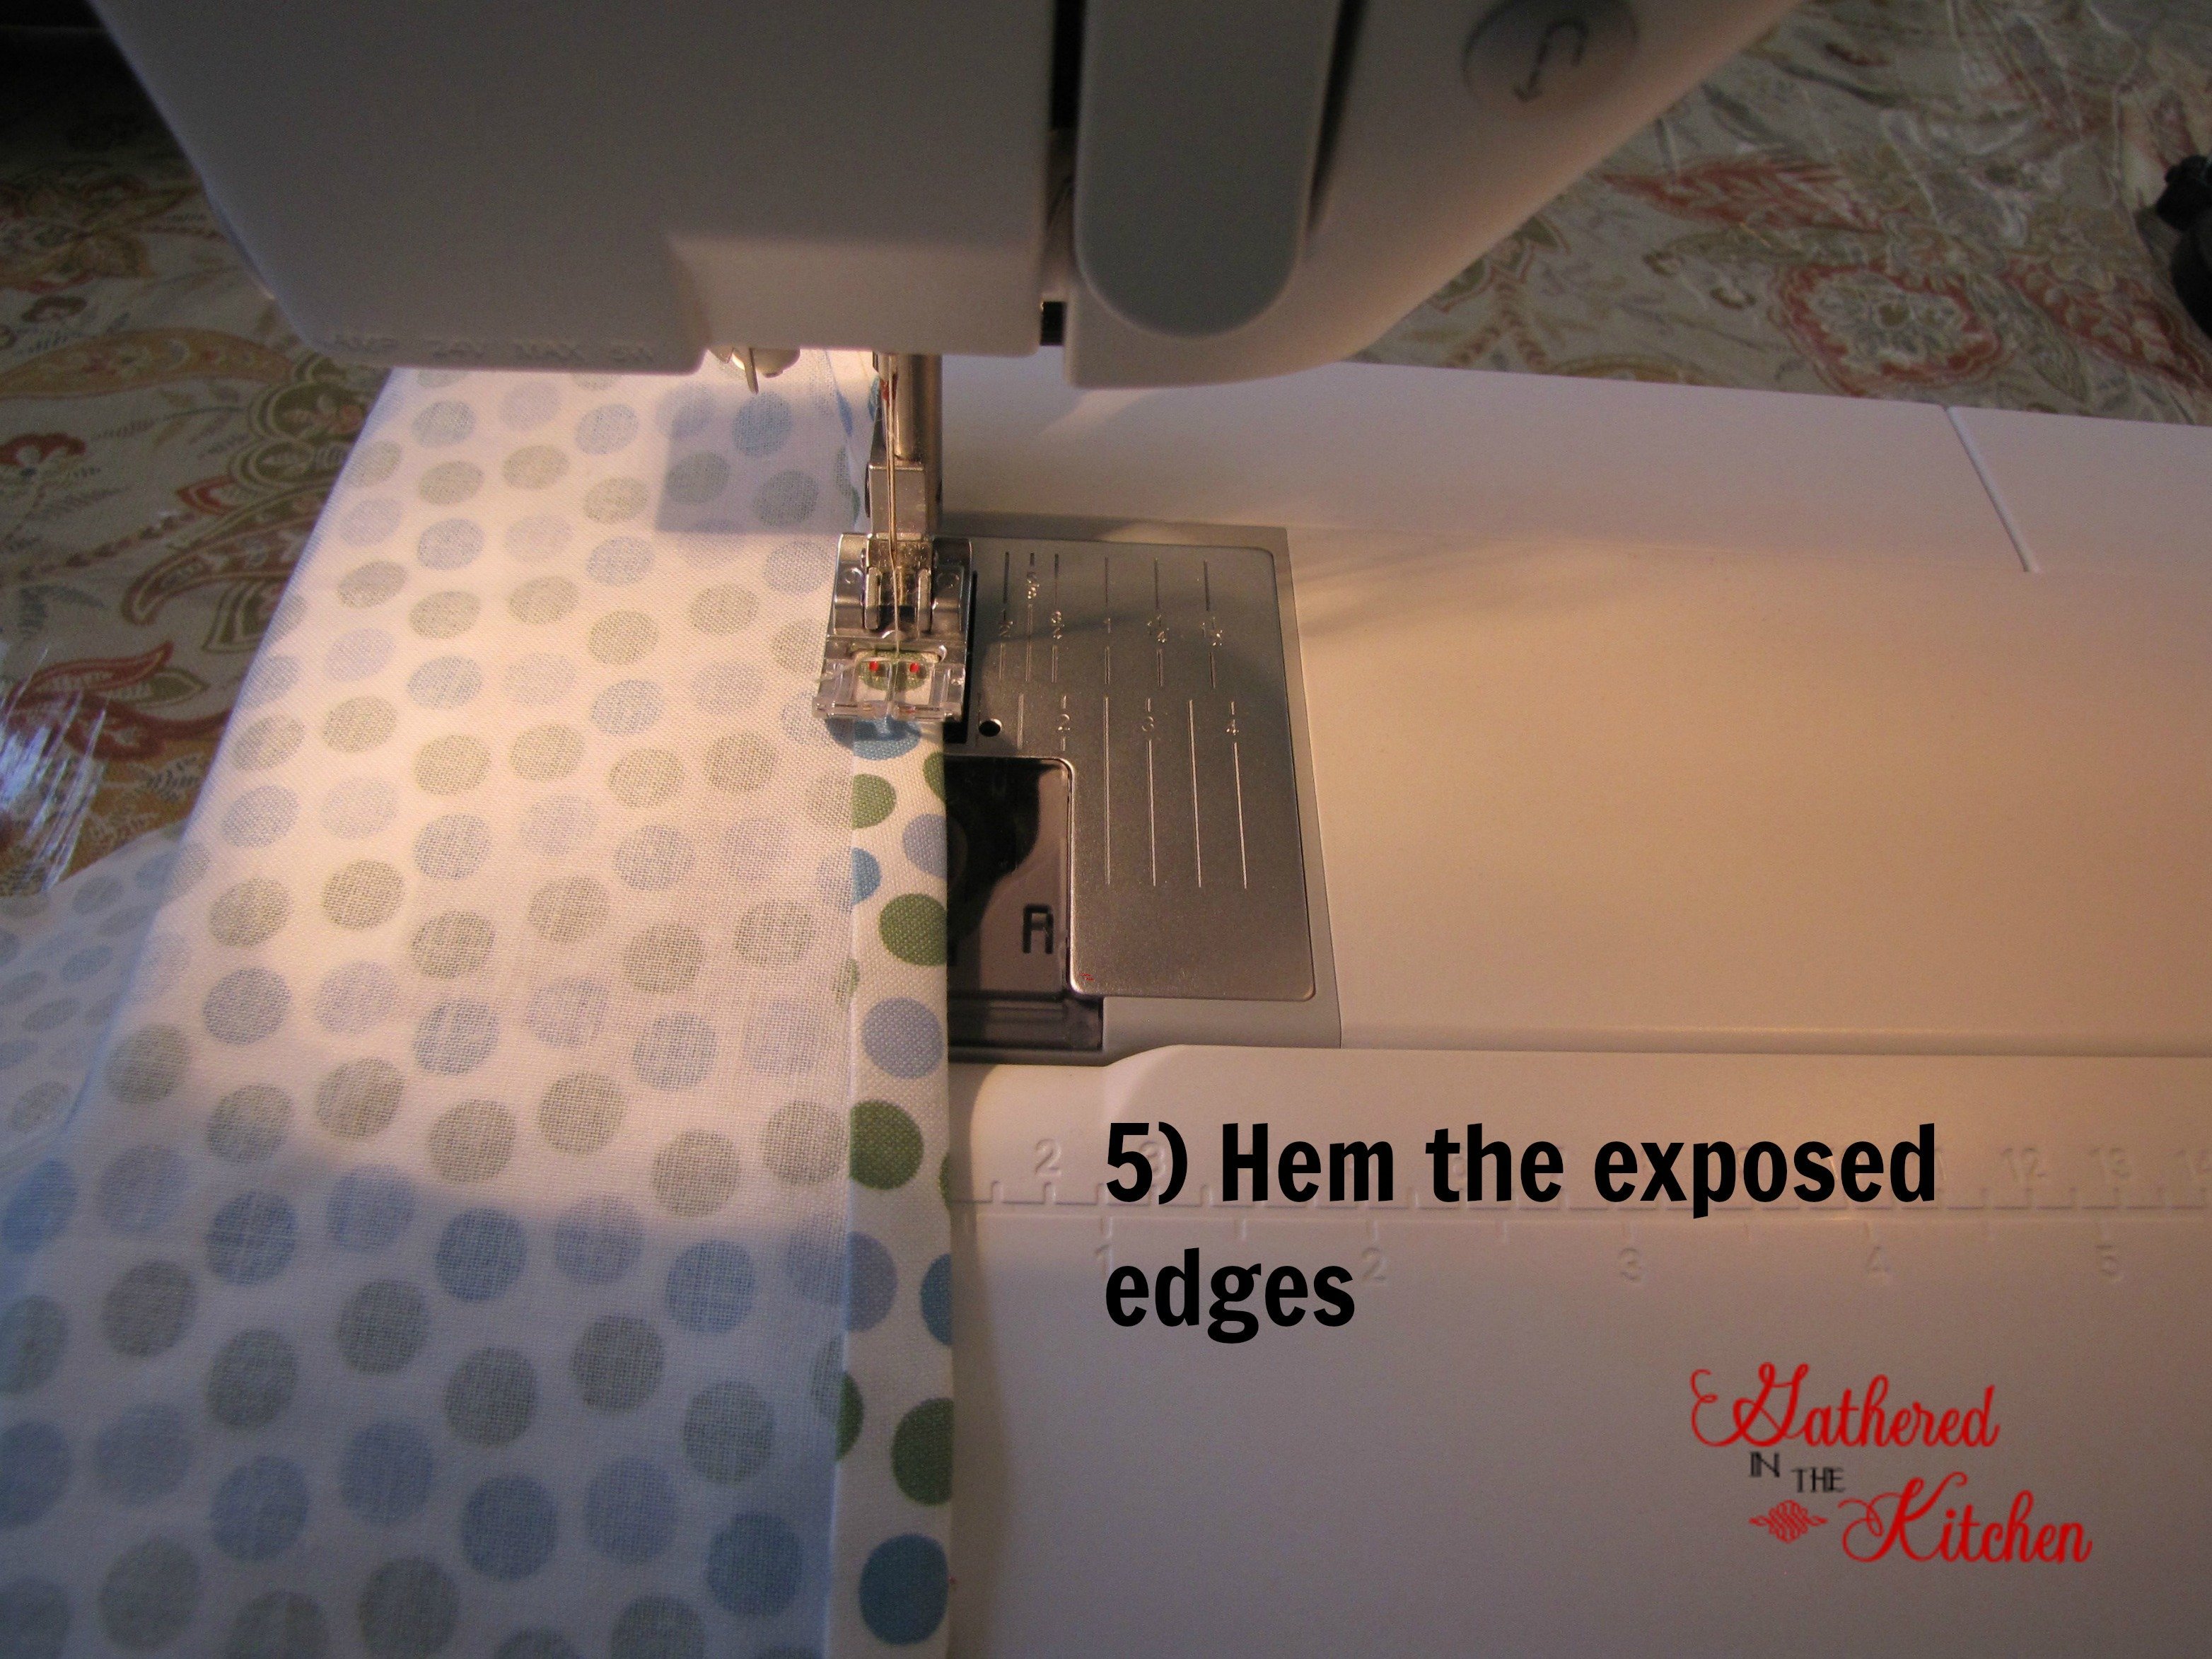
STEP 5: Hem the exposed edges
STEP 6: If you have handles on your basket, you will need two side panels. Sew right sides together, only

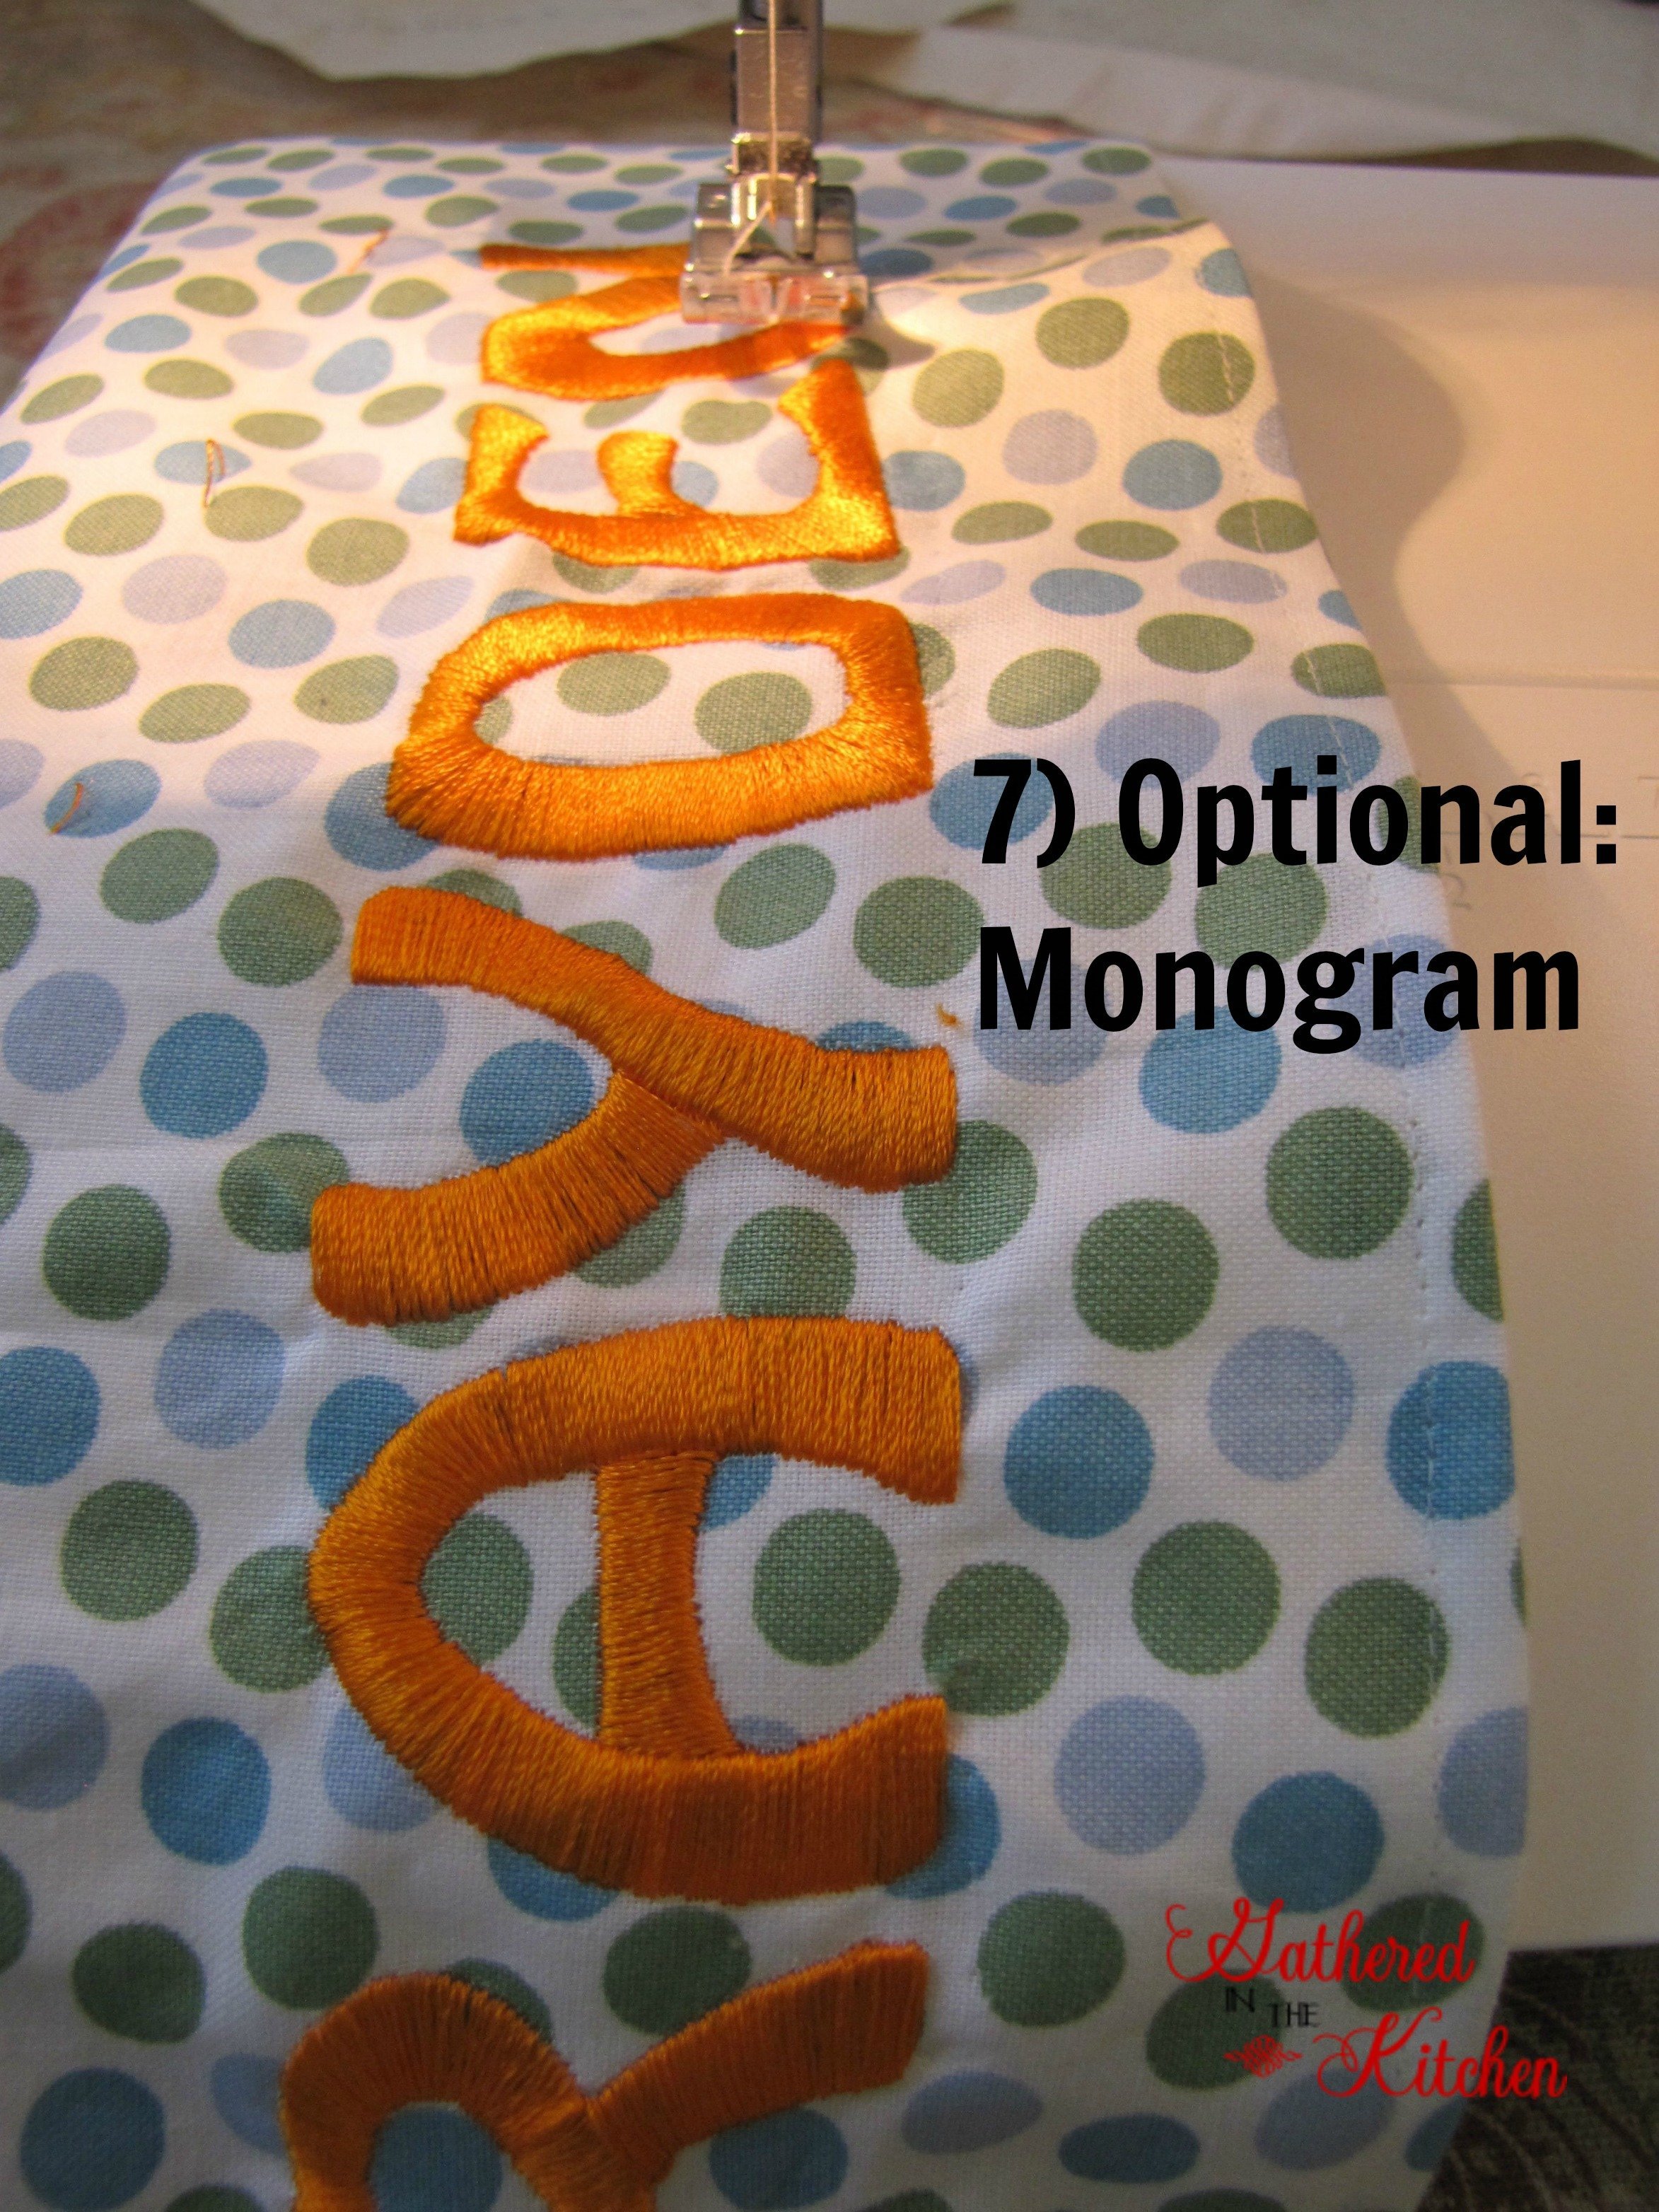
STEP 7: Optional step: personalize with monogram. Note: you will need an embroidery machine to stitch out a monogram. Alternatively, you can use a Silhouette Cameo and cut Heat Transfer Vinyl.
STEP 8: Open the side panels, pin the bottom circle to panels at 12, 3, 6 and 9 o’clock

STEP 9: In between 12, 3, 6, 9 o’clock create pleats and pin

STEP 10: Proper placement of pins

STEP 11: Create ties: cut the fabric to the length needed. Fold in half and iron. Unfold, and then fold each side up to the middle crease and iron again. Fold together and iron

STEP 12: Sew a straight stitch down each individual tie

STEP 13: Stitch ties onto the side panels. Place Liner in the basket

Aren’t they just adorable?!?! I am in love with them! If you love this project, share it with friends who also want to learn how to make a removable basket liner for their home décor or Easter baskets!


If you have found this tutorial helpful (or just think the baskets are cute 🙂 ) please PIN it and LIKE me on Facebook!!
More Great Easter Ideas!
Looking for more fun Easter crafts? Try my Tie-Dye Shaving Cream Easter Eggs for a creative and colorful way to decorate eggs!
- He Is Risen Preschool Craft
- Happy Easter Printable Tag
- DIY Easter Projects
- DIY Easter Baskets & Easter Shirts
- Easter Basket Liner Tutorial
- Easter Gifts for Teachers & Class + Free Printable
Easter Recipes!
- Crock Pot Holiday Ham
- Crock Pot Sweet Potato Soufflé
- Strawberry Pretzel Jello
- Celebration Salad
- Katie’s Goat Cheese Scalloped Potatoes
- Easter Sugar Cookies
- Easter Sugar Cookies with Carrot Decorations


Stephanie—home cook, DIY addict, seasonal decor fanatic, and proud chicken wrangler living in a Victorian house that’s always a project. Whether I’m cooking with garden-fresh ingredients, herding mischievous chickens, or tackling another DIY, I’m here to share the fun (and chaos).


One Comment