Spring Yard Cleanup Checklist (Zone 5 Garden Prep After Winter)
Spring yard cleanup includes trimming dead plants, removing leaves, clearing sticks, building compost, and preparing your garden soil for new growth. In colder climates like Zone 5, wait until temperatures are consistently above freezing and new growth begins to appear.
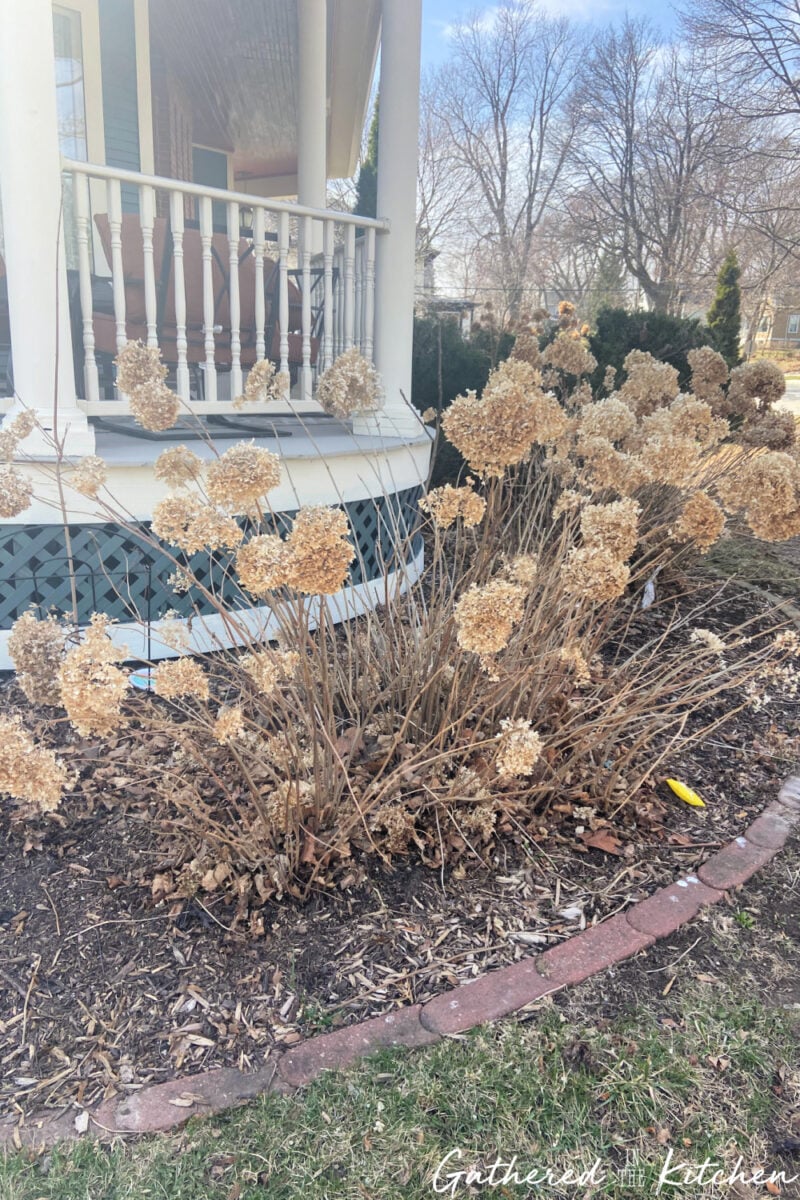
After a long Wisconsin winter, the yard can look rough—dead leaves, broken sticks, and flattened plants everywhere. It’s hard to know where to start.
Every spring, I follow a simple routine to refresh my garden beds, reuse natural materials, and build compost for the new growing season.
These steps work especially well in Zone 5 climates, but can be used anywhere once winter has passed. And if you’re dealing with lots of leaves, don’t toss them—they make incredible compost. Here’s exactly how to compost fall leaves for healthy soil.
This post may contain affiliate links, which means I’ll receive a commission if you purchase through my link, at no extra cost to you. Please read full disclosure here.
I even compost all winter long (yes, even in the snow!). If you’re curious how that works, you can read how I compost in winter in Wisconsin.
Because I garden in Zone 5 in Wisconsin, I wait until the snow is fully melted and temperatures consistently stay above freezing before doing my spring yard cleanup. Gardeners in warmer zones can often start earlier, but the same cleanup principles apply anywhere once winter has passed.
When Should You Start Spring Yard Cleanup? (Watch for New Growth)
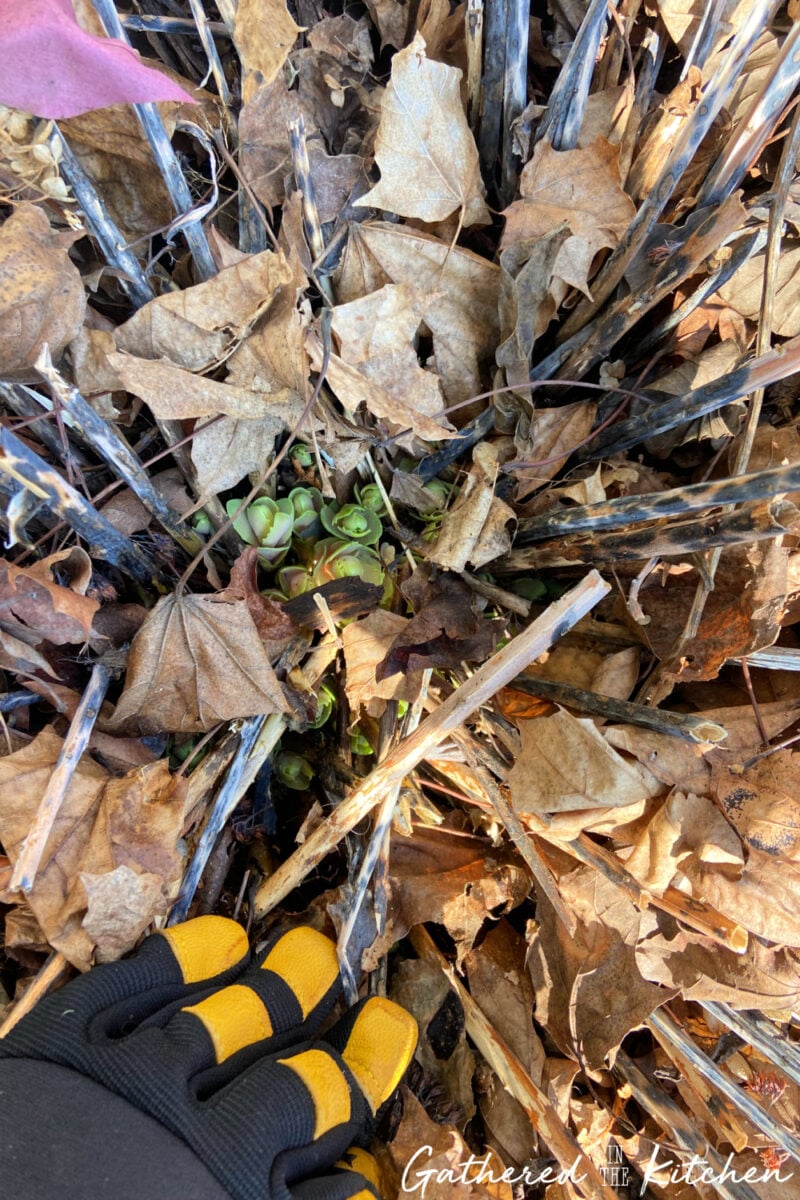
One of the most exciting parts of spring is spotting those first little signs of life popping up through what looks like a completely dead garden.
Before I start cutting everything back or raking too aggressively, I always take a minute to look closely at my flower beds. Underneath the dried leaves and last year’s stems, you’ll often find tiny green shoots starting to emerge.
In our Zone 5 Wisconsin garden, this happens while everything still looks brown and lifeless on the surface. If you’re not paying attention, it’s really easy to accidentally cut or rake out those new plants before they have a chance to grow.
I like to gently pull back the leaves and clear just enough to see what’s happening underneath. Once I know where the new growth is, I can safely trim the dead stems and clean up around the plants without damaging them.
It’s a simple step, but it makes a big difference in helping your perennials come back strong each spring.
How to Trim Back Dead Growth From Perennials in Spring
Once I’ve taken a close look and identified where new growth is starting, I begin trimming back all of the dead plant material from last season.
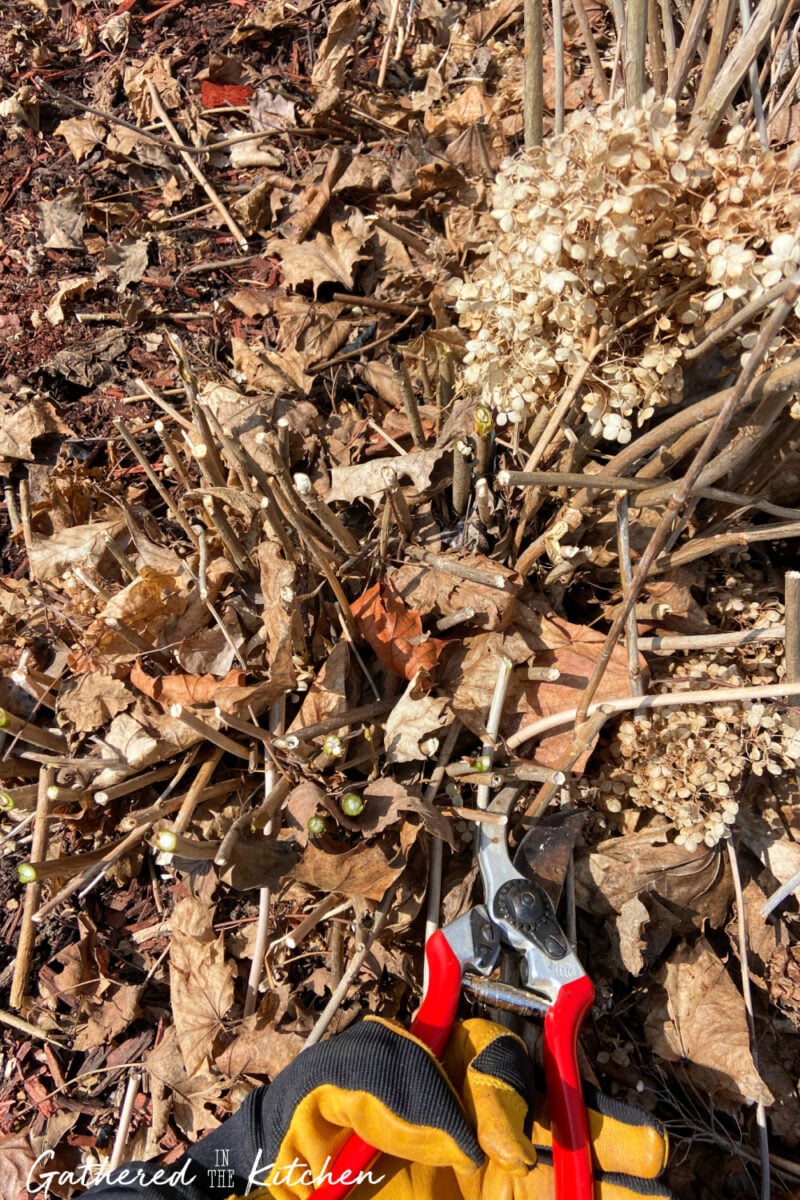
For most perennials, this means cutting away the dry, woody stems until I reach the point where the stem shows green inside, as you’ll see in my photo below. That green is a good indicator that the plant is still alive and ready to push out new growth!
I use my Felco pruning shears for this step because they make clean, precise cuts and handle thicker stems really easily. While I will admit, they are a bit of an investment, they are absolutely worth it if you’re doing regular garden maintenance—they last for years and make the job so much faster and easier.
As I trim, I toss all of the clippings straight into my wheelbarrow to take to either my compost bin or my fire pit to break down further. Nothing goes to waste—these materials will eventually turn into nutrient-rich compost that helps feed my garden later in the season.
How to Remove Dead Leaves From Flower Beds in Spring
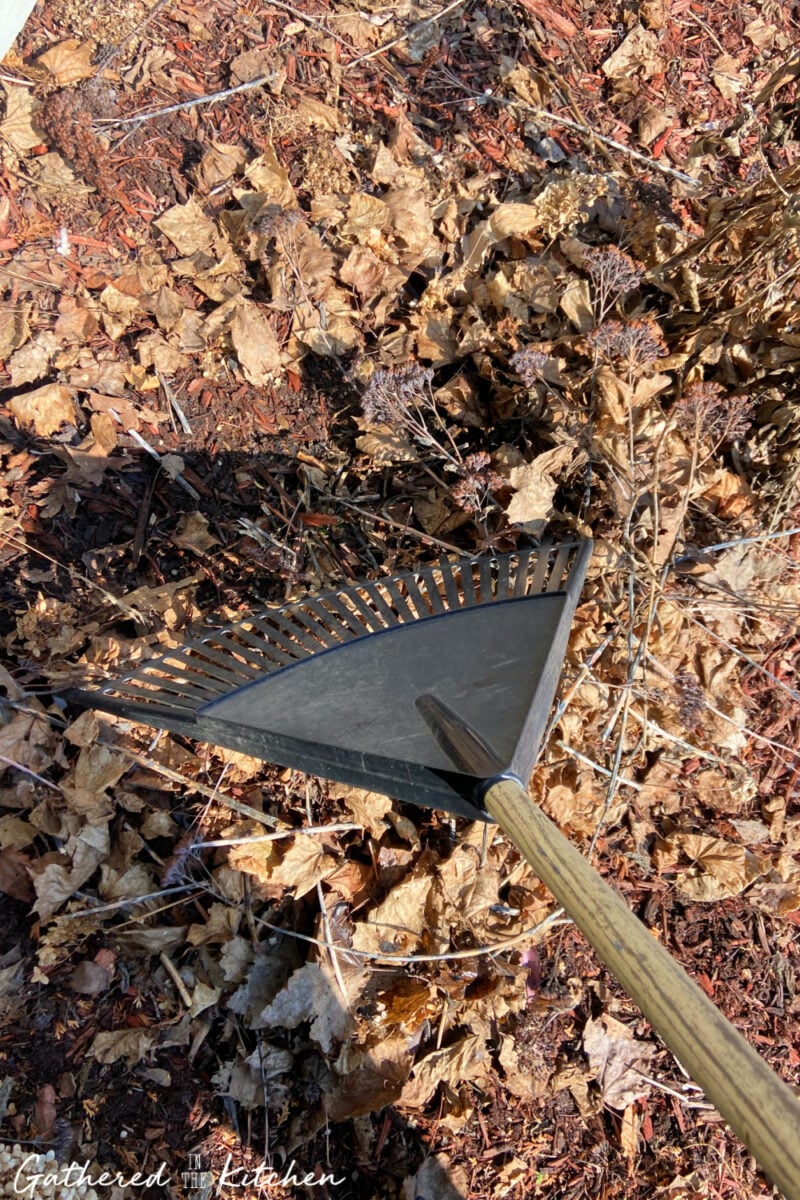
After I’ve trimmed back all of the woody stems and cut down any large, bulky plant material, I move on to raking out the flower beds.
I use a plastic garden rake to gently remove all of the dried leaves that fell in the fall. These leaves did an important job over the winter by insulating my plants during the cold, snowy months, but now it’s time to clear them away so new growth can come through.
I do this step very carefully so I don’t accidentally pull up or damage any new growth. Early in the season, those small green shoots can be hard to see, so I use a light touch and work slowly to avoid catching them with the rake tines.
Removing dead leaves from flower beds improves airflow, allows sunlight to reach the soil, and helps warm the soil faster—promoting healthy new growth in early spring.
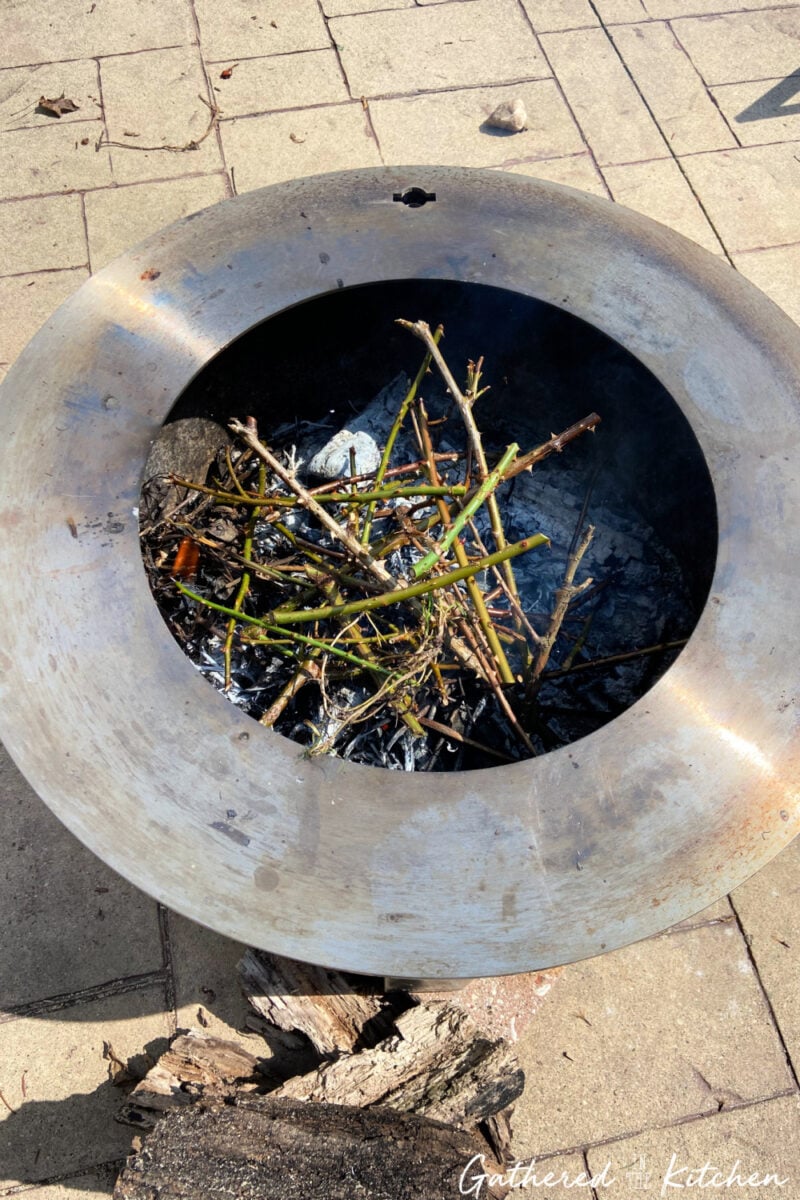
What to Do With Sticks and Branches After Winter: Burn or Compost?
My flower beds are full of large hydrangeas and rose bushes, which means I end up with a lot of thick, woody stems every spring. These types of clippings take a long time to break down in a compost bin (believe me, I’ve tried!).
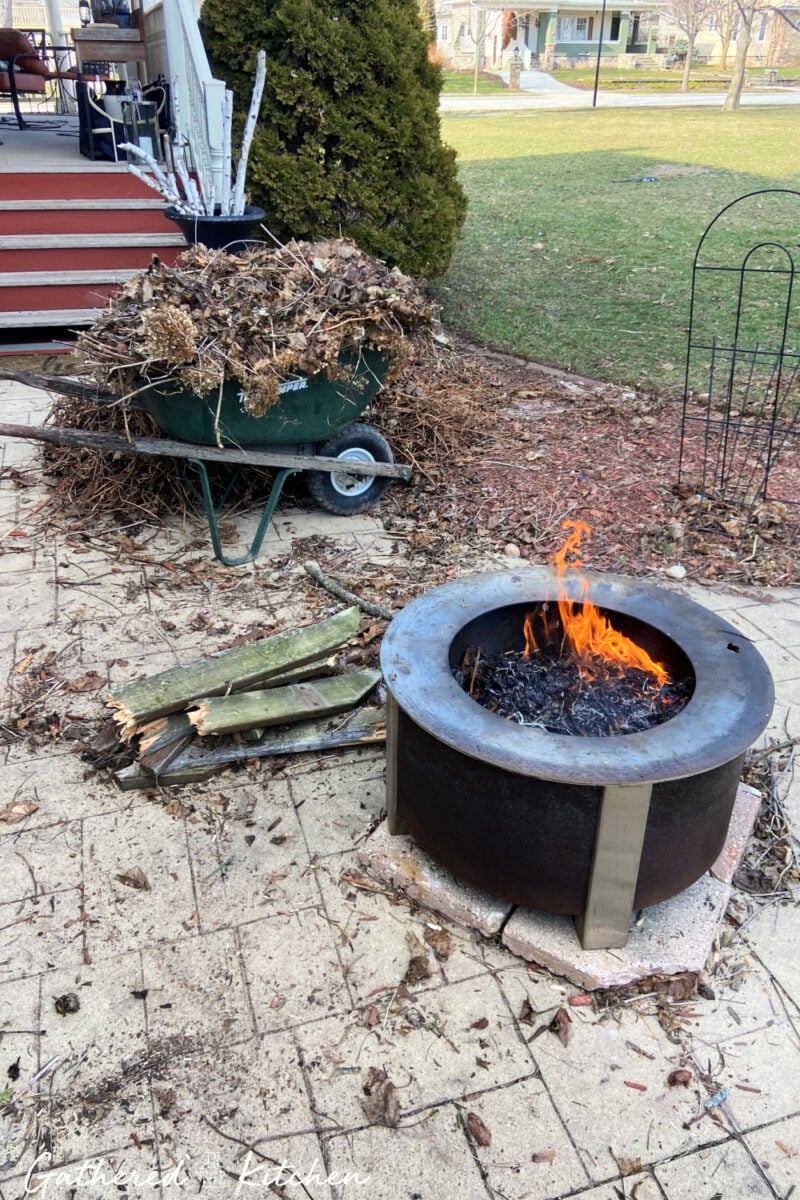
Rather than adding them straight to my compost, I burn the sticks and branches down to ash. This has been especially helpful for rose clippings, since those prickly thorns seem to never fully break down and can be a pain to deal with later.
Once everything has burned down, I let the ashes cool completely before handling them. Then I scoop the cooled ash directly into my raised garden beds.
Wood ash can help add nutrients like potassium to the soil, making it a great way to recycle yard waste and support healthy plant growth for the upcoming gardening season.
💡 Pro Tip: Only burn natural, untreated plant material and always follow local guidelines for outdoor burning.
I do sometimes add leaves to stoke the fire, but just note that it can get very smoky!
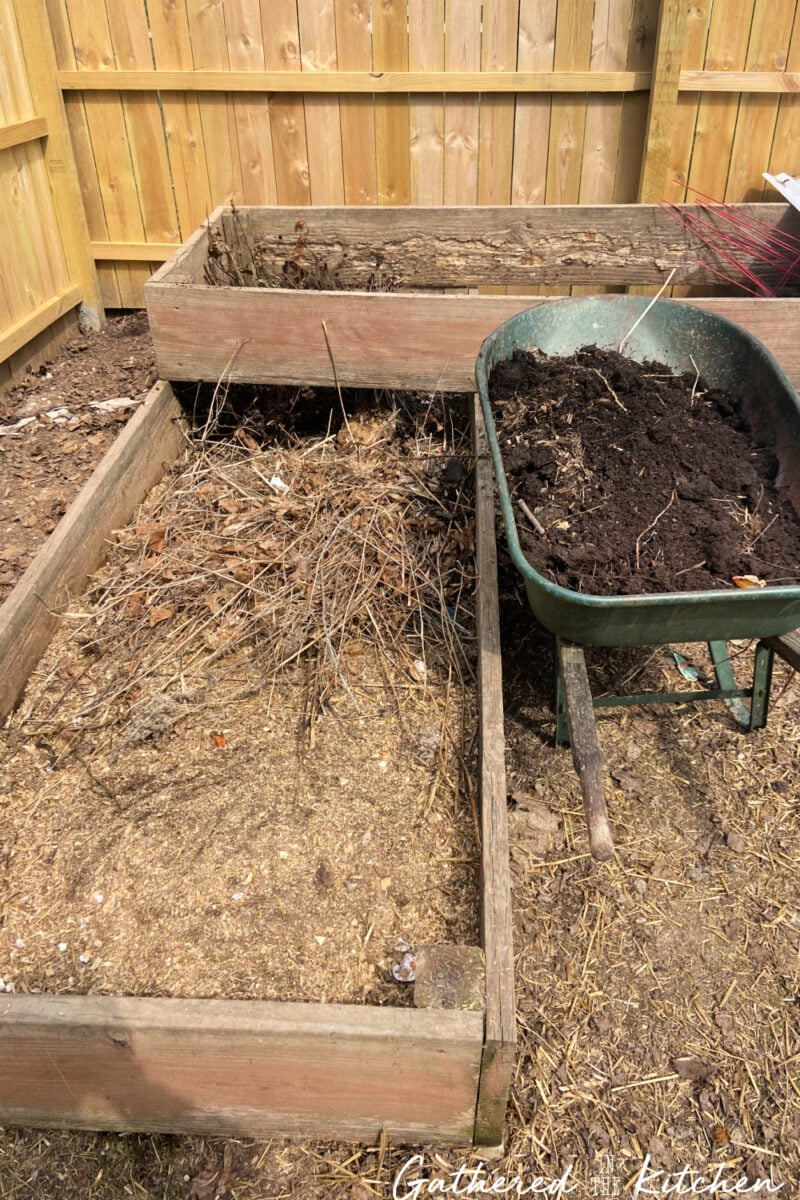
How to Fill Raised Garden Beds With Organic Material
I like to reserve a portion of my thicker clippings and place them directly into my raised garden beds. This is a variation of a traditional German gardening method called hugelkultur, which uses woody material to build healthier soil over time.
Even though my raised beds are already established and full, I still add some of the woody stems—especially from my hydrangeas—right into the beds. Then I top everything off with fresh soil from my compost bin.
I do this because the sticks help create structure within the soil. The uneven layers improve drainage and prevent the soil from becoming too compacted or waterlogged during heavy rains. Over time, the wood slowly breaks down and adds organic matter back into the soil.
It’s a simple way to recycle yard waste while improving the long-term health of your garden beds.
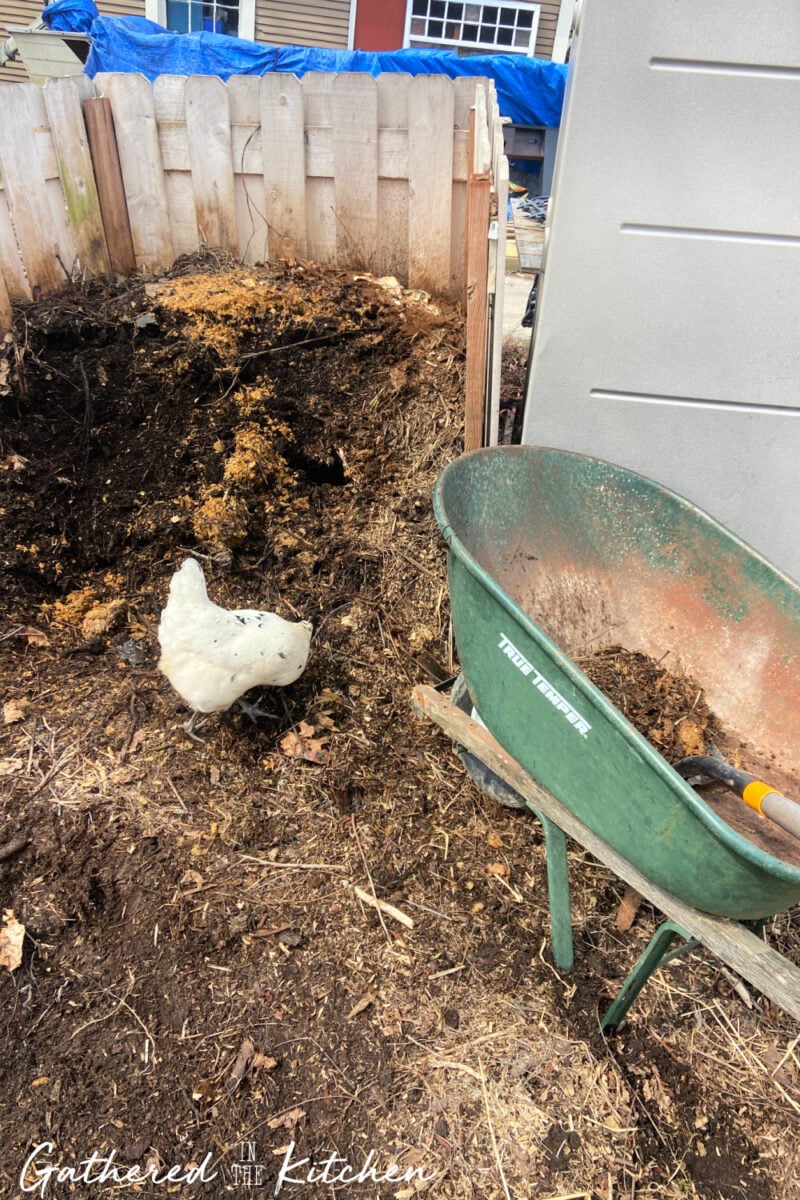
Can You Add Chicken Bedding to Compost?
While not everyone has backyard chicken or rabbit bedding to add to their compost bin, this is a big part of my spring cleanup routine.
Throughout the long Wisconsin winters, I regularly change out the pine shavings in our coop and rabbit hutch. But once the weather starts to warm up, I do a full deep clean and completely refresh all of the bedding.
All of those used pine shavings and animal waste go straight into my compost bin. This material is rich in nitrogen, which helps balance out the carbon-heavy yard waste like leaves and sticks.
I also like to add natural kitchen scraps like crushed eggshells, which help add calcium to the soil—especially important for growing strong, healthy tomato plants. You can read more about that in my guide on How to Use Eggshells as Fertilizer for Healthier Tomato Plants.
While I’m outside working, I let my chickens wander over to the compost pile and do what they do best—scratching, digging, eating bugs, and naturally turning everything over. They act like little compost helpers, mixing the pile and helping it break down even faster.
It’s an easy, natural way to reduce waste and create nutrient-rich compost for the garden.
💡 Pro Tip: Chicken bedding adds nitrogen to the compost pile, which helps balance carbon-rich materials like leaves and sticks. This speeds up decomposition and creates nutrient-rich compost for your garden.
Once you’re all done, come back inside, kick off your muddy boots, and warm up with a cozy cup of homemade hot chocolate! I love that accomplished feeling after a day spent outside getting my garden ready for the season.

I know that spring yard cleanup might feel like a big task at first, but each step helps set your garden up for a healthy, productive growing season—and it’s always worth it when you start to see everything come back to life!
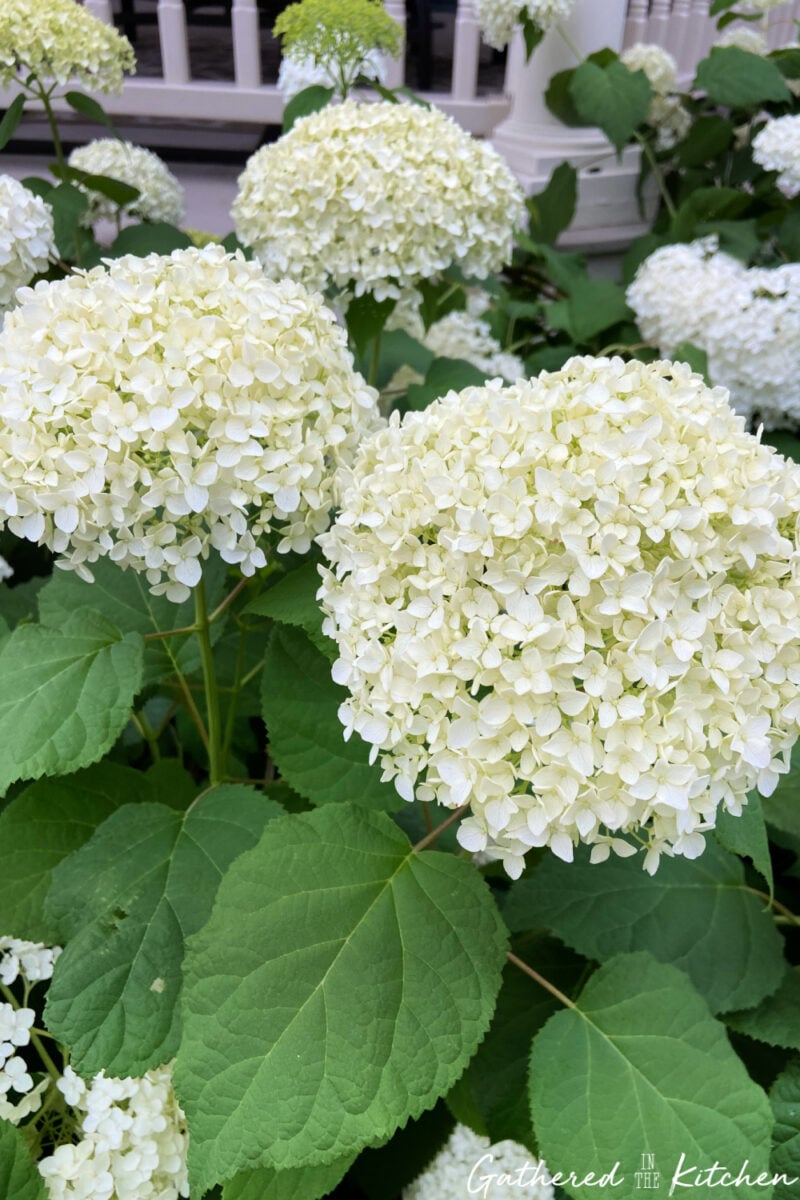
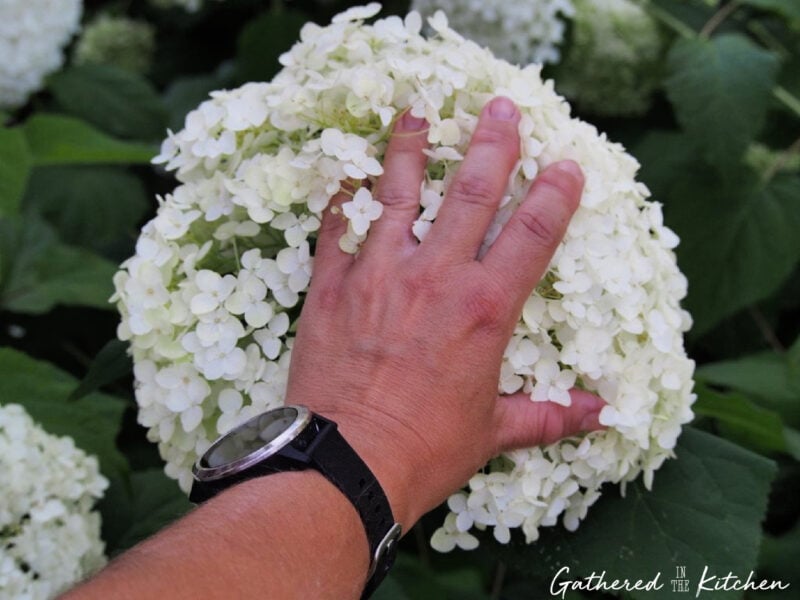
Look how gorgeous my Annabelle smooth hydrangeas look every summer! When the blooms get huge, I love bringing them indoors—see how I use them in my post on Decorating with Hydrangeas.
Spring Yard Cleanup Checklist (Step-by-Step Guide)
Use this spring yard cleanup checklist to tackle one task at a time and get your garden ready for healthy new growth.
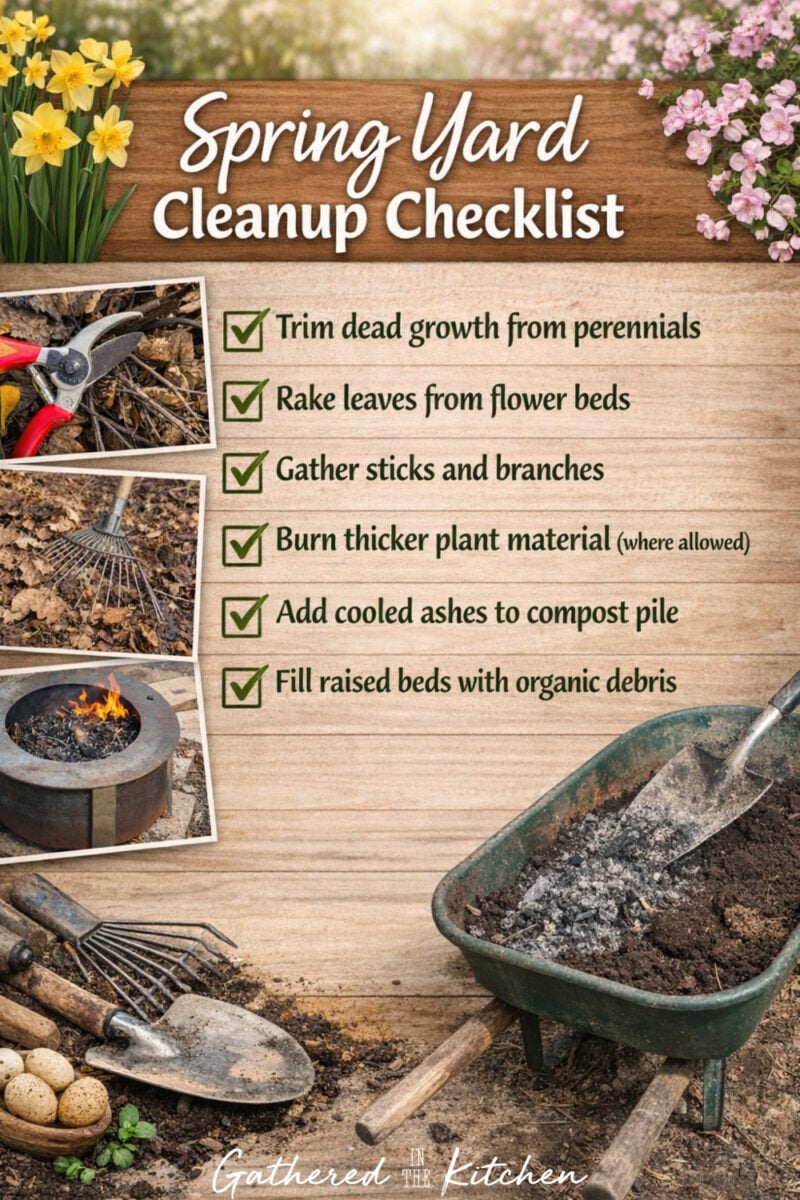
Whether you garden in Wisconsin or another cold climate, these simple spring yard cleanup tasks will help your flower beds and garden beds wake up strong after winter.


Stephanie—home cook, DIY addict, seasonal decor fanatic, and proud chicken wrangler living in a Victorian house that’s always a project. Whether I’m cooking with garden-fresh ingredients, herding mischievous chickens, or tackling another DIY, I’m here to share the fun (and chaos).


