5 Tips to Prepare Garden Soil for Spring
If you want a healthy, productive garden, it all starts with your soil.
After your garden beds are cleaned up from winter, the next step is to prepare your garden soil for spring. This is what truly determines how well your plants will grow. This is where many gardeners either rush ahead too quickly or miss the opportunity to dramatically improve their results…I know, I’ve learned from my own mistakes!
In this guide, I’m focusing specifically on how to prepare your garden soil for spring. This goes beyond doing some spring maintenance, it’s about what’s happening below the surface to build rich, healthy soil that supports strong roots, better drainage, and long-term plant health.
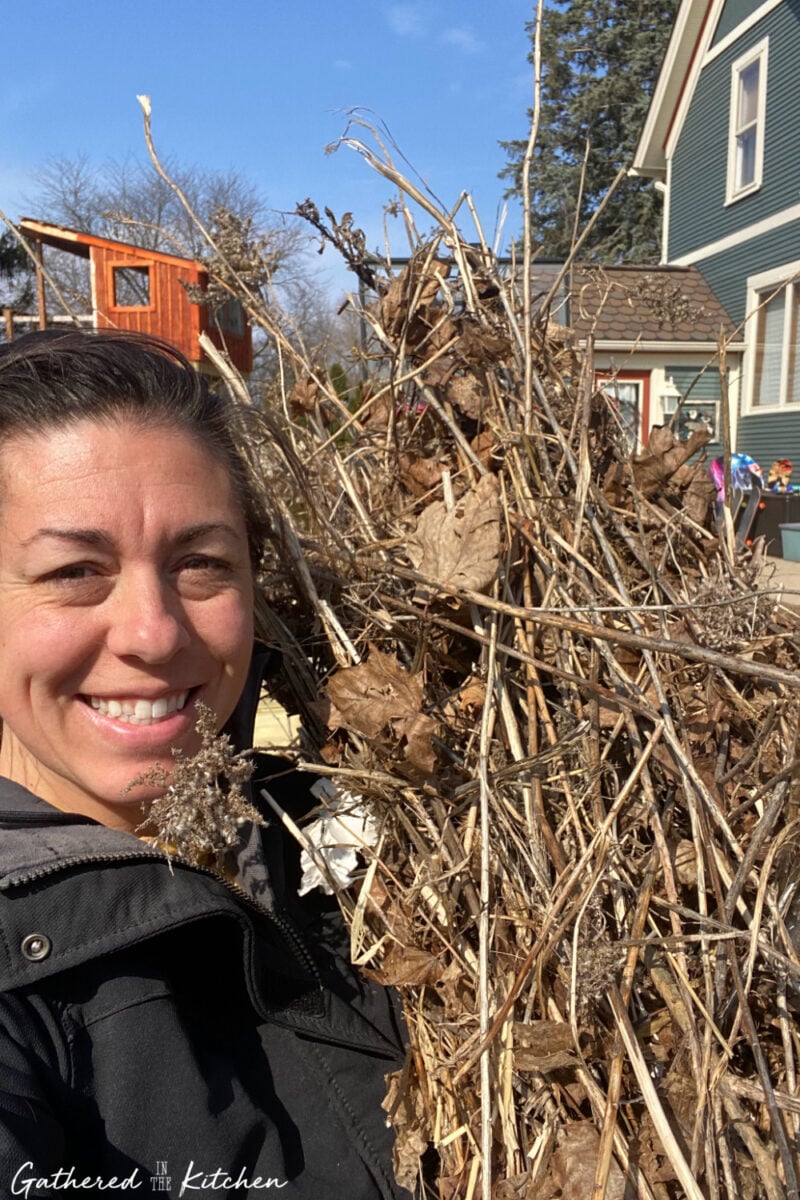
Before I ever touch my soil, I always start with a full cleanup. If you haven’t done that yet, follow my Spring Yard Cleanup Checklist (Zone 5 Garden Prep After Winter) so you’re starting with a clean slate.
This post may contain affiliate links, which means I’ll receive a commission if you purchase through my link, at no extra cost to you. Please read full disclosure here.
From there, I focus on improving my soil using simple, natural materials – like compost made from fall leaves and kitchen scraps that have been composting all winter long. (You can see exactly how I do that in my winter composting guide.)

When I first moved to Wisconsin, I quickly realized how different gardening in a Zone 5 climate really is. After living in Georgia, South Carolina, and North Carolina, I wasn’t used to gardens completely shutting down in winter or needing this level of spring prep.
So I learned through trial and error – figuring out what actually improves soil, what doesn’t, and what makes the biggest difference by the end of the growing season.
In this post, I’ll walk you through exactly how I prepare my garden soil each spring step-by-step – so you can skip the guesswork and grow a healthier, more productive garden!

Why Preparing Garden Soil in Spring Matters
In cold climates like Zone 5, garden soil goes through a lot over the winter months. Snow, freezing temperatures, and repeated freeze-thaw cycles leave the soil compacted, depleted, and slow to warm up.
In my Wisconsin garden, everything is completely covered in snow for much of the winter. Then just as the snow starts to melt and the sun begins warming the ground, we often get hit with another round of snow…like the blizzard we had on March 16th this year!! That constant cold/warm cycle takes a toll on the soil.
Because of this, spring soil prep is essential. It helps:
- loosen compacted soil so roots can grow
- restore nutrients lost over winter
- improve drainage and airflow
- create the foundation for a healthy, productive growing season
Taking the time to prepare your soil now makes a huge difference in how your plants grow later.

When to Prepare Garden Soil for Spring
Healthy soil isn’t something you fix in a day – it’s something you build over time. But what you do in early spring sets the foundation for your entire growing season.
Timing is everything when it comes to preparing your garden soil in the spring – especially in colder climates in Zone 5. After years of gardening in Wisconsin, I’ve tested just about every approach, from staring too early to waiting a little too long, and I’ve learned what truly works best.
Before you begin working your soil, you want to make sure the conditions are just right. Starting too early can actually do more harm than good.
You want to wait until:
- the soil is no longer frozen
- the ground is not soaking wet or muddy
- temperatures are consistently above freezing
Working the soil too early can actually do more harm than good, causing compaction and damaging the soil structure you’re trying to improve.
In my Wisconsin garden, I typically wait until April to start my spring overhaul. By this point, most of the snow has melted and the longer days mean the sun is finally starting to warm up the soil. Even though we usually still get a few surprise snowfalls throughout April, this is the sweet spot to begin.
I’ve made the mistake of waiting too long before – and it sets everything back. Once the ground is ready, you want to jump in and get your beds prepped so you’re not rushing when planting season arrives.
This timing also lines up with when I begin my Spring Yard Cleanup Checklist (Zone 5 Garden Prep After Winter), including cutting back perennials like hydrangeas once I start to see new growth.

How to Prepare Garden Soil for Spring (Step-by-Step Guide)
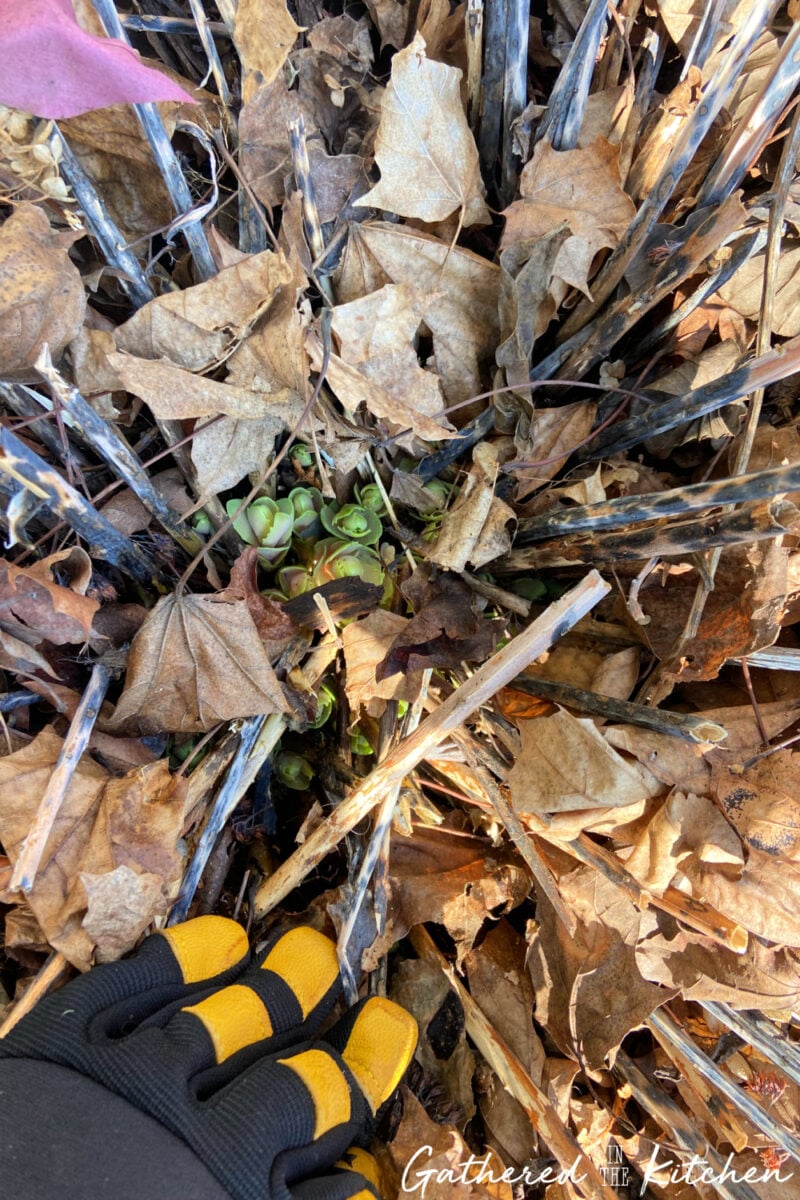
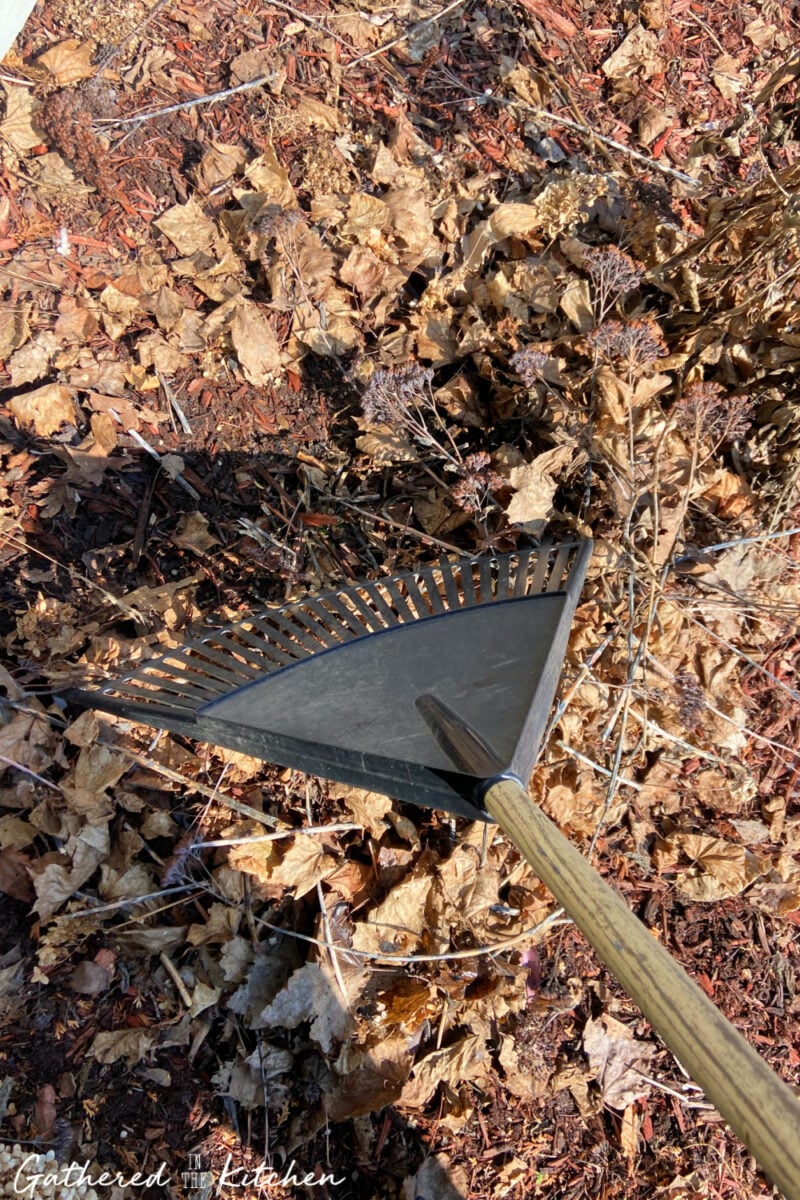
1. Clear Debris to Help Soil Breathe and Warm Up
- dead stems
- leaves
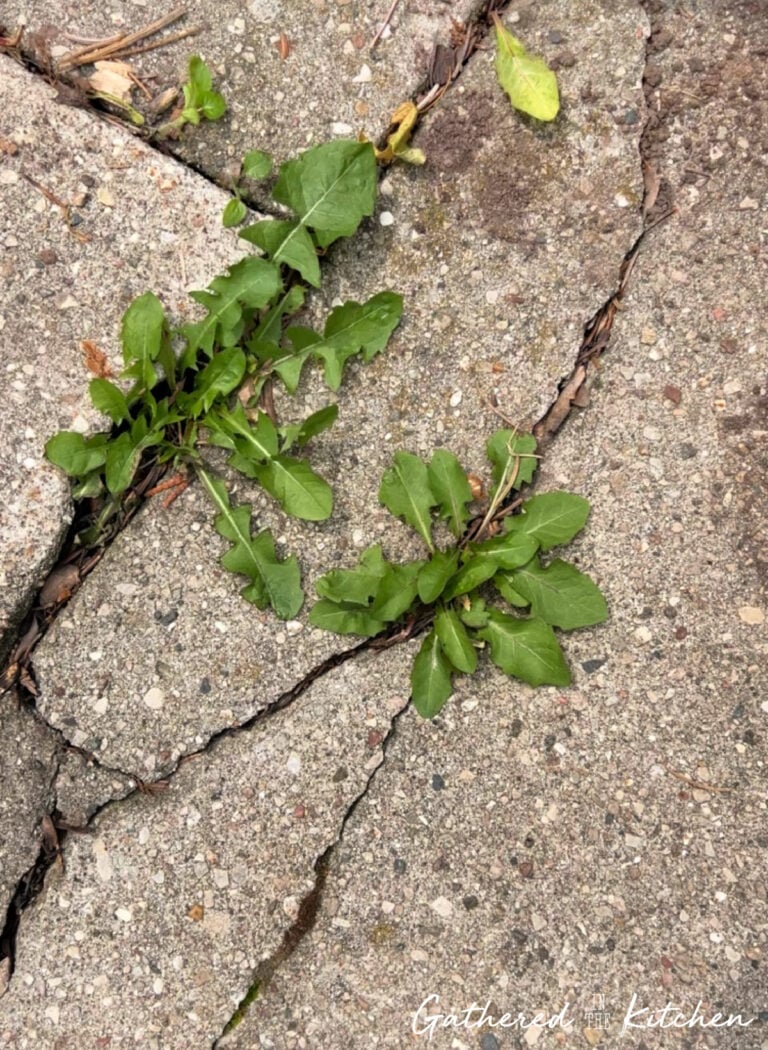
- weeds
👉 check out: Spring Yard Cleanup Checklist (Zone 5 Garden Prep After Winter)
2. Loosen Compacted Soil (Without Over-Tilling)
After winter, the soil is often compacted from snow, ice, and repeated freeze – thaw cycles, so it’s really important to loosen it up to promote airflow and drainage. By doing this, it allows the roots to grow more easily – but it’s important not to overdo it!
How you loosen your soil depends on where you’re working:
Flower Beds: Soil Preparation for Spring
In established flower beds, I avoid tilling completely. Many of my perennials are already waking up beneath the surface, and aggressive digging can damage their roots.
Instead, I carefully loosen the soil of my flower beds by:
- lightly “fluffing” the top layer of soil
- using a plastic rake around emerging plants
- using a metal tine rake in open areas with just mulch
This keeps the soil loose without disturbing existing plants.
Vegetable Beds: Loosen Soil More Deeply (By Hand)
In my garden beds where I plant vegetables, I do loosen the soil a bit more aggressive, however, I still do this by hand rather than using a cultivator.
To gently “stir” and break up the top layer of soil in my raised vegetable garden beds, I use:
- a bow rake (the one my son is using below)
- a landscape rake (the one my daughter is using below)
- a shovel
This is also when I:
- break up areas where I’ve added coffee grounds
- mix in rabbit and chicken bedding
- incorporate fresh compost from my bin that’s been breaking down all winter

3. Add Organic Matter To Your Soil
One of the most important things you can do for your garden soil in spring is add organic matter, like leaves, kitchen scraps or other yard waste. By added organic matter, it helps improves soil structure, feeds beneficial microbes, and provides the nutrients your plants need – think of it as food for your garden!
In my garden, I focus on building soil health year-round, so by the time spring arrives, I already have rich material ready to work into my beds. I am huge on making compost all year long!
- Animal Bedding (Nitrogen Boost)
- I add rabbit and chicken litter year-round
- This adds nitrogen and helps balance out the leaves in my compost bin and other “brown” material
- Kitchen Scraps (Everyday Composting)
- All year long I add in fruit & vegetable scraps, coffee grounds, and empty eggshells
- These break down into rich compost for my garden beds
- Fall Leaves (Carbon Boost)
- In the fall, I collect all extra leaves, that I did not mulch with the lawn mower and place them in my compost bin to break down over the winter
- Wood Ash (Mineral Boost)
- In the spring, when I trim back all of the dead growth from my plants, I burn them and save the cooled wood ash to add to my garden beds or compost bin
- This adds nutrients like potassium and improves the soil health

💡 Pro Tip: A good compost mix includes both “greens” (nitrogen) and “browns” (carbon). Keeping that balance is what helps everything break down properly and creates the best soil for your garden.
4. Improve Soil Structure for Better Drainage and Root Growth
At this point, I focus on getting my soil into the right condition for planting. I want it to be loose, easy to work with, and able to drain properly – so roots can grow without struggling.
While this tip for adding mulch mixed into the soil might be a bit controversial, I feel that it really helps create great drainage in my raised garden beds. This helps break up compacted soil, improve drainage, and create a better environment for plants to grow.
Every spring, I go to our local city drop-off site where residents bring trees and yard waste. The city turns it into natural mulch and compost, and I load up tote after tote to bring home and refresh my beds.
I love using this because it’s made from local, natural materials, doesn’t contain added chemicals or dyes, and it’s an affordable (always free!) way to improve my soil.

5. Let Soil Rest Before Planting
This is a super beginner tip that a lot of people skip – but it actually makes a big difference.
After you’ve loosened your soil and added compost, mulch, and other organic matter, it’s best to just let everything sit for a bit before planting. This gives all those nutrients time to settle in and allows beneficial microbes in the soil to start doing their thing.
In Zone 5 (like here in Wisconsin), this happens pretty naturally. I usually finish prepping my garden beds in April, but we almost always get a few more snowfalls and cold days before planting season really begins around Memorial Day.
So during that time, my soil just rests. Everything kind of melds together, breaks down, and gets nice and rich – so when it’s finally time to plant, the beds are completely ready to go.

6. Bonus Tip: Add Worms!
When I was first building out my raised garden beds, I ordered 1,000 earthworms and added them right into the soil.
Worms are amazing for your garden – they naturally create little tunnels as they move, which helps loosen the soil and improve aeration. This makes it easier for plant roots to grow deeper and stronger.
But… if you have free-range chickens like I do, just know this can turn into an expensive snack real quick 😅
My chickens thought I had just delivered them a gourmet meal – and they happily dug up as many worms as they could find!
So while adding worms is a great way to improve your soil, you may want to protect your beds (at least temporarily) if your chickens have access to them.

Printable Checklist
By this point, your garden beds should be cleaned up, your soil loosened, and rich organic matter mixed in—setting the foundation for a healthy growing season.
If you want a quick, easy reference to follow each spring, I’ve put together a simple step-by-step checklist you can save or print.

FAQs About Preparing Garden Soil for Spring
Can I plant right after preparing soil?
It’s best to wait a few days after preparing your soil before planting. This gives any added compost or organic matter time to settle and allows soil microbes to become active. If your soil feels loose, well-draining, and not overly wet, you’re good to start planting. For me in zone 5, I still have to wait another month or so from when I started my soil project to start planting to avoid the danger of frost. Typically by Memorial Day, it’s pretty safe to start planting in my zone.
Do I need fertilizer in spring?
I personally do not ever add any fertilizer because the compost I’ve added has aged manure and other organic matter so it has plenty of nutrients. I personally rely on compost, kitchen scraps, and natural materials instead of synthetic fertilizers. However, if your soil is poor or hasn’t been amended, a balanced fertilizer can help give plants a boost.
How deep should I loosen soil?
For most gardens, loosening the top 4–6 inches of soil is enough. You don’t need to dig deeply or completely turn the soil. The goal is to break up compaction and improve airflow without disturbing beneficial soil structure and organisms too much. I avoid fully tilling almost at all costs, because this tends to “wake up” those sleeping weeds that grow well below the surface and then they start shooting up all over the place. I like to keep them buried!
Can I use leaves in garden beds?
Absolutely! Leaves are an excellent addition to garden soil. You can compost them first or use them as mulch. Shredded leaves break down faster and add valuable organic matter to the soil. I use extra fall leaves in my compost pile and also mulch them into my beds when possible.

Once your garden is cleaned up, preparing your soil is what truly sets your garden up for success.
This is the step that determines how well your plants grow, how strong their roots become, and how productive your garden will be all season long.
Living in a Zone 5 climate has taught me that spring gardening isn’t something you can rush. The long winters, heavy snow, and unpredictable weather, particularly in the spring, means my soil needs a little extra attention. However, a little bit of work early on always pays off come the summer and fall months.
And the best part? You don’t need anything complicated or expensive. With simple, natural materials – many of which you already have – you can build rich, healthy soil that supports your garden year after year.


Stephanie—home cook, DIY addict, seasonal decor fanatic, and proud chicken wrangler living in a Victorian house that’s always a project. Whether I’m cooking with garden-fresh ingredients, herding mischievous chickens, or tackling another DIY, I’m here to share the fun (and chaos).