$5 Thrifted Planter Urn Makeover – Quick & Easy DIY Garden Upgrade
So far this summer, I’ve spent approximately 983,748,973,5987 hours at the baseball fields—at least it feels that way—with my two boys. Between practices and games, we’re there pretty much every single day of the week.
And while I might grumble about how much time I spend at the diamonds, there’s one location I never complain about… mostly because it happens to be right down the road from our local Habitat for Humanity.
If you’ve been around this blog for a while, you already know I can’t resist a good DIY before-and-after story! Like that thrifted brass lamp I transformed from dated to farmhouse modern, or the water-damaged nightstand that got a whole new life with some paint and stain. Or my stenciled serving tray that went from basic to so cute with a farmhouse twist. Each of those projects cost next to nothing—and turned total trash into treasure!
So, back to Habitat for Humanity. One day while waiting for baseball to wrap up, I decided to browse the aisles—and that’s when I spotted her: a gorgeous raised flower planter urn. Sure, the paint was chipped, but the shape? Stunning. The detail? Perfect. And the price?
This post may contain affiliate links, which means I’ll receive a commission if you purchase through my link, at no extra cost to you. Please read full disclosure here.
Five. Whole. Dollars.

Yup, $5 buckaroos for this beautiful resin urn! Considering I’ve bought nearly identical planters from Home Depot for close to $100 each, this one was a total thrill-of-a-find.
I wasted no time—paid for it on the spot and loaded it into my trusty minivan, which has been my partner-in-crime for countless thrifted DIY adventures. Honestly, that van and I are basically BFFs… much to my kids’ dismay, who keep begging me to trade it in. Not happening anytime soon!
When we got home from baseball that night, I got right to work transforming the flower pot into a beautiful, vintage looking piece that would have graced my 1886 Victorian home back in the day.
Let’s Makeover This Flower Planter Urn Together!
Supplies Needed
- flower pot urn
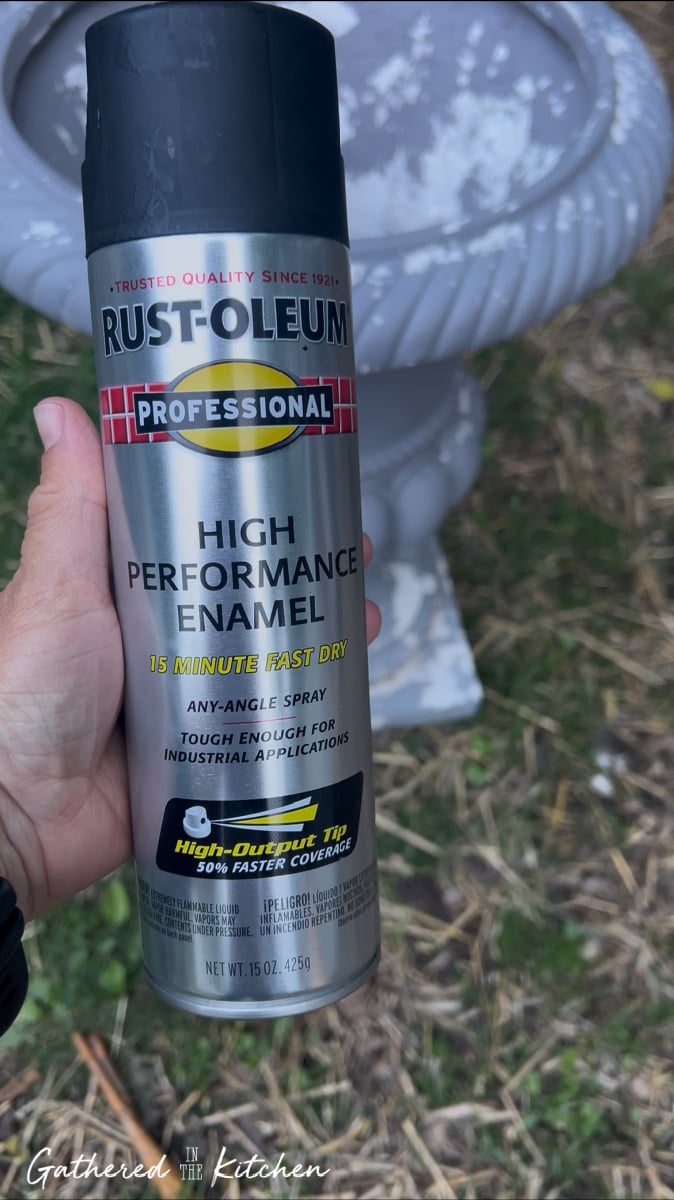
- Rust-Oleum Professional High Performance Enamel spray paint – flat black
- scrap pieces of 2×4 wood
Step-By-Step Process
👉 Want to see this makeover in action? Watch my video tutorial here and follow along step-by-step!

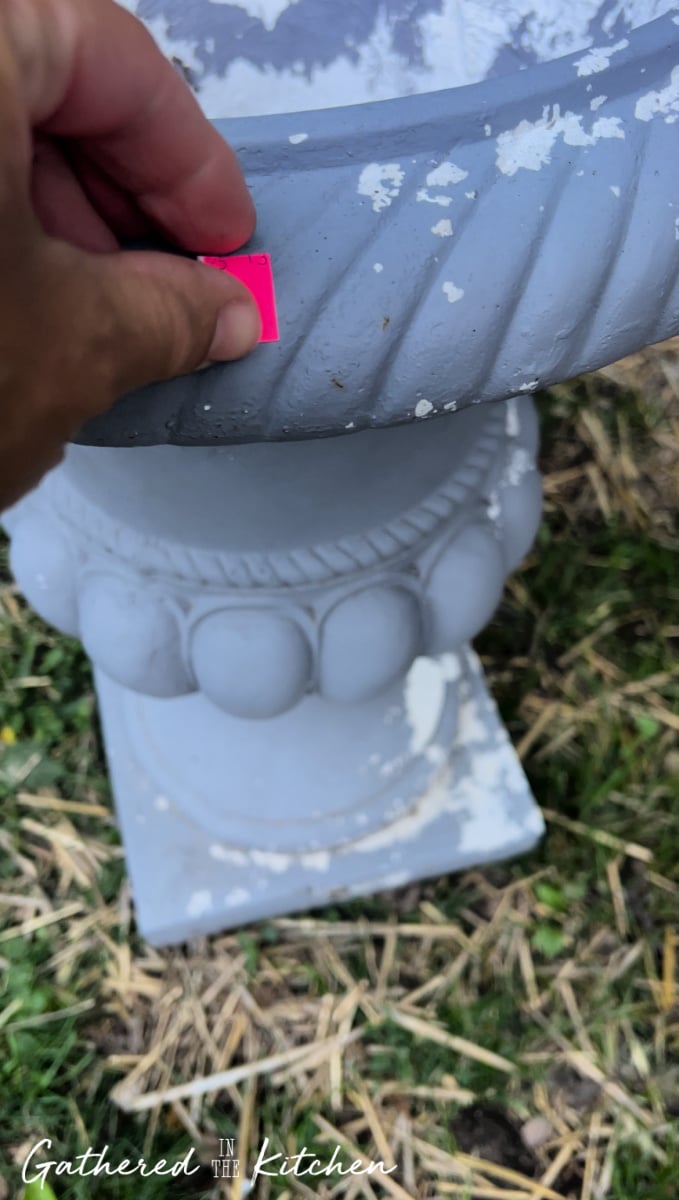
Step 1: Remove the price tag
Make sure to peel off any stickers or residue with a damp rag or Goo Gone. You want a clean surface so the paint adheres properly.
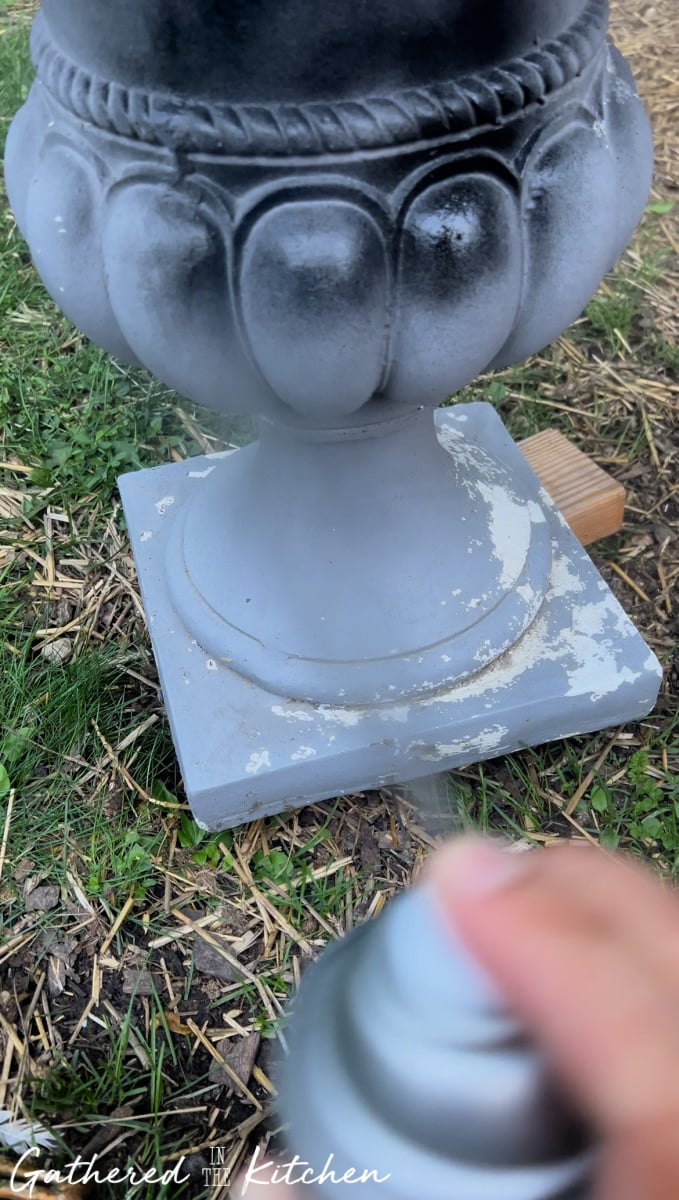
Step 2: Elevate the planter
Elevating your planter off the ground helps you get even coverage on the base and prevents it from sticking to the surface as it dries. I used two pieces of scrap 2×4 I had laying around to elevate the planter.

Step 3: Use high quality paint
I chose flat black for a timeless, vintage look that complements my garden style. This enamel paint is weather-resistant and perfect for outdoor pieces. I LOVE Rust-Oleum Professional High Performance Enamel. It sprays great, has amazing coverage and durability, and dries fast! (I used it on my cast iron HVAC Vent Grate Covers).
Step 4: Paint using full sweeping motions
Hold the can about 8–10 inches away and work in light layers. This helps avoid drips and gives a smooth, professional finish.
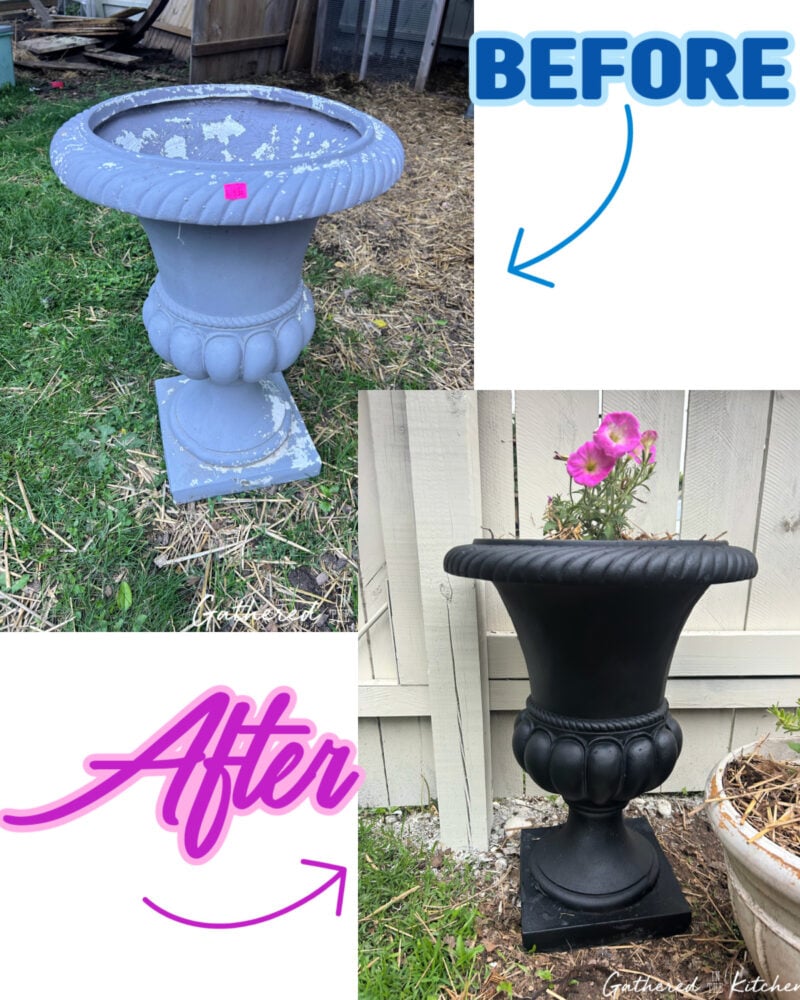
Step 5: Let dry and then add flowers!
Once dry, I added some sticks to the bottom for filler, topped it with potting soil, clearance petunias, and a layer of straw to help hold in moisture. This simple trick helps reduce watering and is great for any container garden!

This $5 thrifted flower urn has found its new home inside the fenced area near my garden—and it looks beautiful! It was such a fun, simple DIY that took less than an hour start to finish. Quick, budget-friendly, and satisfying… my favorite kind of project!
Don’t forget to PIN this for your next quick & thrifty DIY project!


Stephanie—home cook, DIY addict, seasonal decor fanatic, and proud chicken wrangler living in a Victorian house that’s always a project. Whether I’m cooking with garden-fresh ingredients, herding mischievous chickens, or tackling another DIY, I’m here to share the fun (and chaos).


You and your minivan did a great job! I think I need to go shopping with you!!