No-Sew Fabric Book Cover (Easy DIY + Giftable Finish)
Want to give your books a fresh new look in just minutes? Grab a scrap of fabric, your iron, and a little hot glue—that’s all it takes! In less than 10 minutes, you can fold and press the fabric into neat hems, glue simple side pockets, and slip your book right in. No sewing, no stress—just an easy DIY that protects your books and makes them gift-ready too.

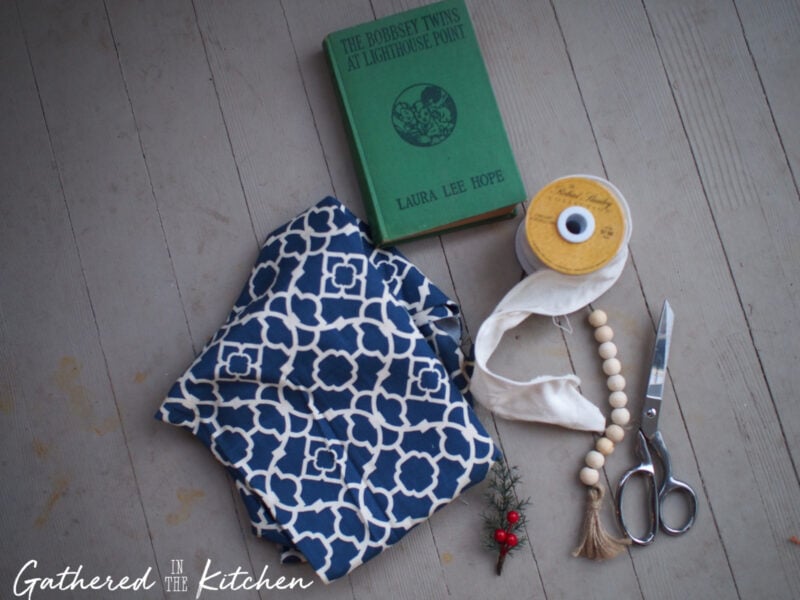
Supplies
- Hardback book
- Medium-weight cotton fabric (fat quarter works for most books)
- Scissors (or rotary cutter)
- Iron
- Hot glue gun & glue sticks (or fabric glue)
- Ribbon/fabric strip, faux greenery, wood beads/tassel for styling (optional)
How to Make a DIY No-Sew Fabric Book Cover (Step by Step)
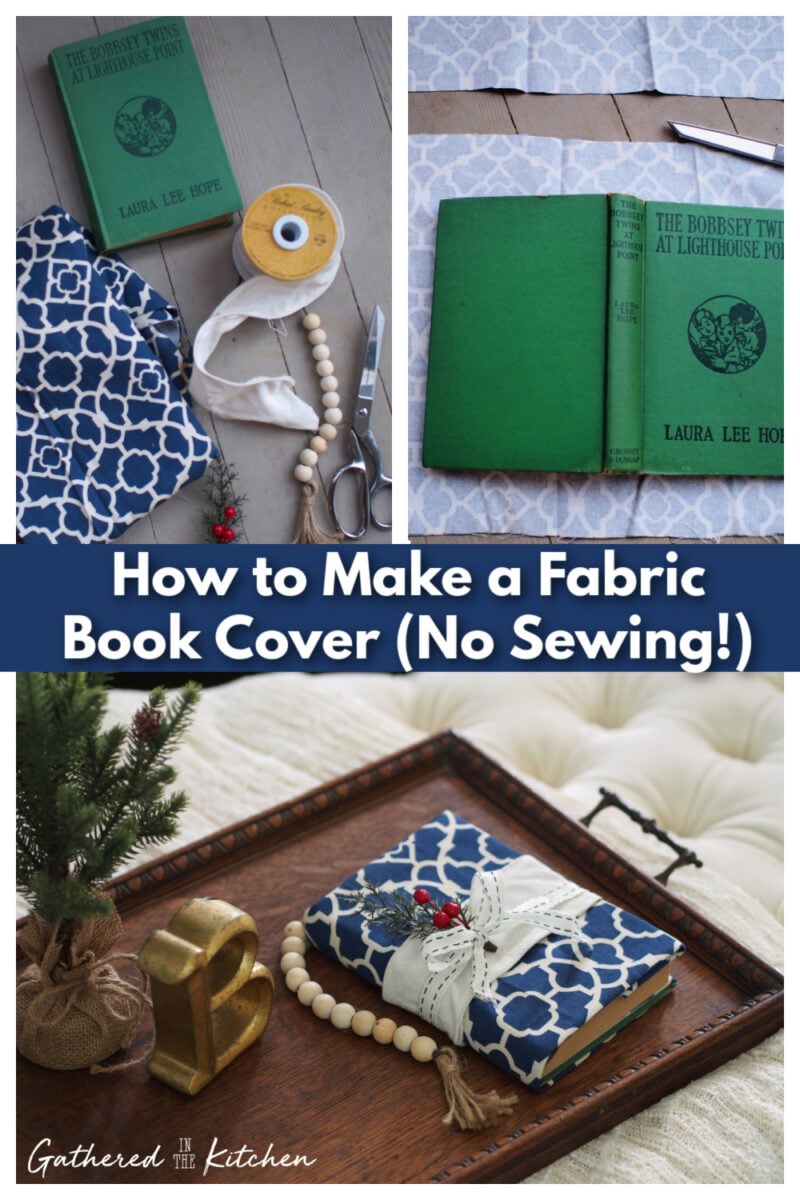
To get started, I gathered all of my supplies…all of which I had laying around in my craft room! Thankfully I didn’t have to make a run to the craft store!
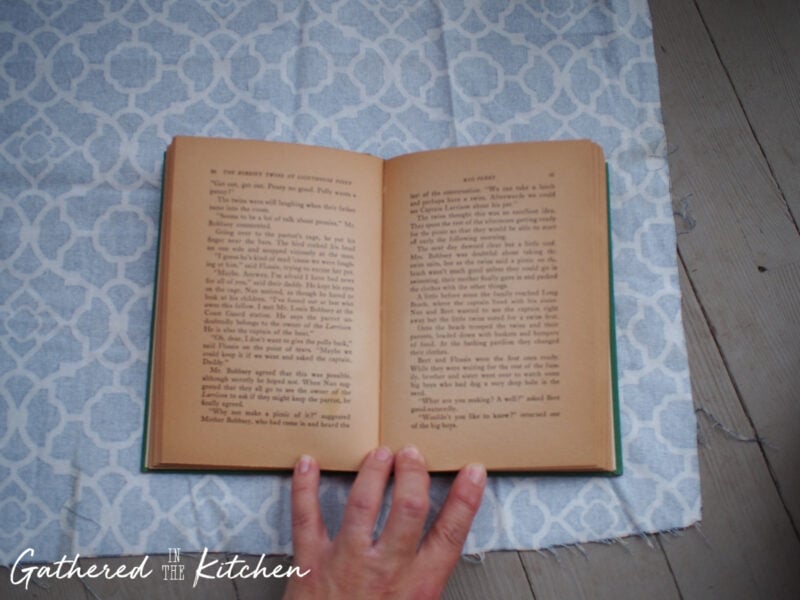
Measure Fabric
Open the book flat on the WRONG side of the fabric. Trace a rectangle that extends about 2 inches beyond the book on all sides. This extra becomes hems and pockets.
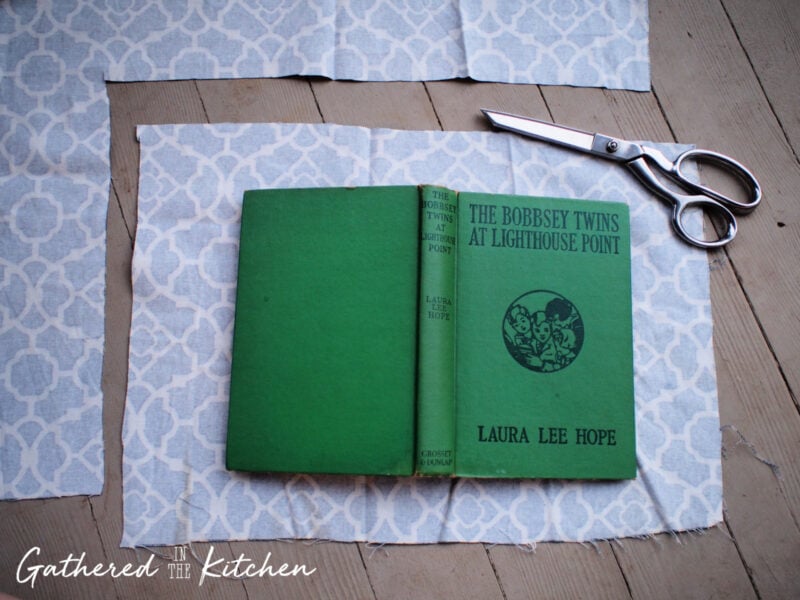
Cut Fabric to Size
Cut out the main rectangle. Check height: book height + ~1 in total for hems. Check width: full wrap across both covers + spine plus ~5–6 in for the two sleeve pockets.
This post may contain affiliate links, which means I’ll receive a commission if you purchase through my link, at no extra cost to you. Please read full disclosure here.
Iron/Press Clean Hems
Fold the fabric in 2 inches toward the WRONG side on all four edges and press well to create crisp hems.
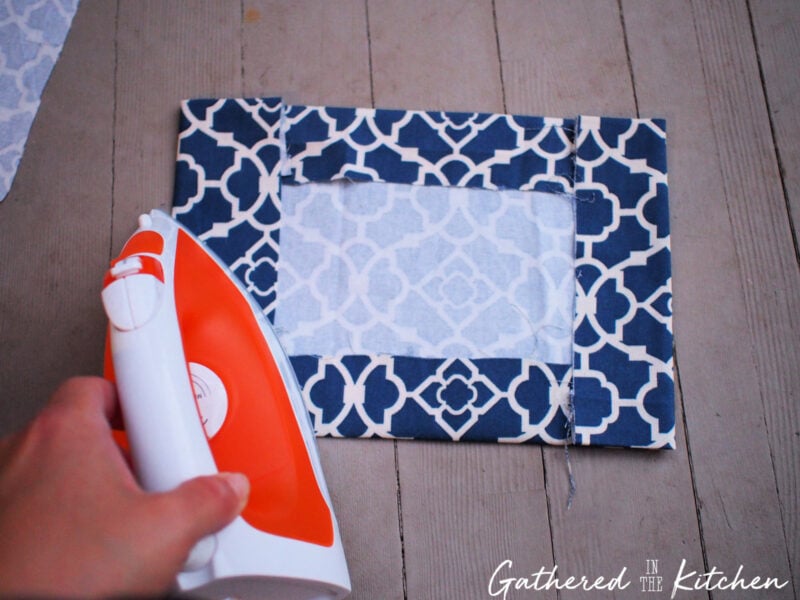
Once all of the sides are folded in and ironed, this is what it should look like. Trim off any fabric strings with scissors.
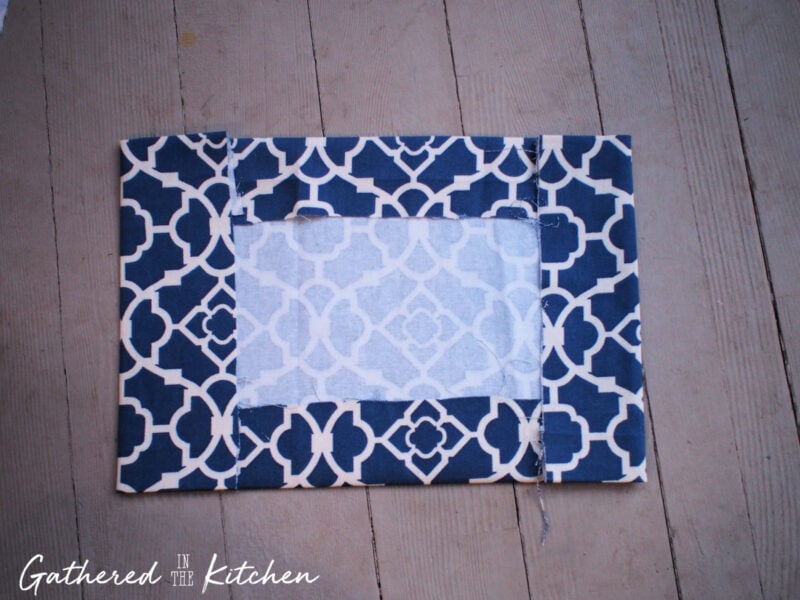
Hot Glue The Seams
Run a thin bead of hot glue along the top and bottom hems only where each flap overlaps—leave the vertical openings unglued so the covers can slide in.
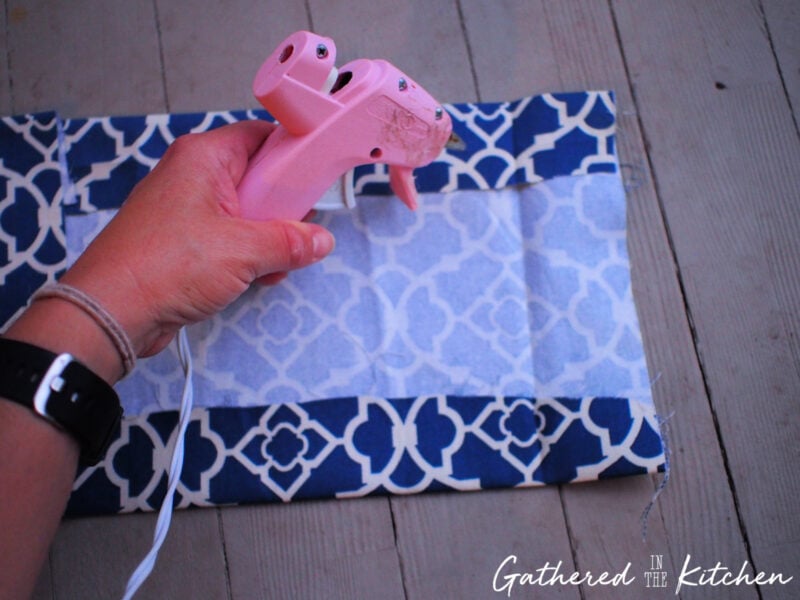
5. Form the pockets (Photo 5).
Fold the LEFT and RIGHT ends inward to create sleeves for the covers. Press. Run a thin bead of hot glue along the top and bottom hems only where each flap overlaps—leave the vertical openings unglued so the covers can slide in.
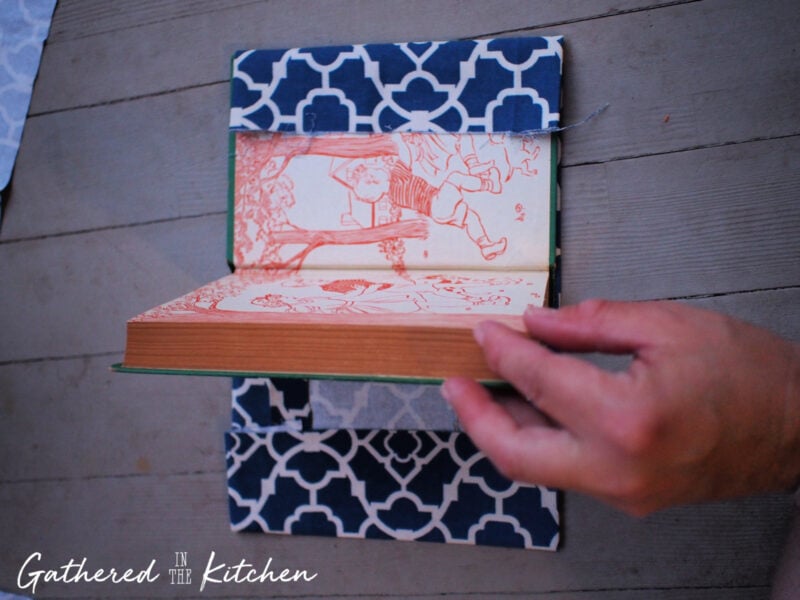
Fit The Book Inside The Sleeves
Slide the front and back covers into the pockets and close the book.

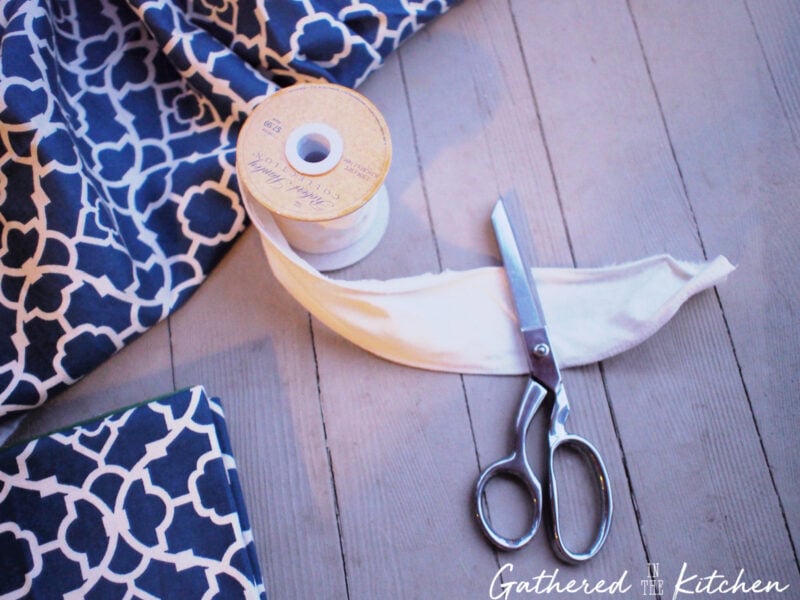
Add Embellishments
Wrap your book with ribbon or fabric strips, then use hot glue to attach simple embellishments like greenery, berries, or wooden beads. This extra touch makes your fabric book cover look polished and gift-ready.

The Finished Fabric Book Cover
Making this DIY no-sew fabric book cover was such a fun and budget-friendly project! I love how it instantly gave my old book a new look that fit with the color theme I was going for!
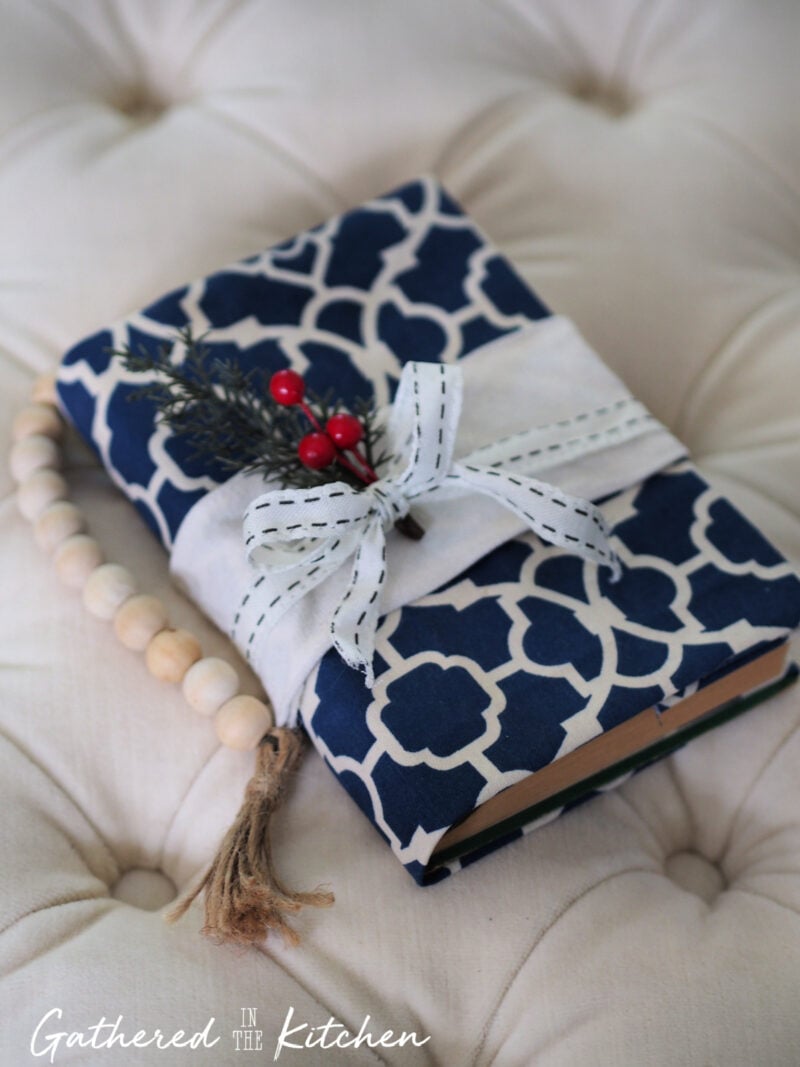
The best part is you can totally make it your own—use scrap fabric, add pretty little embellishments, or dress it up for the season. However you style it, these covers are simple, practical, and oh-so-cute.

If you make one, I’d love to see it! Share in the comments or tag me on Pinterest/Instagram so I can cheer you on!


Stephanie—home cook, DIY addict, seasonal decor fanatic, and proud chicken wrangler living in a Victorian house that’s always a project. Whether I’m cooking with garden-fresh ingredients, herding mischievous chickens, or tackling another DIY, I’m here to share the fun (and chaos).


