DIY Barn Door Under $10 in 30 Minutes
DIY Barn Door Under $10 in 30 Minutes – easy weekend project for the beginner! This barn door is simple to build and affordable to make! Get that farmhouse look you love!
Looking to add rustic farmhouse charm to your space? This DIY Barn Door project costs under $10 and takes just 30 minutes to complete. It’s perfect for beginners and requires minimal tools. Follow this step-by-step guide to create a beautiful barn door with simple materials and easy-to-follow instructions.
Why Build a DIY Barn Door?
DIY barn doors are incredibly popular right now, and I absolutely love them! I have barn door ideas for almost every room in my house. I started by building a 4′ x 1.5′ DIY barn door for my family room wall, which has super high ceilings. The best part? This simple barn door project cost just $6.40 for the wood and took only 30 minutes to make! Plus, I was able to use the leftover scrap wood to create another one of my favorite DIY projects—a DIY wooden blanket ladder, perfect for adding rustic farmhouse charm to any space.
This post may contain affiliate links, which means I’ll receive a commission if you purchase through my link, at no extra cost to you. Please read full disclosure here.
Make sure you check out my 14 Beginning Builder Projects – Simple & Easy!! and follow me on Instagram for in-between happenings!

I absolutely love how my DIY barn door turned out, and what I love even more is how incredibly simple it was to make! This easy barn door project is perfect for beginners because it requires minimal supplies and basic tools. If you’re looking for a quick, budget-friendly way to add farmhouse style to your home, this is the perfect DIY barn door to get started with!
How To Build a DIY Barn Door
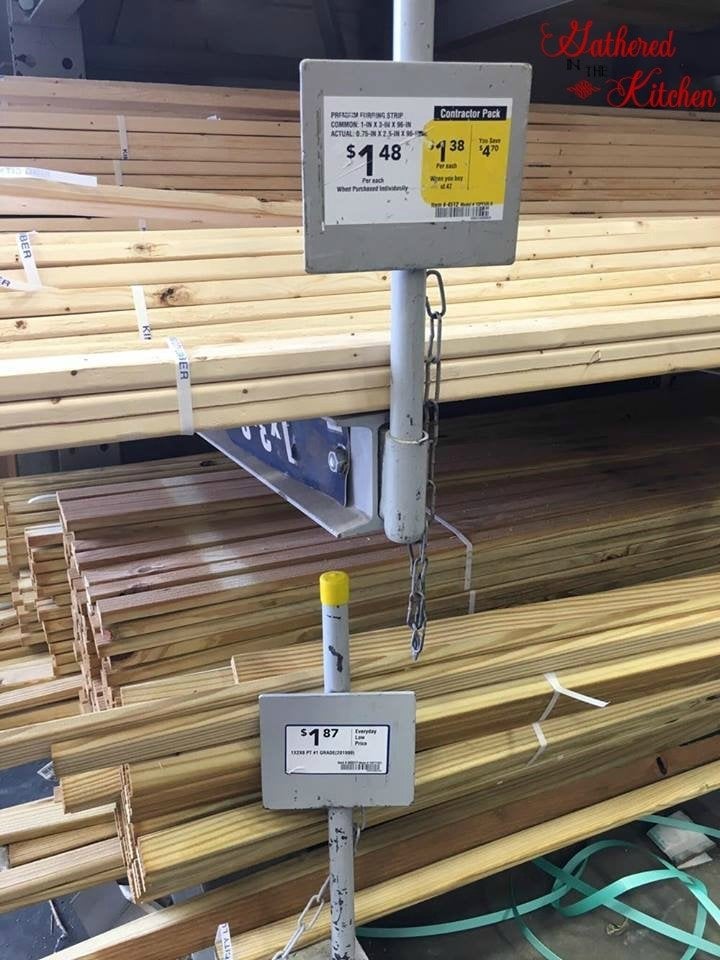
I went to Lowes and purchased furring strips. They come in different widths so you can choose based on your preference. I purchased a total of 5 furring strips.
Materials You’ll Need
- 5 – 8 foot long furring strips cut at the following lengths:
- 2 – 1×4 @ 4 feet long
- 4 – 1×2 @ 4 feet long
- 1 – 1×2 @ 39″ long (this length will vary depending on where you place your cross boards)
- 2 – 1×2 @ 17″ long
- Hand Held Circular Saw
- Brad Nailer
- Air Compressor (if you are not using a battery brad nailer)
- 1″ Brad Nails
- 2 – D-Ring Hooks
- Carpenter’s Pencil
- Early American Stain
Step-by-Step Instructions
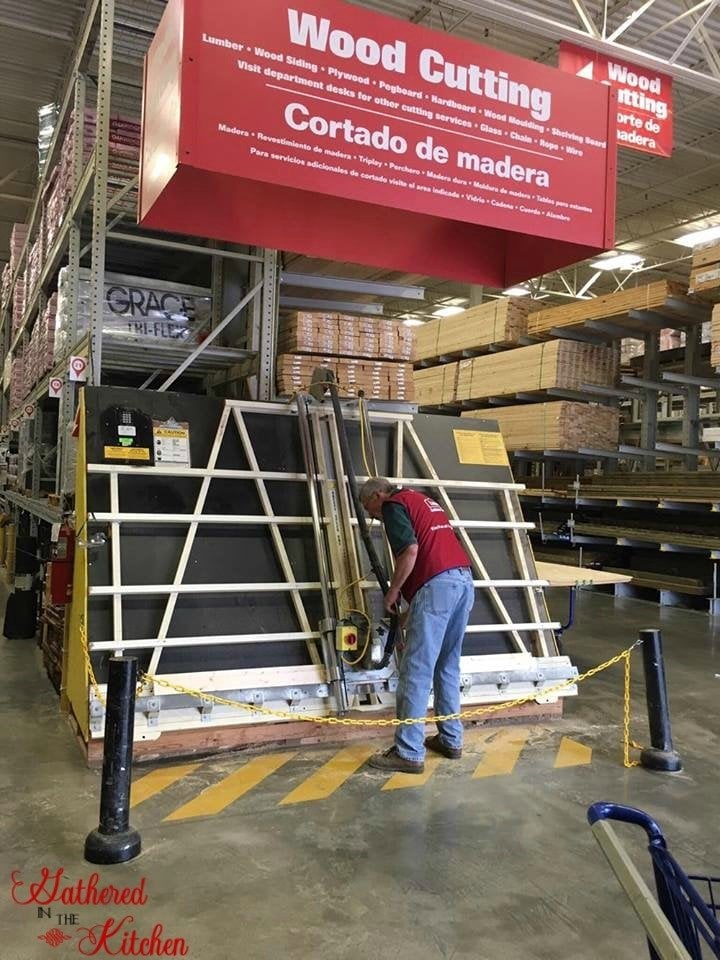
I had Lowe’s cut the furring strips in half to save time on my DIY barn door project at home. However, the wood wasn’t cut exactly evenly, so after assembling the barn door, I had to trim the boards to make sure everything was perfectly aligned. This quick adjustment ensured a clean, professional look for my rustic farmhouse barn door.
Then my cute little helper and I headed home to get building!

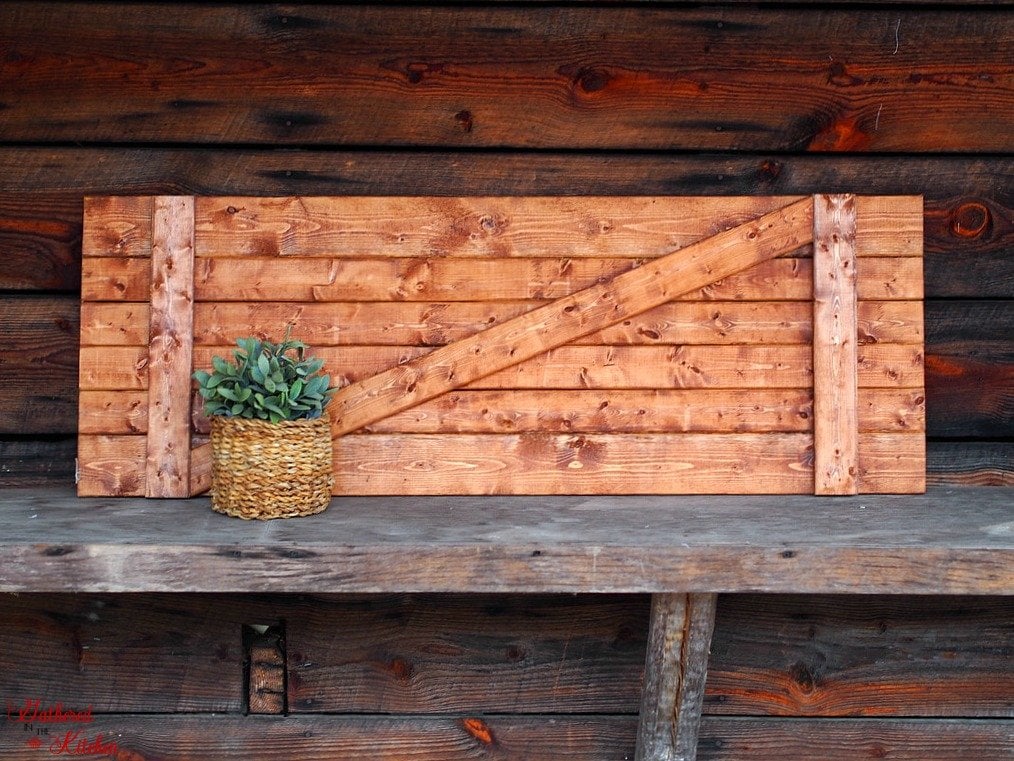
I began by laying out 6 boards all next to each other – wide boards on the ends and thinner boards in the middle. I then laid one board vertical across the top 6″ down and one board vertical across the bottom 6″ up. I marked on the vertical boards where they would need to be cut and then cut it with a hand held battery operated circular saw. (I used my $12 DIY Planter Boxes as saw horses, haha!)
Once the two boards were cut I laid them back in their positions 6″ from top and bottom and used an air nailer and compressor and 1″ brad nails to secure them to the horizontal boards that make up the door.

I then laid my last board across from the bottom of my top vertical board to the top of my bottom vertical board and marked with apencil the needed cut marks.
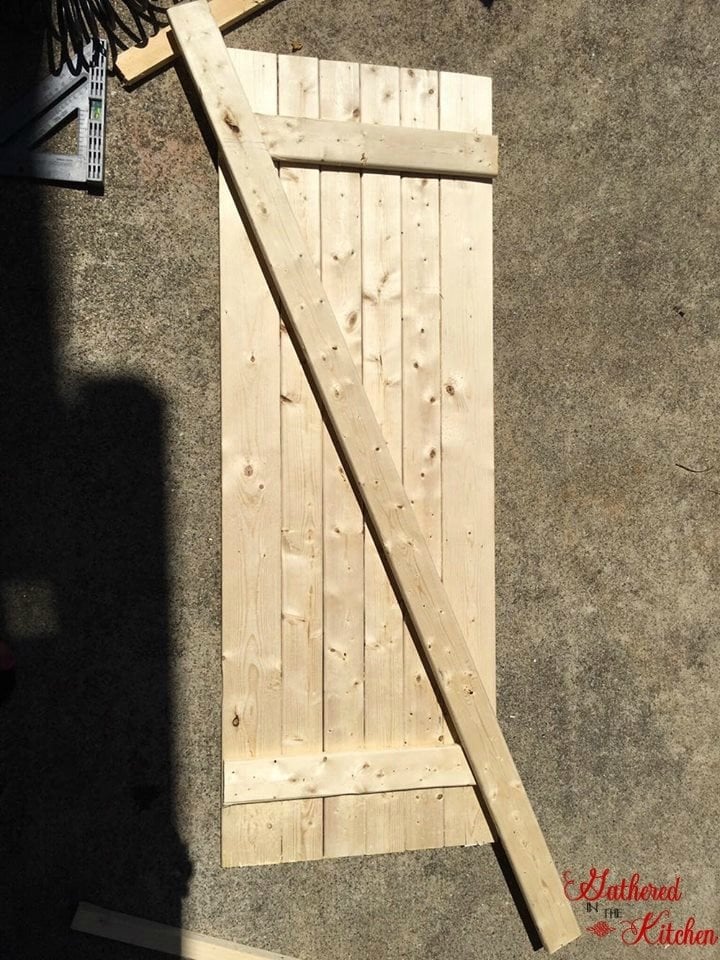
Once that board was cut I nailed it in place – this gives the door additional support.

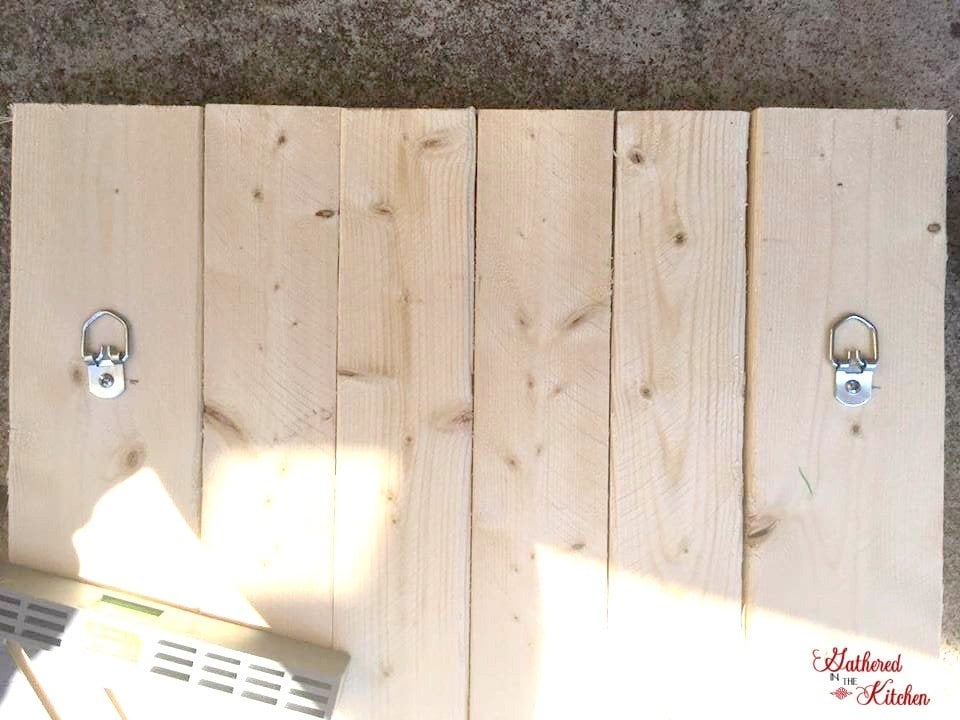
Then flip the door over and screw in D-Ring wall hooks – you can purchase these at Walmart in the hardware section for $0.98.
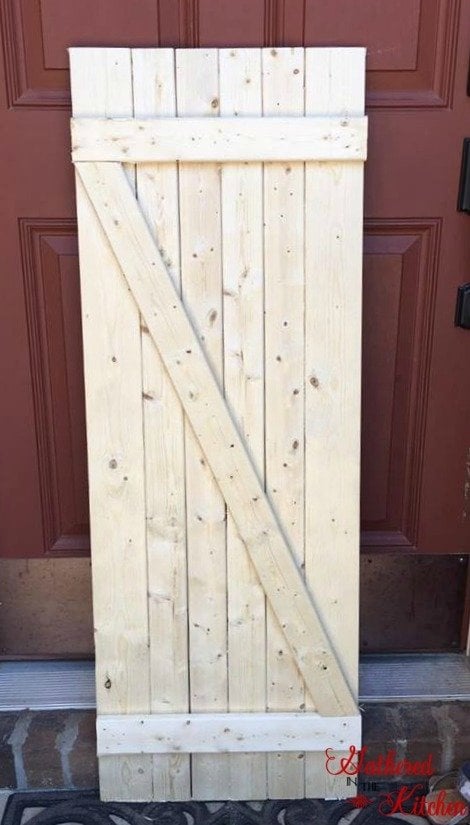
Technically at this point, you are done! Unless you want to stain or paint your DIY Barn Door!
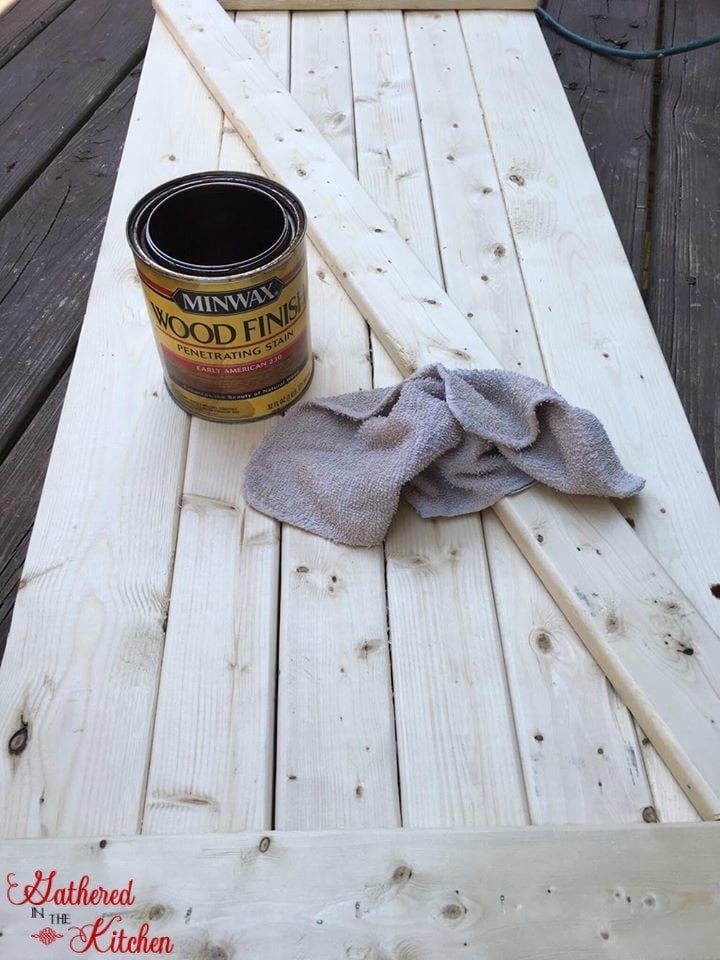
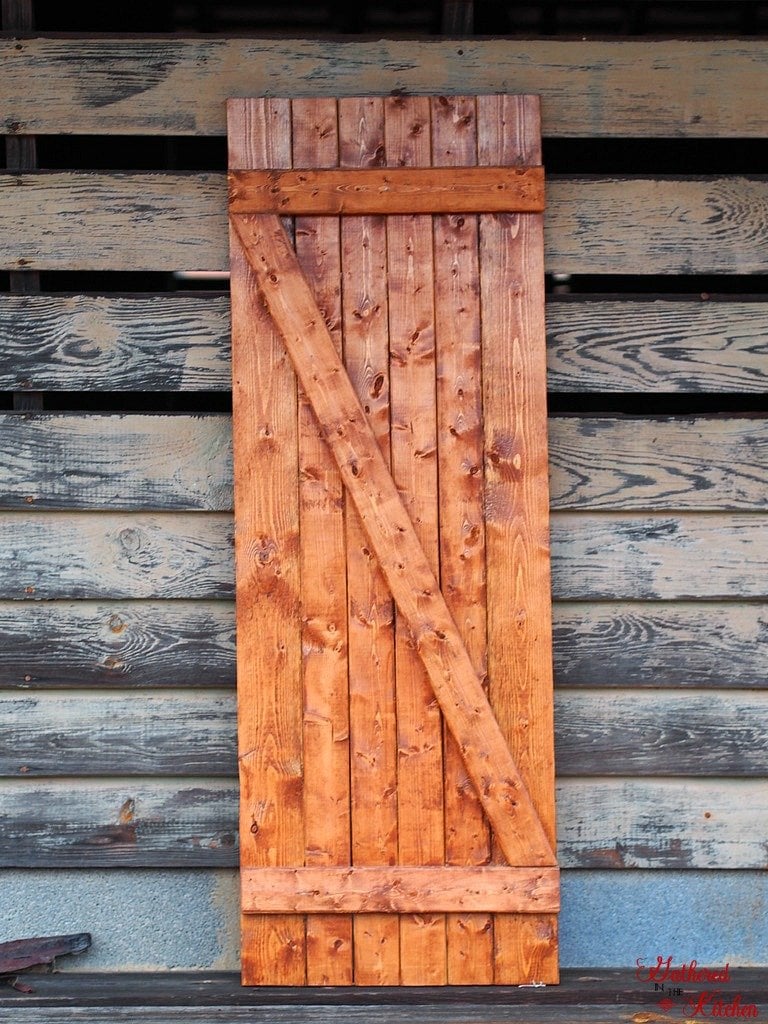
I chose to stain my door with Minwax Early American stain – the same color we just stained our hardwood floors!
I absolutely love the way my DIY barn door turned out. This simple barn door project is perfect for beginners because it’s affordable, quick, and easy to make with basic tools.
Here is a video showing how to build this door!


I may eventually paint over it and give it a really nice shabby chic chippy paint look!
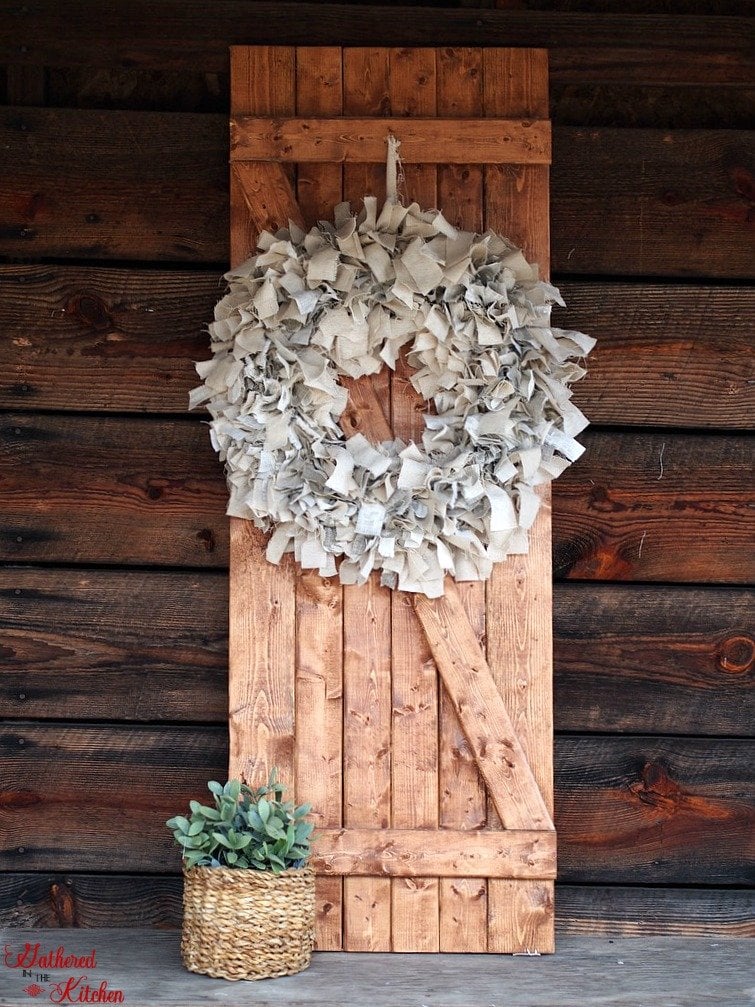
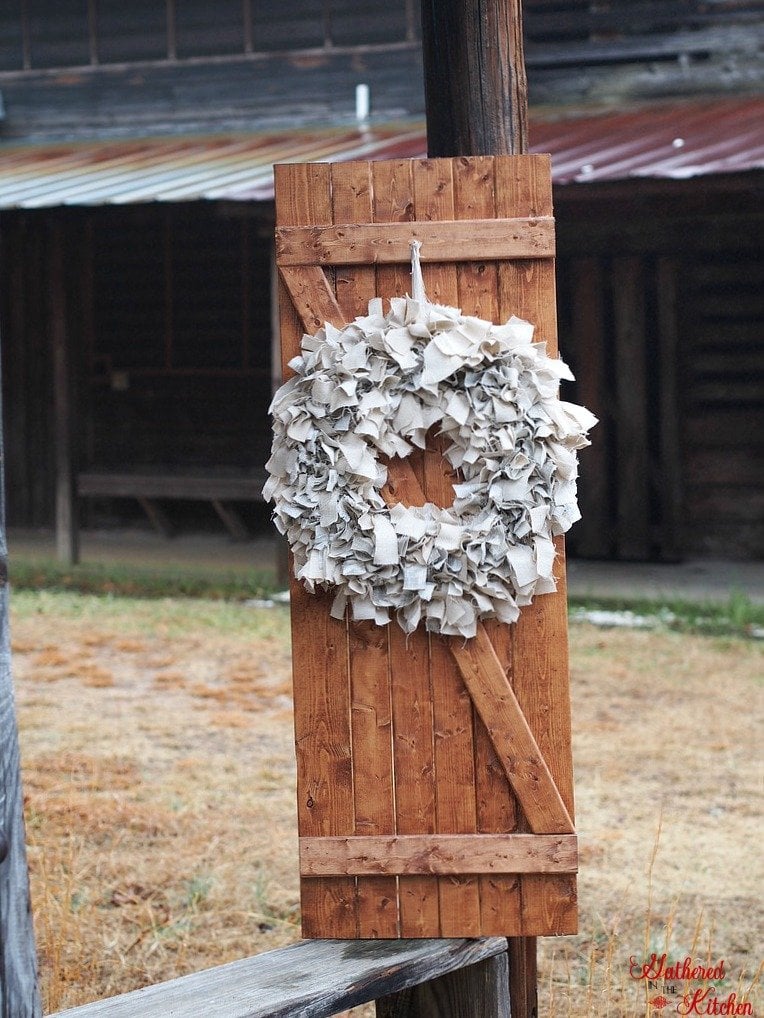
But for now, I’m loving it with my DIY Muslin Rag Cloth Wreath!!

It’s just so pretty that I had to take a LOT of photos of it!!


Don’t want to make this Barn Door yourself…But love them so much you can’t live without them?!?!
Don’t worry! You can buy these FAUX BARN DOORS! and not have to worry about building them yourself!


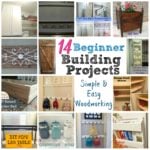
Feeling eager to build more? Here’s some of my favorite Beginner Building Projects!
14 Beginner Building Projects: Simple & Easy Wood Working
DIY Wooden Centerpiece Box for Under $5


Laundry Room Makeover Before & After Under $50 and 2 Hours


DIY Mason Jar Toothbrush Holder

DIY Hook Shelf & Headboard Wall

DIY Raised Garden Bed: Beginner Level


Stephanie—home cook, DIY addict, seasonal decor fanatic, and proud chicken wrangler living in a Victorian house that’s always a project. Whether I’m cooking with garden-fresh ingredients, herding mischievous chickens, or tackling another DIY, I’m here to share the fun (and chaos).


So thisndoor does not open and close?
correct it does not. it is a decoration
Donna, I think this door is decorative, but it would be simple to install sliding door hardware. It would increase the cost many times over, though, unless you found a DIY solution. Do you have any ideas, Stephanie? I really want to make one.
you can use these exact door plans and modify them to the size needed. Depending on the hardware you purchase you may have to make a few changes but this should work just fine. I was planning on building one of these for a sliding door at my house as well!
that’s cool really enjoyed it!?me& my?!!
You don’t say at what angle they’re cut, nor how long they all are.
Hi Charlene – at the very beginning of my blog post I state how big the door was that I made. It is 4 feet by 1.5 feet. …. so the board lengths are 4 feet long…and depending on what size boards you use – you can determine the width you want. There is no set size for this door. It’s all based off of your preference/the space you need to fill. Good luck!
Since I didn’t see any reply to your question on the angle I personally cut my in 25* angle if that helps for the middle cross over board!
What angle is the “middle” board cut at? The one that attaches to the top and bottom horizontal ones.
It depends on the height and width that the diagonal piece will be traversing. You can draw it out and use trigonometry to figure out the angle, or just do that piece last, lay it on top, and draw the lines to cut with a pencil.
We used this as a basis to build 2 wider barn doors that went on a sliding track to cover a wide laundry closet. Thanks for posting instructions.
For those who will be using the door on a sliding track, or moving it more than once or twice, it really needs to be fastened together with screws rather than nail gun nails. We tried brad nails and were very generous with the number of them, but it began to fall apart after bringing it inside. We supplemented with 1 1/4 screws and it’s sturdy and stable now.
Thanks again.
I originally looked at this because I have a slightly larger opening than the barn doors you can buy pre-made. But when I realized that it was only decorative, I decided this probably wouldn’t work for my needs. Until I read your comment. Do you have any other suggestions on making a functional sliding barn door? Thanks.
My husband has been begging me to make one for our bathroom for a long time…I will hopefully get around to it soon and post!
What size wood did you use? I love how it turned out!
Well, I messed up again- I just wrote you a msg + lost it. Anyway, I think you are fantastic! My creativity has always been with sewing/quilts, crocheting ,counted cross stitch. But I love wood! Just not safe around saws! I have a gazillion old pallets laying around and I am so inspired to make SOMETHING! I painted an American flag one for my Daughter – shocked that it turned out so well! But I really LOVE those barn doors. I’ll be selling my house (Az) + moving in with her in Me. I know…..cold + SNOW – I grew up in Ct so I’m looking forward to being East again-just NOT CT! I signed up for emails but I’m on my cell,which has a diff. email so I can’t confirm till I get on my Kindle or laptop. Love your creations Gal. Have a BLESSED day!
thank you very much! good luck with your move!
I couldnt see what sz boards you used it was too pixelated. What sz did you use 1X4 or 2X4? To make it etra sturdy could you put the cross boards in opposite direction (mirrored) on other side?
I like to do the basics with the Brad nails but I always use glue and add screws in the end which makes everything very strong and sturdy.
Have these warped at all?!i July somempantry doors. And they have warped. Totally different style than these. So I need to replace them. This looks like a good option. Just curious if yours have warped? Thanks.
nope they haven’t warped at all!
https://instagram.com/p/BjU3VqUnLq1/
This is a link to the barn door I made after reading your post. I made it as a gift for my dad. He supervised/gave advice but I did all of the work myself! I also used a soldering iron to write “Welcome” in calligraphy and draw a large sunflower. If you have a minute to take a look, I’d love some feedback!! Thanks for such a great project!!
I love it!!! Amazing job! Thanks so much for sharing!
I have done the math over and over and I can’t seem to find where the 5th board comes in at? Please help!!!! You have stated 5- 8ft furring strips cut at certain lengths. 2- 1×4 at 4 ft is equal to 1-8ft 1×4. 4- 1x2s at 4 ft is equal to 1- 8ft 1×4 or 2- 8ft 1x2s. And the 2- 1x2s at 17” and 1- 1×2 at 39” is equal to 1- 8ft 1×2. Am I missing a board somewhere. I can’t figure it out…
This door is amazing!!! I would love to do this for our pantry door. We are doing some kitchen cabinet refinishing & this would totally finish off the space. Thanks so much for sharing!!!