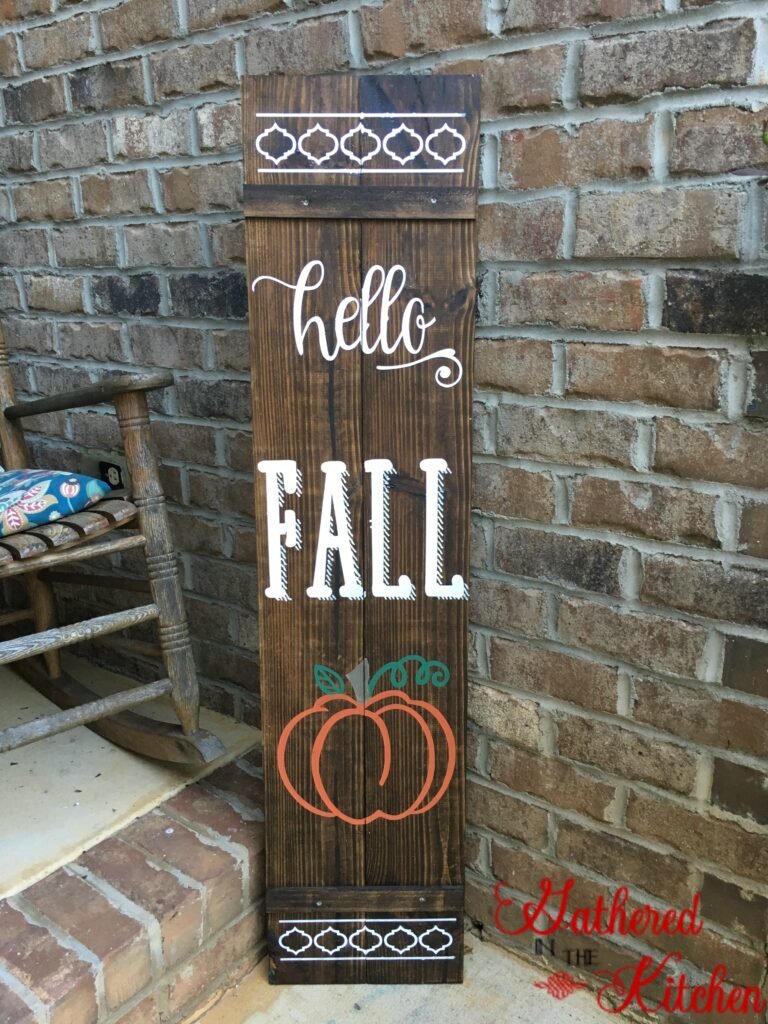
DIY Wooden Fall Front Porch Sign
Create a beautiful and custom wooden sign for your front porch in less than 1 hour and $20 with a few pieces of wood, a stencil and paint!
Fall is my most favorite time of year! From baking fall inspired recipes to decorating every inch of my home to dressing up for Halloween! Taking a few moments and making the front of my home more inviting has always been important to me, especially my front porch. This DIY Wooden Fall Front Porch Sign will take you under 1 hour to complete and only costs a few dollars…it’s the best way to spruce up your front porch! *FREE design download at the end of post!

Lets build it together!
2 – 1 x 6 x 4′ long boards
This post may contain affiliate links, which means I’ll receive a commission if you purchase through my link, at no extra cost to you. Please read full disclosure here.
1 x 2 2′ long boards
Stencil of choice, I made mine using my Silhouette Cameo (**more Silhouette projects HERE!)
Stain, your choice of color

This post contains affiliate links, see my disclosure here.
Lets Begin building your DIY Wooden Fall Front Porch Sign


Using a miter saw, cut the 1 x 2 to length

Using your drill and wood screws screw your 1 x 2 to your 1 x 6 boards

Repeat on the other end – I placed my 1 x 2 boards 6″ from each bottom

Lets make it pretty!

Create a design using your Silhouette Cameo and weed it. You can grab my design here.

Align your stencil on your boards

Paint using acrylic paint
TA DA!!! Isn’t it beautiful?!?! I just love it on my front porch! It adds a nice welcoming touch to visitors!
Love The Design?
I’ve made a FREE design download for you!
I teamed up with a group of my favorite bloggers to share several more fun fall projects! Be sure to check them out!
DIY Fall Porch Sign
by Stephanie from Gathered in the Kitchen
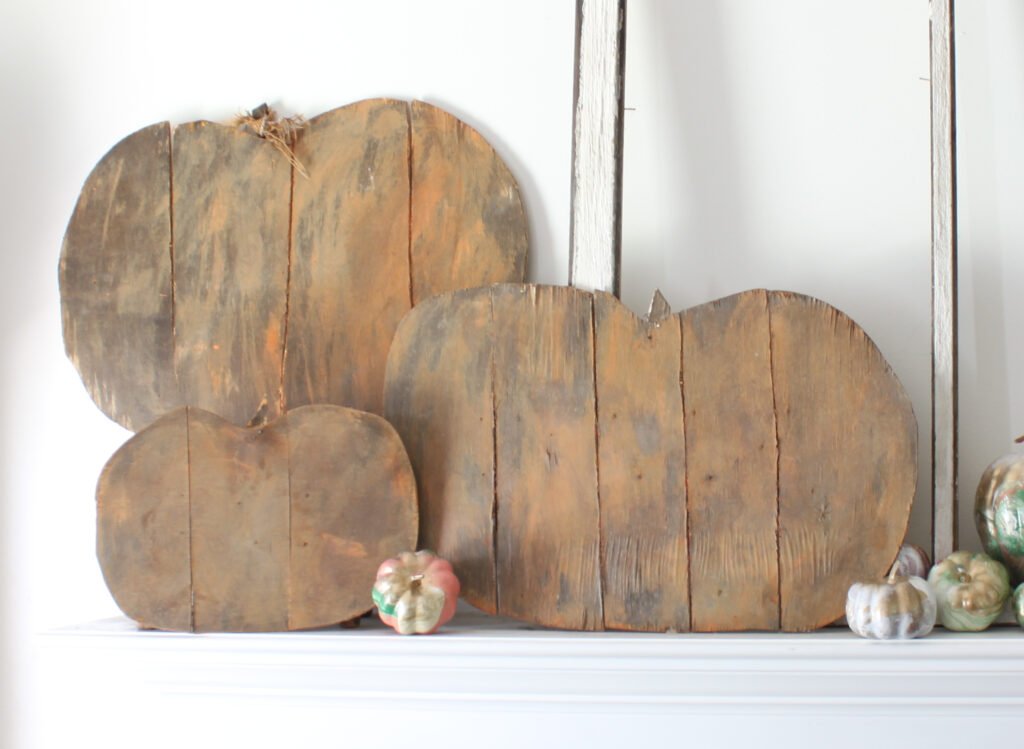
DIY Wood Pumpkins
by Sue from Shop at Blu
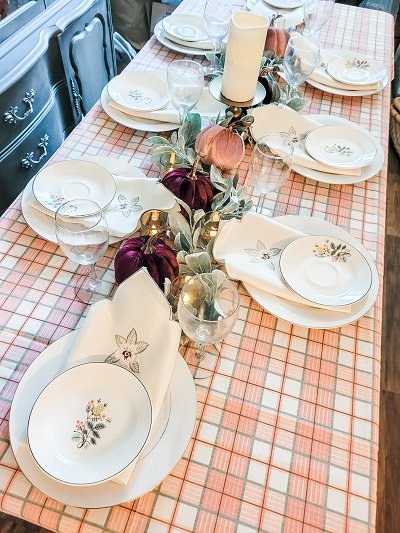
Thrifty Thankful Tablescape
by Kristin from Fifth Sparrow No More
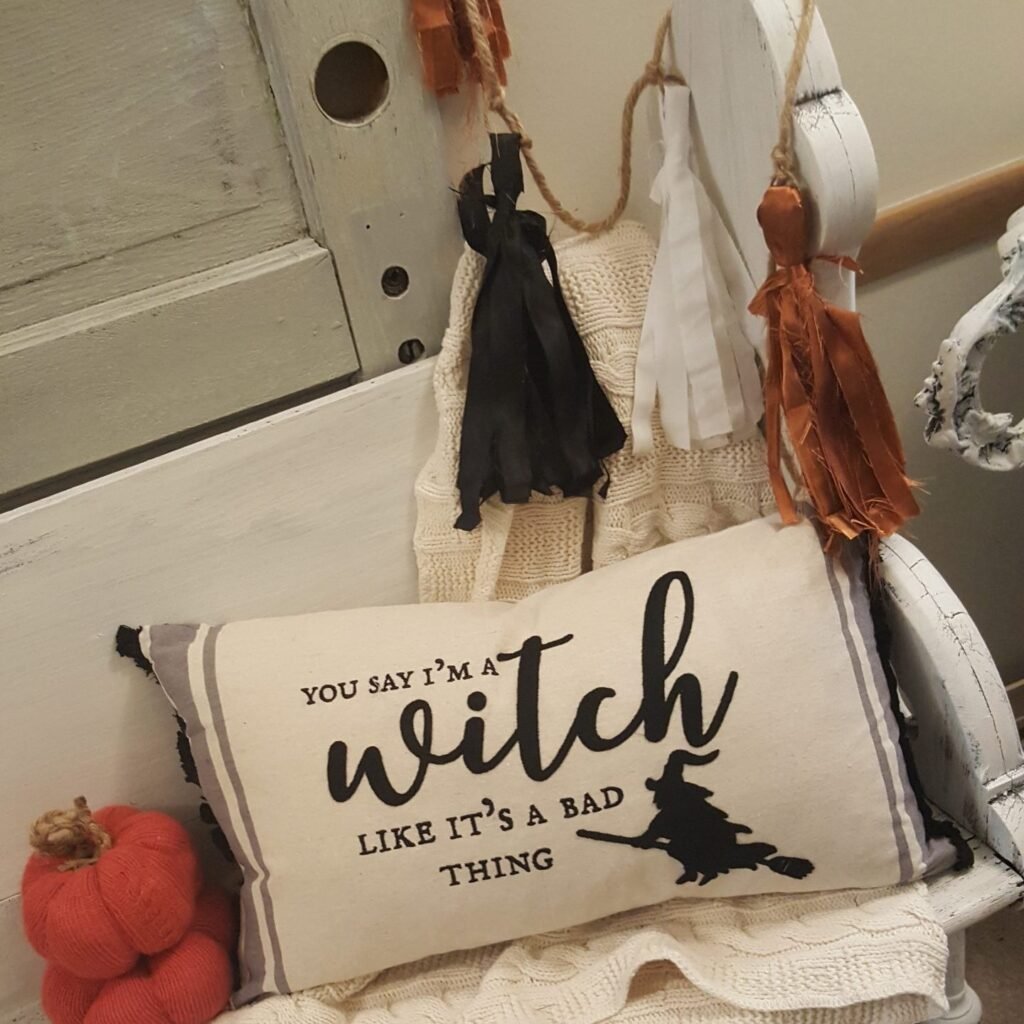
Fall Fabric Tassel Garland
by Juliet at A Loverly Life


Stephanie—home cook, DIY addict, seasonal decor fanatic, and proud chicken wrangler living in a Victorian house that’s always a project. Whether I’m cooking with garden-fresh ingredients, herding mischievous chickens, or tackling another DIY, I’m here to share the fun (and chaos).


Hi Saw your video, and just received my cricut. What kind of shelf liner do you get, how does it stick to the wood. Sorry new crafter here
thanks! just regular shelf liner like from walmart. it’s sticky on the back when you peel off the backing paper. … but make sure when you cut it that you still have the backing paper on
Is the stencil available?
the pumpkin is from the silhouette store – search pumpkin in the search bar and it will come up 🙂
Hi Lisa, I now have a free download for the design! http://madmimi.com/signups/651d41ab55544da4a3a34422d70d7e76/join
Can you share what fonts you used? thanks!
Hi Dawn, I now have a free download for the design! http://madmimi.com/signups/651d41ab55544da4a3a34422d70d7e76/join
Your colors look so vibrant. I stained the wood (a darker color like yours) and have used 3 coats of orange acrylic paint and it is so dull and cannot really be seen from more than a few feet away. Any tips or ideas to get it to show up better?
Hi Kylie, I’m sorry you’re having this issue, I know how frustrating this can be, especially because who likes to go back and do projects a 2nd time! (not me, haha!)
Some suggestions: 1. Before applying your orange paint, paint a different color first, like white (think like a primer). 2. Make sure that you are using a good quality acrylic paint. 3. If you’re willing to give chalk paint a try, I totally recommend Dixie Belle chalk mineral paint! It has amazing coverage and just a teeny, tiny bit will go a loooong way! here’s a link to one of the several oranges they have https://bit.ly/2kTI6DF
Good luck!
I clicked on the free download but it emailed me a valentine labels. is the free download for this sign?
I clicked on the free download but it emailed me a valentine labels. is the free download for this sign? do you have the download for this sign?