Converting A Dresser Into A Hanging Closet for Kid Dress Up Clothes
If you’ve ever stepped on a plastic princess heel in the middle of the night… you already know the problem.
Kid dress-up clothes are adorable.
They are also a complete disaster to store.
Costumes fall off tiny racks.
Bins turn into wrinkled messes.
And those flimsy store-bought dress-up closets? They tip over or break within a year.
I didn’t want more clutter. I didn’t want to buy something cheap that wouldn’t last. And I definitely didn’t want another plastic toy dominating the room.
This post may contain affiliate links, which means I’ll receive a commission if you purchase through my link, at no extra cost to you. Please read full disclosure here.
So I looked around my house.
And I saw an old solid wood dresser that had followed me from Illinois to Ohio to Georgia to South Carolina to North Carolina (this thing has seen more states than most people 😂).
Instead of getting rid of it, I turned it into a hanging closet for my kids’ dress-up clothes.
It cost almost nothing.
It took a couple of hours.
And it solved the chaos instantly.
Why Convert a Dresser Instead of Buying a Dress-Up Rack?
Most store-bought dress-up racks are lightweight, plastic, and meant to be temporary. They tip easily, don’t blend into real bedrooms, and usually break within a year.
Converting a solid wood dresser gives you:
- Stability and safety
- A custom look that matches your decor
- Built-in storage for accessories
- A long-term solution instead of a quick fix
- A sustainable way to reuse furniture
If you’re looking for kids dress up storage ideas that actually last, converting a dresser is one of the most durable options.
Supplies Needed
- old dresser
- White Lightning furniture cleaner
- chalk paint
- paint brush
- closet rod or tension shower rod
How to Convert A Dresser Into A Hanging Closet for Kid Dress Up Clothes
Here’s exactly how to convert a dresser into a hanging closet for kid dress up clothes so it’s sturdy, safe, and built to last.
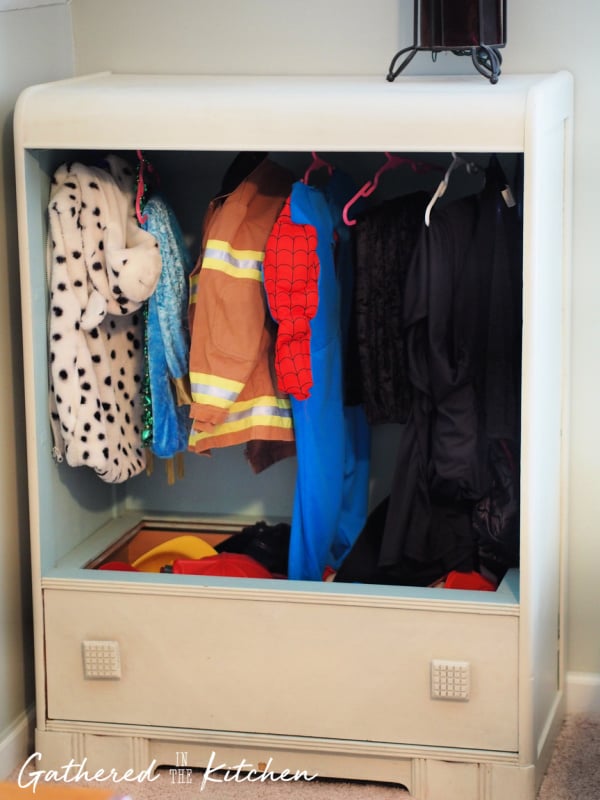
Step 1: Remove the Top Drawers
Remove as many drawers as needed to create hanging space.
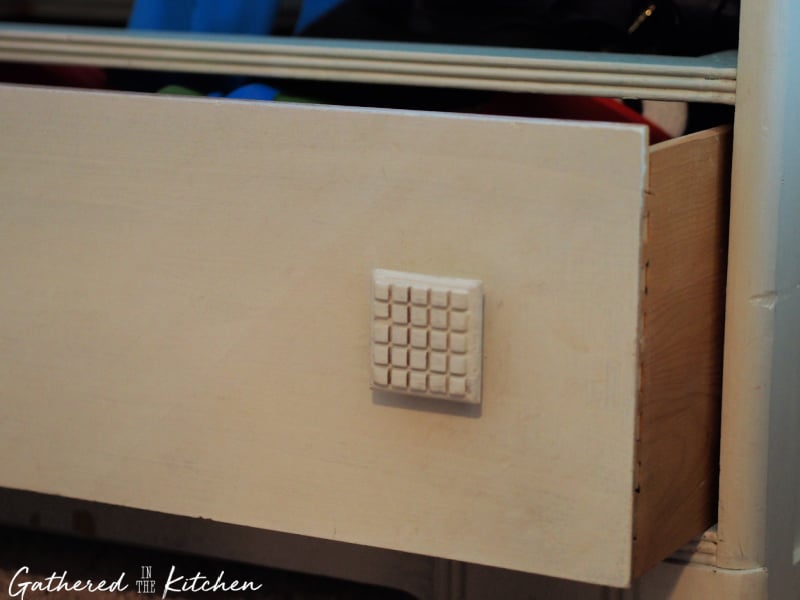
I removed the top three drawers and left the bottom drawer intact so the kids could store:
• crowns
• hats
• shoes
• costume accessories
Leaving at least one drawer makes this piece far more functional than a simple rack.
Step 2: Clean Before Painting
Skipping this step is the #1 mistake in furniture makeovers.
Even if furniture looks clean, it likely has oils and residue that will prevent paint from adhering properly.
I always clean wood thoroughly before painting. A degreaser like White Lightning removes buildup and helps ensure long-term durability.
If you’re painting furniture for kids, proper prep matters even more. Check out my tutorial for How To Clean Wood Before Painting.

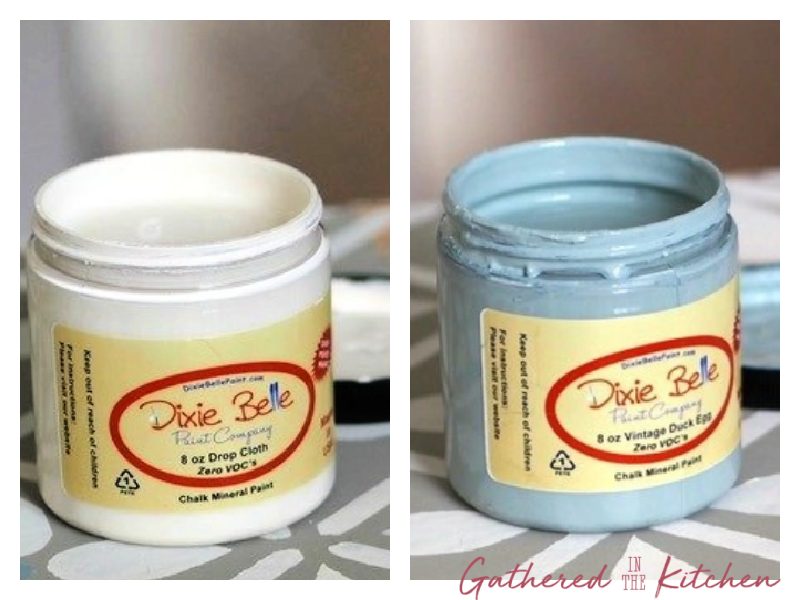
Step 3: Paint the Exterior and Interior
I used Dixie Belle Chalk Paint because it adheres well to wood and gives a smooth matte finish without heavy sanding.
Exterior color: Drop Cloth
Interior color: Vintage Duck Egg
Painting the inside a contrasting color makes the piece feel intentional instead of “drawer removed.”
Let each coat dry fully before adding another. I applied two coats for full coverage.
Step 4: Install a Hanging Rod
This part depends on your dresser structure.
My dresser had drawer glides on the inside walls. Instead of drilling and mounting a rod permanently, I used a tension shower rod and rested it securely on the glides.
It fit snugly and held lightweight costumes perfectly.
If your dresser interior is smooth, you can install a traditional closet rod bracket for more support.

This simple dresser conversion completely transformed how my kids used their dress-up clothes.
Instead of digging through bins, they could see everything. They played more. They cleaned up easier. And the room felt calmer.
We used this piece for years before I eventually sold it. Somewhere in North Carolina, it’s probably still holding tiny princess dresses.
And honestly? That makes me happy.
More Furniture Makeovers
- Spray painted roadside nightstands
- Water damaged nightstand makeover
- Thrift store drum table
- Coffee table chalk paint makeover
Frequently Asked Questions
Will This Hold Heavy Costumes?
This setup works best for:
• princess dresses
• superhero capes
• lightweight costumes
If you’re hanging heavier items, install a fixed rod with brackets instead of using tension.
What Size Dresser Works Best?
A taller dresser works best because it gives you vertical hanging space.
If using a shorter dresser, measure the interior height before committing to the project.
Can This Be Done Without Painting?
Yes. If the dresser is already in good condition, you can simply remove the drawers and install a rod. Painting is optional and purely aesthetic.


Stephanie—home cook, DIY addict, seasonal decor fanatic, and proud chicken wrangler living in a Victorian house that’s always a project. Whether I’m cooking with garden-fresh ingredients, herding mischievous chickens, or tackling another DIY, I’m here to share the fun (and chaos).