DIY Towel Hook Shelf & Beadboard Wall Tutorial
Good morning friends!!
I shared on my Facebook page yesterday a sneak preview photo of one of the 500 projects I have going on right now at my house…I seriously have crafters/organizers ADD. Or maybe it’s just my “nesting: mode kicking in. Either way, stuff is getting done and I’m loving it!!
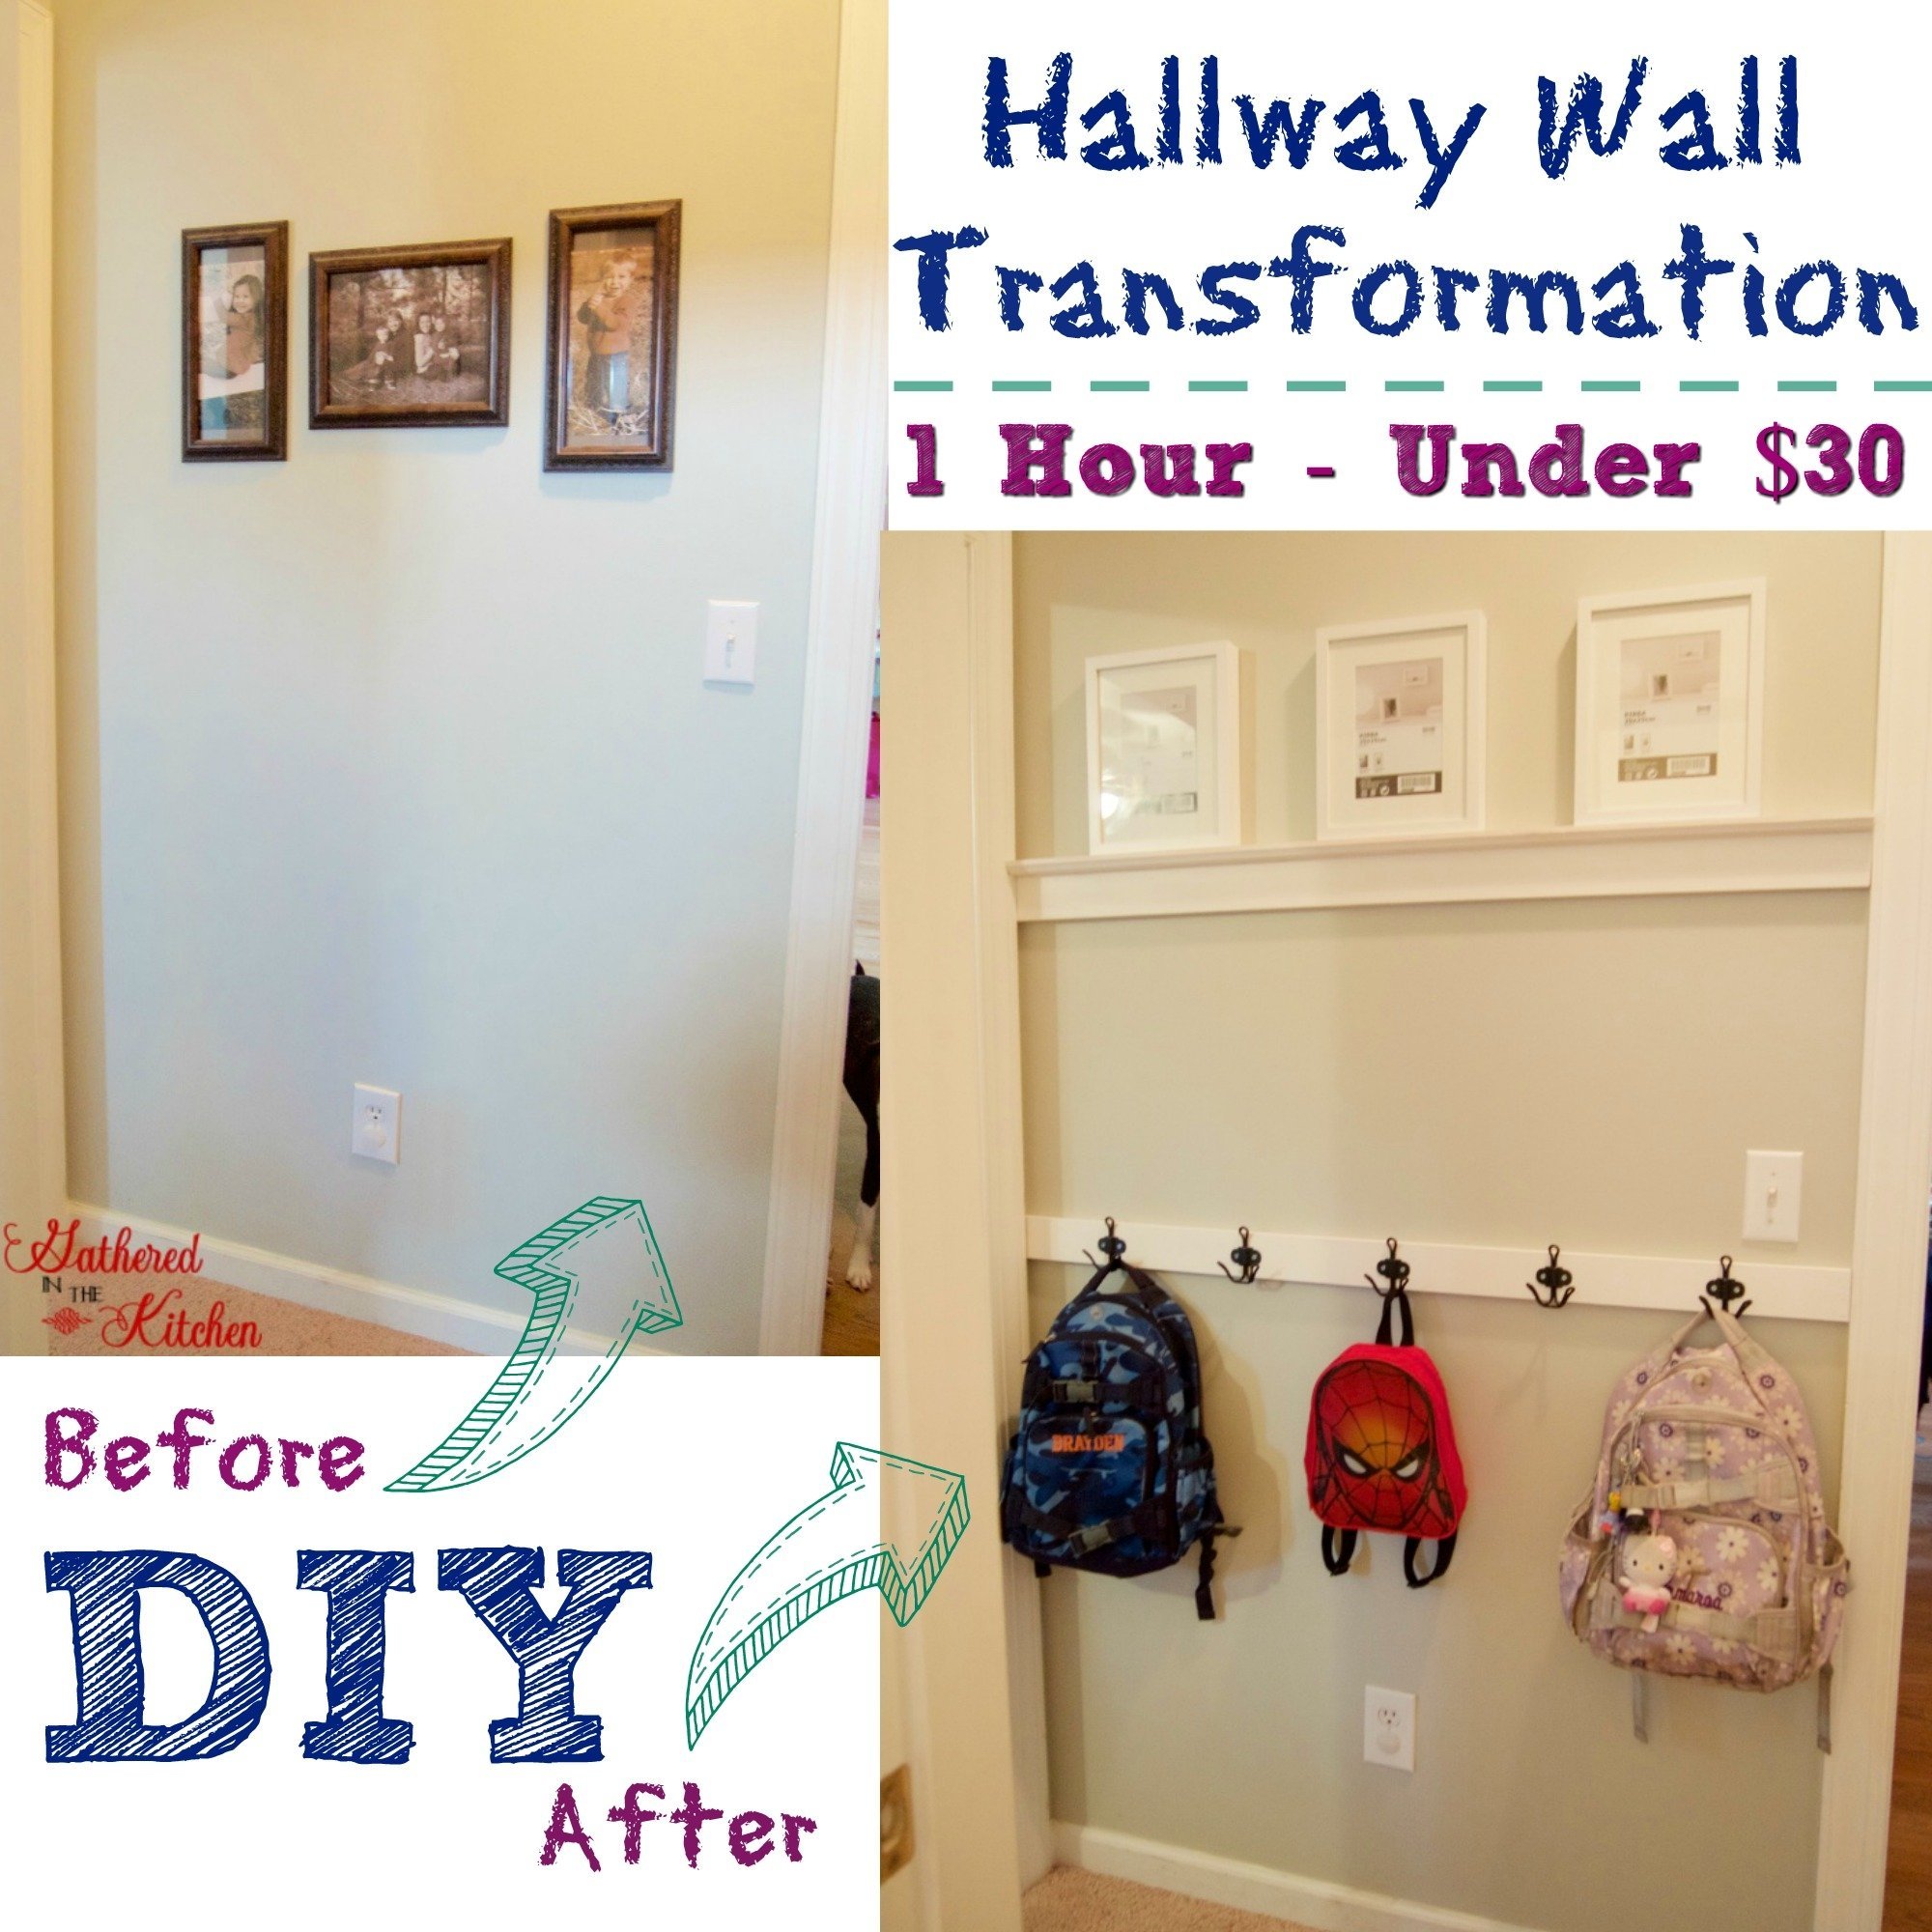
This project actually begun in my garage entry hall. We have a coat closet there but there is just so much stuff in it that I wanted to create a coat hook shelf by the door. I will share those photos after I purchase 5 more hooks (I created a 2nd row!) However, that is where I started the tutorial photos, so you’ll actually be seeing two different rooms 🙂
The room that I completed and am showing the tutorial for is in the tub/shower/toilet room in my kid’s bathroom.
This post may contain affiliate links, which means I’ll receive a commission if you purchase through my link, at no extra cost to you. Please read full disclosure here.

Here’s my how-to tutorial! It was so easy that I completed this by my self at 24 weeks pregnant!!
This was my list of materials:
*1-1x4x12 pre primed wood
*1-1×2 white wood
*1-4×8 paintable birch beadboard paneling primed (only can find at Home Depot) (**I had the store cut piece in half to create 2-4×4 pieces and then trimmed to the size I needed for my wall, because I didn’t feel like using the circular saw!)
*Brad nailer and Air compressor (or hammer and 2″ finishing nails)
*2″ brad nails (18 gauge to fit our nail gun) (or 2″ finishing nails)
*Paint – durable, water resistant (preferably satin or gloss)
*Hooks with screws (mine were from Home Depot @ $3.28 each)

My 1×4 were left over from our the major board and batten project we created at the house we sold in South Carolina. We routed all of the wood ourselves. (50 billion trim pieces)
 Honestly I would definitely NOT recommend doing this project without a nail gun. I ran out of brad nails for a little bit and had to use finishing nails & a hammer = NIGHTMARE! Seriously it stunk! The nails kept bending and you risk the chance of denting the wood with the hammer.
Step 9) Paint
Step 10) Measure and pre drill for hooks
Step 11) Screw hooks to wood
Step 12) Decorate & enjoy!
Like I said, this project was super easy! But I am telling you caulking and sanding is your best friend here. Your wood can be cut perfectly but it never fails, when you line it up with other wood there’s always some imperfections. If you don’t take the time to caulk and sand REALLY GOOD then you risk your project turing out junky looking. And if you’re like me and do this project without the knowledge of your husband you want it to turn out perfect so he has no reason to complain! haha (don’t be like me, tell your husband your plans!)
p.s. my wall color paint is Benjamin Moore Moonshine *swoon*! I love it!

I also used this color on the top half of my son’s bedroom, the laundry room and the garage entry hall (pics to come soon!)

If you have any questions please don’t hesitate to ask! I will be more than happy to help! Props to the girls with power tools! 🙂
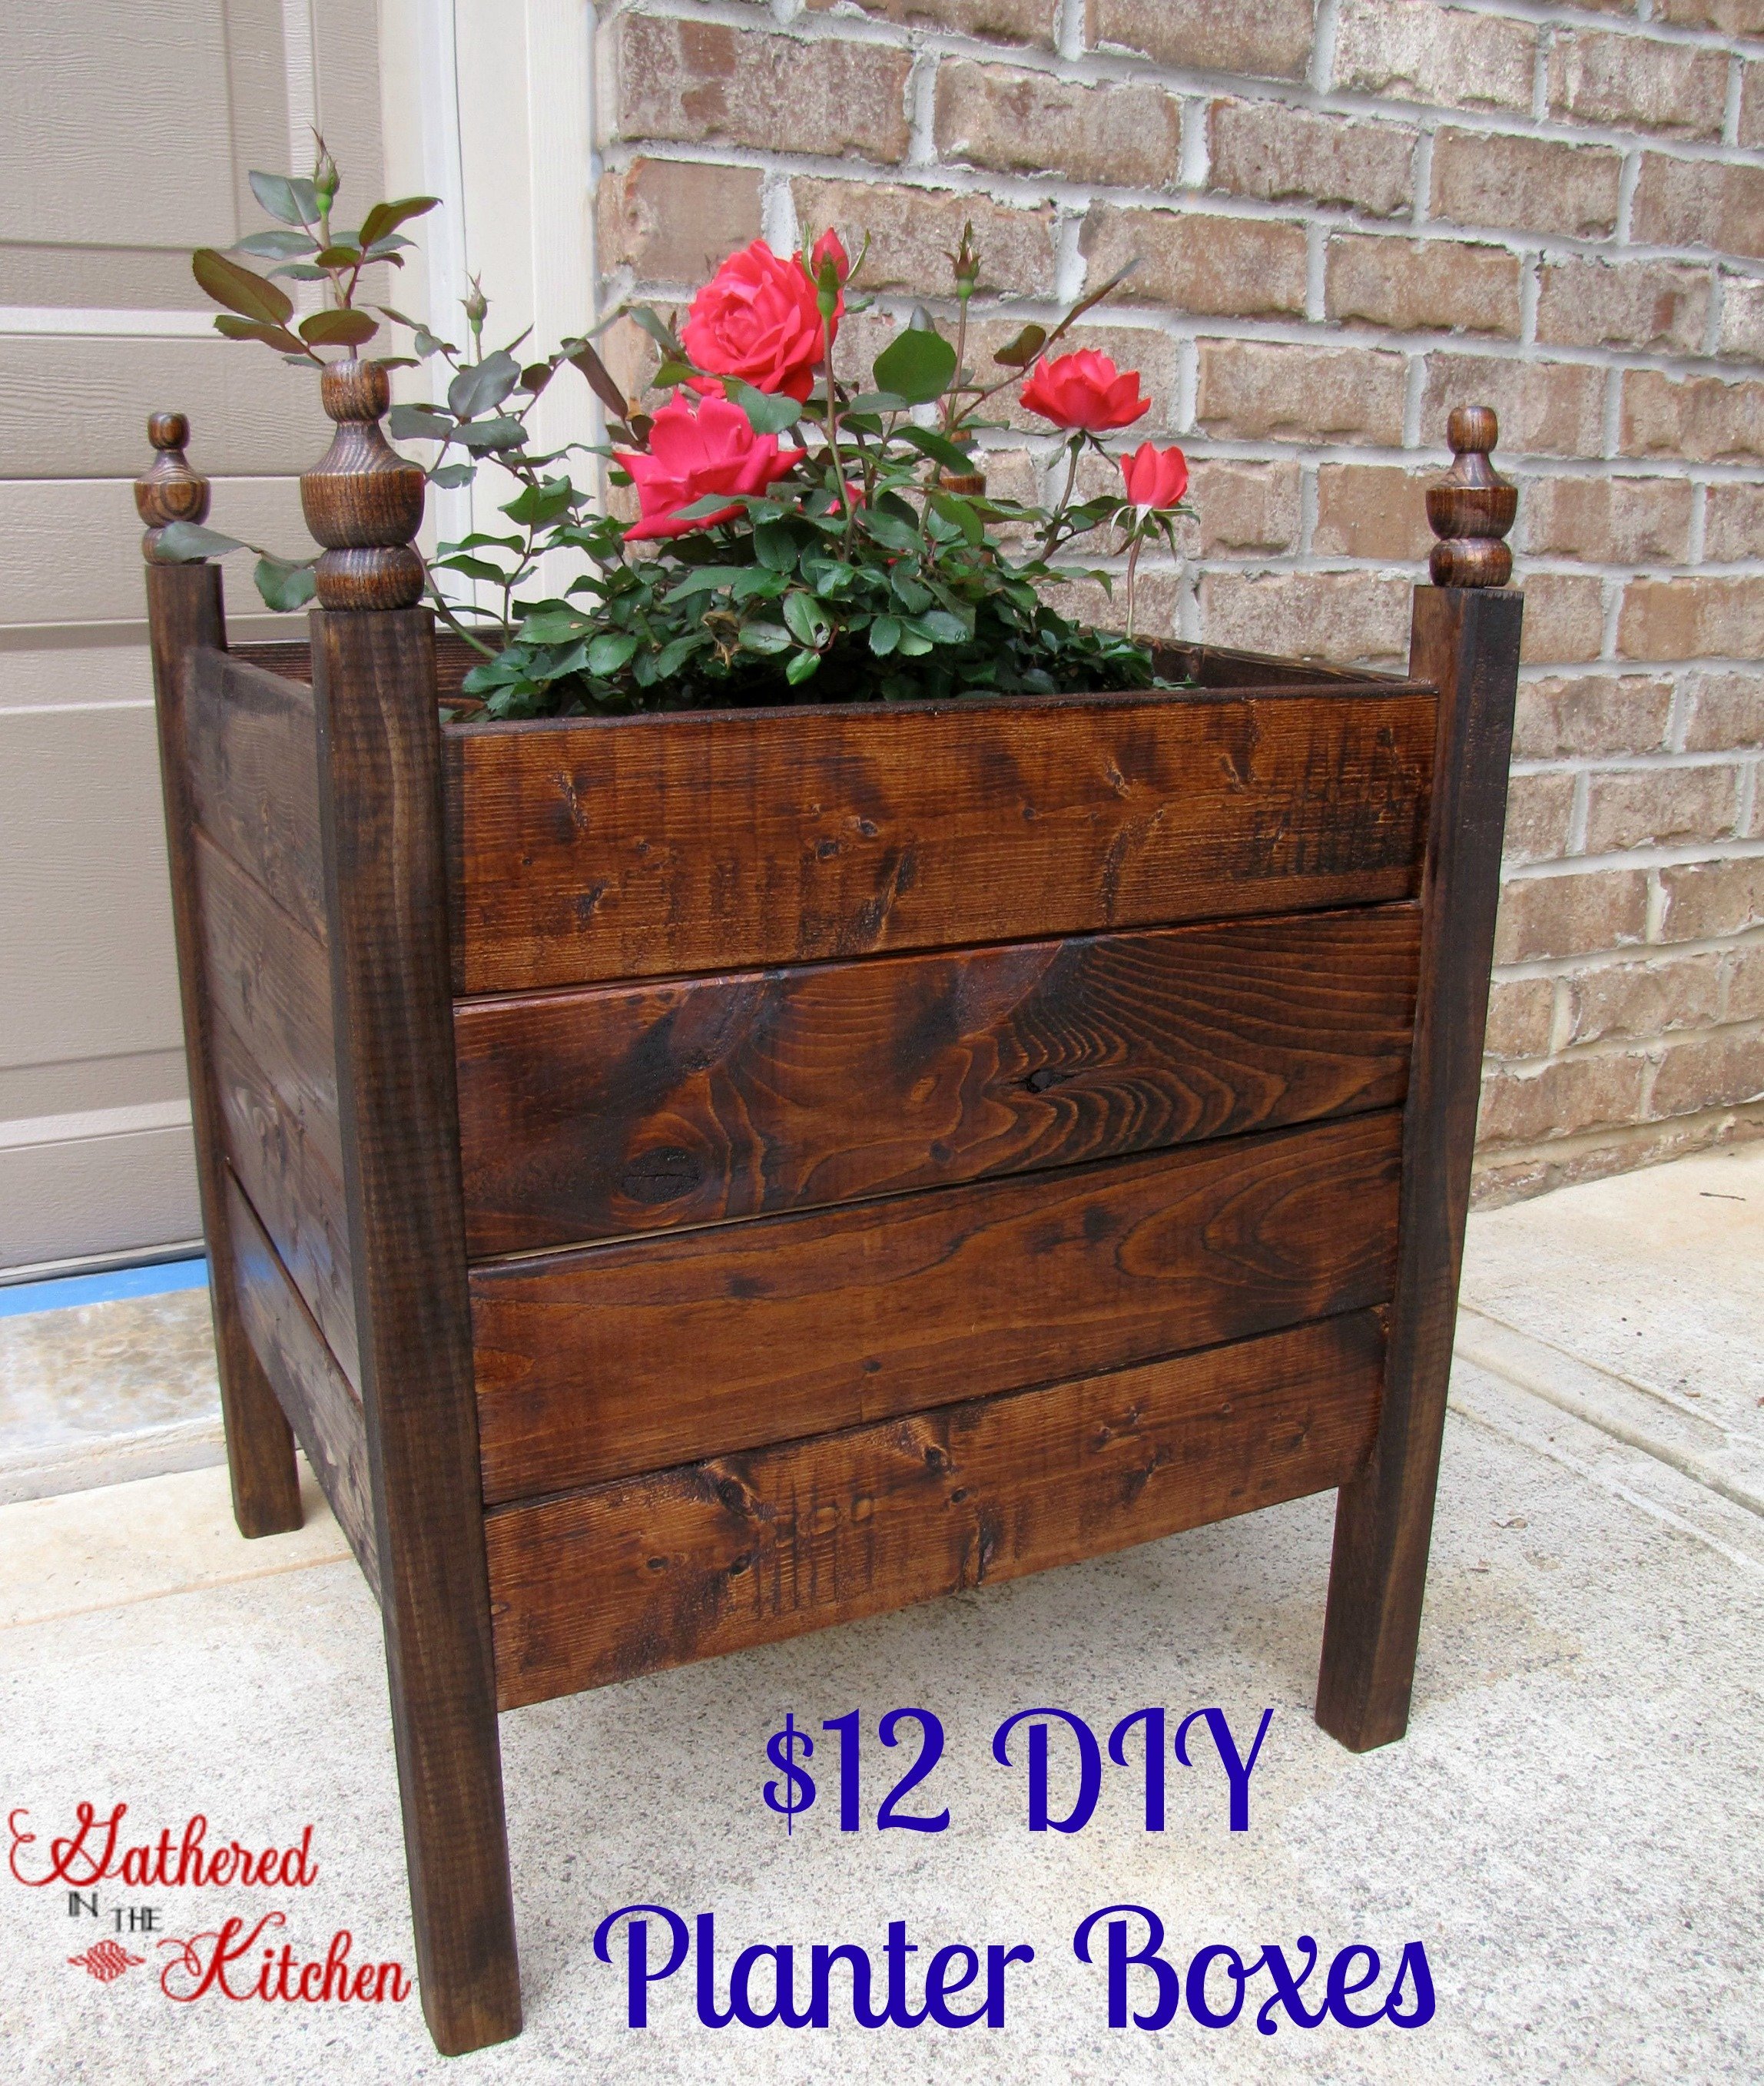
You Will Also Love These Easy DIY Projects:


Stephanie—home cook, DIY addict, seasonal decor fanatic, and proud chicken wrangler living in a Victorian house that’s always a project. Whether I’m cooking with garden-fresh ingredients, herding mischievous chickens, or tackling another DIY, I’m here to share the fun (and chaos).


Interesting tutorial, but what is the first item on the list? I think this would be easier to read if you put One 1×2 white wood or 1 white wood, 1×2 instead of *1-1×2 white wood. I bet a piece of crown molding with the fancy edge would look cool too.
Pretty soon you will be able to hang up one for towel! 🙂 Great work!
Looks great! I like it 🙂
Thank you!!
That looks really great! I saw your link on “Seven Alive”. Thank you for sharing! Rhondda, Oombawka Design
I love this. It looks great.
Did you replace your baseboards? I would love to see a picture of what they looked like when you were finished.
Nope! I placed the beadboard right on the top lip of the baseboard and then caulked the teeny tiny gap.
I am looking for how to make a shelf like you have on top of the bead board, maybe a little deeper to hold pictures. and I was looking in home depot for that kind of baseboard with the shelf already attached to it? but after seeing this, I take it you have to make your own shelf on top of the baseboard.
Correct, they do not make them like that. You have to make it yourself. However, instead of routering your own piece of wood to get that fancy look you can just purchase a piece of baseboard and then attach a piece of wood (whatever thickeness to create whatever depth you want)