Burlap Bubble Wreath Tutorial
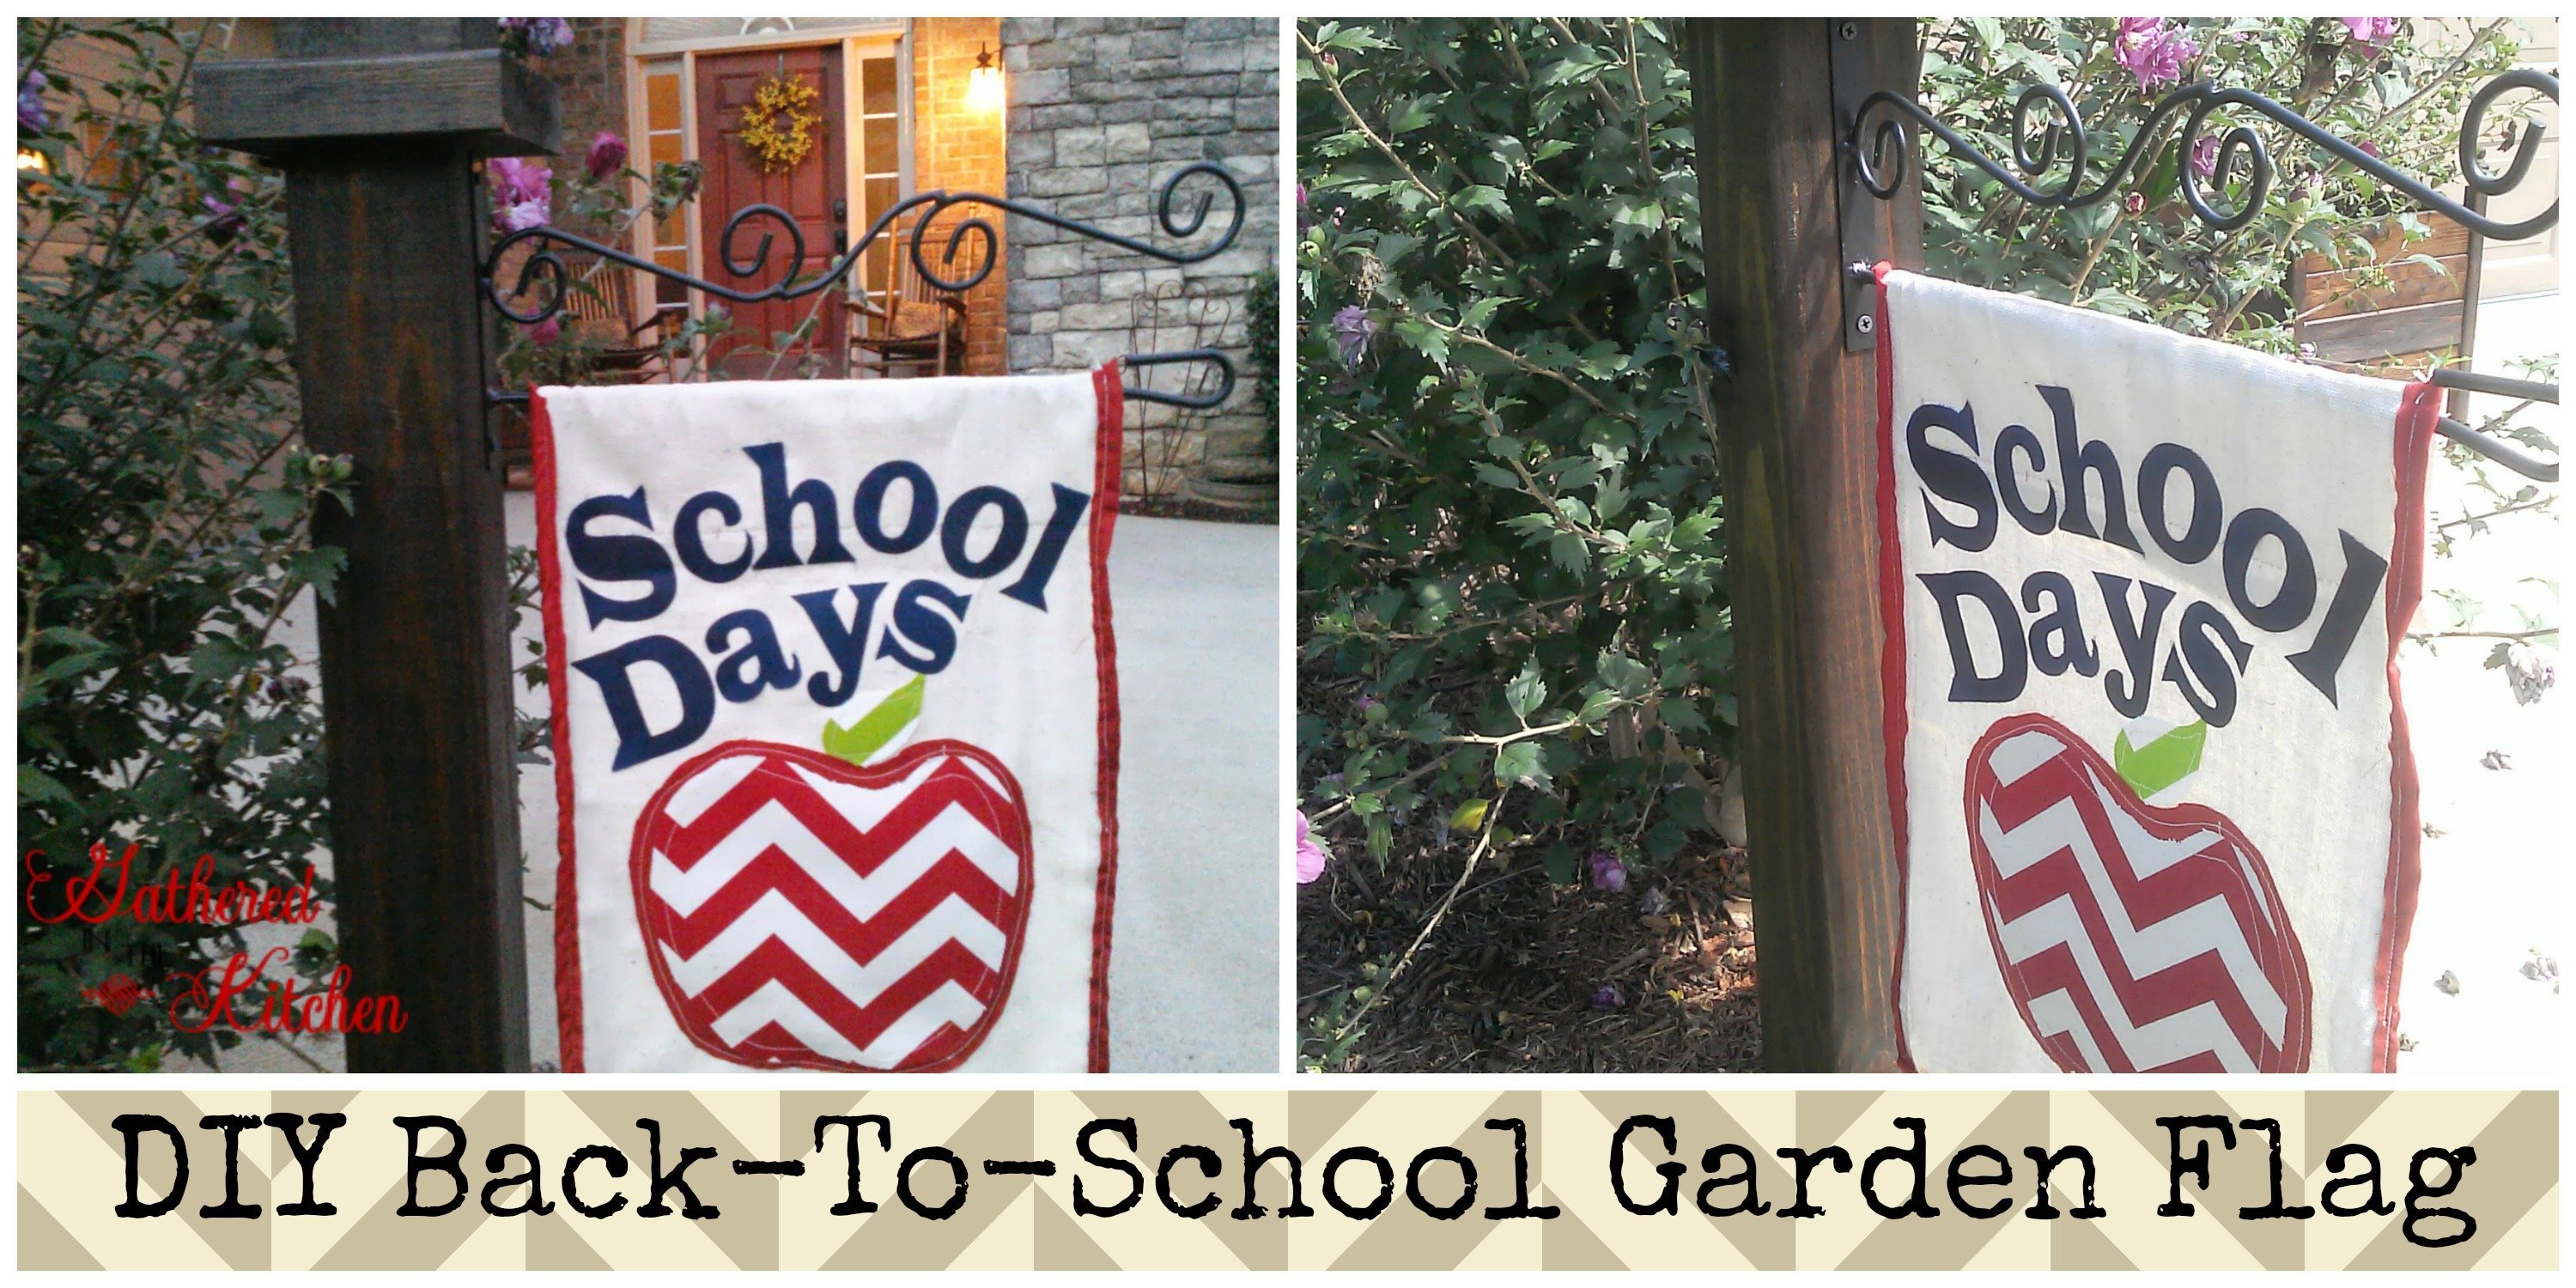
For the start of the school year I decorated the outside of our house with apple decor. You may remember my Back-To-School Garden Flag:
For our front door my 4 year old daughter made (literally) the burlap bubble wreath and then I decorated it with ribbon and an wooden plaque with an apple on it to match the Garden Flag.
This post may contain affiliate links, which means I’ll receive a commission if you purchase through my link, at no extra cost to you. Please read full disclosure here.

Supplies:
-12″ foam wreath form like THIS
-1/4 yard burlap fabric in Ivory like THIS
-Lots of sewing pins – I prefer to use the pearlized ones like THIS so you don’t see the pin heads
-Scissors
-Ribbon — THIS is the green I used. THIS is the red & white I used
-Vinyl Cutter like THIS
For the apple I bought a wooden circle cutout in the craft section at Wal-Mart. I spray painted it red. Cut out an apple in red and green chevron fabric. Spray glued it to the wood and used my Silhouette Cameo to cut the vinyl letters. I then used ribbon and pins to make the bow. I attached a long piece of red ribbon to create a “hanger” and wa-la!
Lover Boy and I had a super cute wreath to pose by after dropping the kiddos off for their first day of school!


Here’s another burlap bubble wreath I made a few years ago…

Burlap Bubble Wreath AND Window Repurpose Tutorial
What do you guys think? You like it? Will you plan on making one yourselves? Leave a comment letting me know!
Please LIKE me on Facebook HERE and PIN this tutorial!! 🙂
Happy Crafting!


Stephanie—home cook, DIY addict, seasonal decor fanatic, and proud chicken wrangler living in a Victorian house that’s always a project. Whether I’m cooking with garden-fresh ingredients, herding mischievous chickens, or tackling another DIY, I’m here to share the fun (and chaos).


