How To Appliqué Without An Embroidery Machine
Have you ever wanted to create a fabric appliqué but didn’t know where to start because you don’t have an embroidery machine? Well you’re in luck! This post is for you, the beginner sewer who is looking for a way to work with textiles by adding beautiful appliqués without any fancy equipment.

Understanding Appliqués
Before we begin, I feel it’s best to discuss what an appliqué actually is. Appliquéing is the process of layering fabrics and then cutting away certain layers to create a design. While many experienced seamstresses use an embroidery machine to create intricate and precise designs, I wanted to show the process of how to create your own appliqué without the help of an embroidery machine.
I personally own an embroidery machine and love to use it when I’m making very precise appliqués that I want to look professional. However, when I’m making projects that I want more of a freehand look, this is the route I go for those quick and fun projects!
Materials Needed
Very few and basic materials are needed to create an appliqué without an embroidery machine.
This post may contain affiliate links, which means I’ll receive a commission if you purchase through my link, at no extra cost to you. Please read full disclosure here.
- fabric – it’s best to have at least two different fabrics that contrast each other. I used “duck fabric” (that is the thickness of the fabric)
- sharp scissors – I find it easiest to work with small, very sharp sewing scissors
- disappearing ink marker – these can be found in the sewing isle of your local craft store and come in water or air disappearing. The marker I’m using in this video tutorial has the option for both – depending on which end of the marker you use
- sewing machine – a basic sewing machine will work. You only need to be able to sew a basic line. If you do not have a sewing machine, a needle and thread will work for handstitching

Drawing / Preparing Your Design
In my video tutorial, I chose to freehand draw my hearts. For a more precise and accurate design, I highly suggest to print your desired design on printer paper trace it on your fabric.
To transfer your design on to your fabric, use the disappearing ink marker to trace the outline onto your fabric of choice.

Assembling Your Appliqué
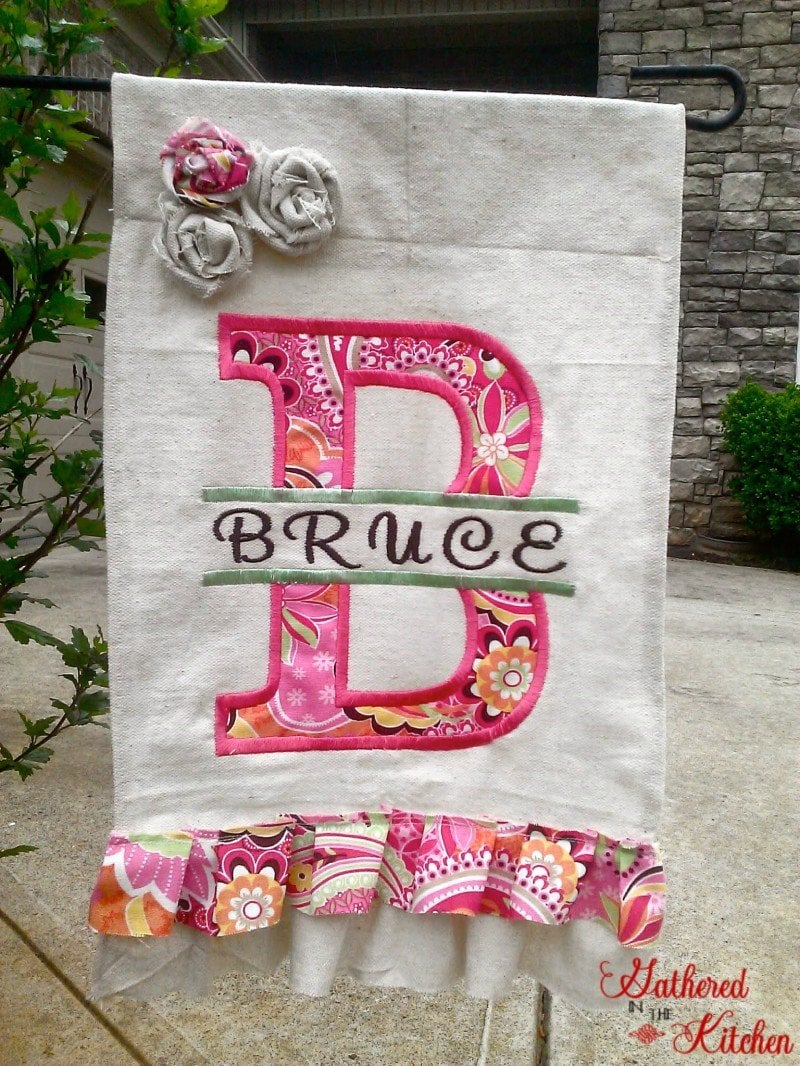
For this tutorial, I made a garden flag so these steps are based off of that process. These steps can be easily adapted to any other type of fabric or project you are working on.
- STEP 1: Cut both pieces of fabric to the desired flag size
- STEP 2: Iron out any wrinkles in both pieces of fabric
- STEP 3: Lay colorful piece of fabric on top of the base fabric
- STEP 4: Freehand draw a large heart using disappearing ink on top of the colorful fabric
- STEP 5: Stitch an outline along the heart you just drew using a basic stitch
- STEP 6: Using a pair of scissors, cut the excess fabric off that is on the outside of the stitched heart
- STEP 7: Outline stitch another heart 1″ inside of the already stitched heart
- STEP 8: Freehand draw a 2nd smaller heart inside of the larger heart
- STEP 9: Repeat steps 5-7
- STEP 10: Using a small pair of sharp, pointed scissors, cut away the fabric in-between the gaps of each heart, leaving the 1″ stitched outline for each heart
Video Tutorial

Finishing Touches
- trim off any excess thread from stitching
- press the finished design using an iron
- add any extra embellishments that you wish. These could include hand stitching on buttons, flowers, lace, trim, etc
Advanced Tips and Tricks
When creating smaller or more intricate designs, it’s best to use double sided sticky tape to hold your design in place while you do the outline stitching. By using double sided sticky tape, you can ensure that you can remove the excess/cut-away fabric when needed.
Learn from my experience: In the past, I have used a product called HeatnBond, which is great at keeping the design attached to the fabric, however, you have to know where to apply the iron on adhesive, otherwise, your fabric that you are needing to cut away is now glued to your other fabric.
Additional Resources
Check out all of these other appliqué projects I have made in previous projects! Click on the image below for the full tutorial! P.S. here is the full DIY tutorial for my 10-Minute DIY Wooden Garden Flag Holder with Scrap Wood


Stephanie is the founder of Gathered In The Kitchen. She is currently learning how to raise backyard chickens and is forever testing the boundaries of color while updating her 1886 Victorian home. Follow her on Instagram at @gatheredinthekitchen


Stephanie—home cook, DIY addict, seasonal decor fanatic, and proud chicken wrangler living in a Victorian house that’s always a project. Whether I’m cooking with garden-fresh ingredients, herding mischievous chickens, or tackling another DIY, I’m here to share the fun (and chaos).


