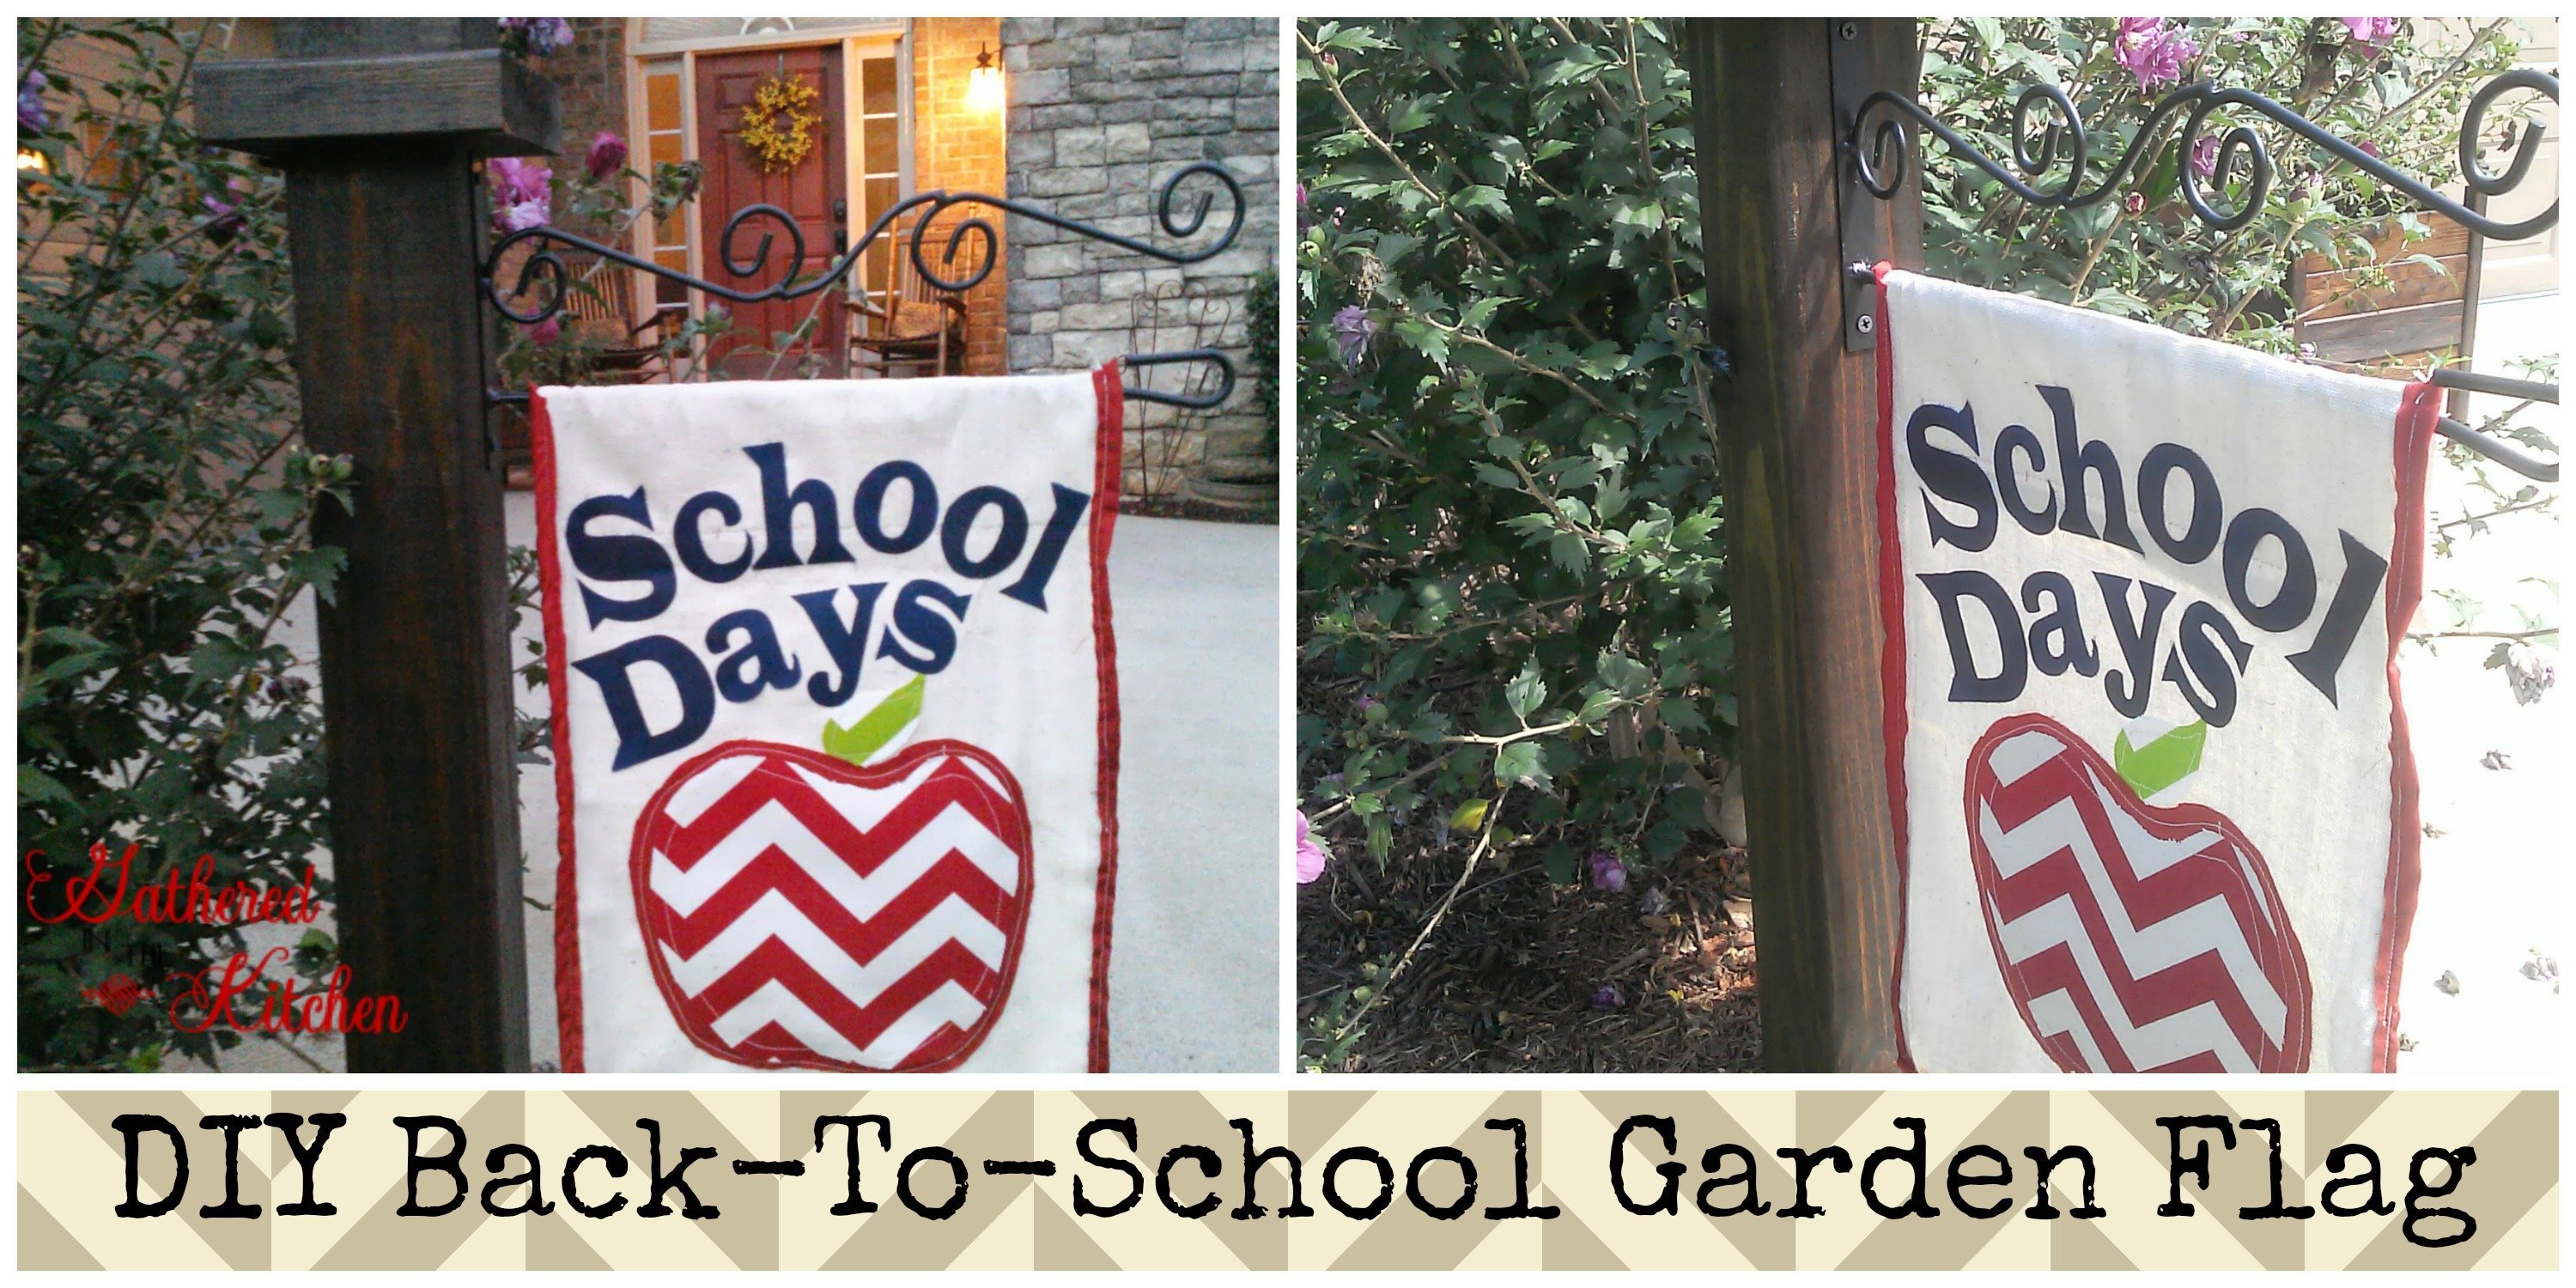
DIY Back-To-School School Days Garden Flag Tutorial
Hey There!
I shared a sneak peak photo on my facebook page the other day of my latest project. Two of my kiddos are getting ready to head to preschool after Labor Day! I wanted to put up a flag to go on my new flag post that I made that pertained to school. I looked online for flags to purchase,…but, they were all tacky or said “Back-To-School” and I didn’t want that since one of my kiddos is just starting preschool for the first year. So, I decided to make one!
I made it out of scrap fabric that I had!
This post may contain affiliate links, which means I’ll receive a commission if you purchase through my link, at no extra cost to you. Please read full disclosure here.
Supplies
- Canvas/drop cloth
- 3 colored fabrics of choice
- Heat & Bond
- scissors
- apple cut out
- iron
- Silhouette Cameo (optional)

1) I cut out my apple template which I just googled and printed
2) Trace and cut out apple template on fabric of choice
3) Iron on Heat & Bond to the apple
4) Iron the apple cut out onto a border fabric (not pictured)
5) Cut out border fabric leaving a bordered edge (not pictured)
6) Iron on Heat & Bond to the back of the whole apple cut out

7) Cut out canvas (12×18.5) and sew, glue or Heat & Bond it over about 4″ on the top to create a sleeve to slid on to the flag holder (not pictured)
8) Sew a border on to the canvas flag (I just folded red fabric over on both sides, pinned it and sewed. It has raw edges, but I was fine with that!)
9) Iron on the apple cut out to the canvas flag
10) Sew along the border of the apple and the apple border (optional)
11) Cut out the apple leaf (not pictured)
12) Iron on Heat & Bond to leaf (not pictured)
13) Iron onto canvas flag (not pictured)
14) Sew along leaf border

15) Iron on Heat & Bond to fabric for letters (not pictured)
16) I used my Silhouette Cameo to cut out my fabric letters that say “School Days”
17) Iron on letters to canvas flag
Then hang and enjoy!!!
I think it turned out really cute and I can’t wait to take my kiddo’s pictures by it on Tuesday for their first day of school!!!
As always, I’d love for you to PIN this tutorial!
Happy crafting!
p.s. I’ll be back to share my tutorial on how I made my flag post!!

DIY Back To School Garden Flag
Materials
- Canvas/drop cloth
- 3 colored fabrics of choice
- Heat & Bond
- scissors
- apple cut out
- iron
- Silhouette Cameo (optional)
Instructions
- Google apple silhouette and print image
- Trace and cut out apple template on fabric of choice
- Iron on Heat & Bond to the apple
- Iron the apple cut out onto a border fabric
- Cut out border fabric leaving a bordered edge
- Iron on Heat & Bond to the back of the whole apple cut out
- Cut out canvas (12×18.5) and sew, glue or Heat & Bond it over about 4″ on the top to create a sleeve to slid on to the flag holder
- Sew a border on to the canvas flag (I just folded red fabric over on both sides, pinned it and sewed. It has raw edges, but I was fine with that!)
- Iron on the apple cut out to the canvas flag
- Sew along the border of the apple and the apple border (optional)
- Cut out the apple leaf
- Iron on Heat & Bond to leaf
- Iron onto canvas flag
- Sew along leaf border
- Iron on Heat & Bond to fabric for letters – I used my Silhouette Cameo to cut out my fabric letters that say “School Days”
- Iron on letters to canvas flag


Stephanie—home cook, DIY addict, seasonal decor fanatic, and proud chicken wrangler living in a Victorian house that’s always a project. Whether I’m cooking with garden-fresh ingredients, herding mischievous chickens, or tackling another DIY, I’m here to share the fun (and chaos).


6 Comments