How To Pressure Can Seasoned Black Beans
If pressure canning feels a bit overwhelming, you’re not alone. In this post, I share how I pressure can seasoned black beans starting with dry beans, using tested methods so I can safely preserve them for long-term pantry storage.

I’ve had a pressure canner for several years now, and I honestly love using it — though for a long time, I mostly used my pressure cooker as a water bath canner. There’s just something a little intimidating about pressure canning, even though modern pressure canners are incredibly safe compared to the ones used decades ago.

Certain foods, especially low-acid foods, must be preserved using a pressure canner to ensure they’re shelf-stable and safe to eat. Beans fall into that category, which is why I decided it was time to finally put my pressure canner to proper use and start canning seasoned black beans for the pantry.
If you’re newer to pressure canning or unsure whether your setup will work, I’ve shared more details about using a pressure canner on an induction cooktop, including what to look for in a canner and what works safely. That post has been especially helpful for readers who aren’t using a traditional gas stove.
This post may contain affiliate links, which means I’ll receive a commission if you purchase through my link, at no extra cost to you. Please read full disclosure here.
New to Pressure Canning?
Don’t worry — modern pressure canners are designed with multiple safety features, and once you understand the basics, the process becomes very straightforward. I share what’s worked for me and follow safe, tested methods in every recipe.
How to Pressure Can Dry Black Beans
This recipe follows tested pressure canning guidelines, and it’s important to always follow current national food preservation standards, such as those provided by the National Center for Home Food Preservation, to ensure safe, shelf-stable results.
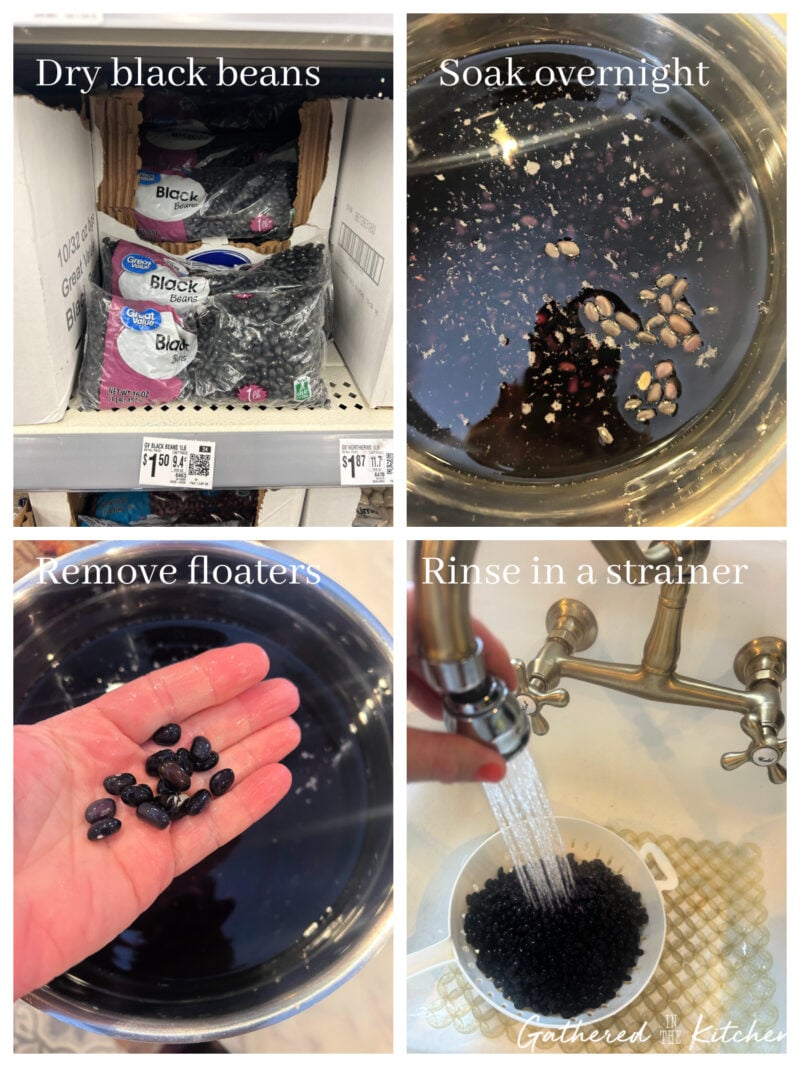
How to Prep Dry Black Beans for Pressure Canning
Prepare dry black beans for pressure canning, starting with selecting beans at the store, soaking them overnight, removing floaters, and rinsing thoroughly. These simple prep steps help ensure safe, evenly cooked, and shelf-stable seasoned black beans for your pantry.
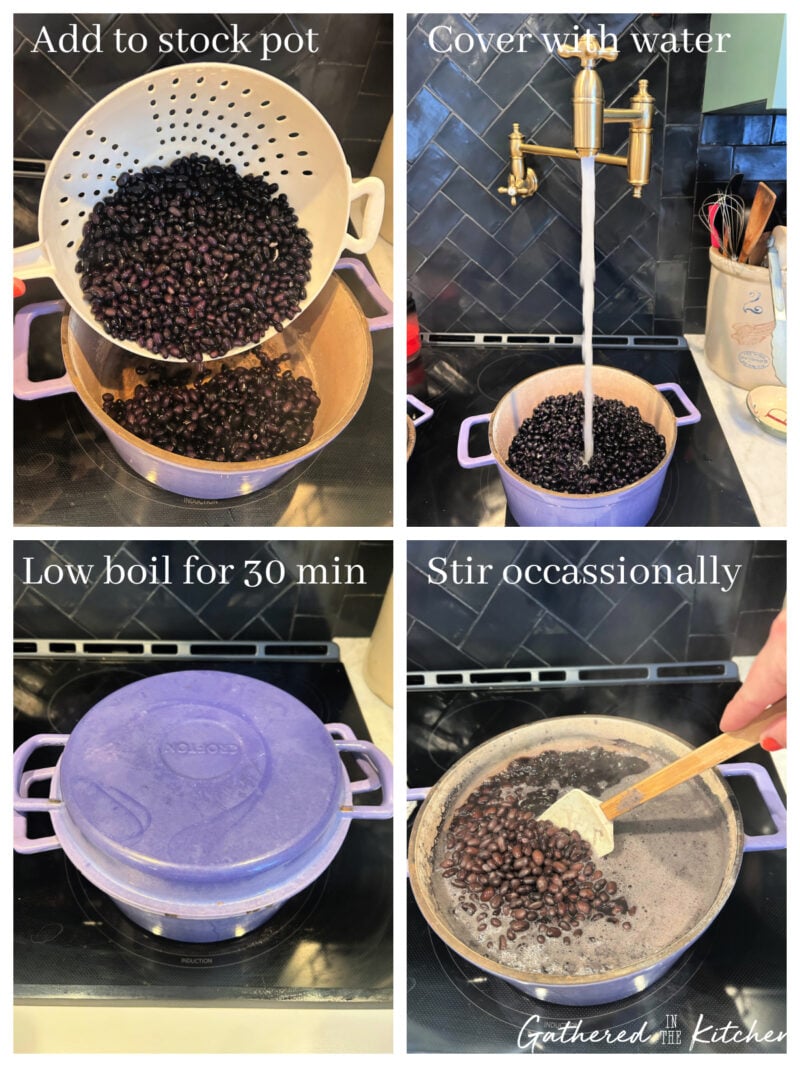
Parboil the Black Beans
Before pressure canning black beans, they need to be partially cooked. This step-by-step collage shows how to add soaked beans to a stockpot, cover with water, simmer gently for 30 minutes, and stir occasionally to prepare them for safe pressure canning.
Pressure Canner & Jar Prep for Canning Black Beans
Before filling the jars, prepare both the pressure canner and canning jars. Add water to the pressure canner, ensure the vent hole is clear, lightly oil the seal, wash the jars, and add vinegar to the canner to help prevent mineral buildup during processing.

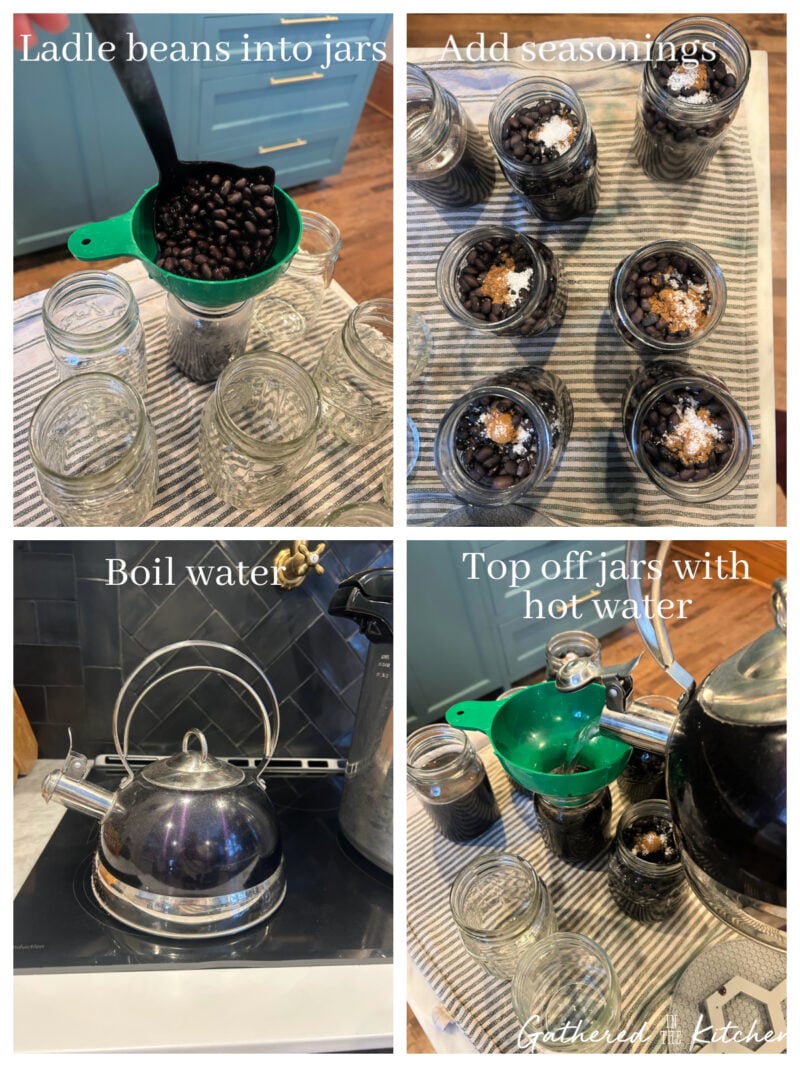
Add Seasonings To Jars of Black Beans
Ladle the parboiled black beans into clean jars. Add ½ teaspoon cumin and ½ teaspoon kosher salt per pint, then bring water to a boil and top off the jars with hot water. Maintain proper headspace and liquid levels for evenly cooked, shelf-stable pressure canned beans.
Prepare The Jars
Remove any air bubbles, wipe jar rims clean with a paper towel soaked with vinegar, place lids on jars, and tighten rings to fingertip tight before loading jars into the pressure canner.

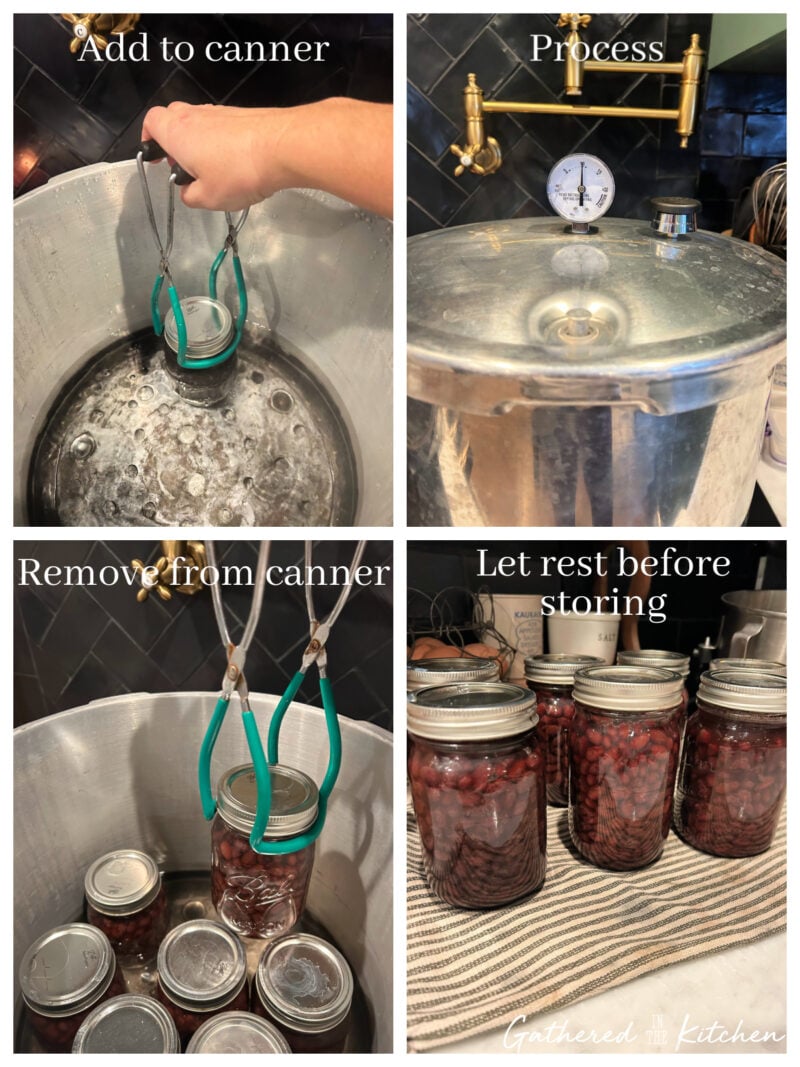
Process Jars In The Pressure Canner
Load the jars into the pressure canner and process the jars according to proper usage of your pressure canner. Once processing is done, allow canner to fully come to a cool before removing the lid. Carefully remove jars and allow to rest and cool before storage. Proper cooling time is essential for sealing and safe long-term storage of pressure canned black beans. *Remember to remove your rings before storing in the pantry.
From Presto: Weighted Gauge Canner – Process at 10 pounds pressure—Pints 75 minutes and Quarts 90 minutes. For processing above 1,000 feet altitude, use 15 pounds pressure.
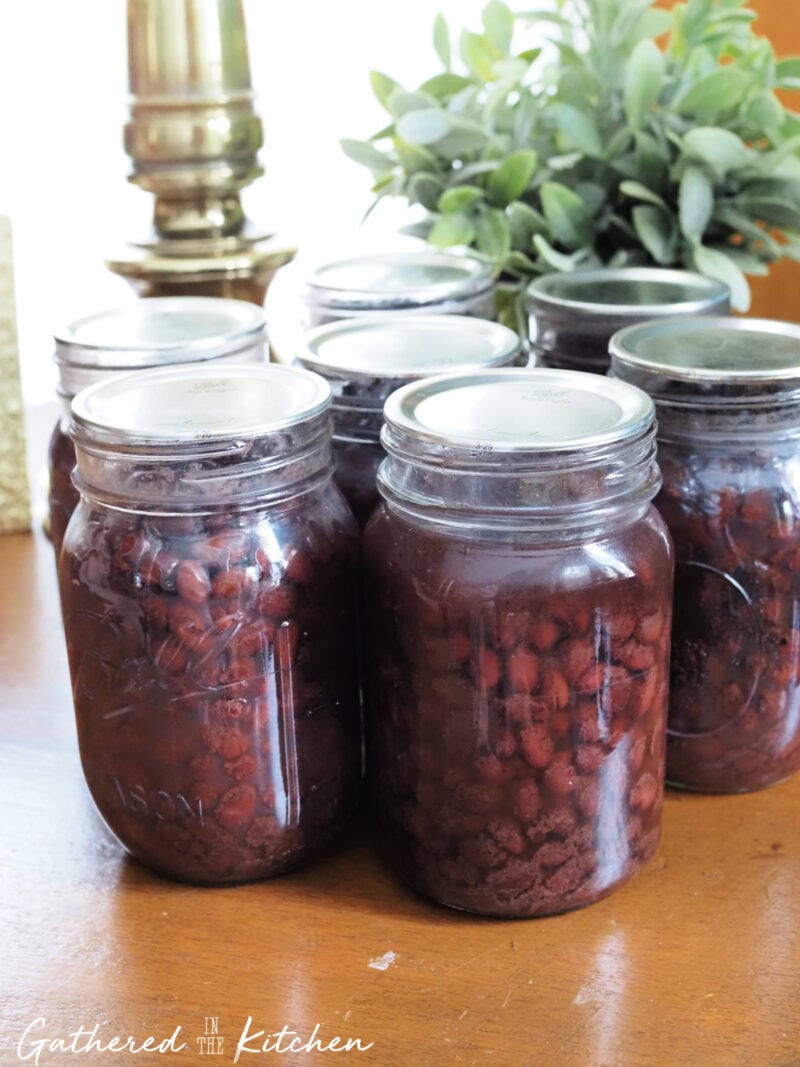
Was it worth it? Yes and no — ha! I’ll be the first to admit that pressure canning black beans is quite a bit more work than grabbing a can off the grocery store shelf. But if you’re like me and enjoy learning new skills, then it absolutely is worth it. Not only did I gain confidence using my pressure canner, but I also know exactly what’s in each jar of seasoned black beans — and that feels really good.
If you’re interested in learning more ways to preserve food at home, be sure to check out my Food Preservation & Storage recipes for more pressure canning, dehydrating, and pantry-stocking ideas.
Printable Recipe Card
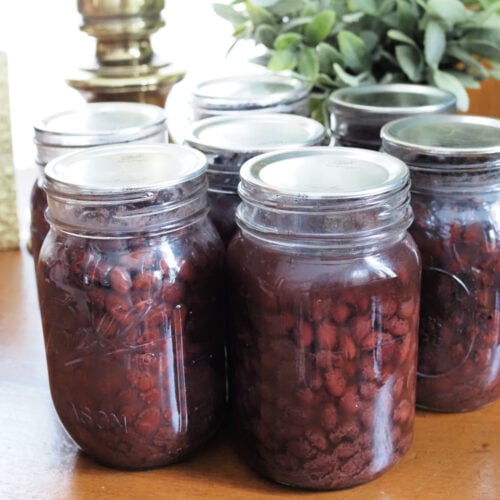
Pressure Canned Seasoned Black Beans
Equipment
- large pot
- strainer
- Pressure ooker
- canning supplies
Ingredients
- 32 oz bag of dried black beans
- 1/2 tsp cumin per pint jar
- 1/2 tsp kosher salt per pint jar
Instructions
Soak the Beans
- Place dry black beans in a large bowl and cover with several inches of water. Soak overnight.
Rinse the Beans
- Drain the soaked beans and rinse thoroughly in a colander under cold running water. Remove and discard any floating beans or debris.
Parboil the Beans
- Transfer beans to a large stock pot and cover with fresh water. Bring to a gentle boil and cook for 30 minutes, stirring occasionally. Drain.
Fill the Jars
- Add parboiled beans to hot, clean jars, leaving 1 inch of headspace. Add seasonings, then fill jars with boiling water, maintaining the 1-inch headspace.
Prepare for Canning
- Remove air bubbles, adjust headspace if needed, wipe jar rims clean, apply lids, and screw on rings fingertip tight.
Pressure Can
- Process pint jars in a pressure canner at 10 pounds pressure for 75 minutes, following standard pressure canning procedures. Allow the canner to cool naturally before removing jars.
Pantry Storage
- Once jars are completely cooled and seals are confirmed, remove the bands and store jars in a cool, dry pantry until ready to use.


Stephanie—home cook, DIY addict, seasonal decor fanatic, and proud chicken wrangler living in a Victorian house that’s always a project. Whether I’m cooking with garden-fresh ingredients, herding mischievous chickens, or tackling another DIY, I’m here to share the fun (and chaos).